Give your friends £10 off their first order!
Refer a FRIEND








Prices change straight away. Every language is our own translation, not Google.
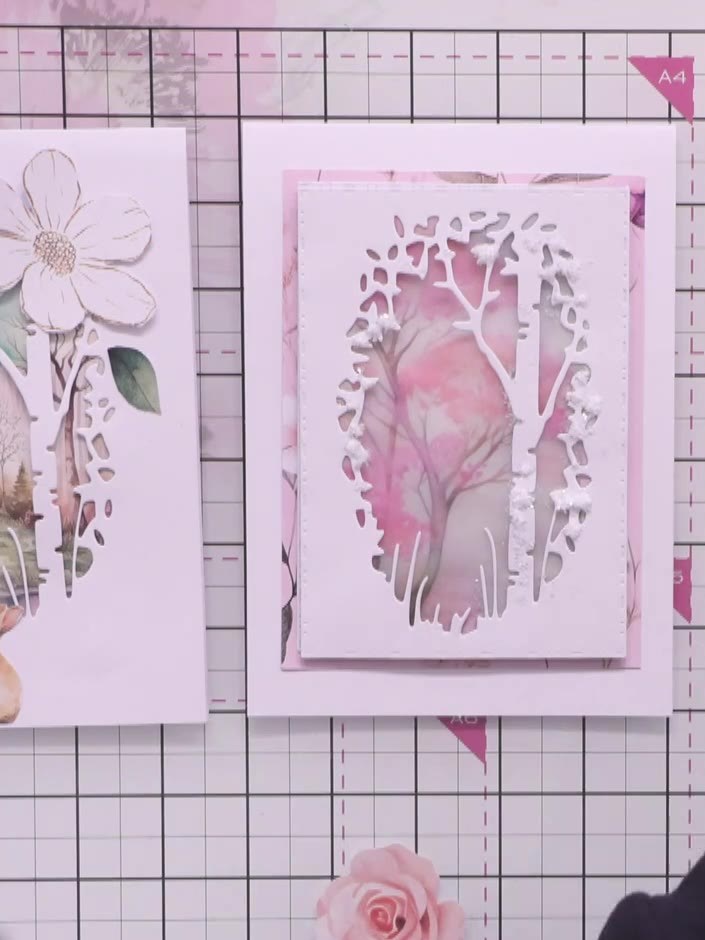
A project from our live show THE THURSDAY DROP - Latest Products from Toni - Broadcast 6th August 2026 · 06/08/2026
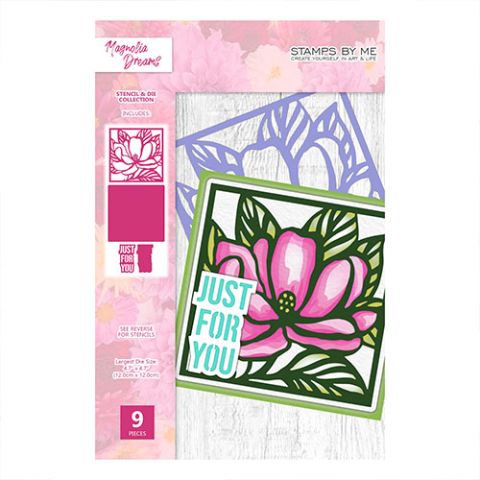
Create a stunning square card featuring a delicate pink magnolia flower in a decorative die-cut frame. This elegant design uses layering stencils and soft watercolour effects to build dimension, with the magnolia centrepiece mounted on a coordinating pink background. The finished card combines die-cutting, stencilling and layering techniques for a sophisticated floral greeting card.
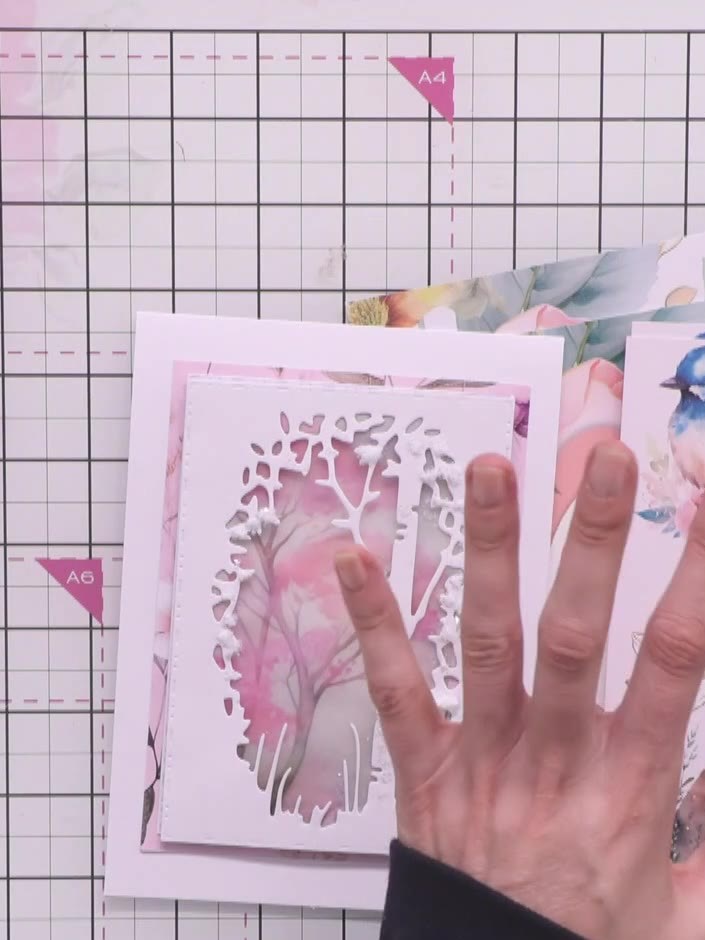 1
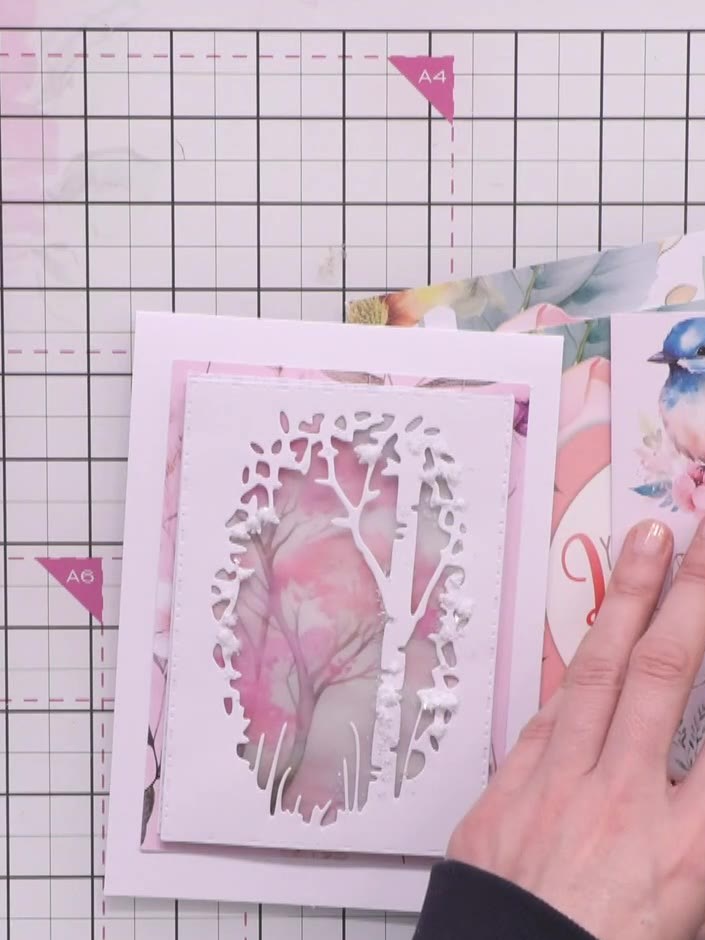
Cut the exterior mat and layer square using the dies included in the Magnolia Dreams stencil and die set to create your card base. Die-cut the magnolia shape from your chosen cardstock using the magnolia die from the Magnolia Dreams stencil and die set. Run the die and cardstock through your die-cutting machine to create the decorative floral shape.
 2
Layer the stencils on top of the magnolia die-cut, aligning them carefully to ensure the design elements match up properly.
 3
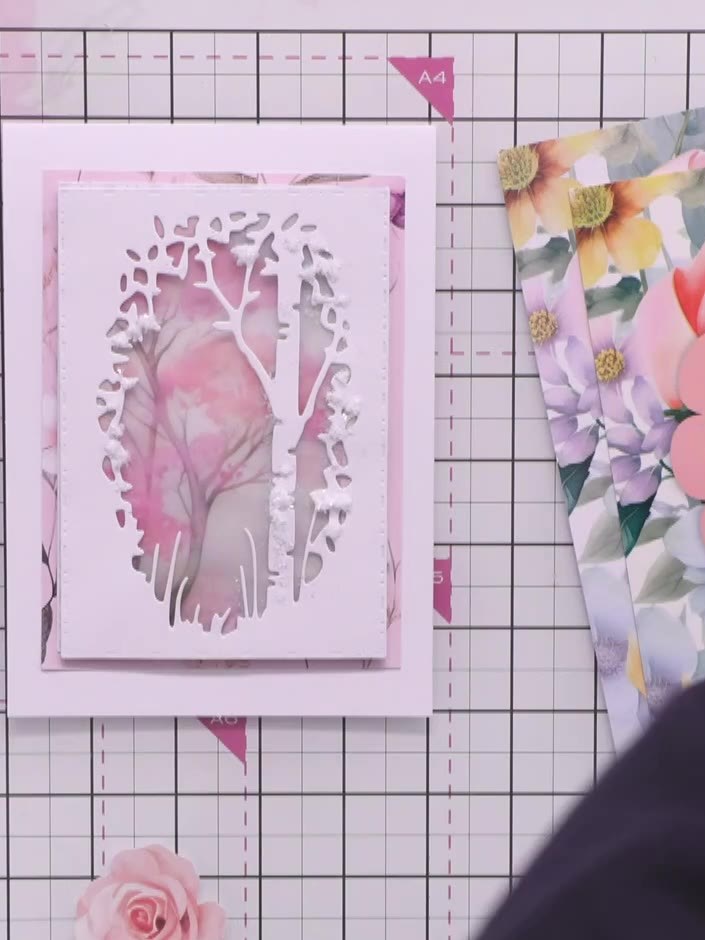
Apply the included dyes through each layering stencil to build up dimension and detail in the magnolia flower design. Work through the stencils in sequence, using the different pink and grey tones to create depth. Allow each layer to dry before applying the next stencil.
 4
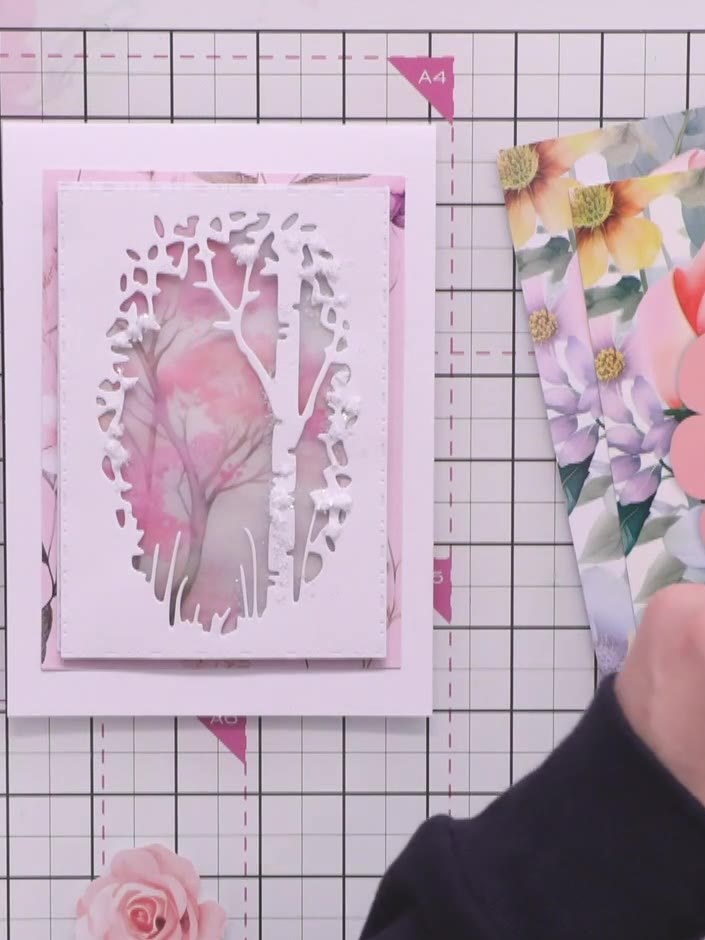
Assemble the card by layering the decorated magnolia panel onto the pink mat and then onto the square card base. Add the 'Just for You' sentiment in the centre of the design to complete.
Share your make with the Stamps By Me community - and keep this guide for next time.
Written up from the show itself. See every guide from our shows · free how-to guides · watch live on My Telly · the previous layout