Give your friends £10 off their first order!
Refer a FRIEND








Prices change straight away. Every language is our own translation, not Google.
A project from our live show THE THURSDAY DROP - Latest Products from Toni - Broadcast 6th August 2026 · 06/08/2026
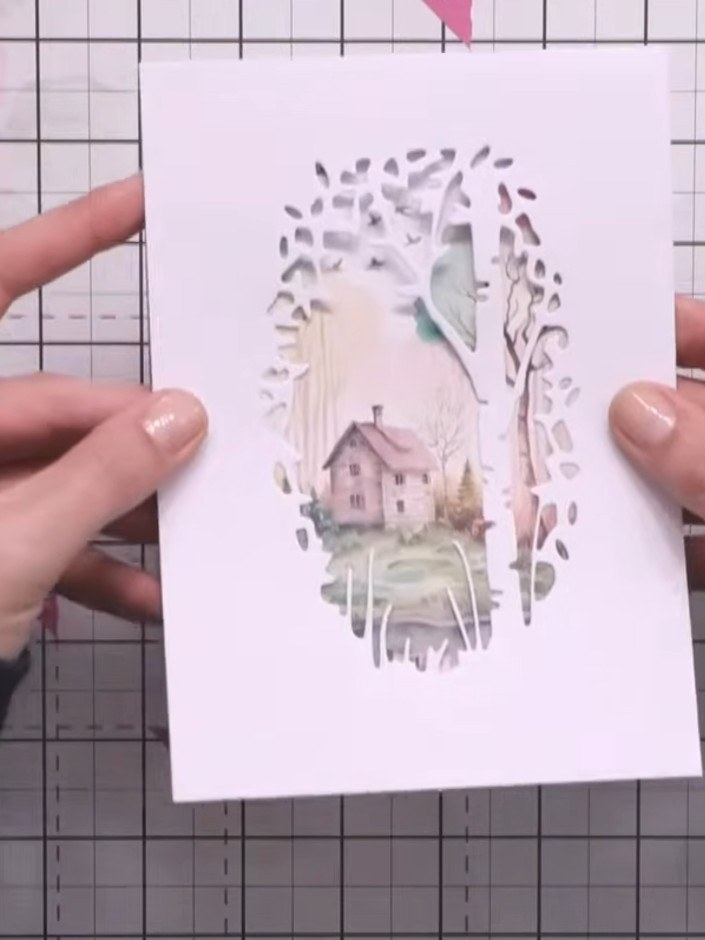
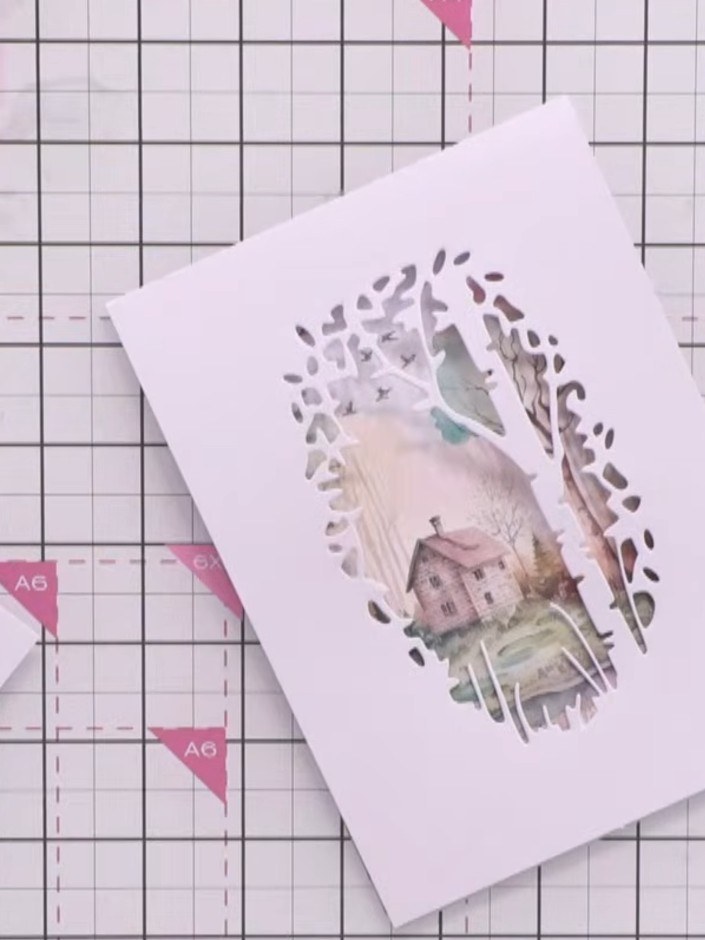
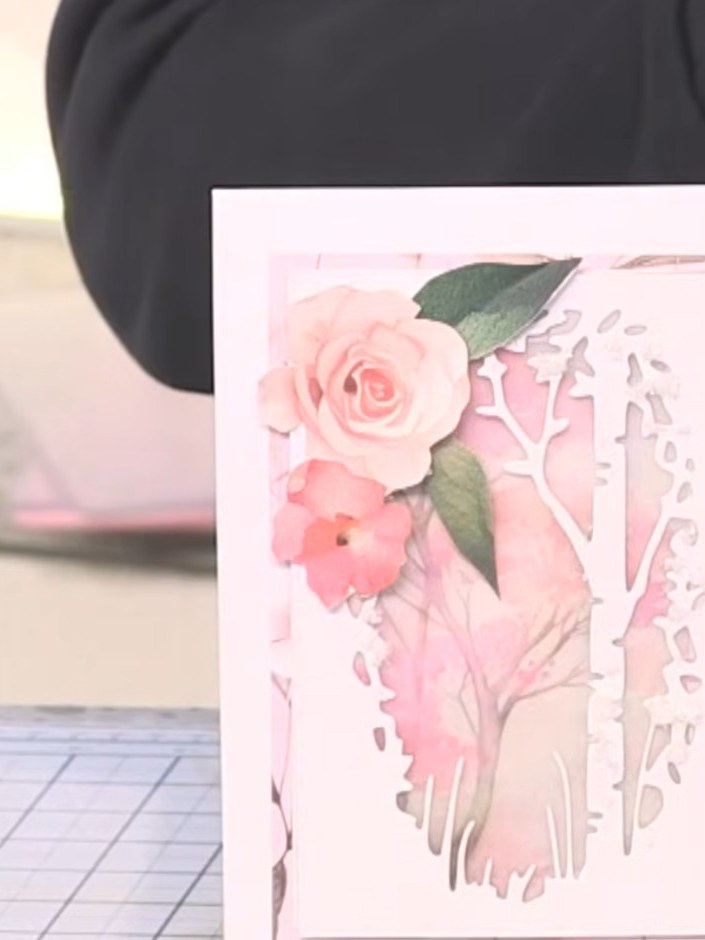
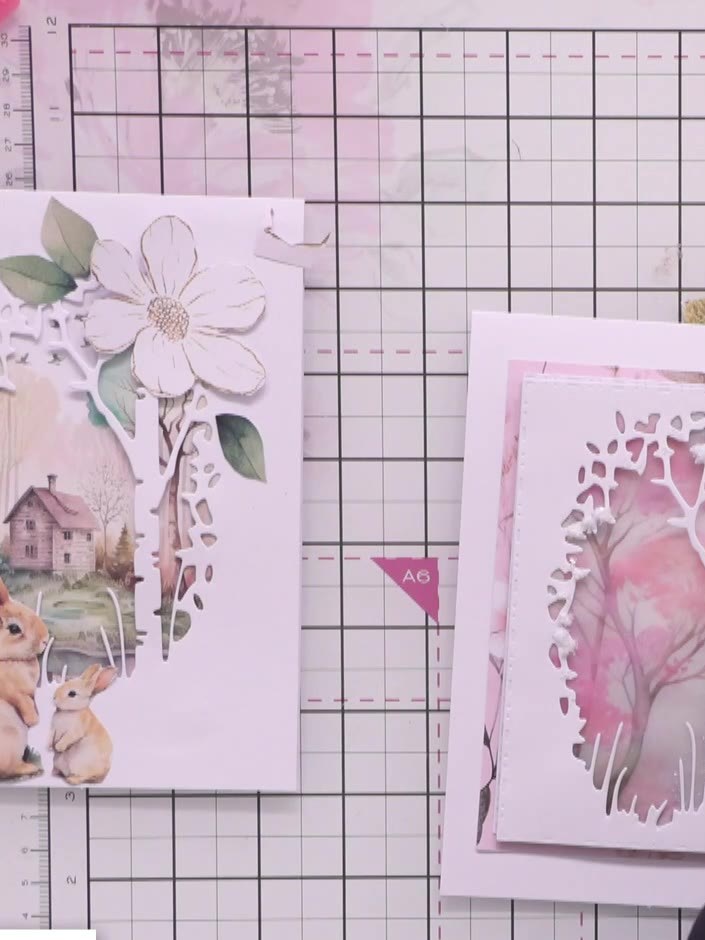
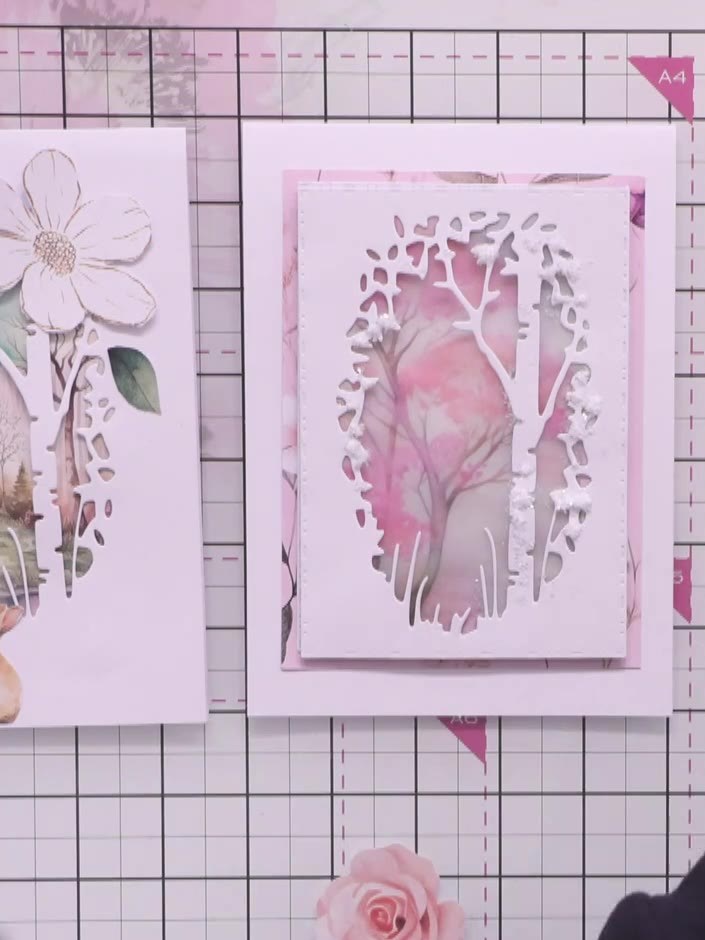
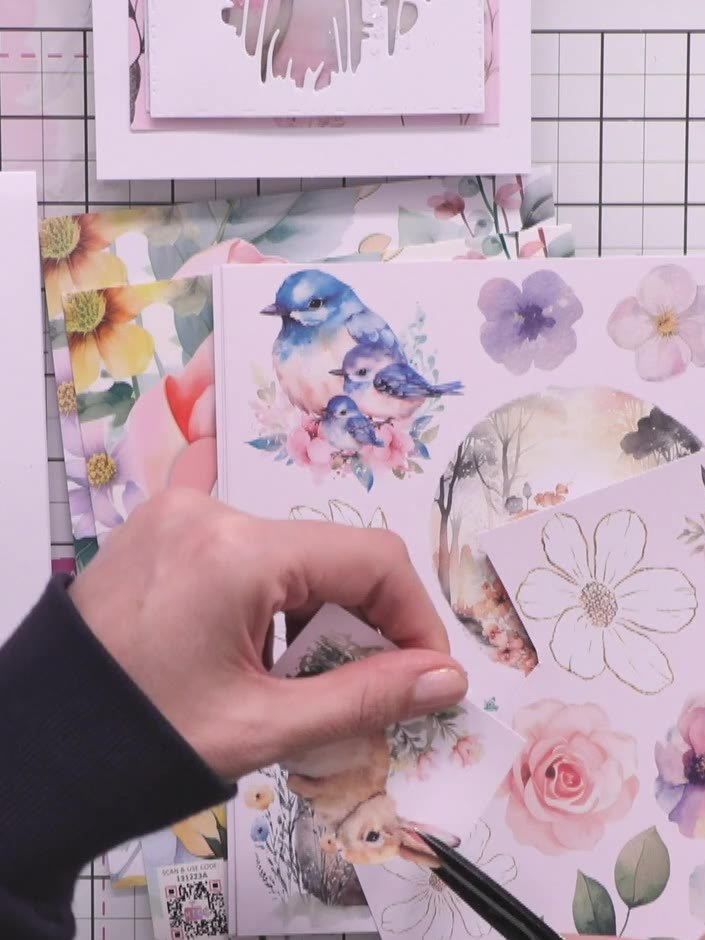
Create a beautiful layered card featuring charming woodland animals and delicate floral motifs in soft pastel tones. Using decorative die-cut papers and embellishments, you'll build up a dimensional design with bluebirds, hedgehogs, bunnies and roses. The finished card combines gentle watercolour-style imagery with elegant line-drawn flowers for a sweet, nature-inspired greeting card.
 1
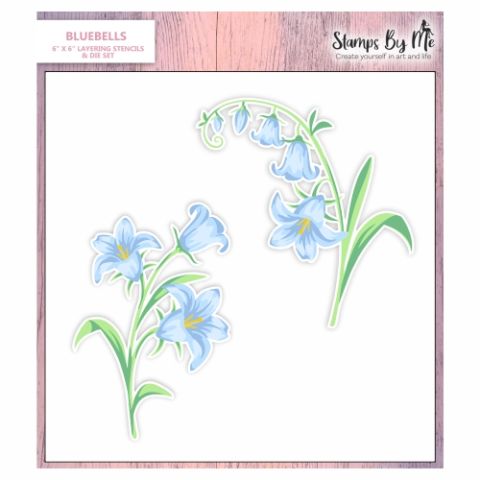
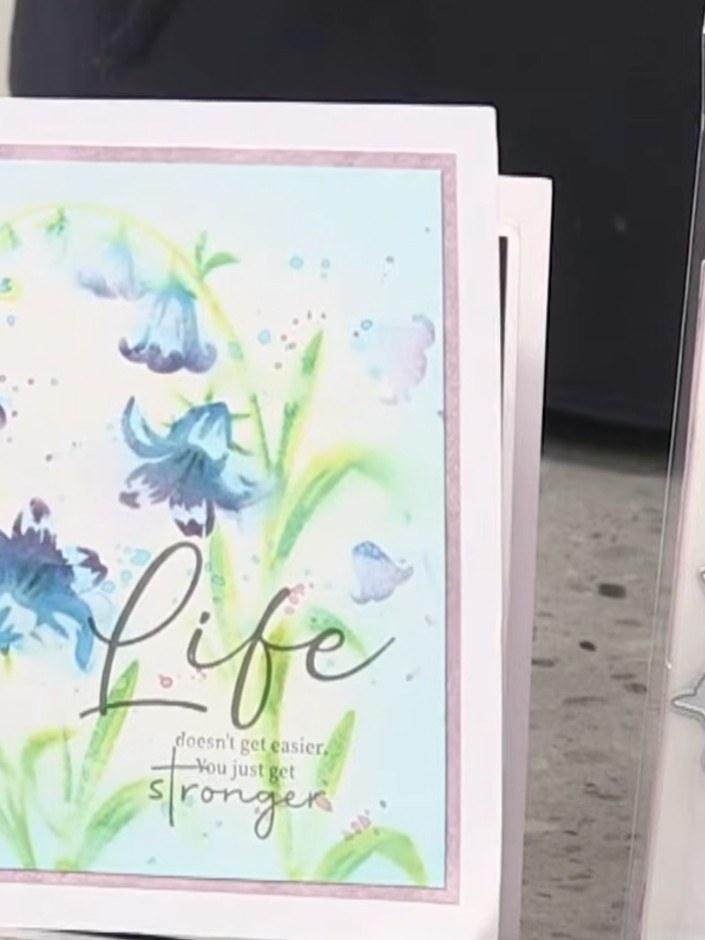
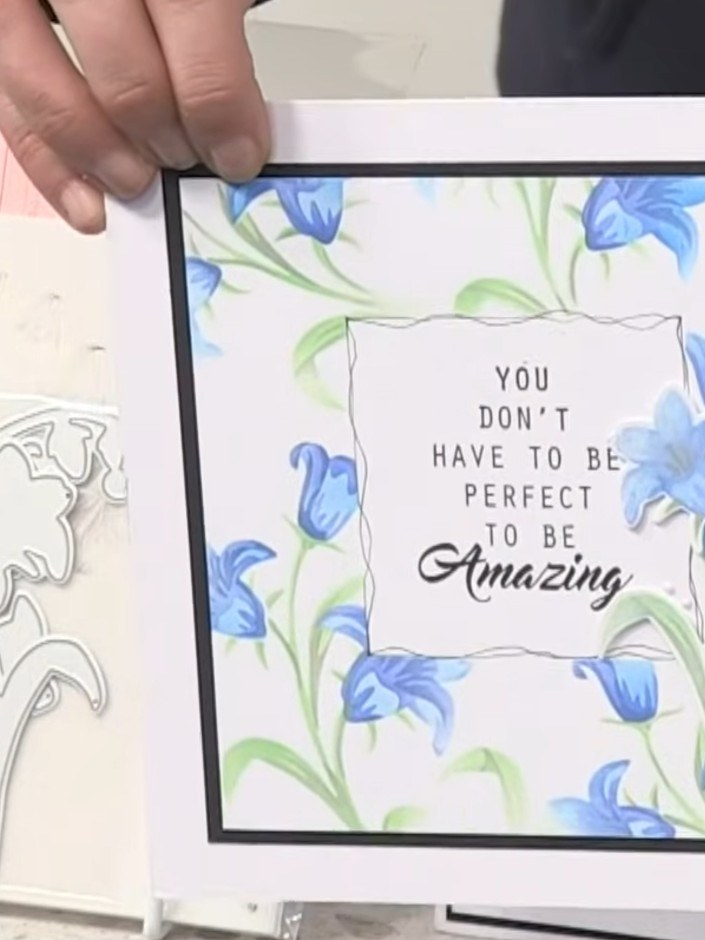
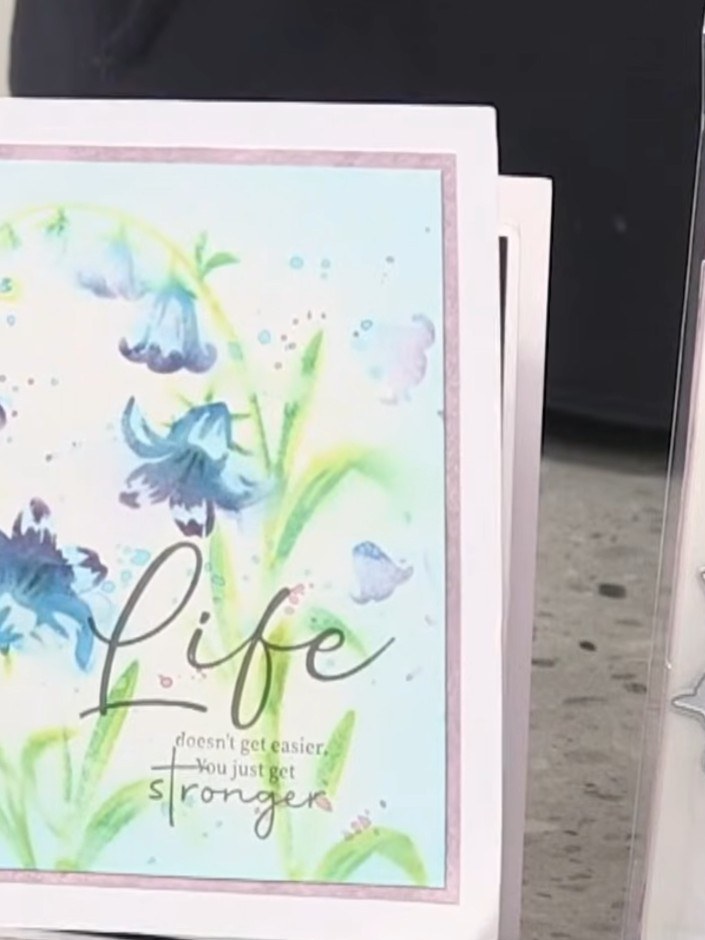
Position your first bluebell layering stencil onto your white card base or background paper. Ensure the stencil is placed where you want the floral design to appear on your card.
 2
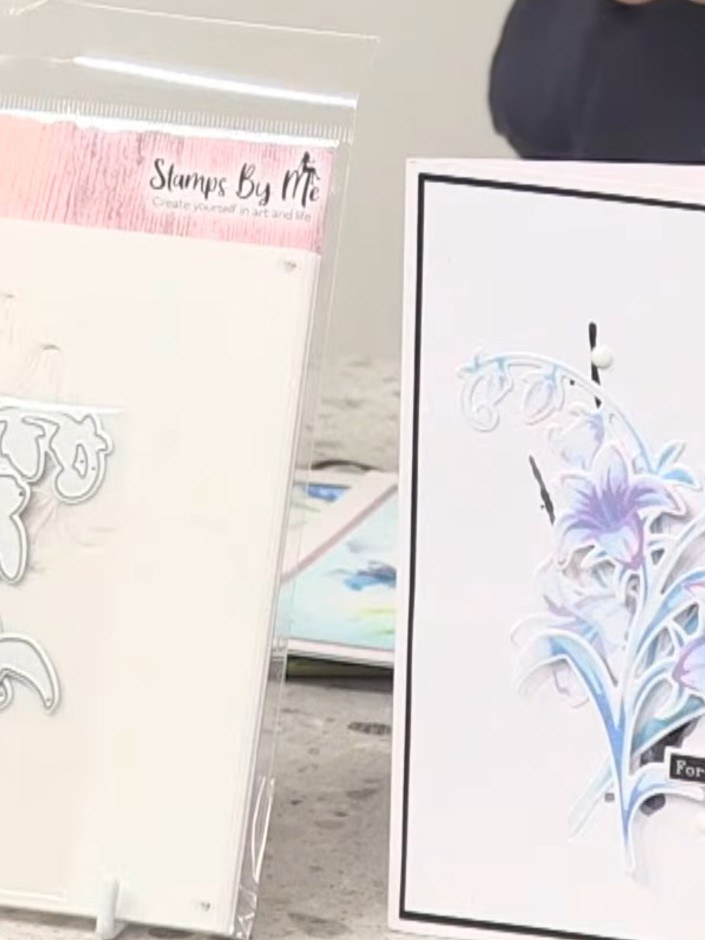
Apply the included dye through the stencil using a sponge or applicator, following the stencil lines to create the bluebell design. Build up the colours gradually, layering blues and purples to add depth and dimension to the flowers.
 3
Position the second layer of the bluebells stencil over the first layer, carefully aligning it with the previously stencilled image to ensure the design lines up correctly.
 4
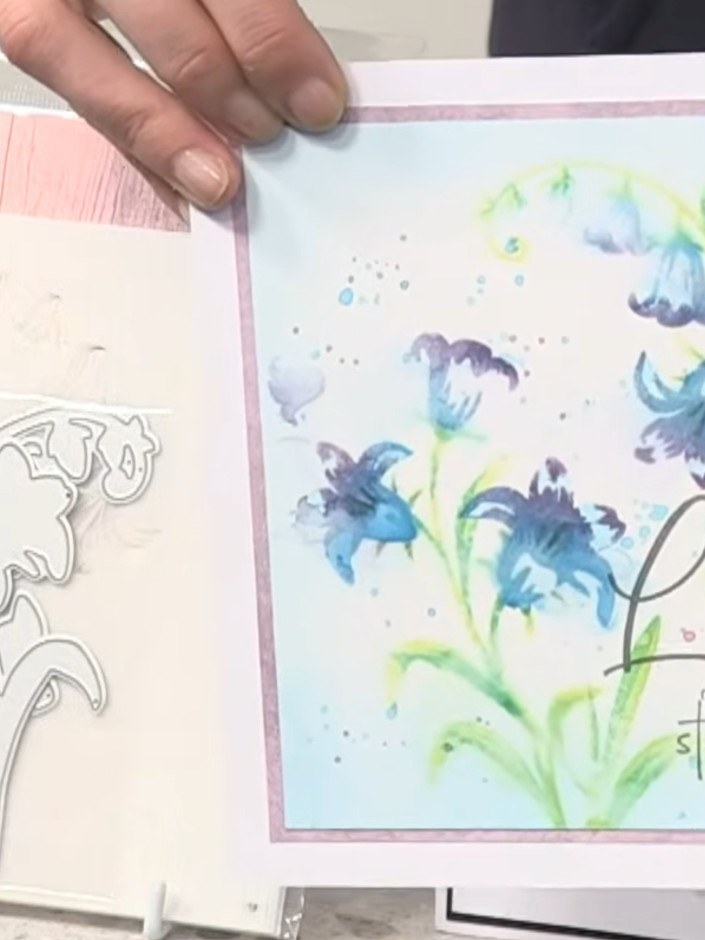
Position the second stencil layer over your card and apply dye through the openings to add dimension and depth to the bluebell flowers. Build up the colour gradually to create shading and detail.
 5
Spray the card lightly with water to blend the dyes and create a watercoloured effect. The water will soften the colours and create an artistic, flowing appearance across the bluebells design.
Share your make with the Stamps By Me community - and keep this guide for next time.
Written up from the show itself. See every guide from our shows · free how-to guides · watch live on My Telly · the previous layout