Give your friends £10 off their first order!
Refer a FRIEND








Prices change straight away. Every language is our own translation, not Google.
A project from our live show THE THURSDAY DROP - Latest Products from Toni - Broadcast 6th August 2026 · 06/08/2026 · watch it from 51:30
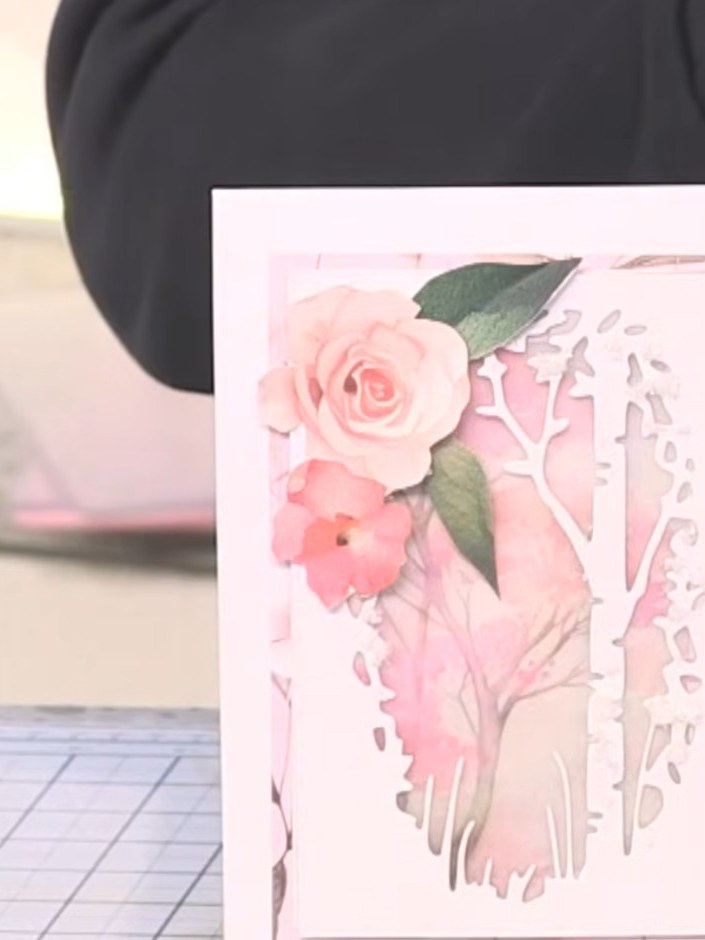
Create an elegant greeting card featuring a beautiful floral corner bouquet arrangement. This design showcases delicate pink roses, watercolour flowers and decorative foliage positioned in the top corner, with an intricate die-cut border creating depth and dimension. The soft pink and cream colour palette gives the card a fresh, romantic botanical style perfect for any occasion.
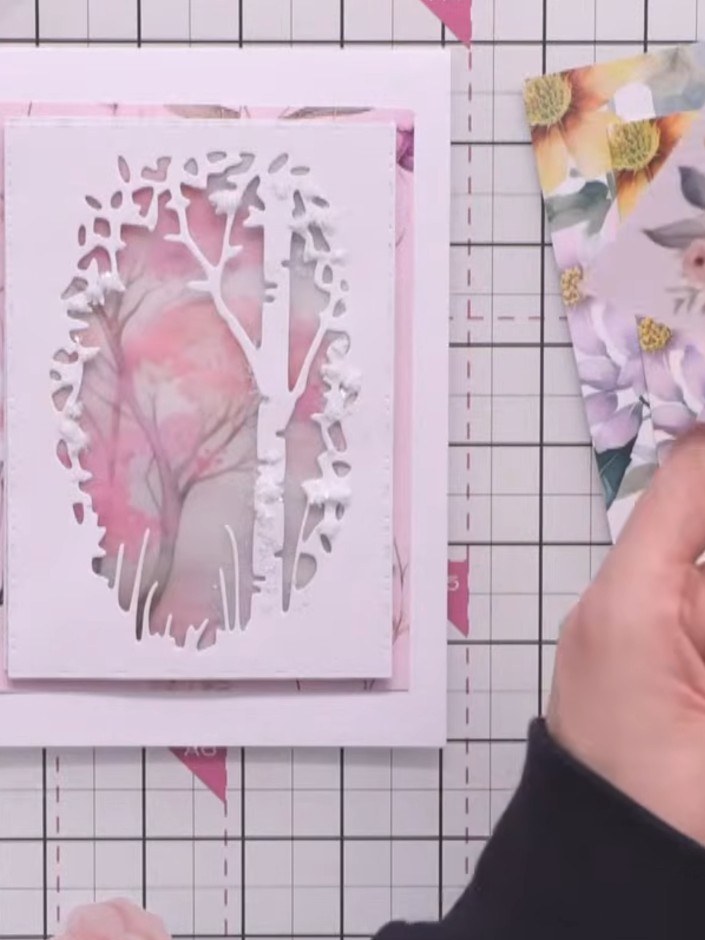
Cut several flowers and leaf sprigs from the embellishment pack, selecting a variety of sizes and shapes. Choose different floral elements including roses, hedgehogs with flowers, and decorative foliage pieces.
▶ watch this step (51:30)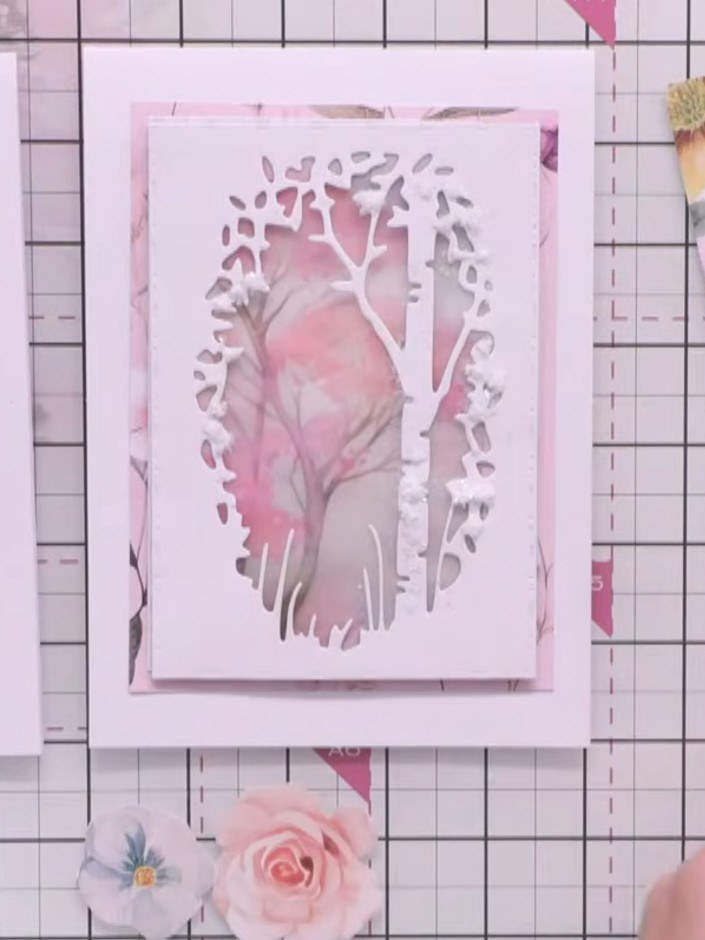
Arrange the fussy-cut flowers and greenery on your white card base, positioning them in the top corner. Try different arrangements to find the layout you prefer before adhering them down.
▶ watch this step (52:00)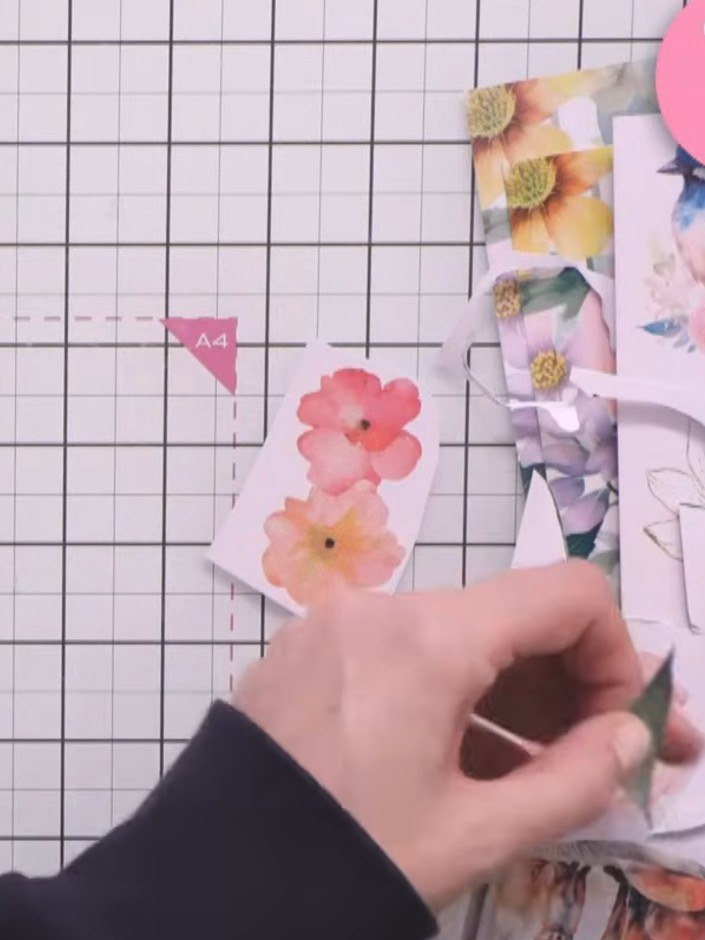
Pinch and mould each flower piece slightly between your fingers to add dimension and movement to the bouquet.
▶ watch this step (53:00)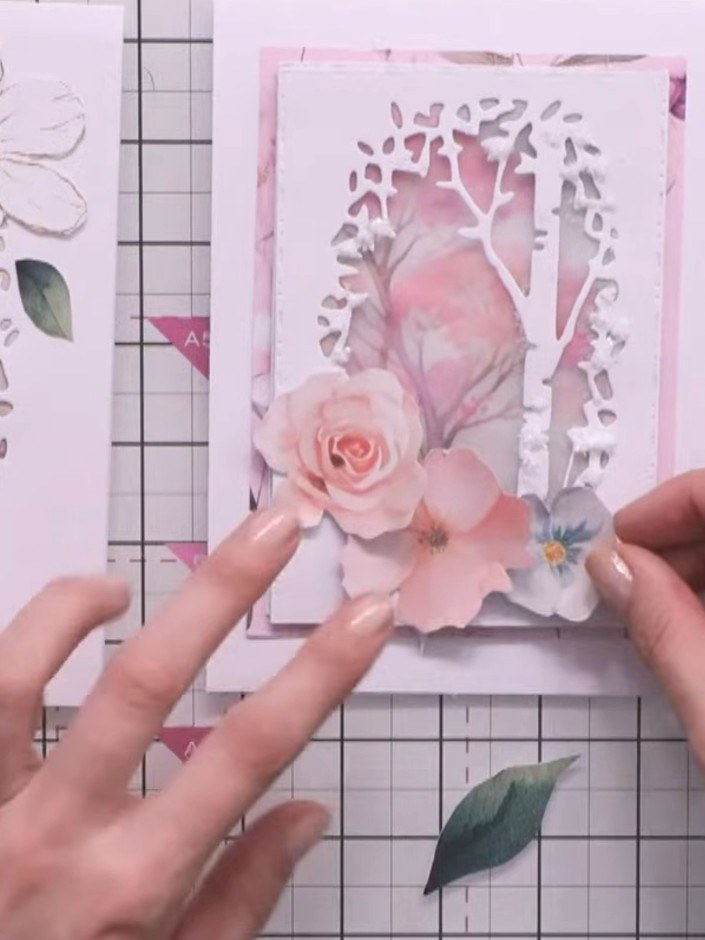
Glue the flower arrangement in place on the card front, layering the pink rose, smaller pink flowers, and blue flower to create depth and visual interest within the die-cut archway.
▶ watch this step (54:00)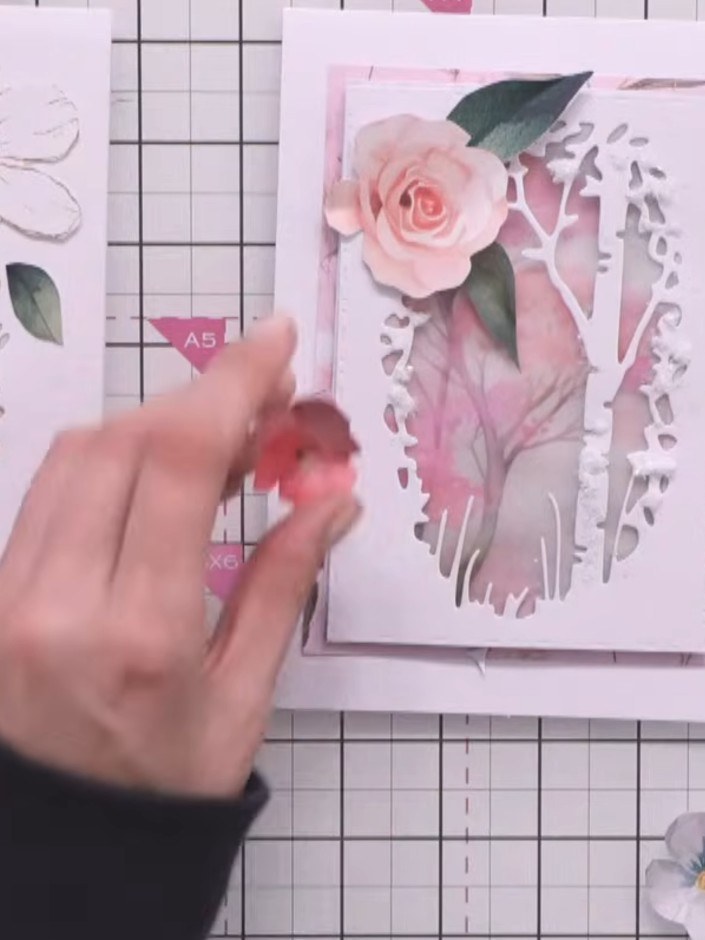
Stamp a sentiment from the You Are So Lovely stamp set across the bottom centre of the card front.
▶ watch this step (55:00)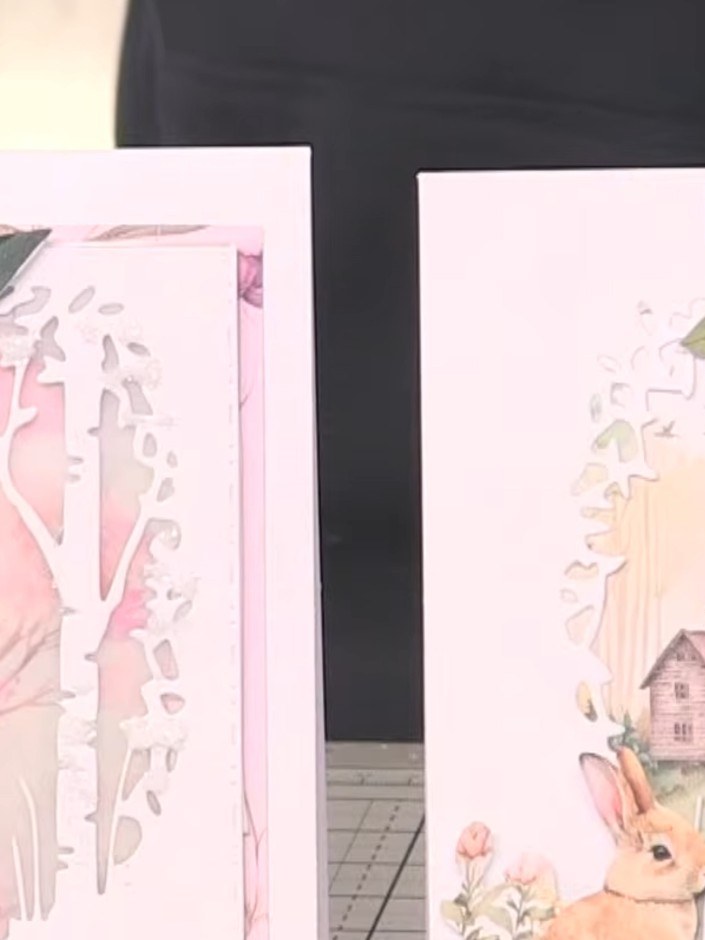
Mount your completed card panel onto a card base using adhesive to add dimension and create the finished card.
▶ watch this step (58:00)Written up from the show itself. See every guide from our shows · free how-to guides · watch live on My Telly



