Give your friends £10 off their first order!
Refer a FRIEND








Prices change straight away. Every language is our own translation, not Google.
A project from our live show Create Together Club - 5 Days of Creativity - Broadcast Friday 14TH Feb 2025 · 14/02/2025
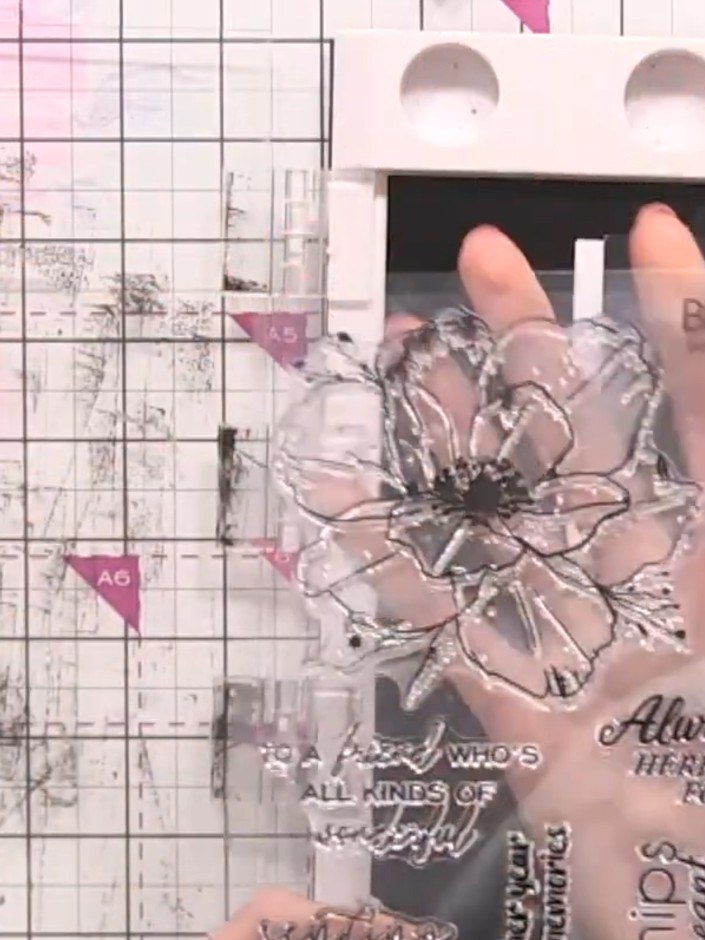
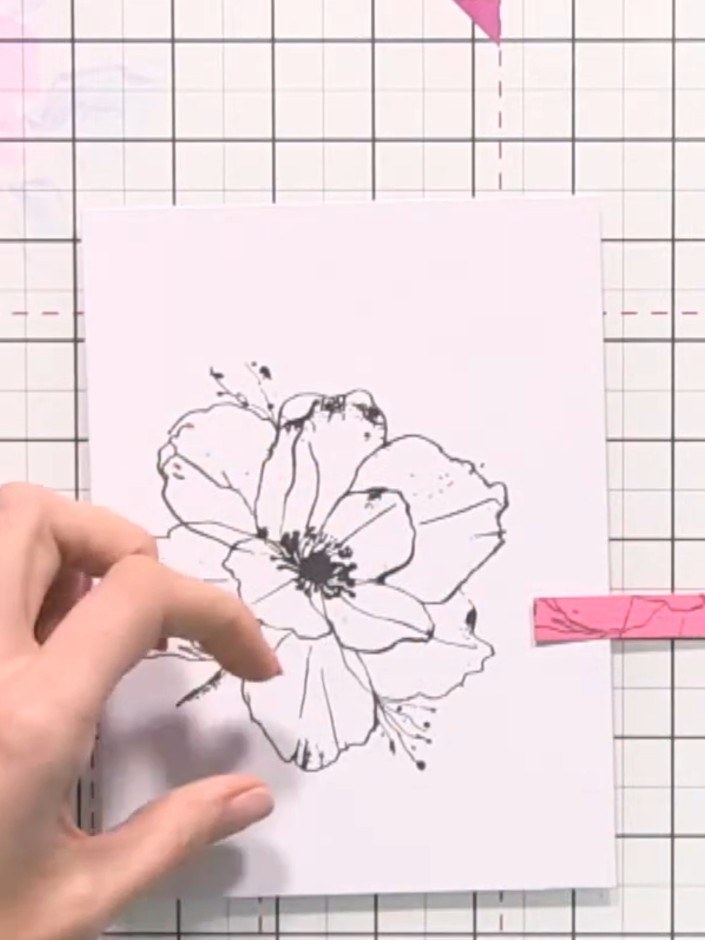
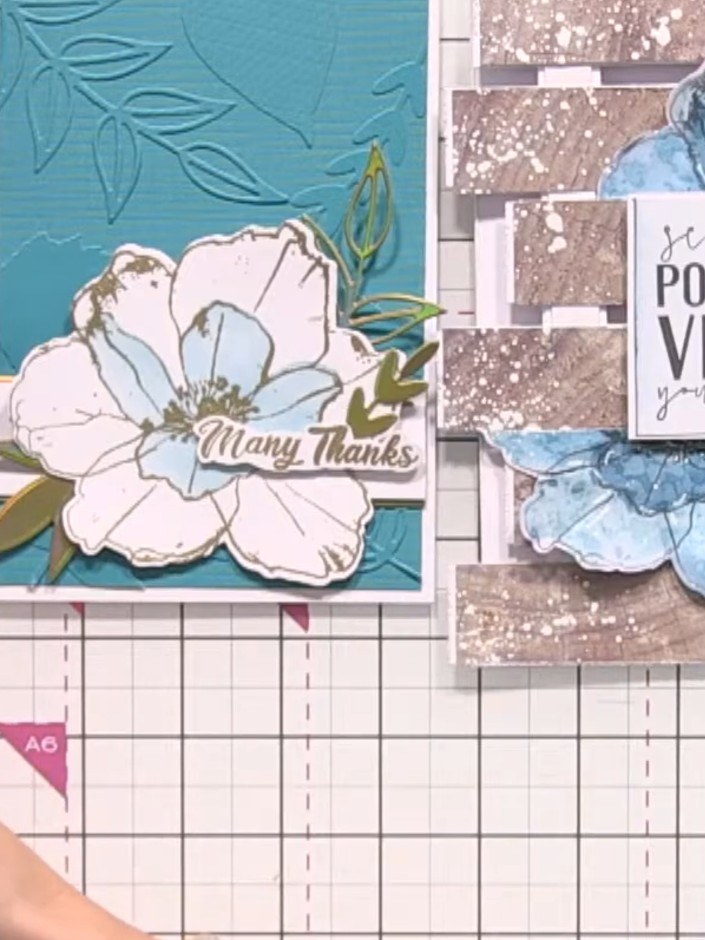
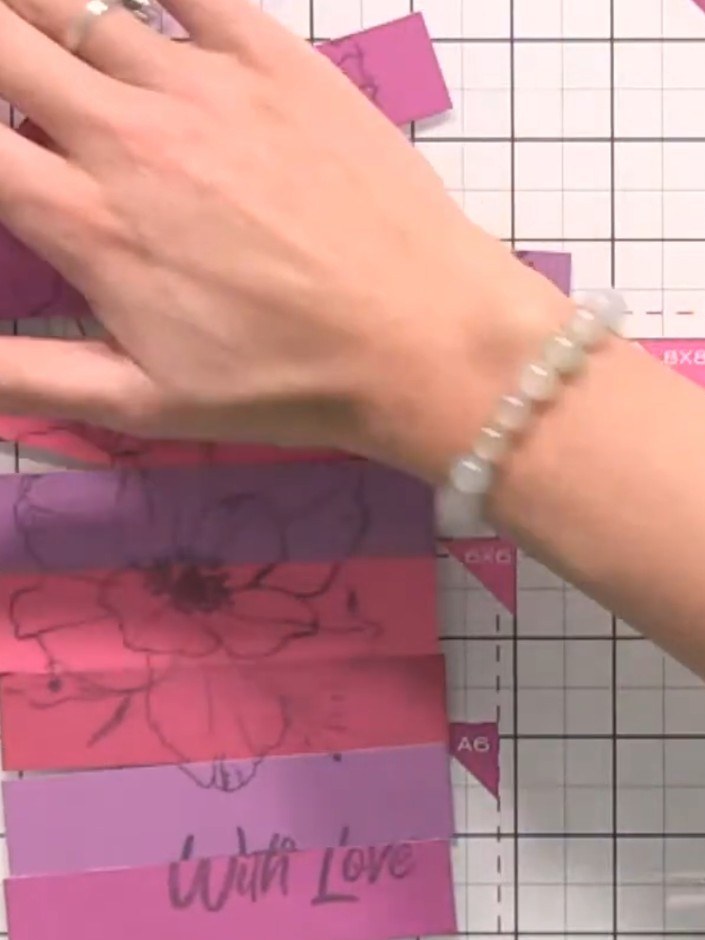
Transform leftover ombré strips into a fresh new card by rearranging them in a different colour sequence. This project features stamped floral elements and sentiment on rearranged gradient strips, creating an entirely different look from the same materials. The technique demonstrates how to maximise your supplies by creating multiple cards with varied colour arrangements from a single set of stamped strips.
 1
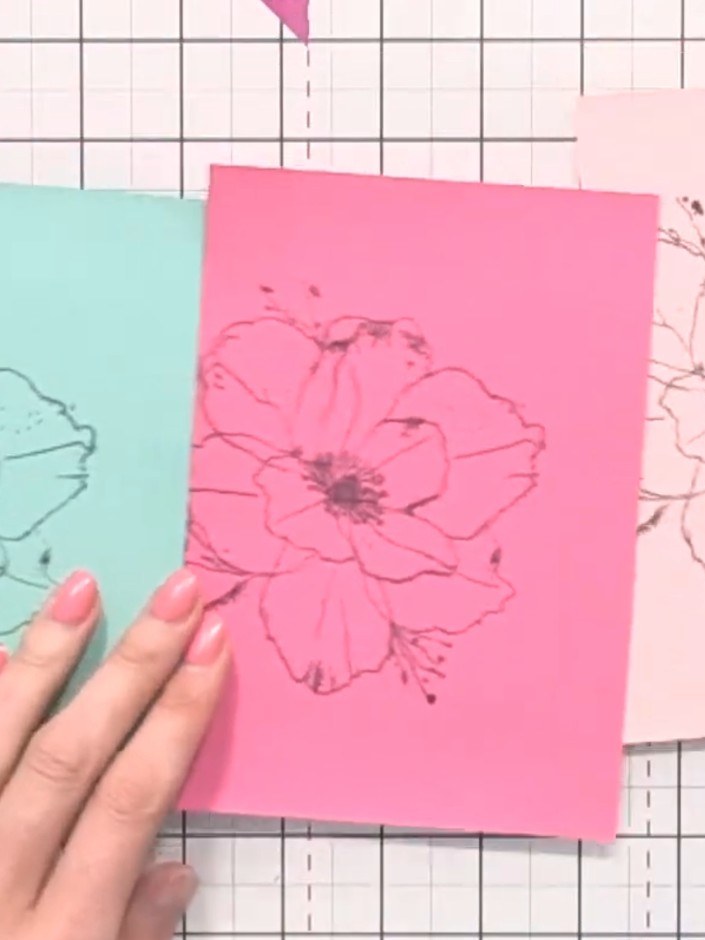
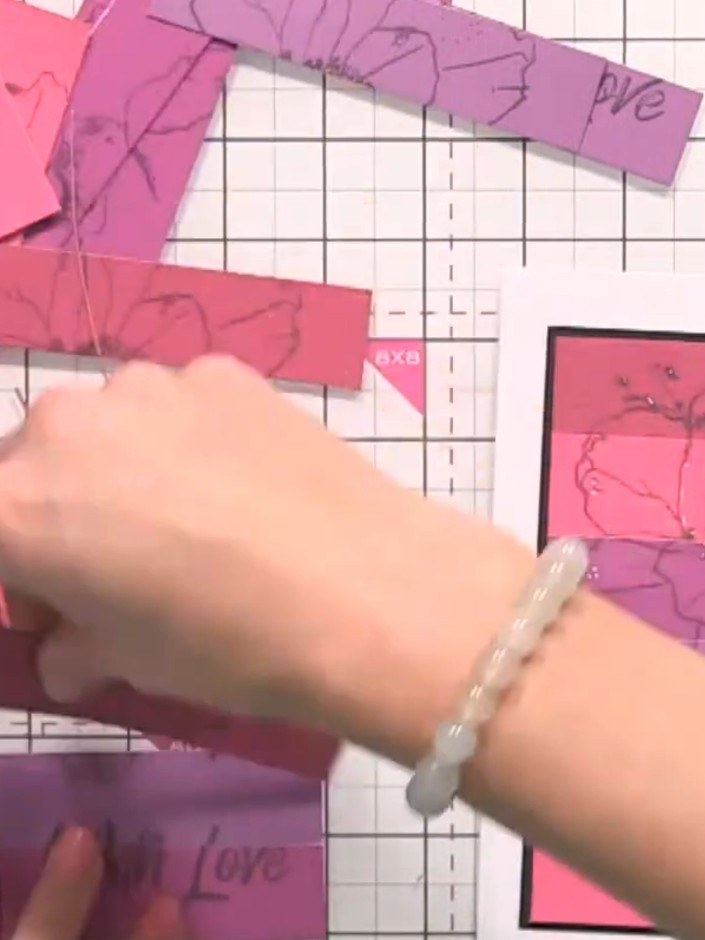
Take the leftover strips from your first ombré card assembly and arrange them on your work surface. These strips will be used to create your second card with a rearranged colour pattern.
 2
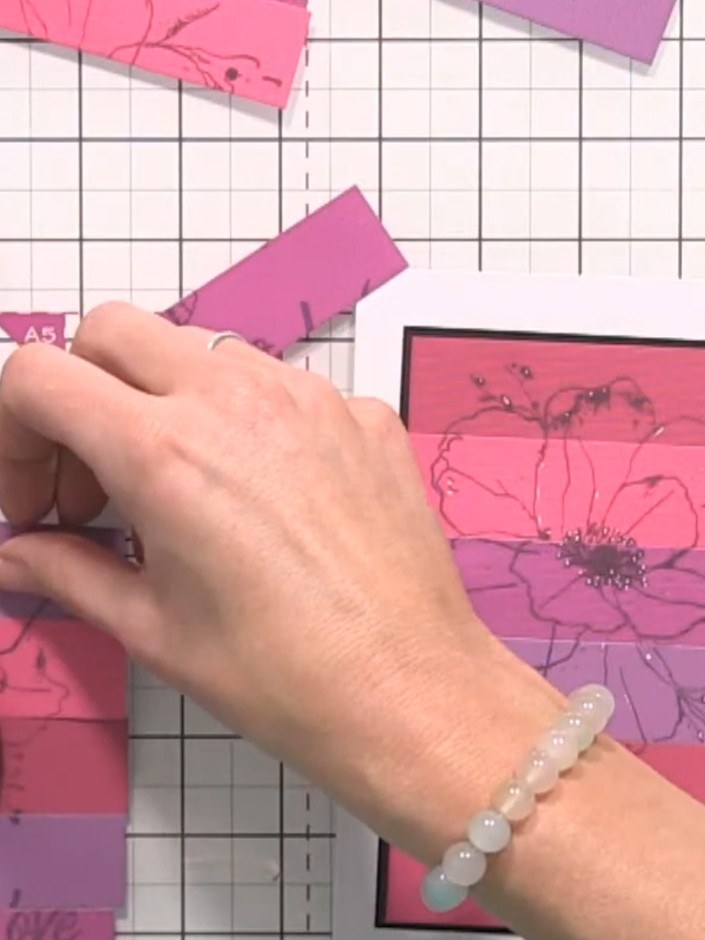
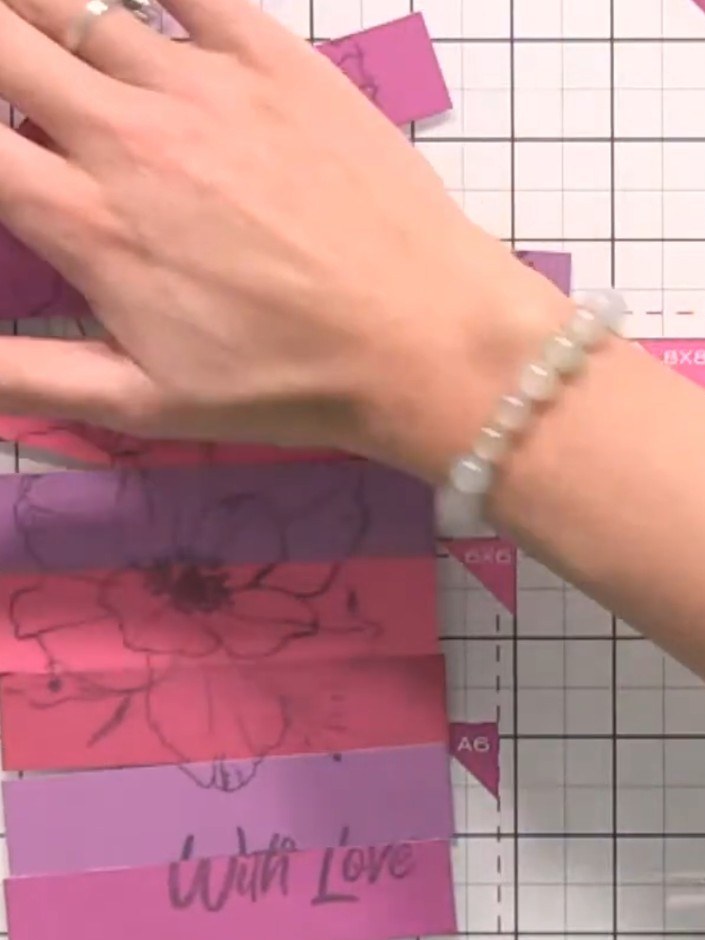
Arrange the strips in a new colour sequence, different from your first card. Experiment with the order to create a completely different ombré effect using the same stamped strips.
 3
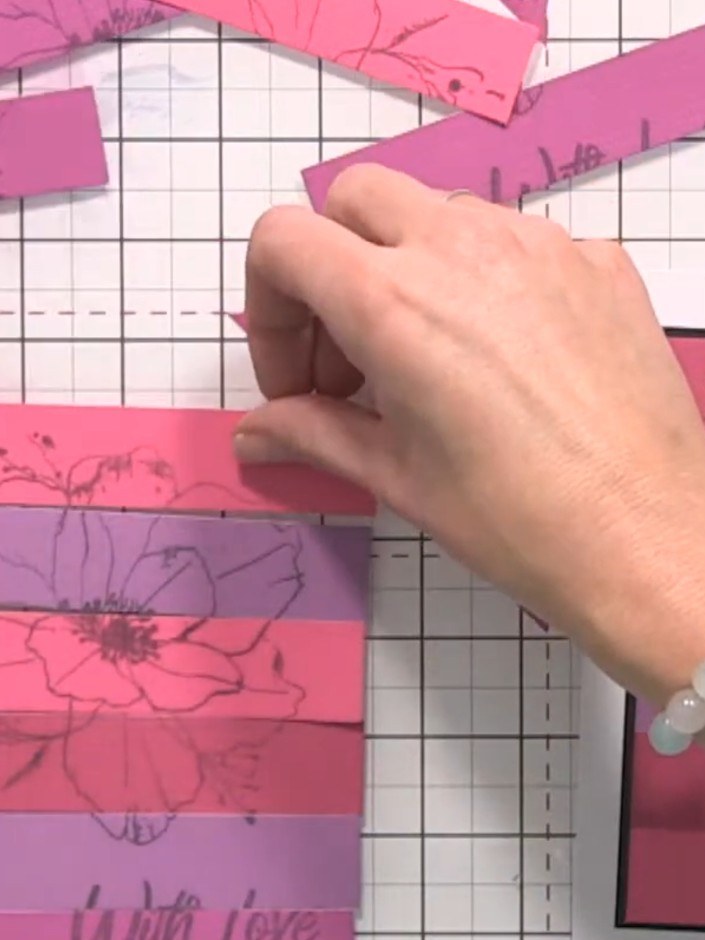
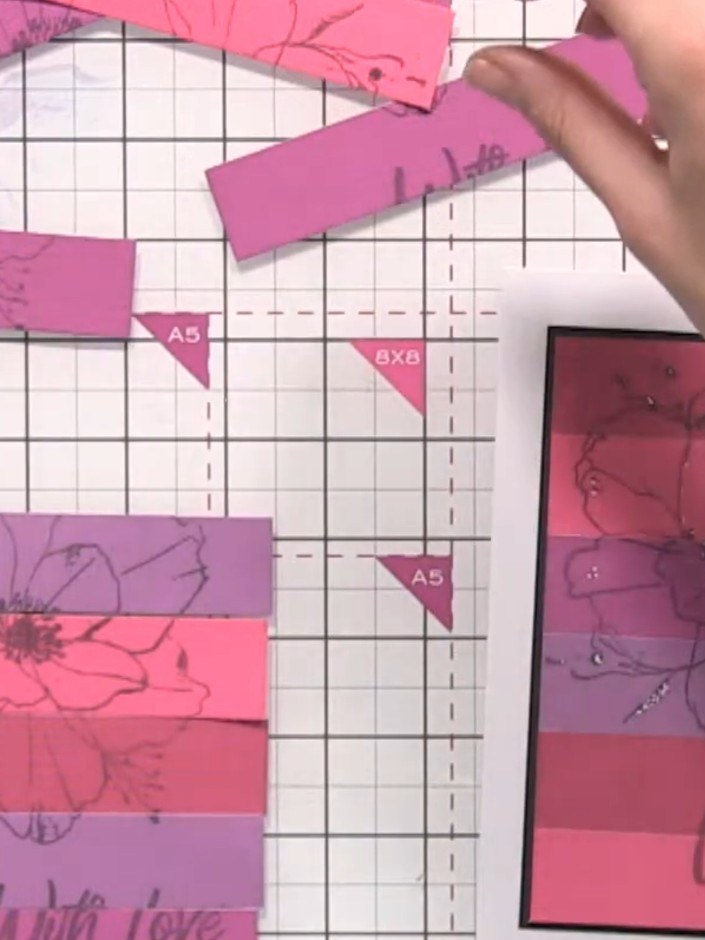
Adhere the rearranged strips to your black card base, ensuring the floral design lines up correctly across the strips to create a cohesive ombré effect.
 4
Trim the completed card panel to create clean, straight edges. Use a paper trimmer or craft knife with a ruler to ensure neat edges all around the layered strips.
 5
Adhere your finished ombré piece to a card blank to complete your card. Position it centrally on the card front and press down firmly to secure.
Share your make with the Stamps By Me community - and keep this guide for next time.
Written up from the show itself. See every guide from our shows · free how-to guides · watch live on My Telly · the previous layout