Give your friends £10 off their first order!
Refer a FRIEND








Prices change straight away. Every language is our own translation, not Google.
A project from our live show ONE DAY SPECIAL - Join Toni for her brand new launch - Broadcast 25th July 2025 · 25/07/2025
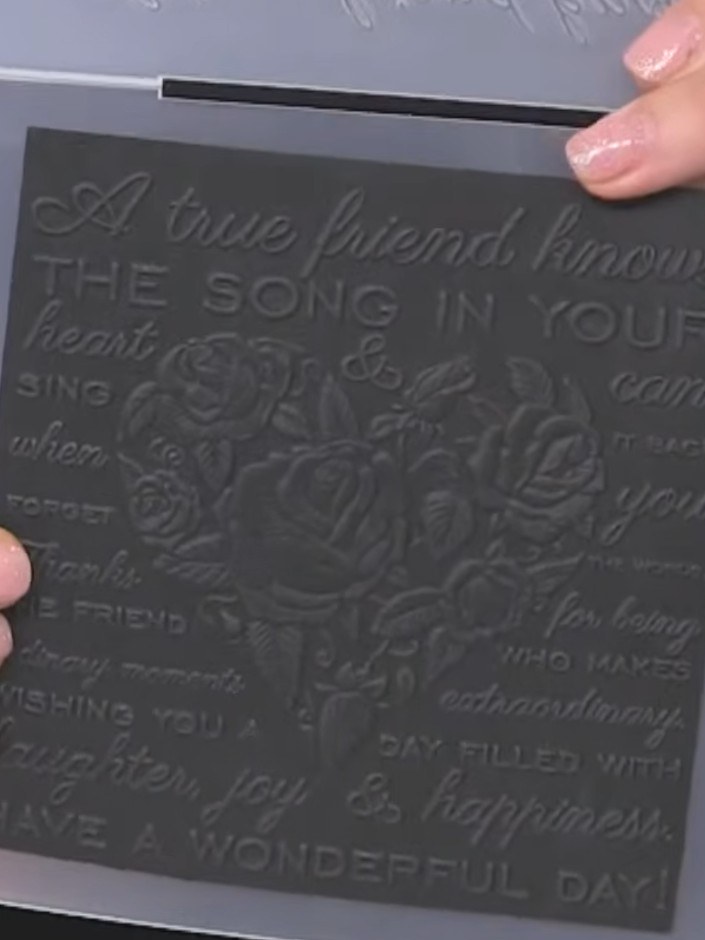
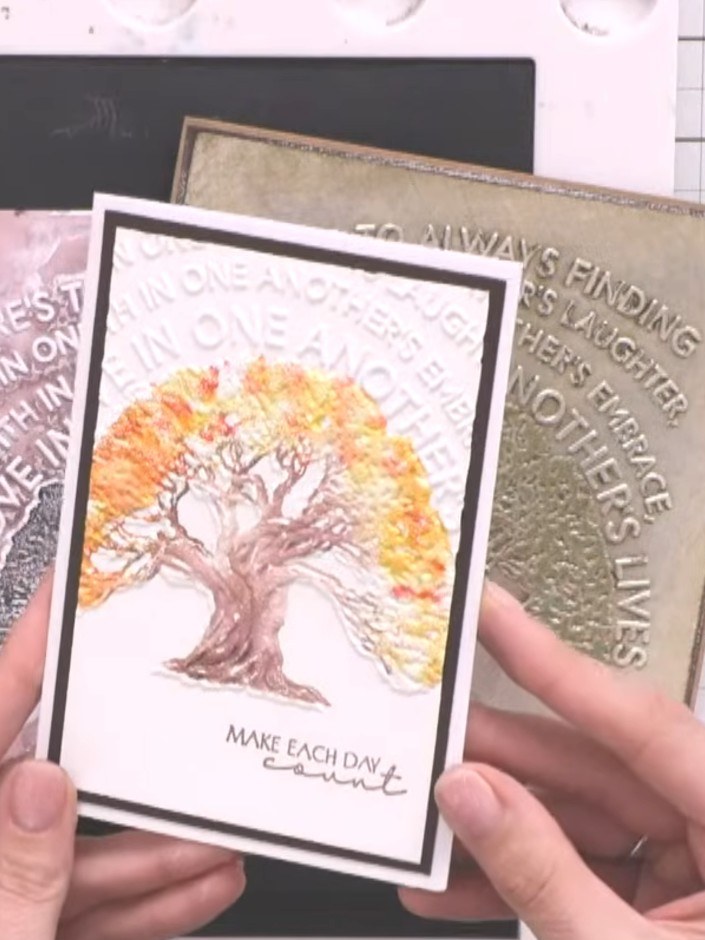
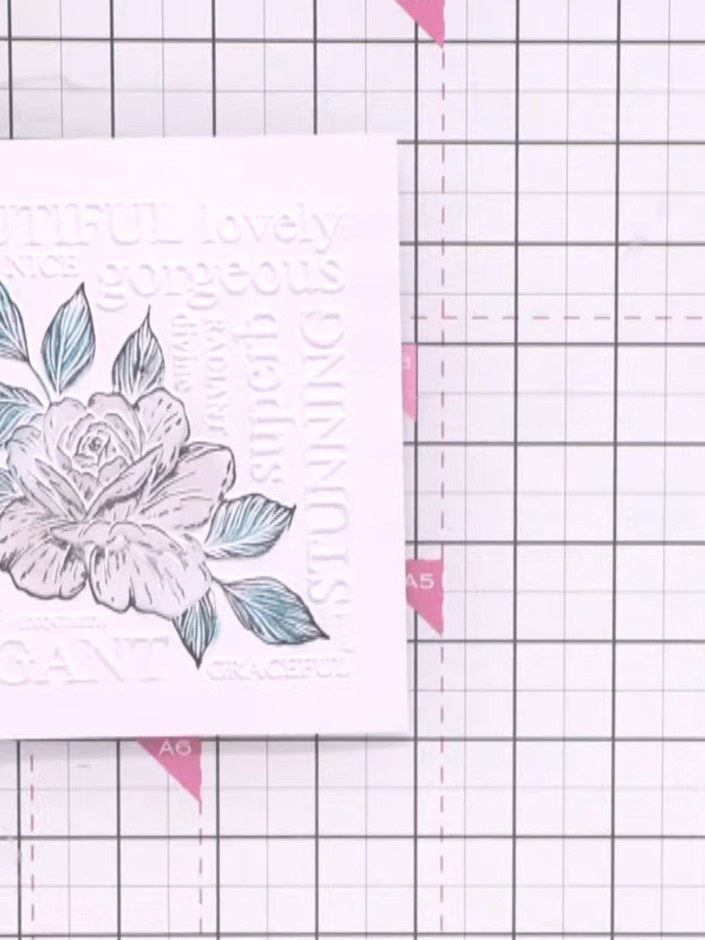
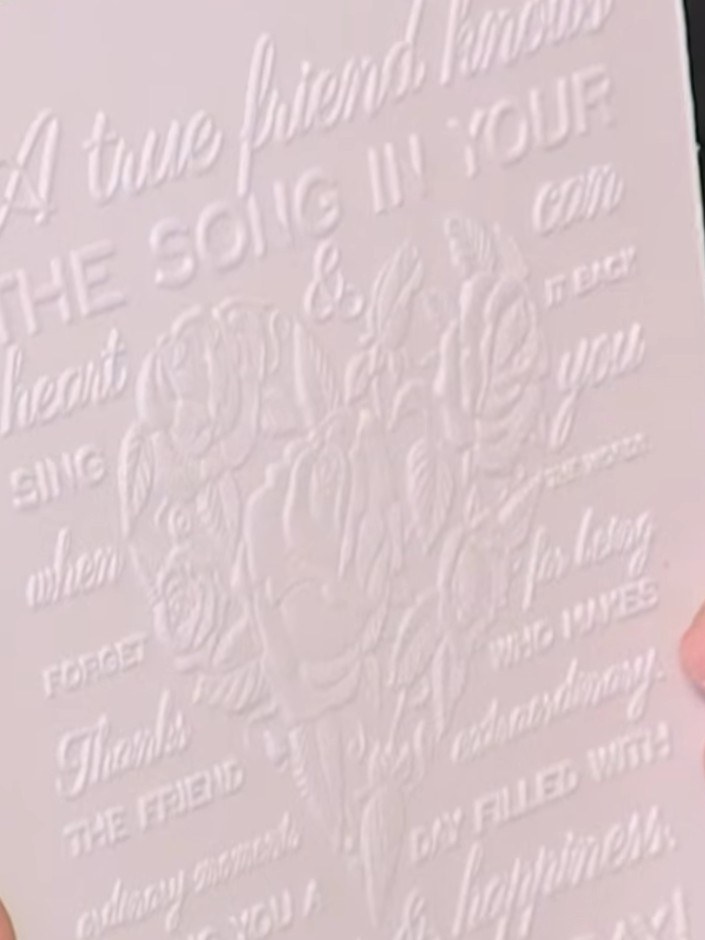
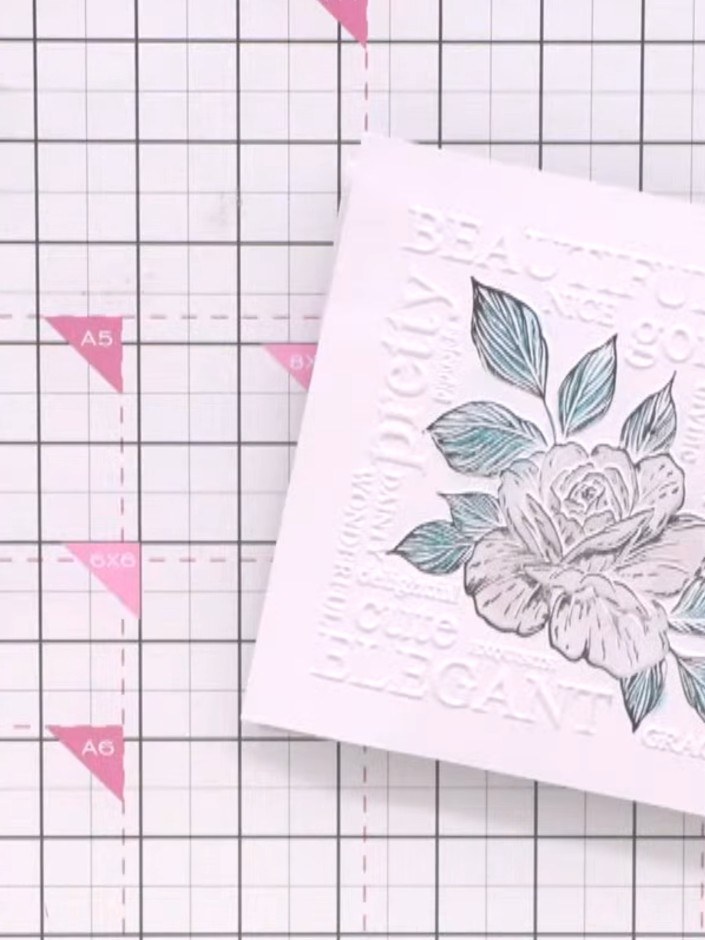
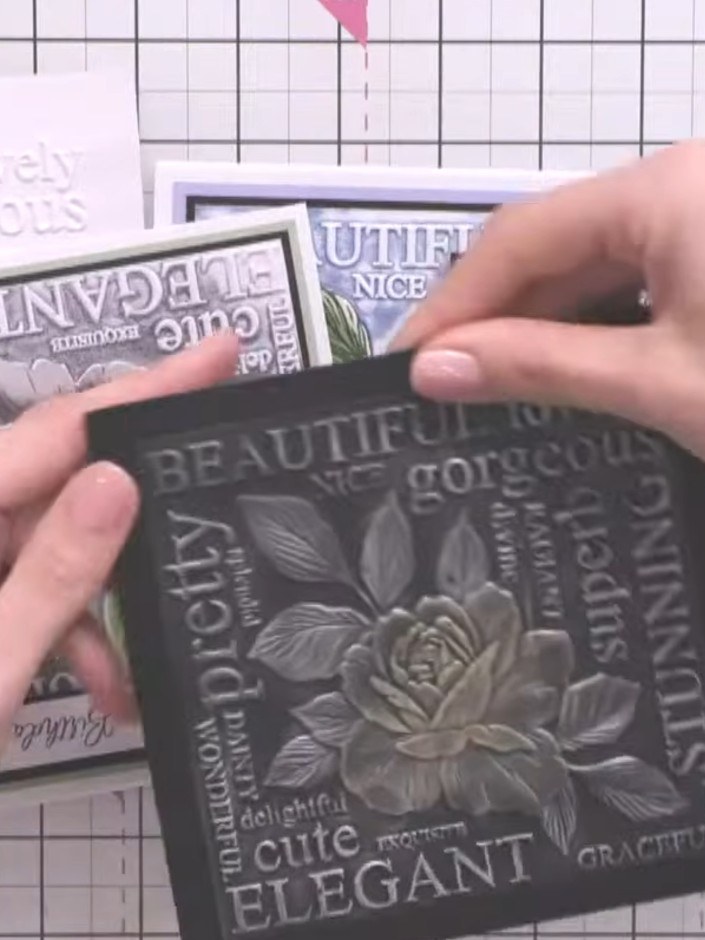
Create a striking dimensional card using an embossing folder inked with bold colours on grey card stock. This technique produces a fully-inked raised design featuring sentiment text and floral imagery. The embossed and inked surface creates a sophisticated monochromatic effect with beautiful texture and depth.
 1
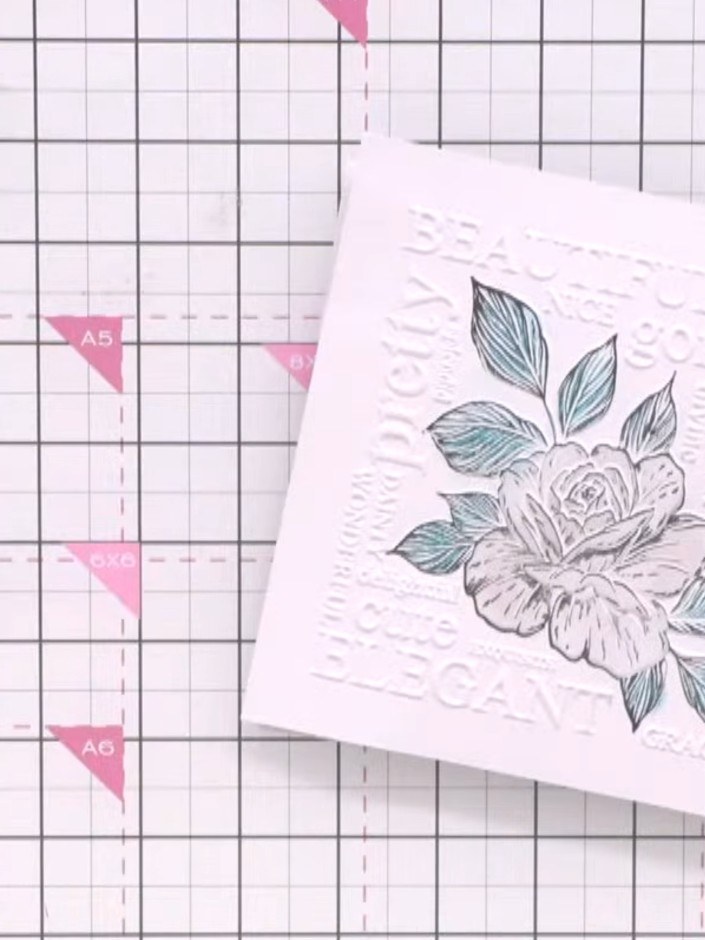
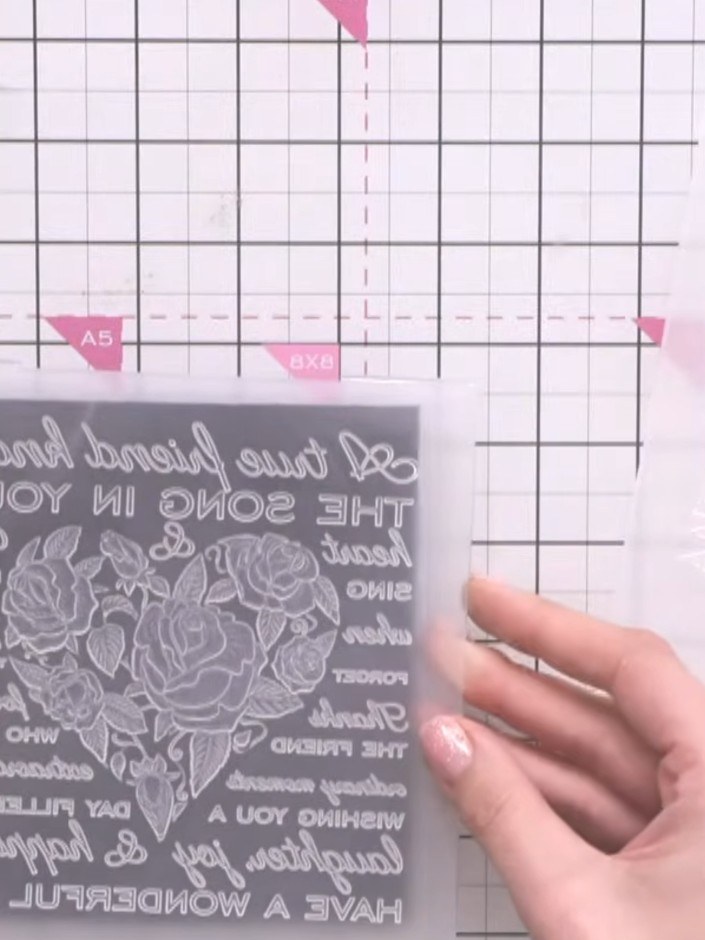
Ink up your chosen embossing folder completely using a coloured ink pad, ensuring all areas of the design are covered with ink.
 2
Place your white embossed card stock onto the inked embossing folder and run it through your die-cutting machine to transfer the ink and create the embossed design.
 3
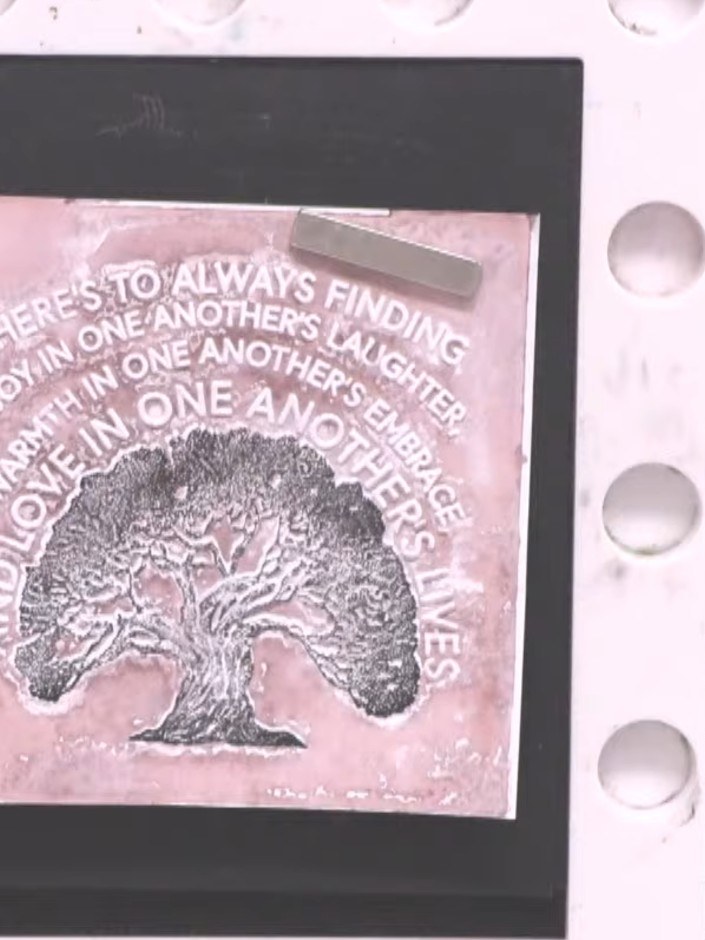
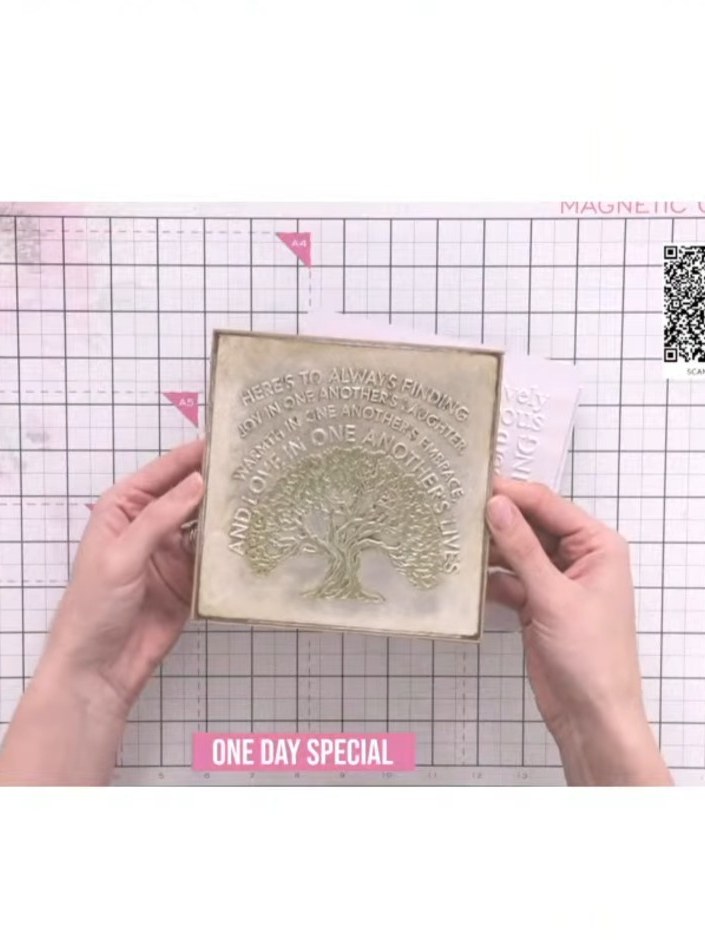
Remove the card from the embossing folder to reveal the fully inked embossed design with the tree motif and text.
 4
If desired, swipe a contrasting ink pad over the embossed card to add definition to specific areas or words. Use a light touch to highlight the raised design.
Share your make with the Stamps By Me community - and keep this guide for next time.
Written up from the show itself. See every guide from our shows · free how-to guides · watch live on My Telly · the previous layout