Give your friends £10 off their first order!
Refer a FRIEND








Prices change straight away. Every language is our own translation, not Google.
A project from our live show ONE DAY SPECIAL - Join Toni for her brand new launch - Broadcast 25th July 2025 · 25/07/2025
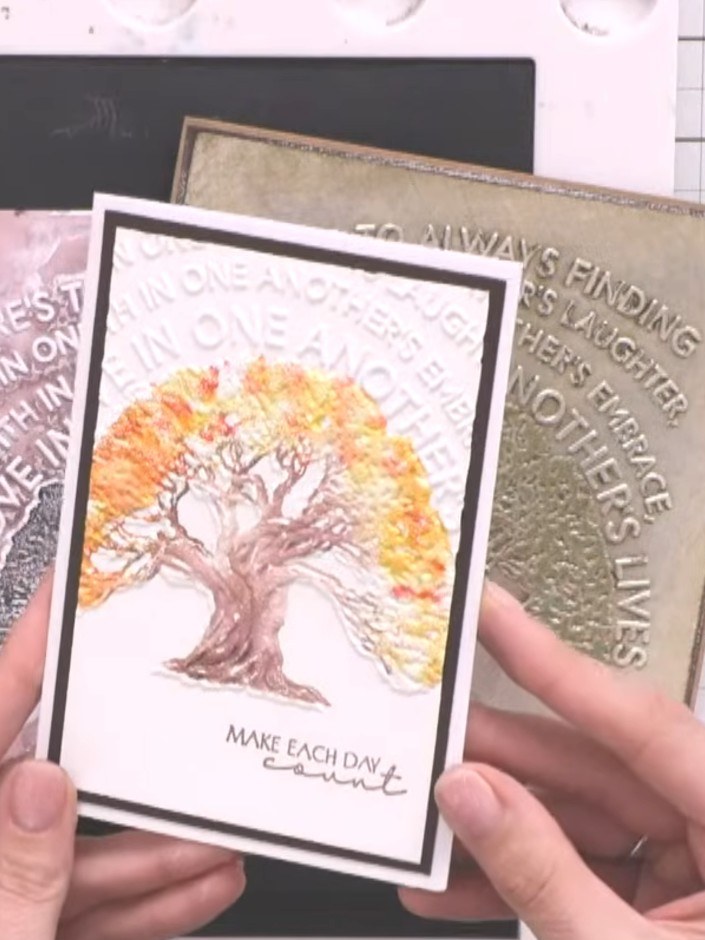
Make an elegant monochrome card with a detailed embossed tree design and flowing sentiment words. Blend black and white inks to create a soft, distressed chalkboard background that highlights the raised white embossing. This striking technique produces a sophisticated card with beautiful contrast and texture.
 1
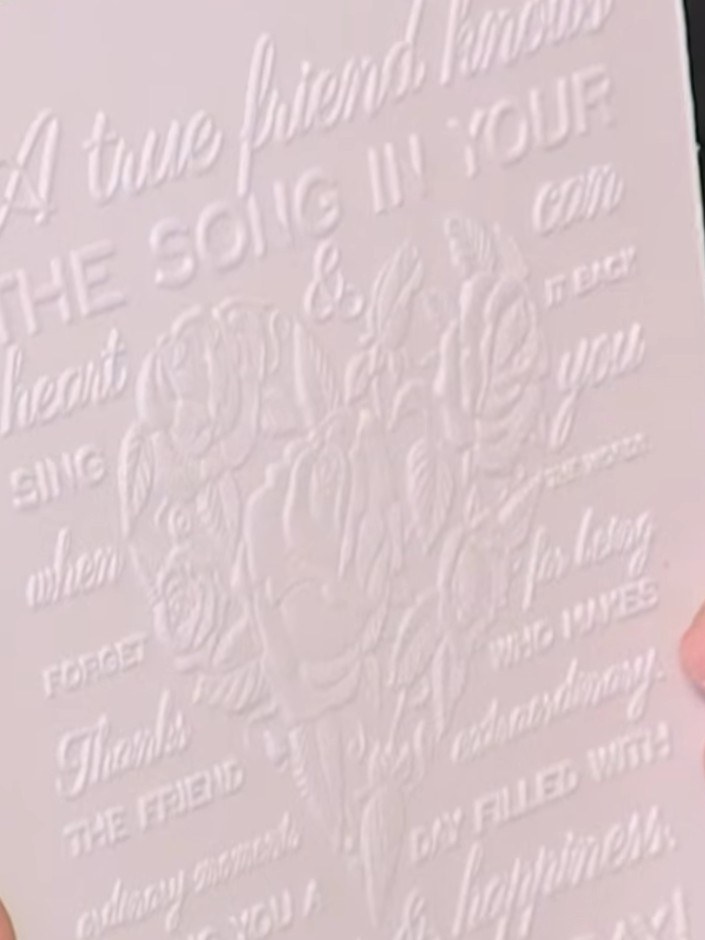
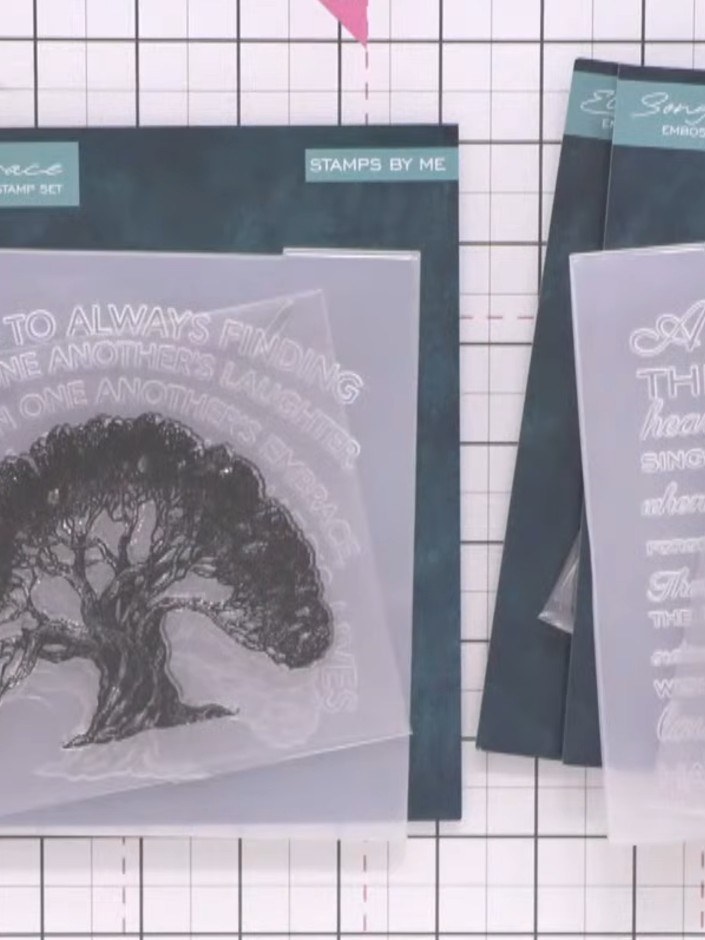
Cut your card stock to size and run it through your embossing machine with the tree embossing folder to create the raised design.
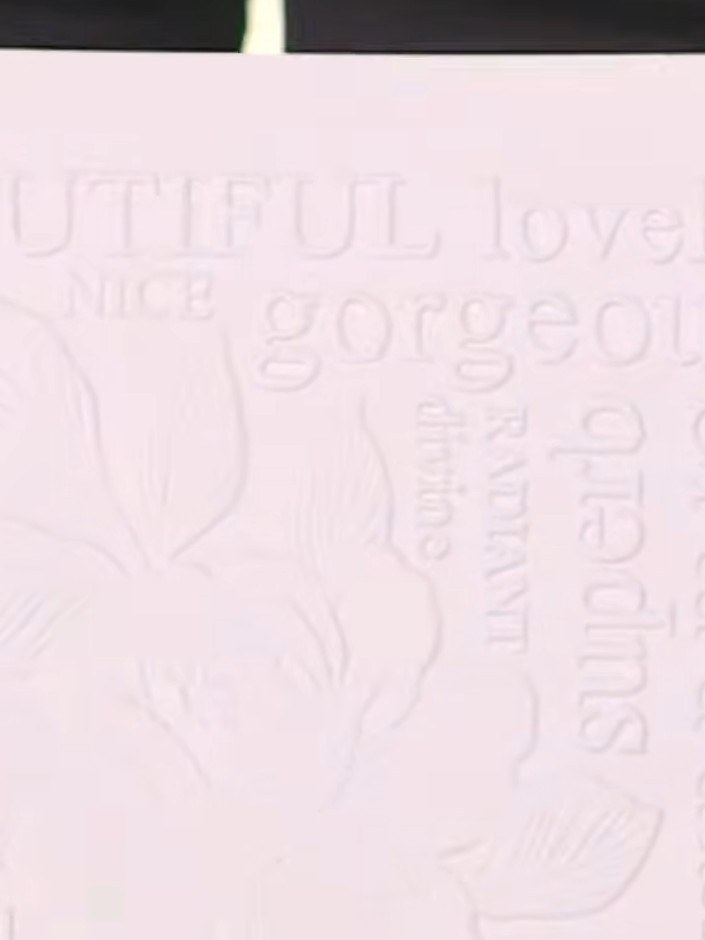 2
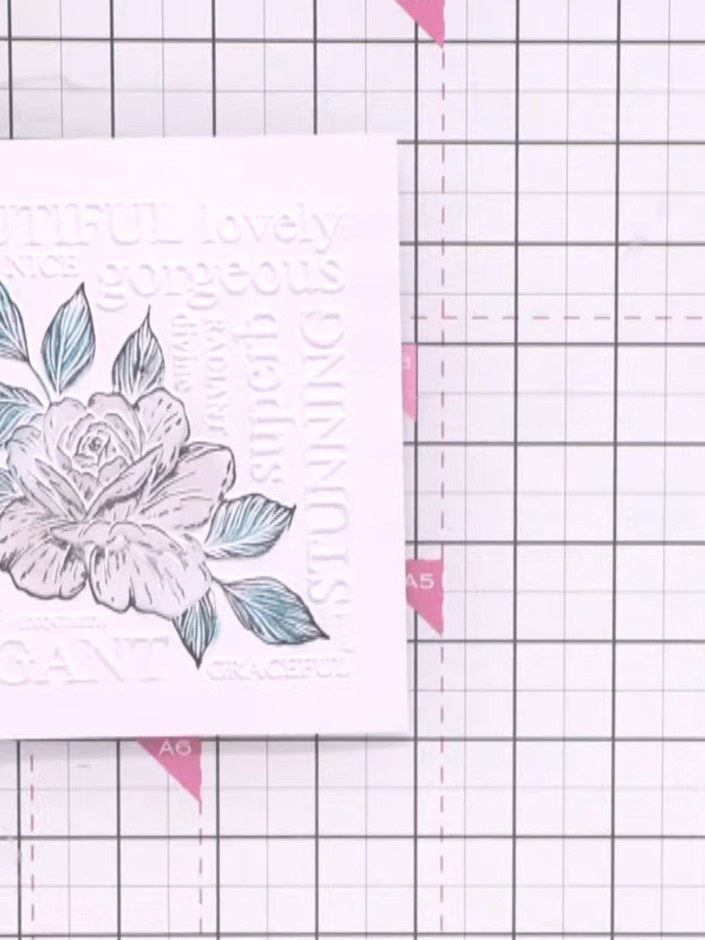
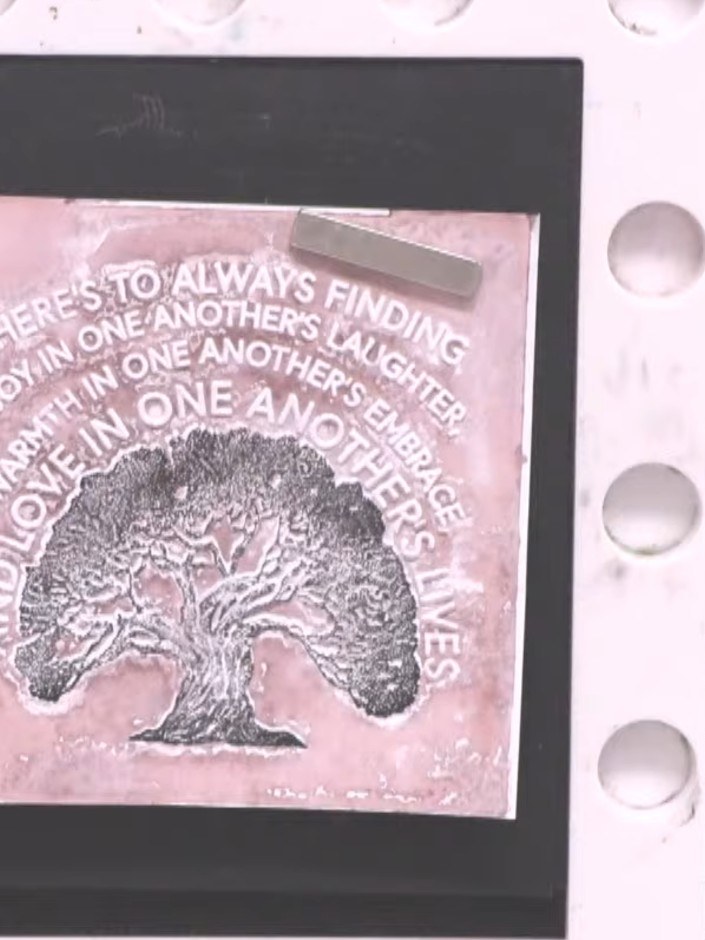
Ink up the tree stamp with black pigment ink and stamp it firmly onto the embossed pink card, pressing down to capture all the detail of the design.
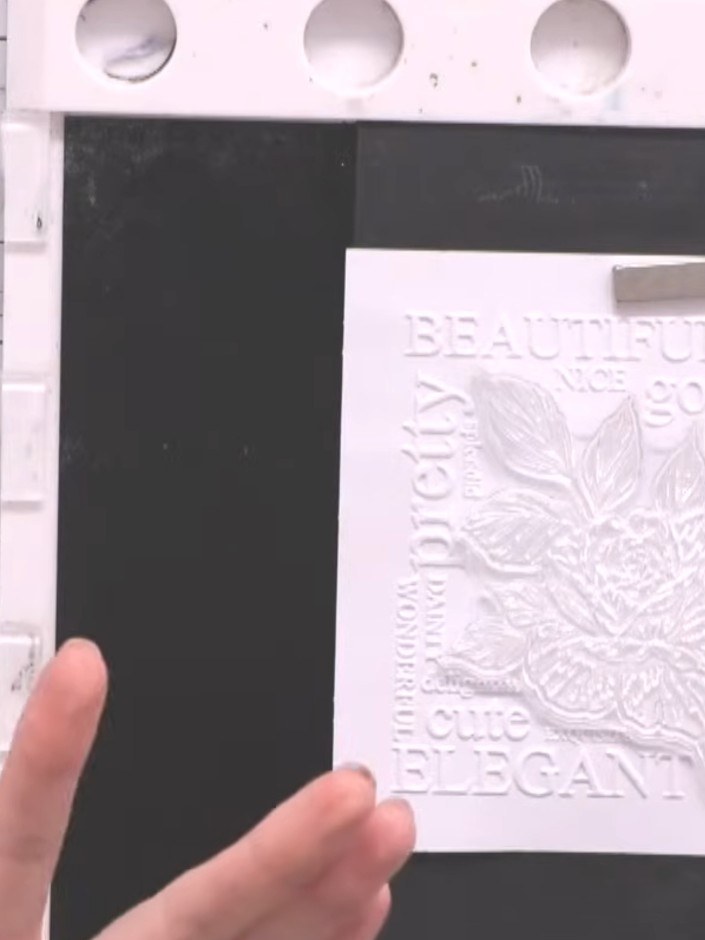 3
Place the embossed white card panel onto a piece of black card stock. Run both pieces together through your die-cutting machine to create a black background layer for your embossed design.
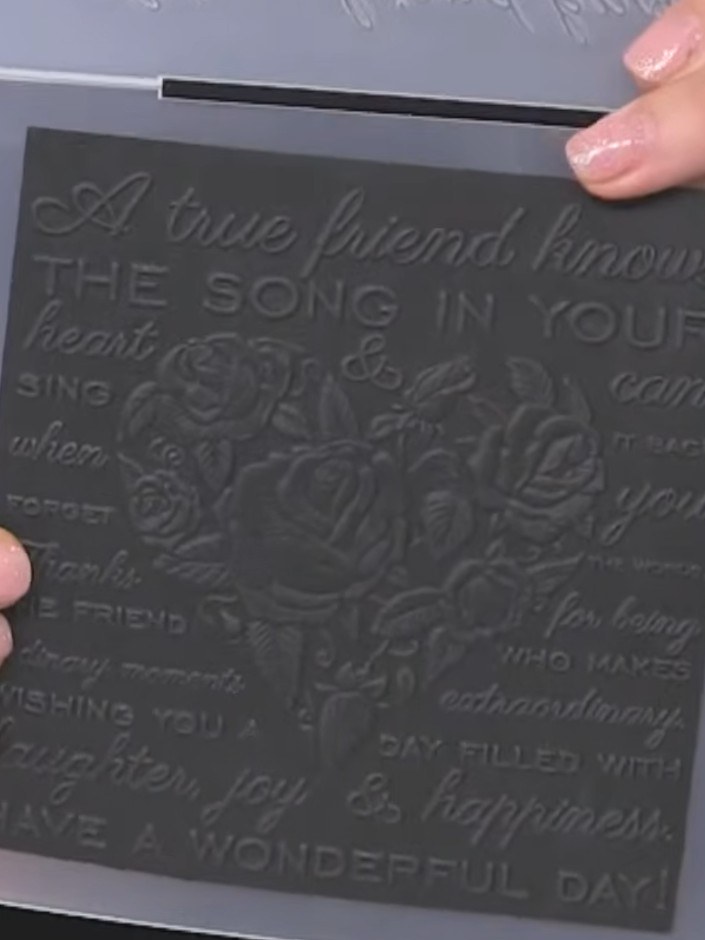 4
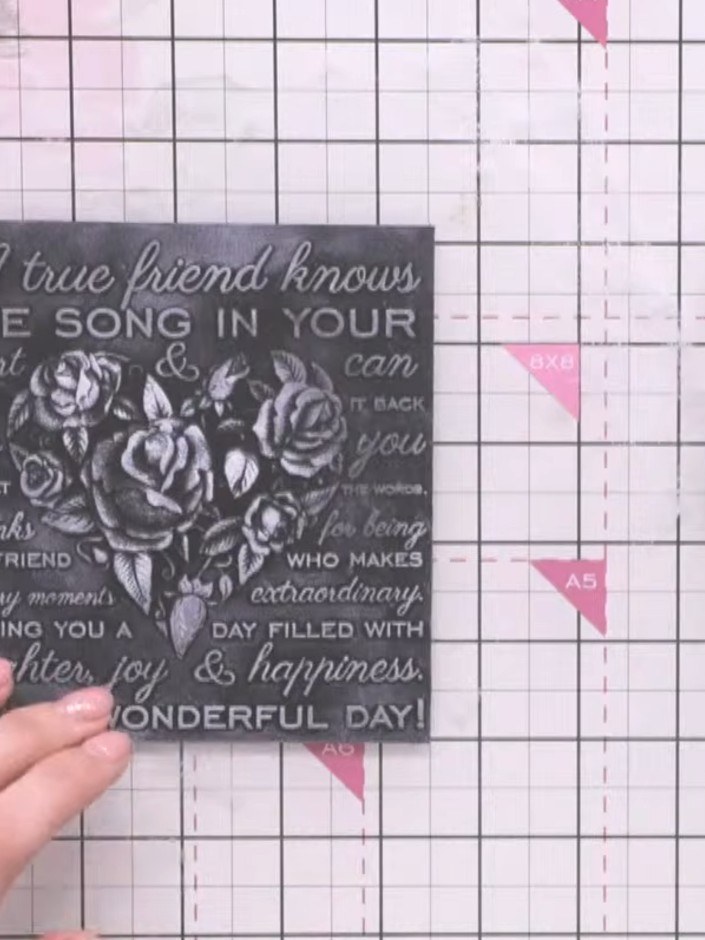
Swipe the white ink pad across the black embossed card to highlight the raised words and tree design. Use light, sweeping motions to catch the raised surfaces.
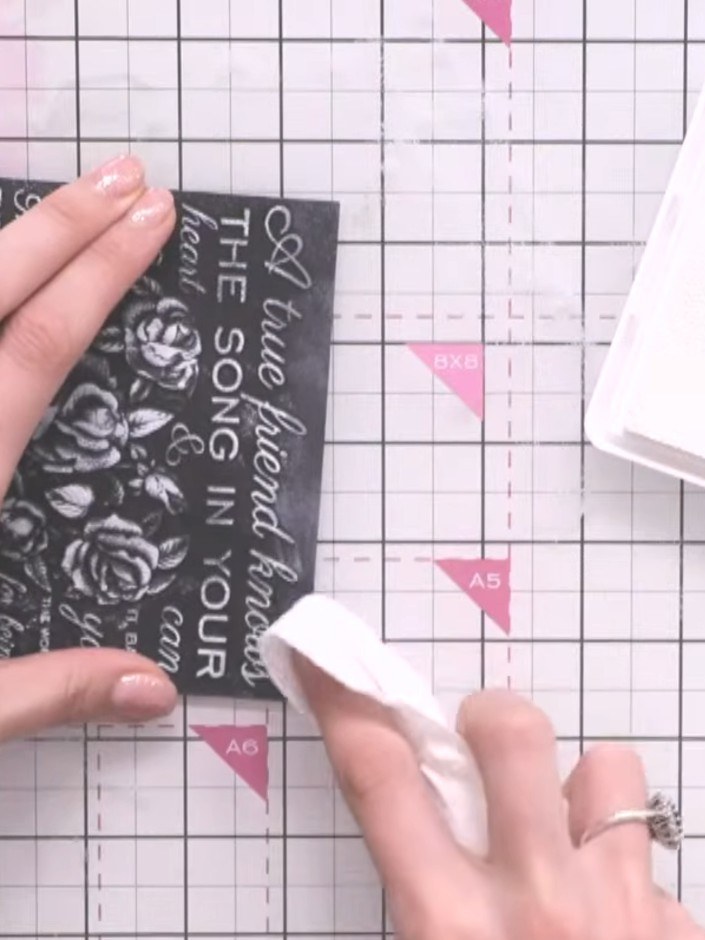 5
Use your finger or a blending brush to gently soften any harsh lines where the white ink meets the black background, creating a subtle distressed effect around the edges.
 6
Go back over the white areas with the Pure White pigment ink pad to reinforce the words and design details on the stamped image.
Share your make with the Stamps By Me community - and keep this guide for next time.
Written up from the show itself. See every guide from our shows · free how-to guides · watch live on My Telly · the previous layout