Give your friends £10 off their first order!
Refer a FRIEND








A project from our live show ONE DAY SPECIAL - Join Toni for her brand new launch - Broadcast 11th September 2025 · 11/09/2025 · watch it from 42:00
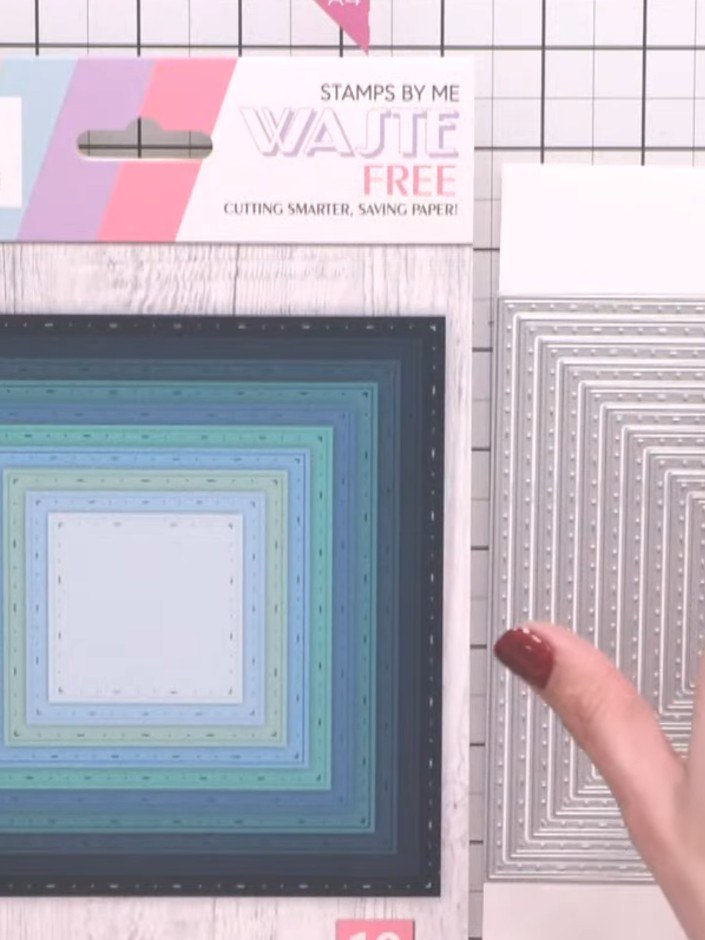
Create a stunning set of nested square frames using a stitched square nesting die. This demonstration shows how to cut all ten pieces in one pass through your die-cutting machine, producing multiple delicate white frames with charming dot-dash stitch detail embossed around each edge. The result is a versatile collection of frames perfect for layering on cards and other papercrafting projects.
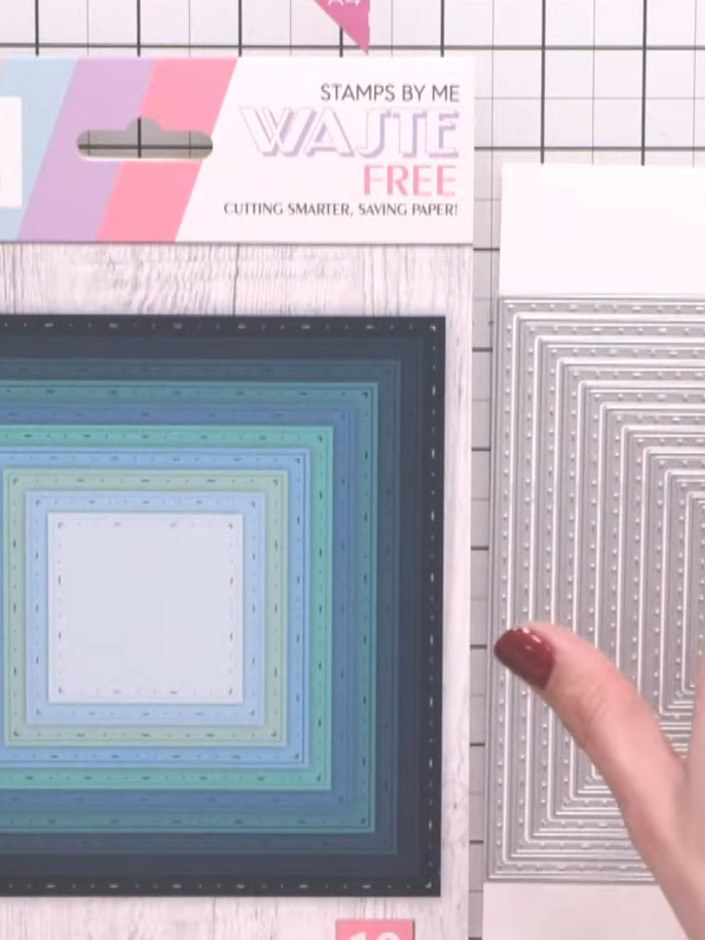
Position all ten pieces of the Stitched Square nesting die set on white card stock. Arrange them with the largest square frame on the left and the complete set of nested squares on the right.
▶ watch this step (42:00)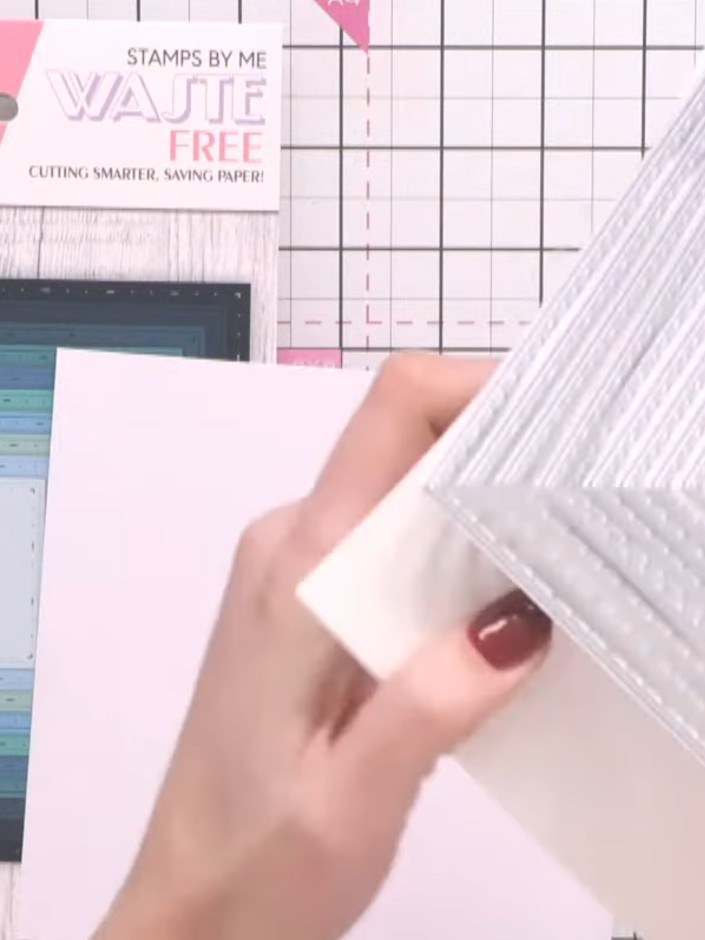
Secure the nesting dies to your white card using tape to keep them connected in position whilst you run them through your die-cutting machine.
▶ watch this step (42:30)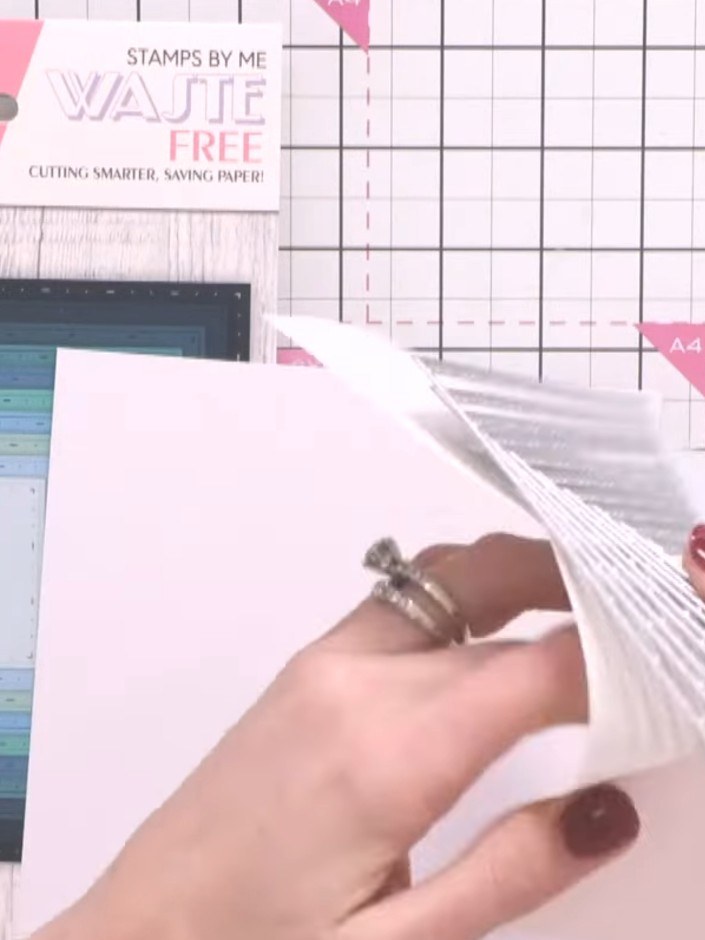
Run the card and dies through your die cutting machine in one pass. The dies are positioned on the white card ready to be cut.
▶ watch this step (43:00)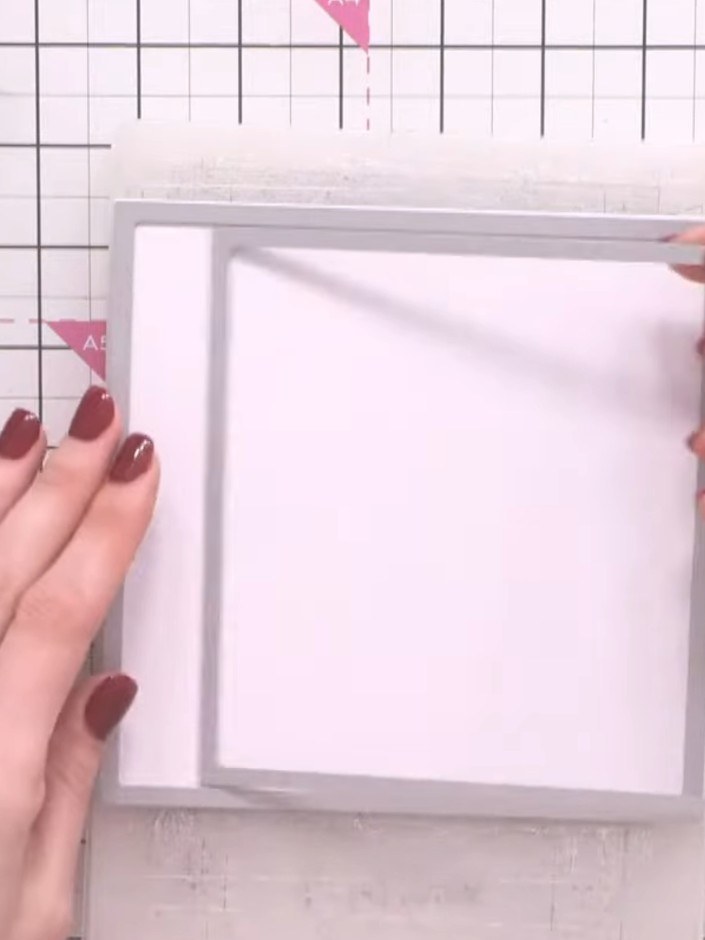
Remove the card from the cutting mat and carefully separate all the nested square frames from the die-cut piece, revealing the complete set of stitched frames.
▶ watch this step (43:30)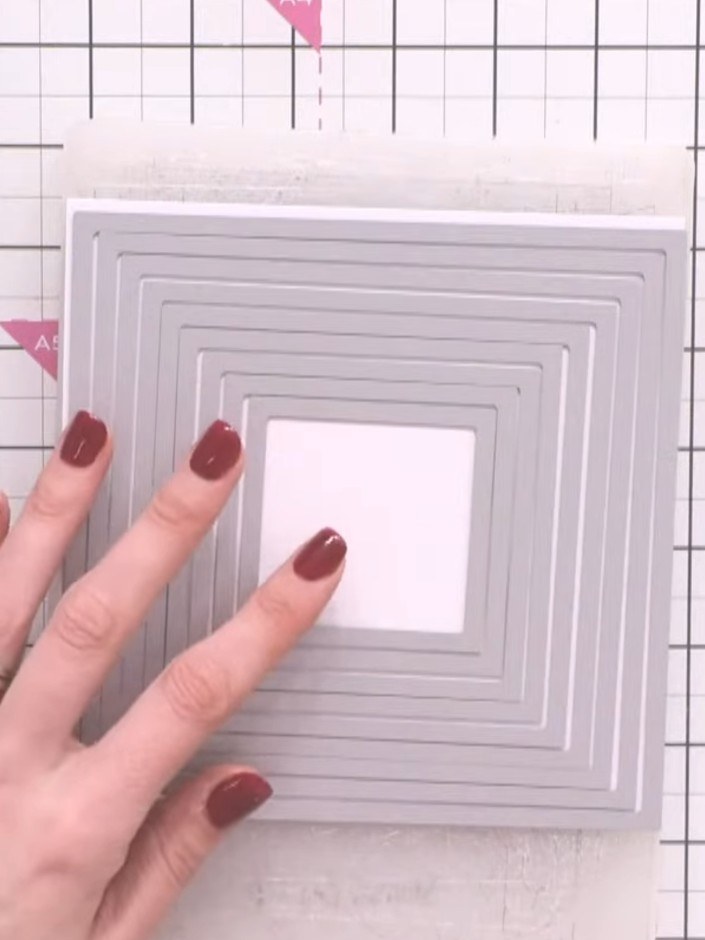
Observe the dot-dash stitch detail embossed around each frame edge. The die creates multiple nested square frames with decorative stitched borders.
▶ watch this step (44:00)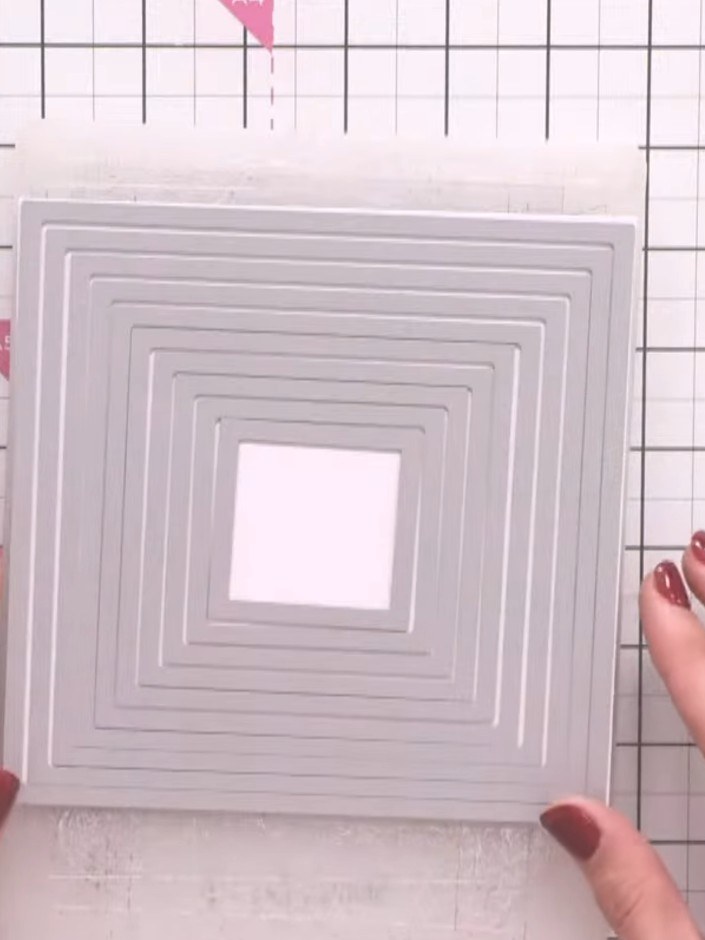
You can skip frames when layering to create shaker windows or acetate windows if desired. This allows you to create dimension and interest in your card designs.
▶ watch this step (44:30)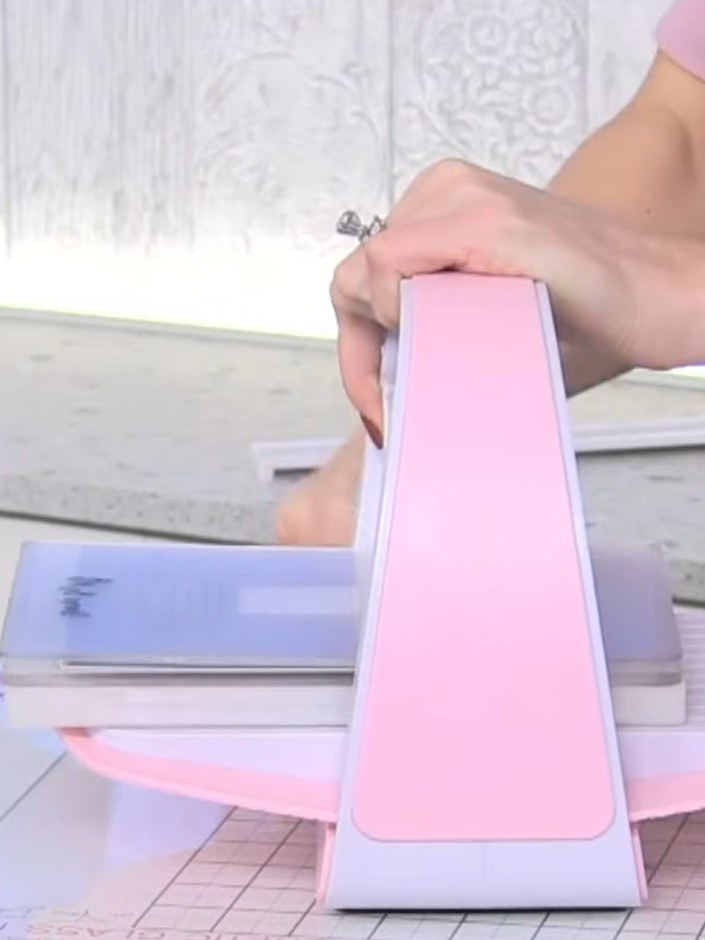
Stack multiple frames together by layering them on top of each other to create thicker, more dimensional layers for your cards. This adds depth and visual interest to your finished project.
▶ watch this step (45:00)Written up from the show itself. See every guide from our shows · free how-to guides · watch live on My Telly
