Give your friends £10 off their first order!
Refer a FRIEND








A project from our live show ONE DAY SPECIAL - Join Toni for her brand new launch - Broadcast 11th September 2025 · 11/09/2025 · watch it from 38:00
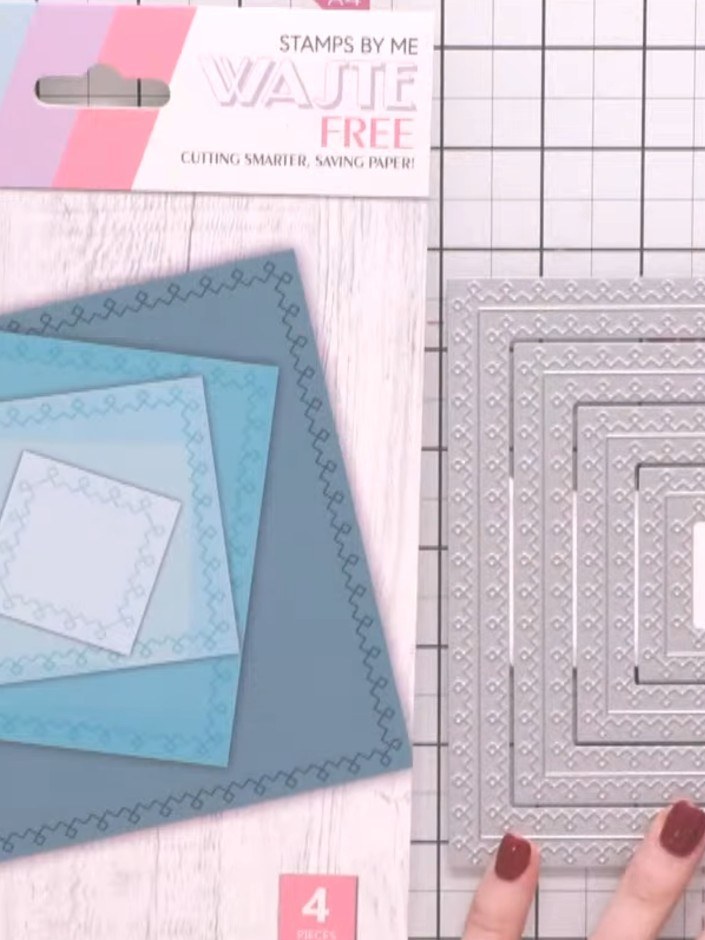
Create an elegant embossed square card panel using a classic nesting square die with Celtic-style detail. This demonstration shows how to achieve beautiful textured impressions on white cardstock, creating decorative frames with intricate embossed patterns. The technique produces striking dimensional effects that work beautifully for card making and paper crafting projects.
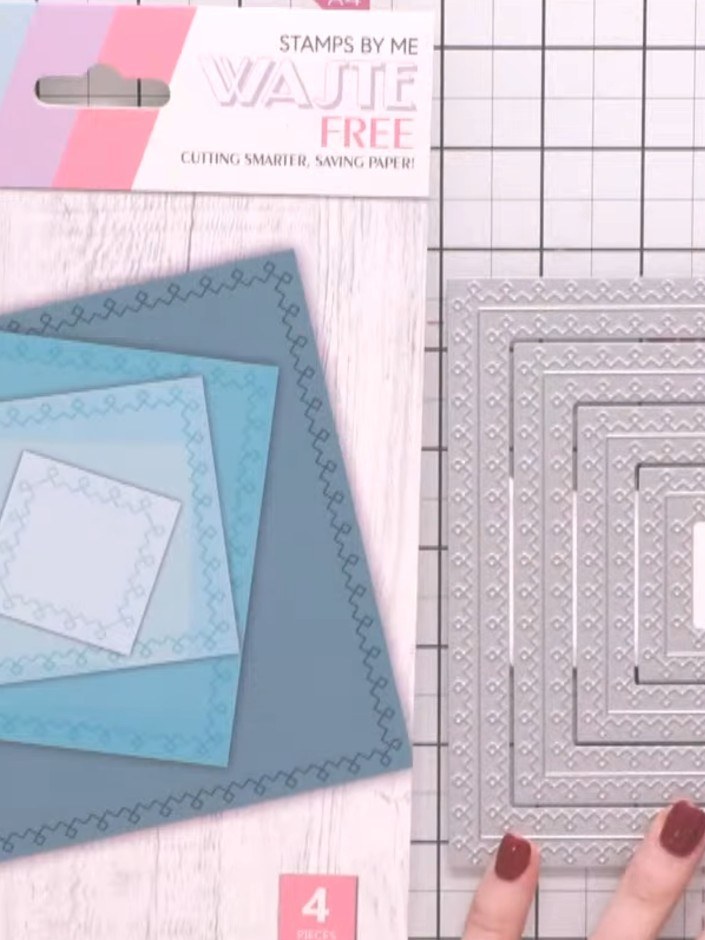
Position the classic square die on white card stock on your cutting plate. Ensure the die is placed centrally on the card stock ready for die cutting.
▶ watch this step (38:00)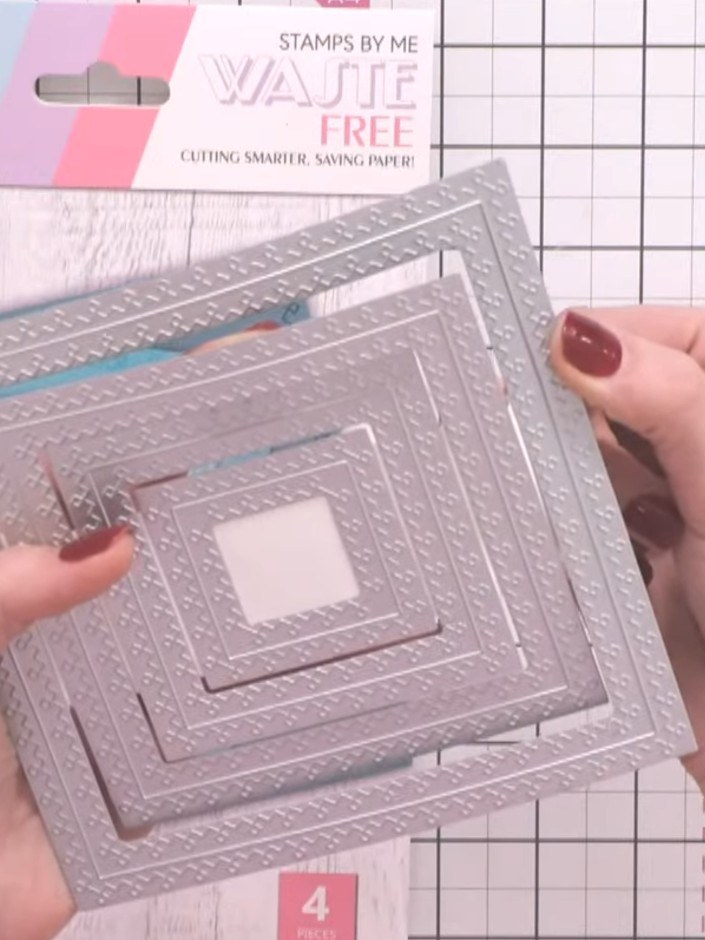
Place your paper on the embossing side of the die and run through your die cutting machine to create the embossed detail.
▶ watch this step (38:30)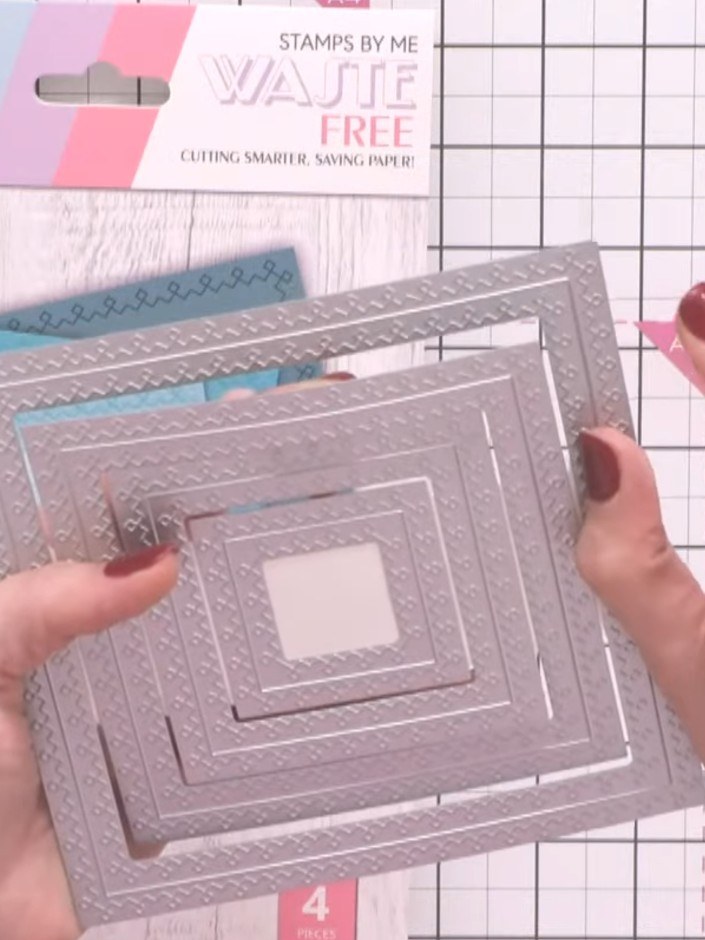
Remove the cut piece from the die and observe the embossed Celtic detail on both the inside and outside edges of the square frame.
▶ watch this step (39:00)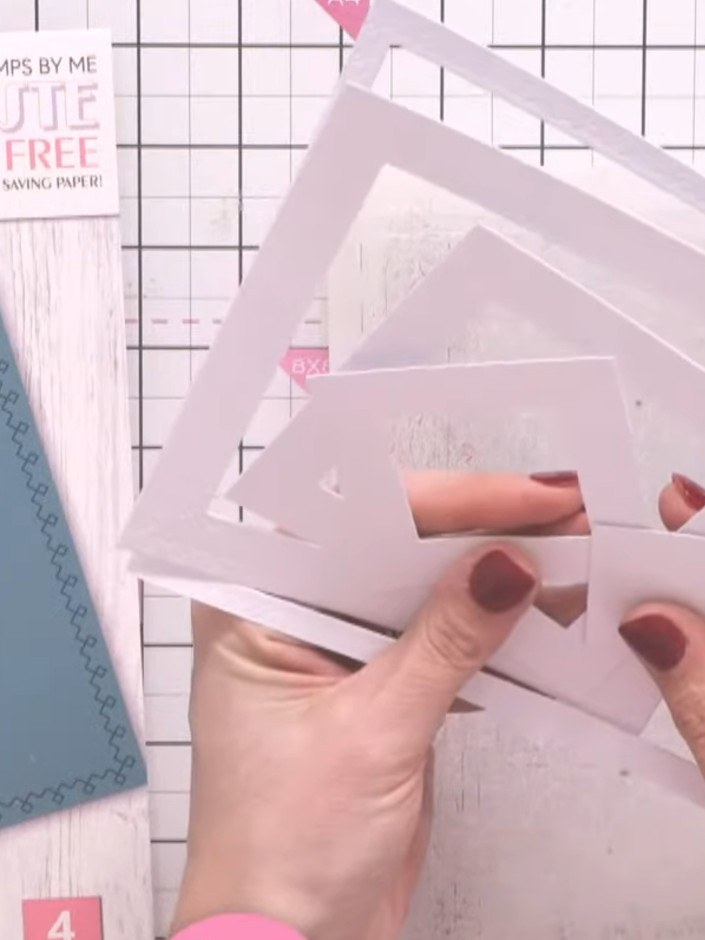
Apply ink to the embossed detail using a brush to highlight the raised texture on your die-cut piece. Work gently to ensure the ink catches only the raised areas of the embossed pattern.
▶ watch this step (40:00)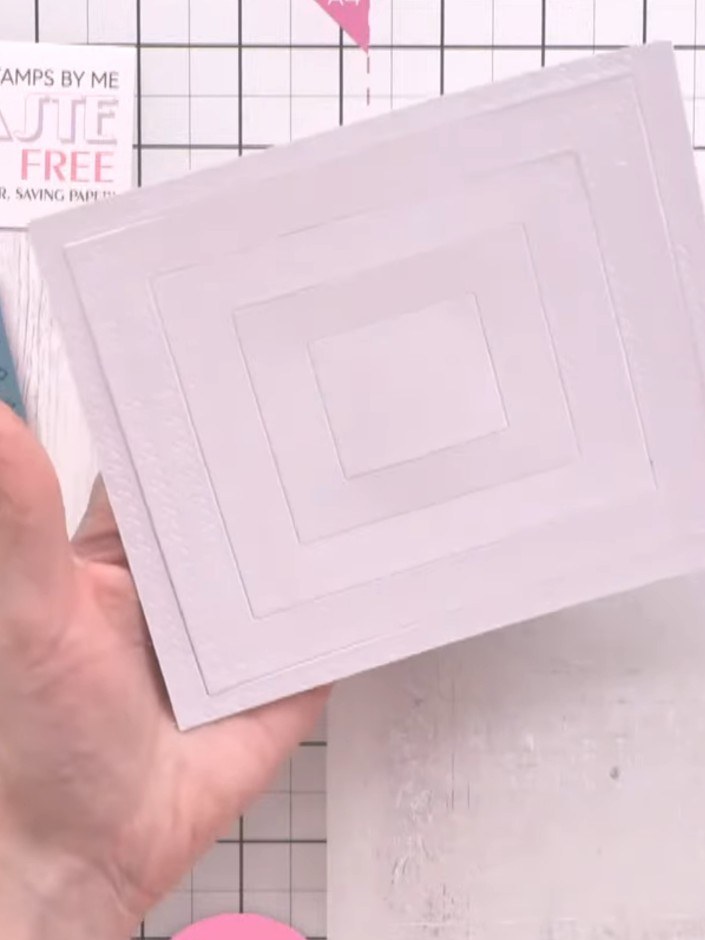
Observe how the ink settles into the embossed lines on the card, making the detail more visible. The embossed pattern creates depth and dimension as the ink highlights the raised areas.
▶ watch this step (40:30)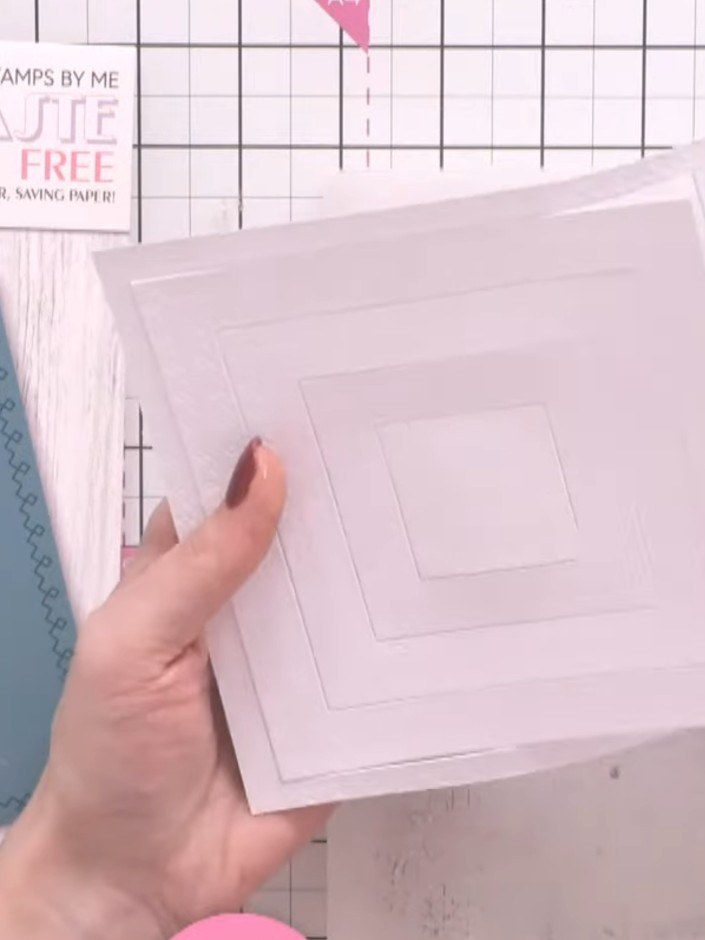
For a deeper embossed effect, use a shim by placing extra card underneath the die when running it through your die-cutting machine. This creates more pronounced embossed detail on your square card layers.
▶ watch this step (41:00)Written up from the show itself. See every guide from our shows · free how-to guides · watch live on My Telly
