Give your friends £10 off their first order!
Refer a FRIEND








A project from our live show ONE DAY SPECIAL - Join Toni for her brand new launch - Broadcast 11th September 2025 · 11/09/2025 · watch it from 28:00
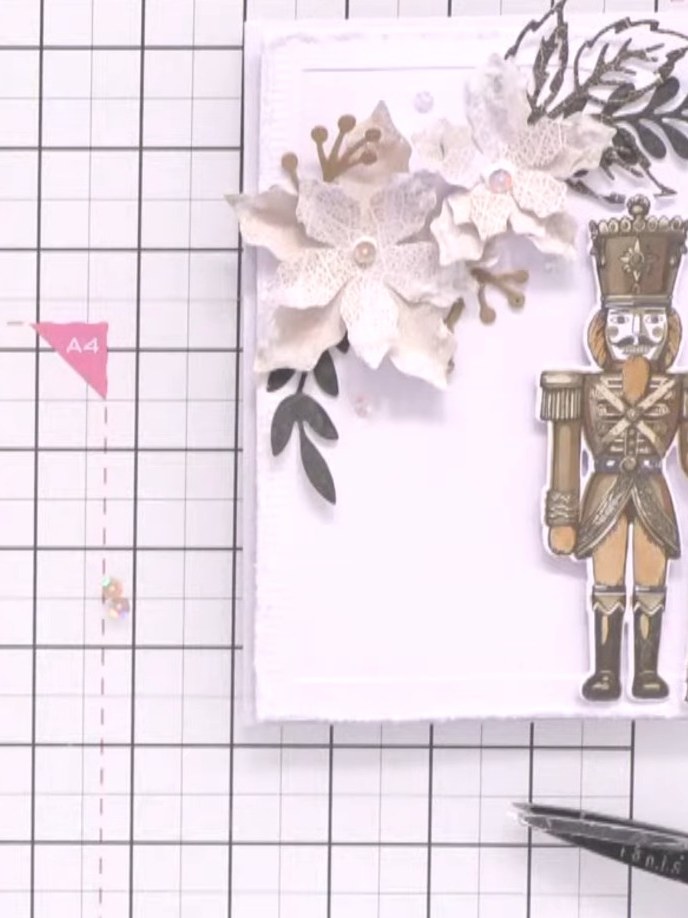
Create an elegant white on white Christmas card featuring a wavy arch frame with sparkly glitter edges, layered poinsettia flowers, and delicate green foliage. This sophisticated design showcases the waste-free nesting die technique, allowing you to create beautiful frames whilst minimising card waste. The monochromatic colour scheme with subtle shimmer creates a stunning festive card perfect for the holiday season.
 Stamps By Me Waste Free Die Set- Wavy Arches - 260424DSEE IT
 Stamps By Me Stamp, Stencil & Die Set - General Chestnut - 141224CSEE IT
 Holly & Berry Die Collection - 050925BSEE IT
 Holly & Berry Paper Pack 7 X 7 - 031123BSEE IT
 Media Glitter - Colourless Glitter - 050923ASEE IT
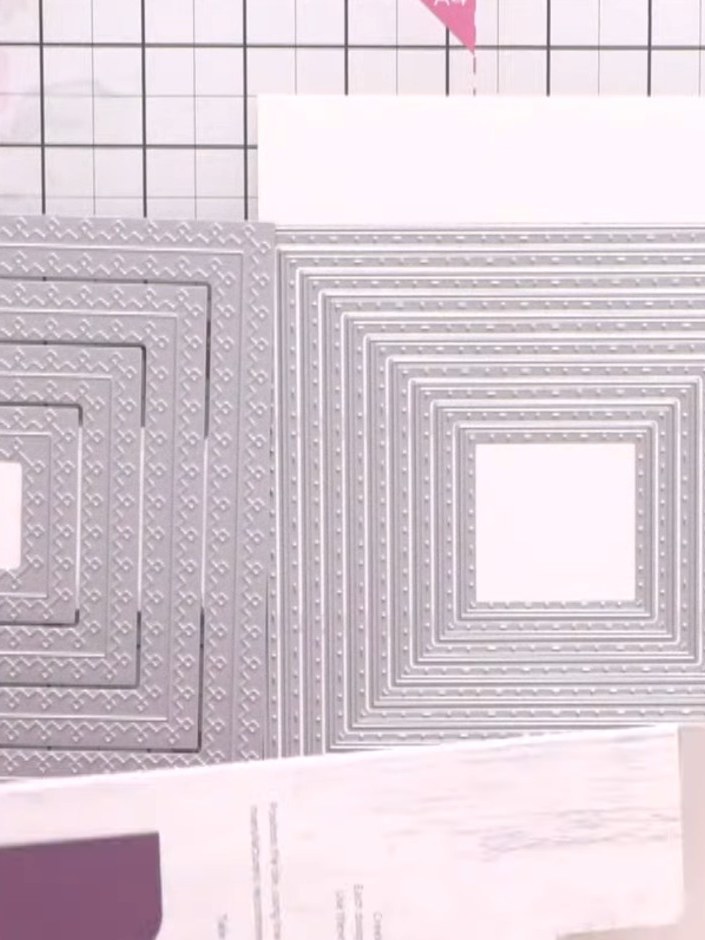
Stack all six wavy arch dies together and run them through your die cutting machine in one pass to create a set of nested frames with decorative wavy edges.
▶ watch this step (29:00)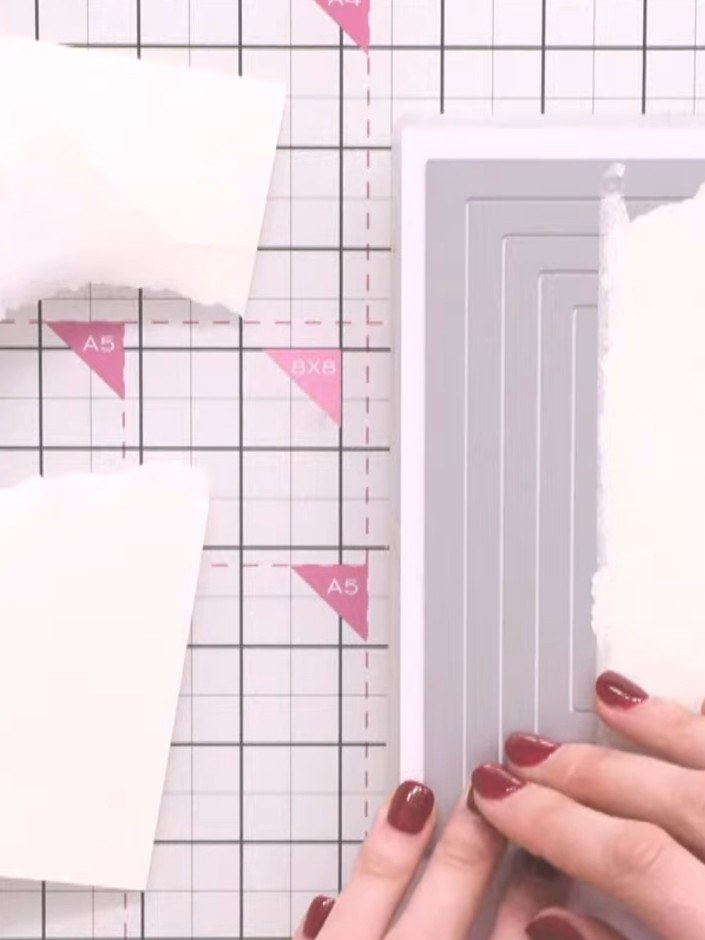
Select the largest wavy arch frame die cut and adhere it to a white 5 x 7 inch card blank using adhesive.
▶ watch this step (31:00)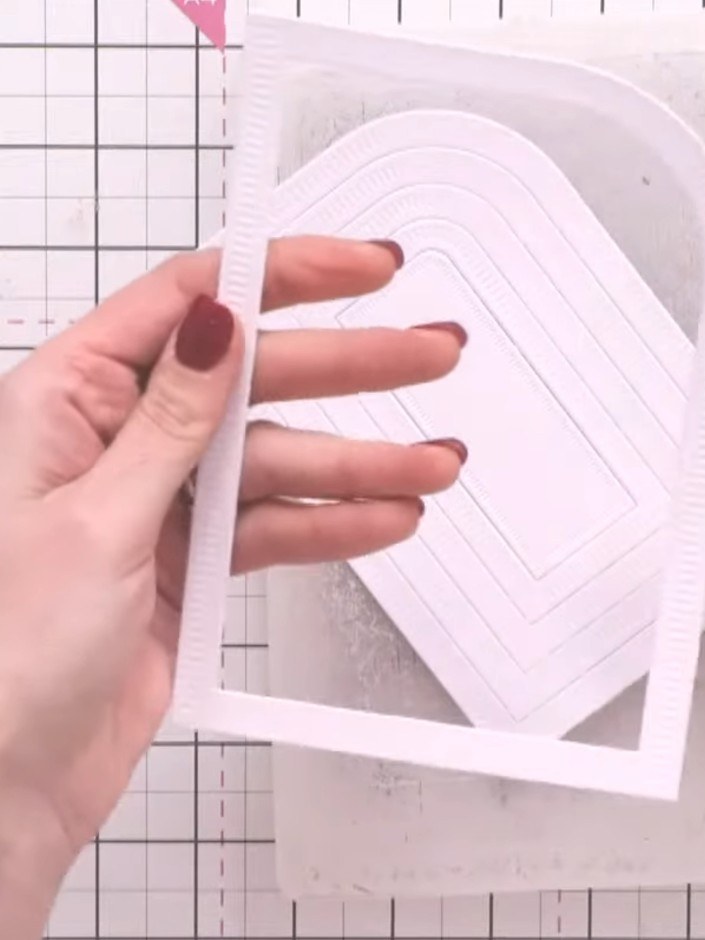
Apply colourless glitter glue around the outer edge of the white wavy arch frame to add sparkle detail. Work carefully to keep the glitter on the raised edge only.
▶ watch this step (31:45)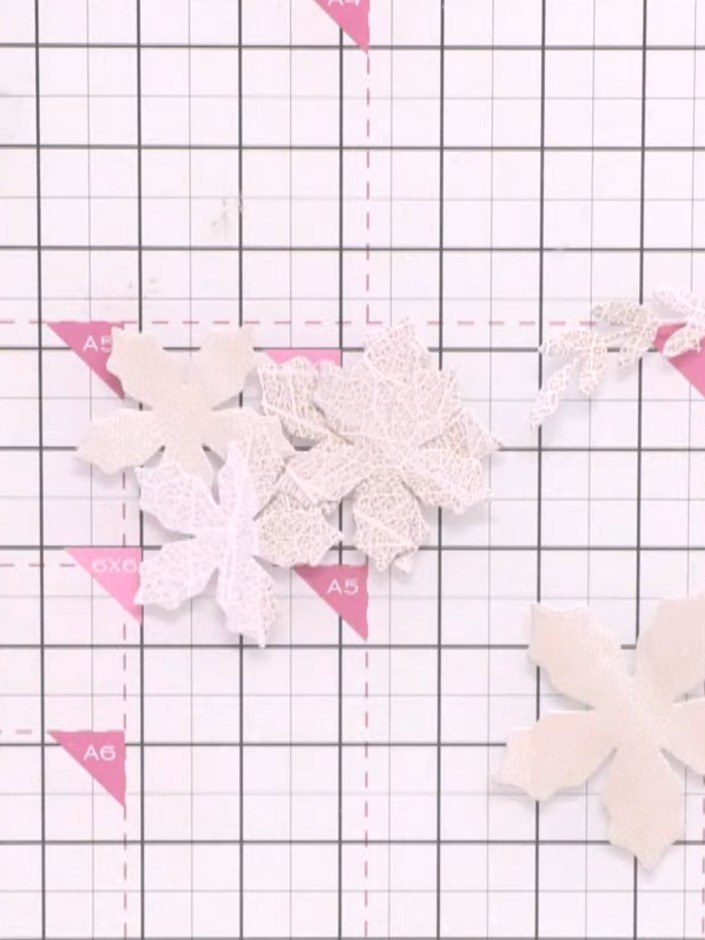
Cut out poinsettia flowers from the Holly and Berry die set. Apply colourless glitter to each petal using fast-dry glitter glue. Set the flowers aside to dry.
▶ watch this step (47:15)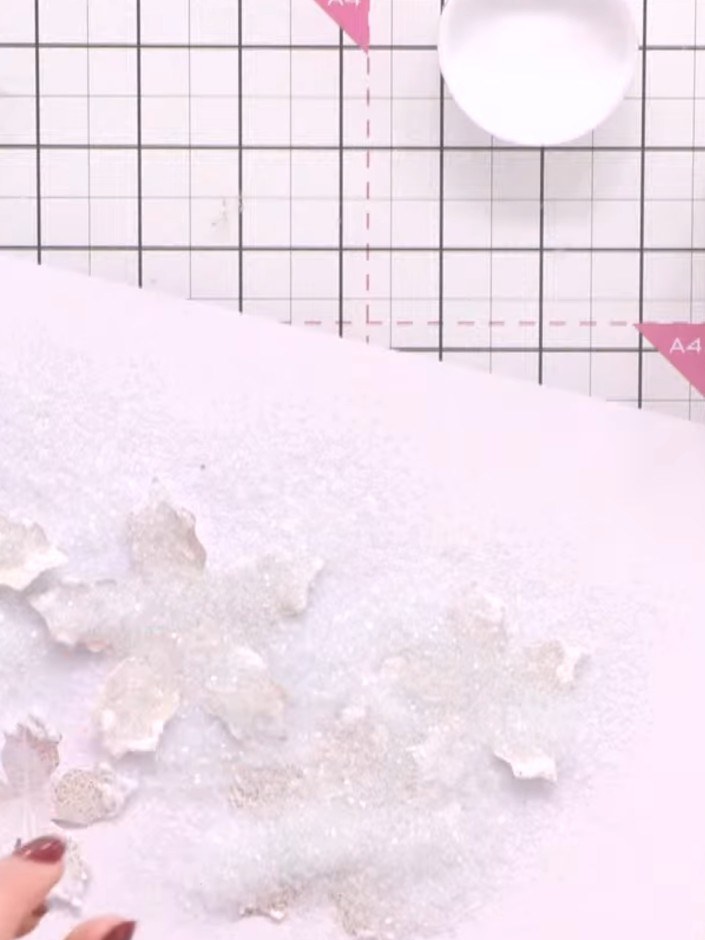
Set the glittered poinsettias aside to allow the glue to dry completely.
▶ watch this step (50:00)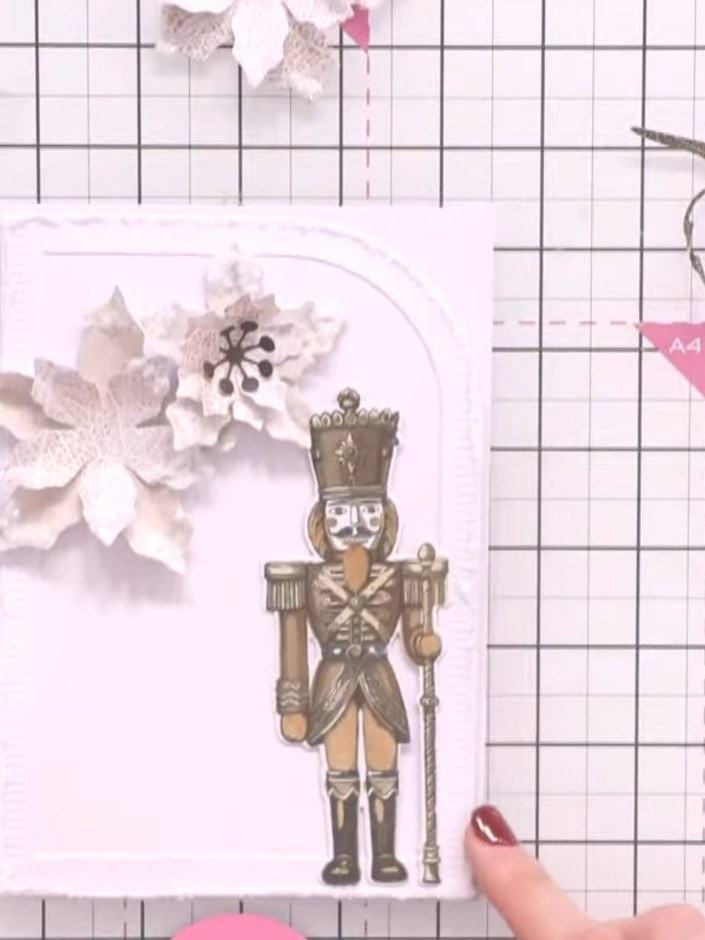
Arrange the dried glittered poinsettia flowers in the lower right corner of your card, layering them to create depth and dimension.
▶ watch this step (1:02:30)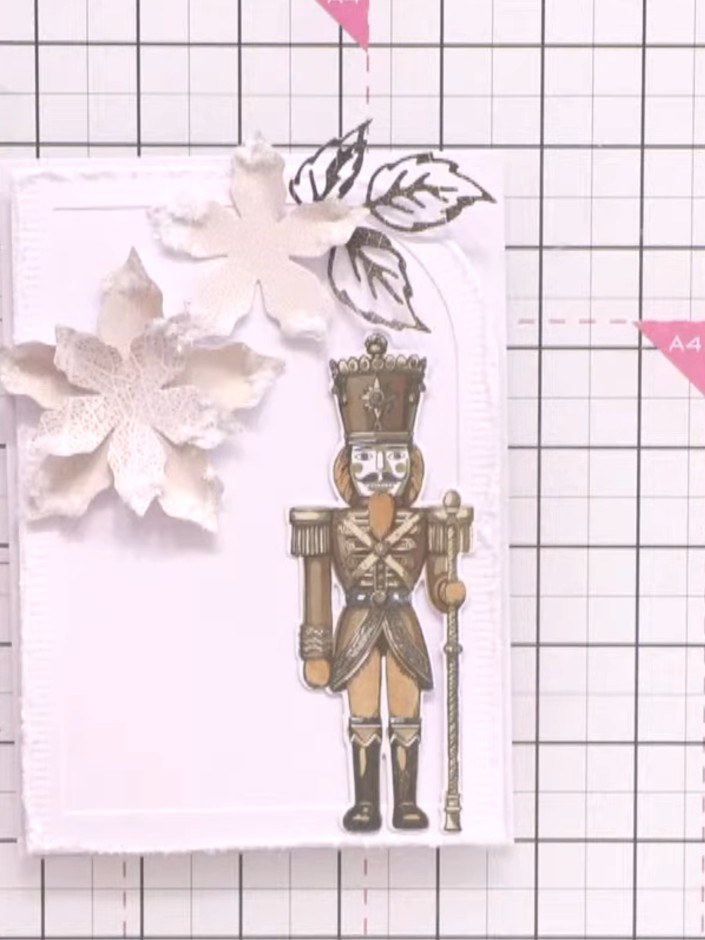
Add green foliage die-cut pieces from the Holly and Berry collection around and beneath the white poinsettias to create a natural arrangement. Position the leaf sprigs to frame the flowers and add depth to the design.
▶ watch this step (1:03:00)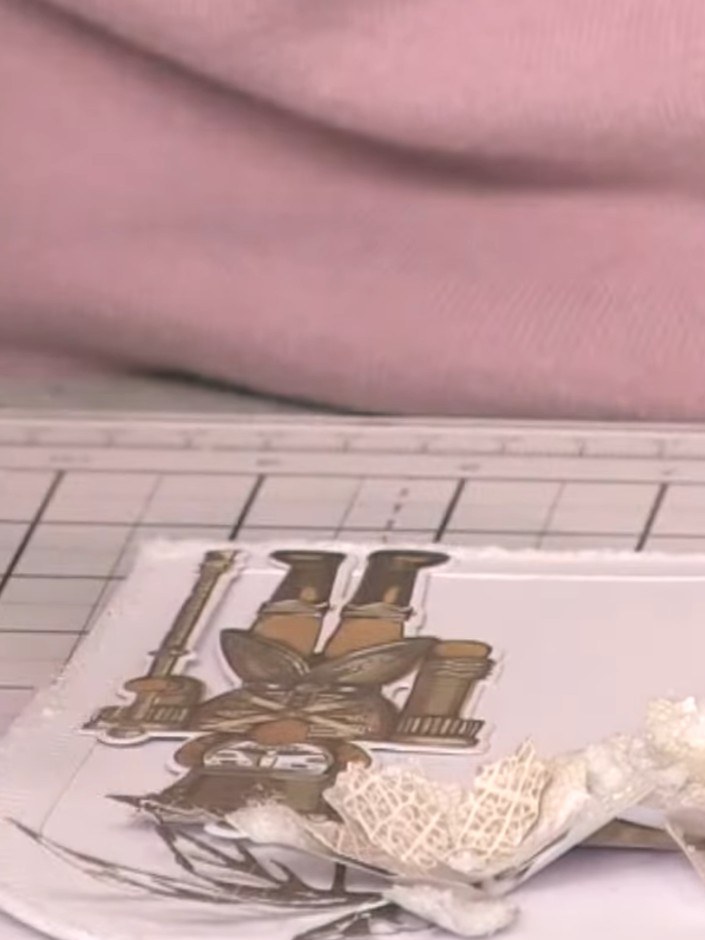
Adhere all the floral elements to the card using adhesive pads to create dimension. Position the nutcracker image centrally, then arrange the white poinsettia flowers and holly leaves around it to create a balanced composition.
▶ watch this step (1:04:00)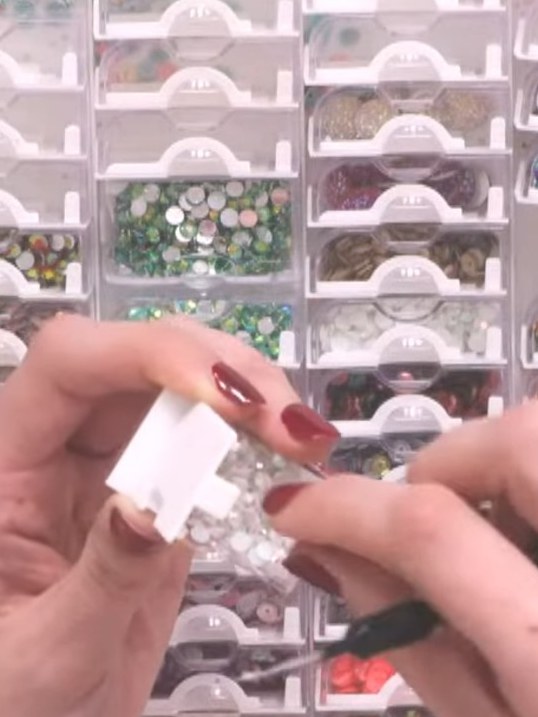
Add decorative gems or sequins to the centre of the poinsettias for extra embellishment. This adds sparkle and a finishing touch to your floral arrangement.
▶ watch this step (1:08:15)Written up from the show itself. See every guide from our shows · free how-to guides · watch live on My Telly