Give your friends £10 off their first order!
Refer a FRIEND








A project from our live show ONE DAY SPECIAL - Join Toni for her brand new launch - Broadcast 11th September 2025 · 11/09/2025 · watch it from 29:45
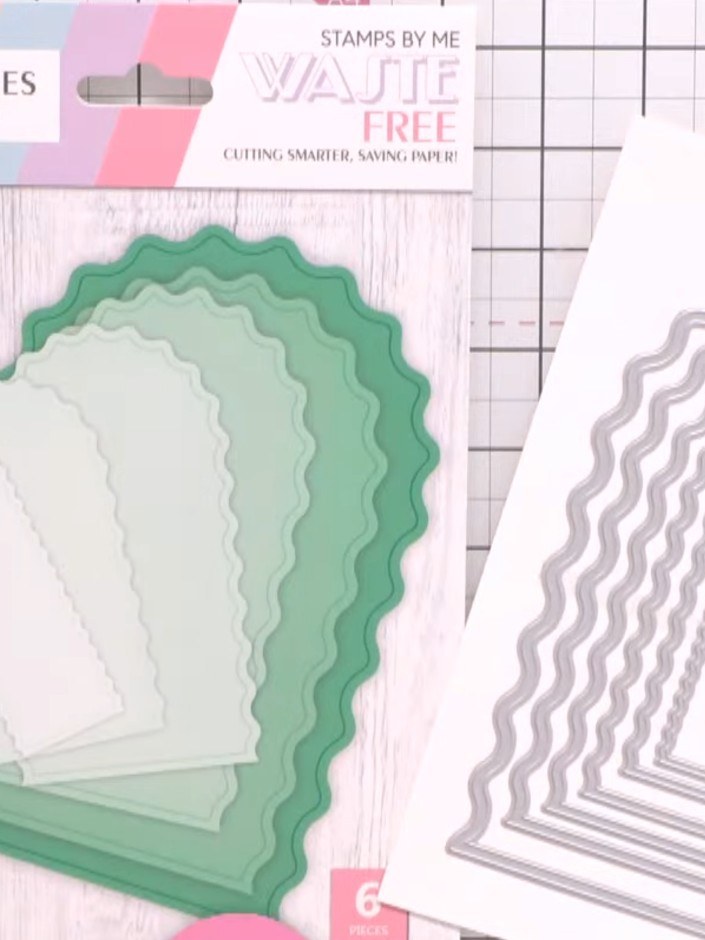
Create multiple decorative frames and layers using the Wavy Arches die collection in elegant green tones and silver. This waste-free technique demonstrates how to cut all nested die pieces in a single pass, maximising your cardstock usage whilst producing beautiful wavy-edged frames perfect for card making and papercrafts.
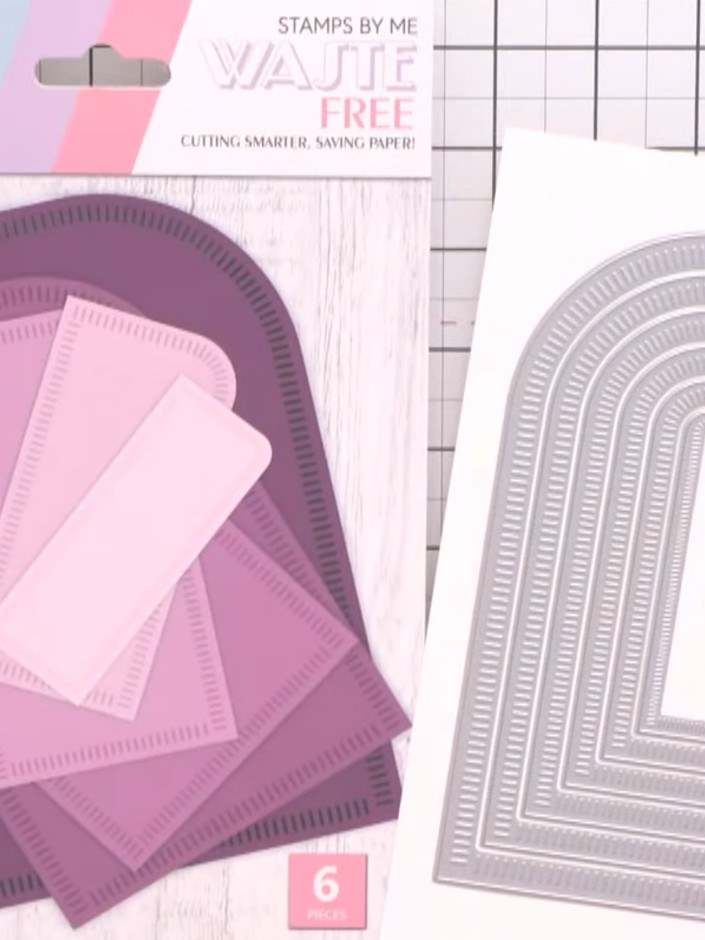
Gather all six pieces from the Corner Curve Die Collection and position them on white card stock. The dies feature decorative corner details and nested rectangular frames in graduating sizes.
▶ watch this step (29:45)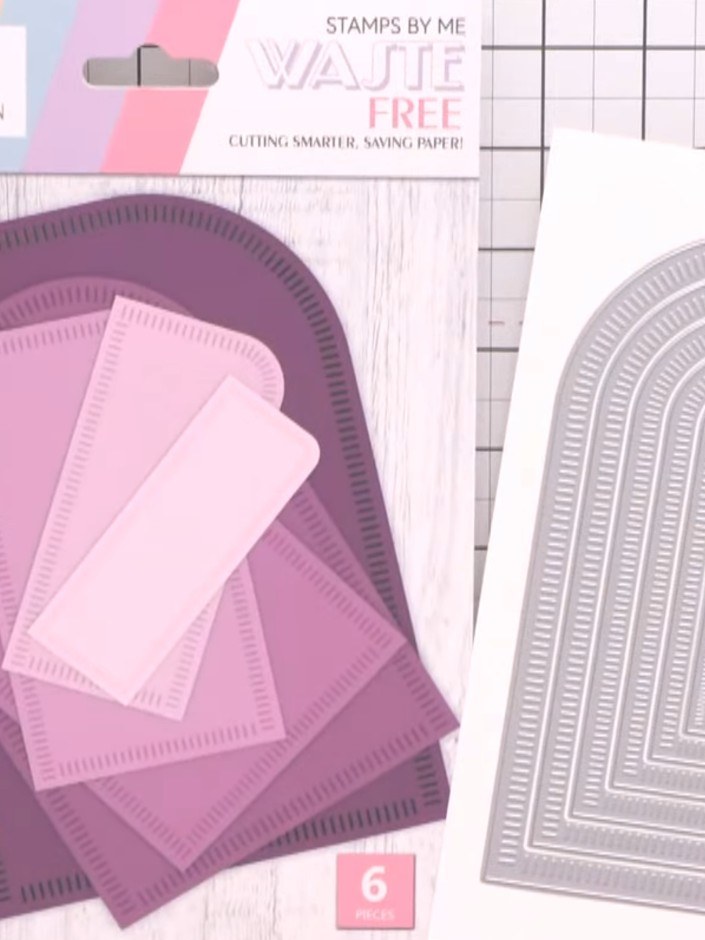
Secure the nesting dies to your card using low-tack tape, ensuring they remain connected during cutting. Position the dies on the card with the smallest frame in the centre and the larger frames nested around it.
▶ watch this step (30:00)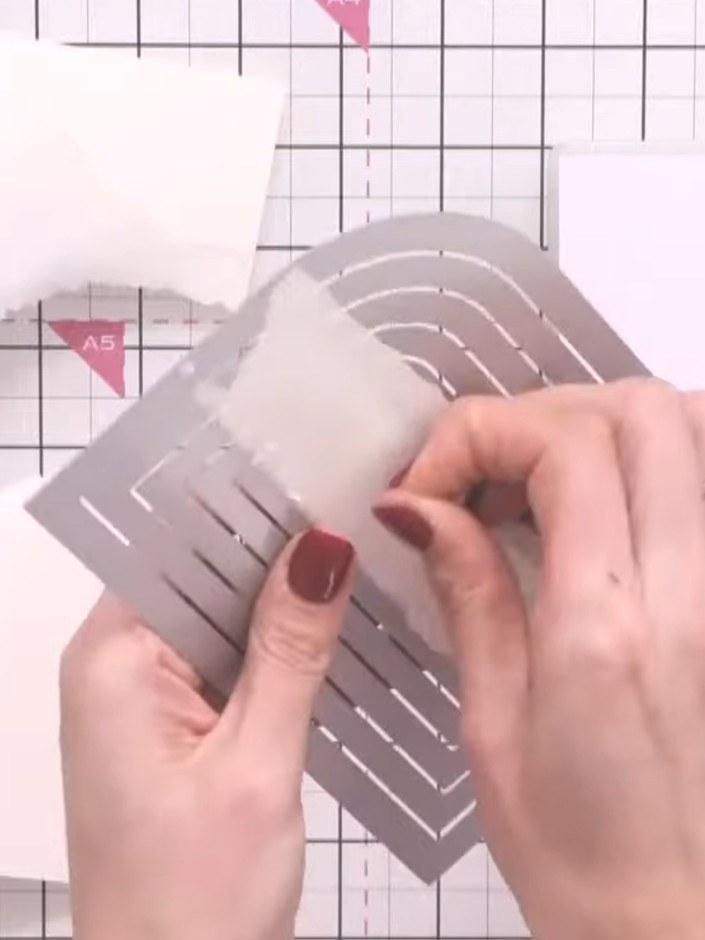
Place your white card base with the nested dies positioned on top. Run the card and dies through your die cutting machine in one pass to cut all the frames simultaneously.
▶ watch this step (30:30)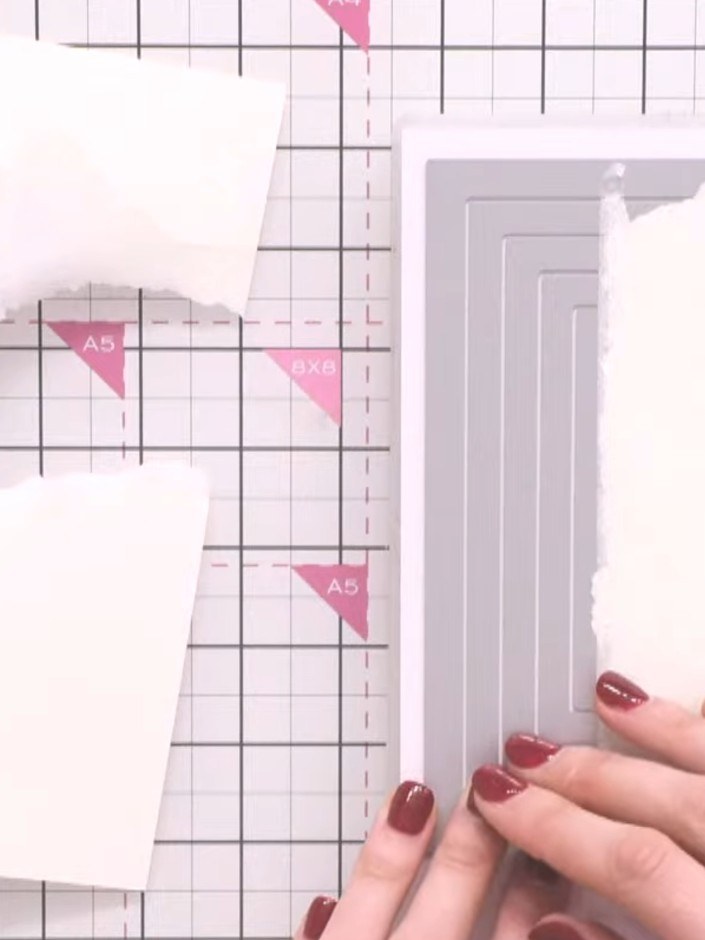
Remove the card from the die-cutting machine. Carefully separate all the cut pieces to reveal the nested frames with corner curves created by the waste-free die set.
▶ watch this step (31:00)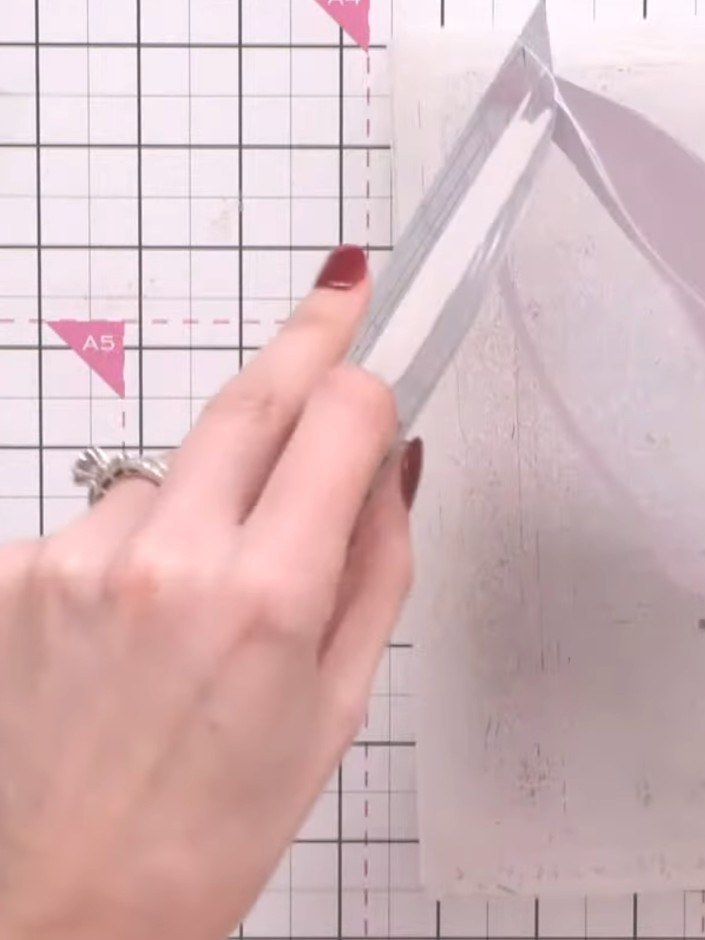
Observe how cutting all the pieces at once creates multiple frame options from a single pass through the die-cutting machine. The nested design allows you to produce several coordinating frames in different sizes whilst minimising paper waste.
▶ watch this step (32:00)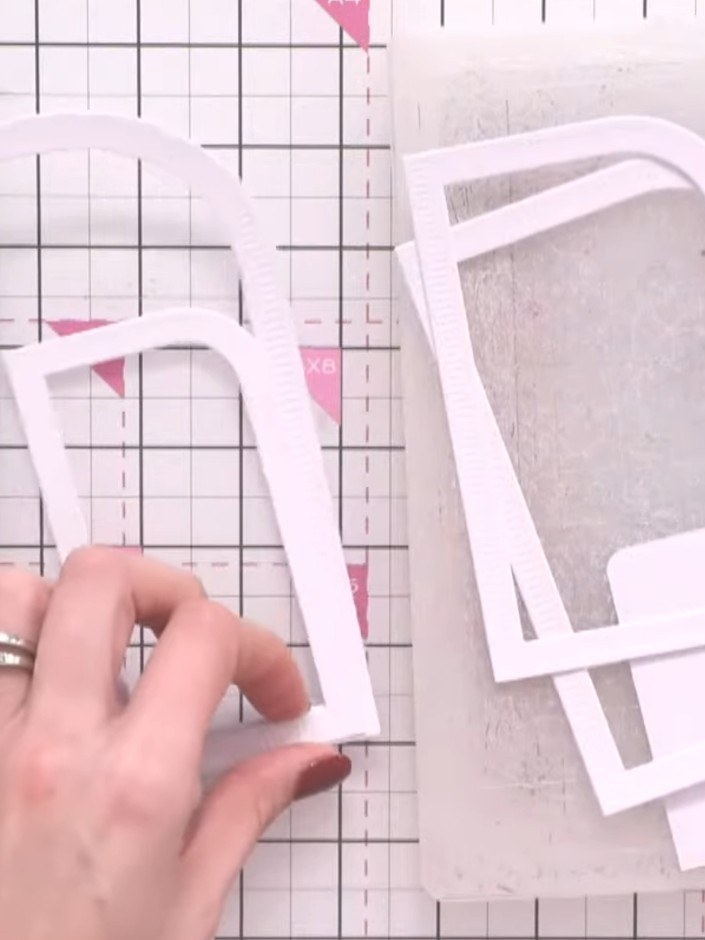
Stack the white die-cut frames together to show how they nest inside one another and create a layered effect. Arrange them to display the graduated sizes and decorative corner curve details.
▶ watch this step (32:30)Written up from the show itself. See every guide from our shows · free how-to guides · watch live on My Telly
