Give your friends £10 off their first order!
Refer a FRIEND








A project from our live show CREATE AND CRAFT TV - Join Toni for her brand new SBM launch show - broadcast 2nd Jan 2024 · 02/01/2024 · watch it from 25:45
Create an elegant embossed mount card featuring a romantic celebratory scene with a sophisticated chalkboard effect. Using the Family Gathering 6x6 embossing folder on a painted mount, you'll bring out intricate details of a table setting with white ink highlights. This technique creates beautiful contrast and dimension, perfect for special occasions and celebrations.
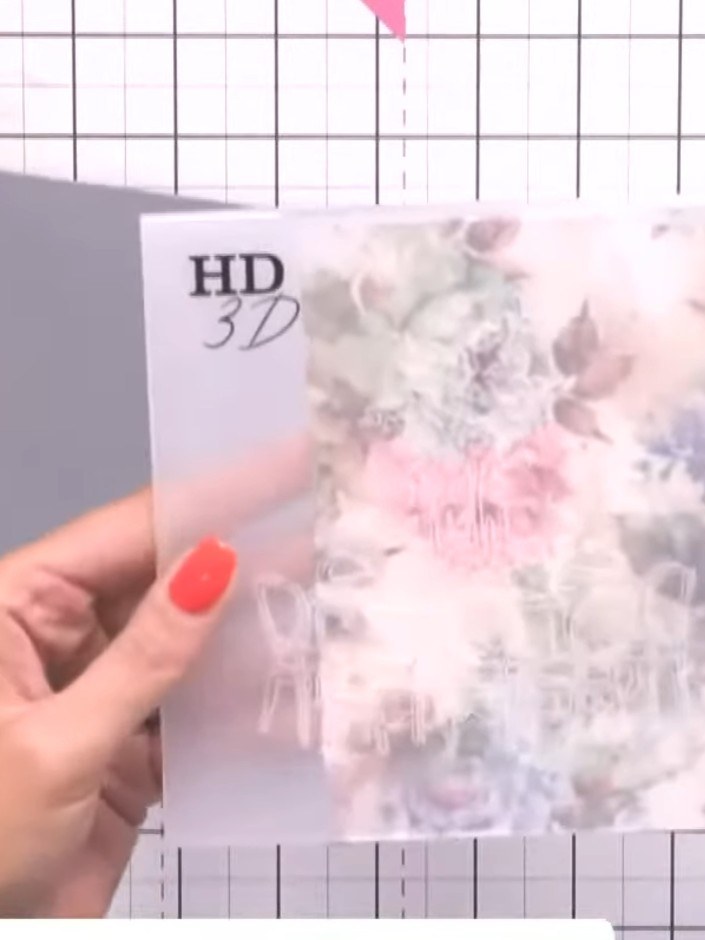
Select one of the painted mount cards from the HD 3D mounts pack. The mount features a beautiful floral design with pink, purple and cream flowers.
▶ watch this step (26:00)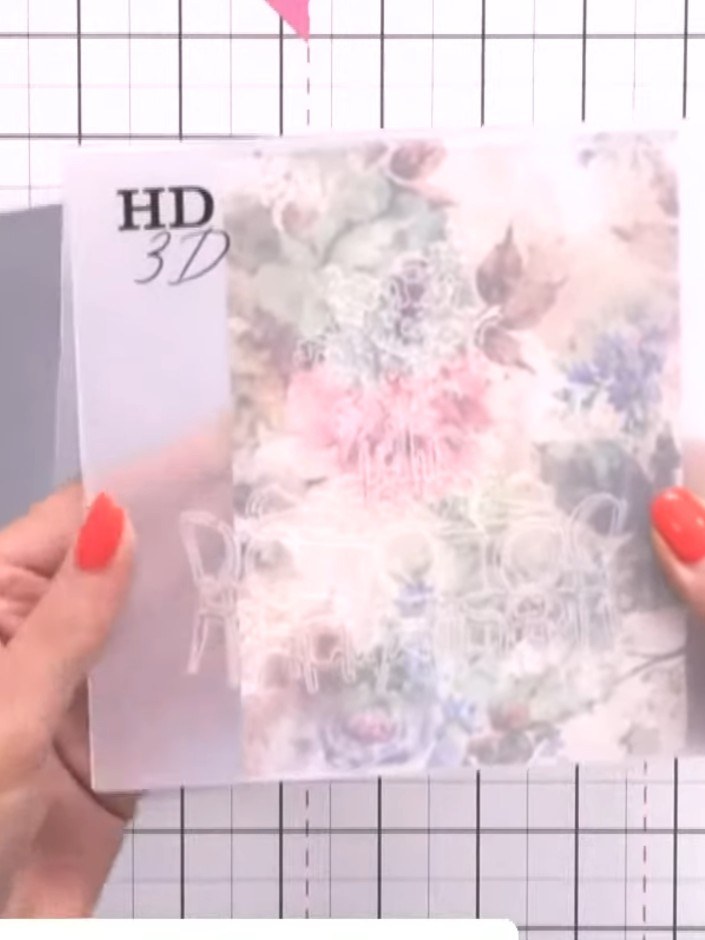
Place the floral mount slightly offset within the Family Gathering embossing folder, positioning it so that only part of the design will be embossed onto the mount.
▶ watch this step (26:15)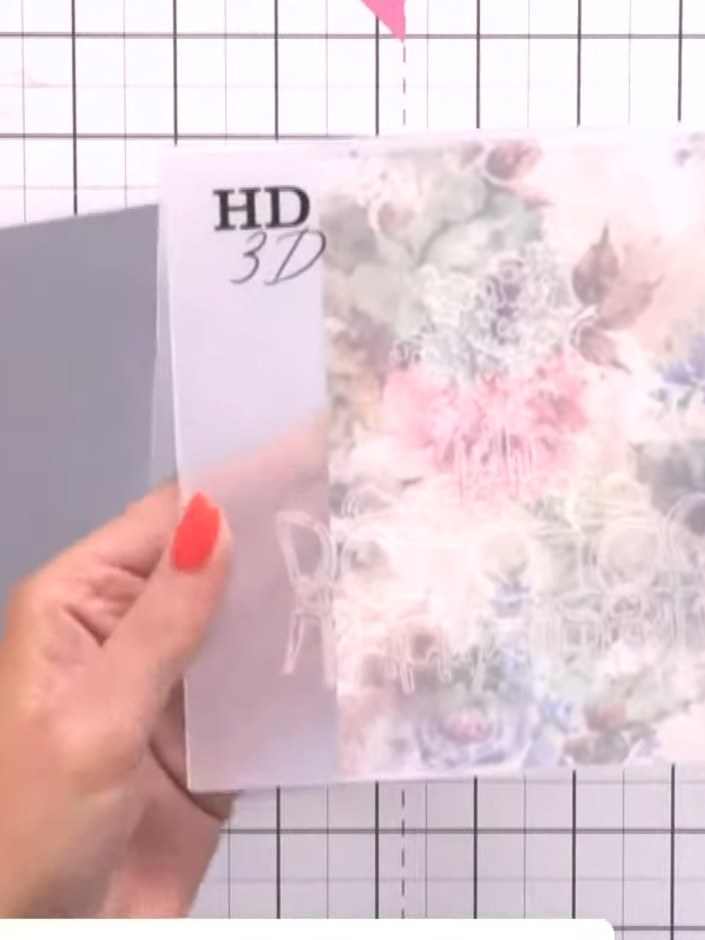
Place the HD 3D mount face down on the embossing folder. Run the mount and folder through your die-cutting machine to emboss the design onto the mount.
▶ watch this step (26:30)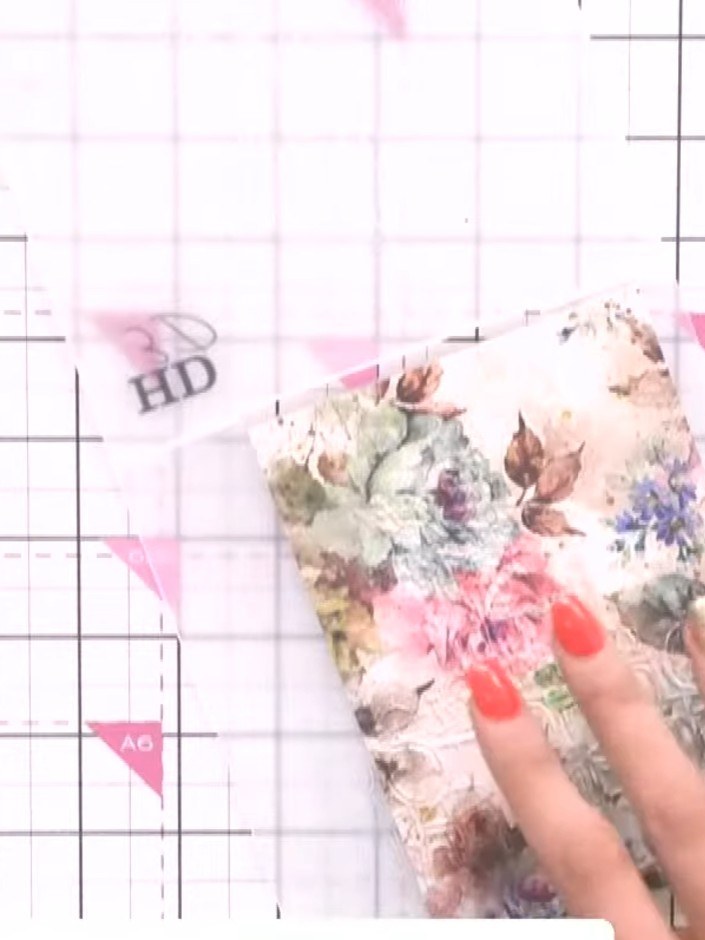
Open the embossing folder to reveal the embossed design on the dark pink card. Note that the embossed pattern is subtle and not immediately visible on the dark cardstock.
▶ watch this step (27:00)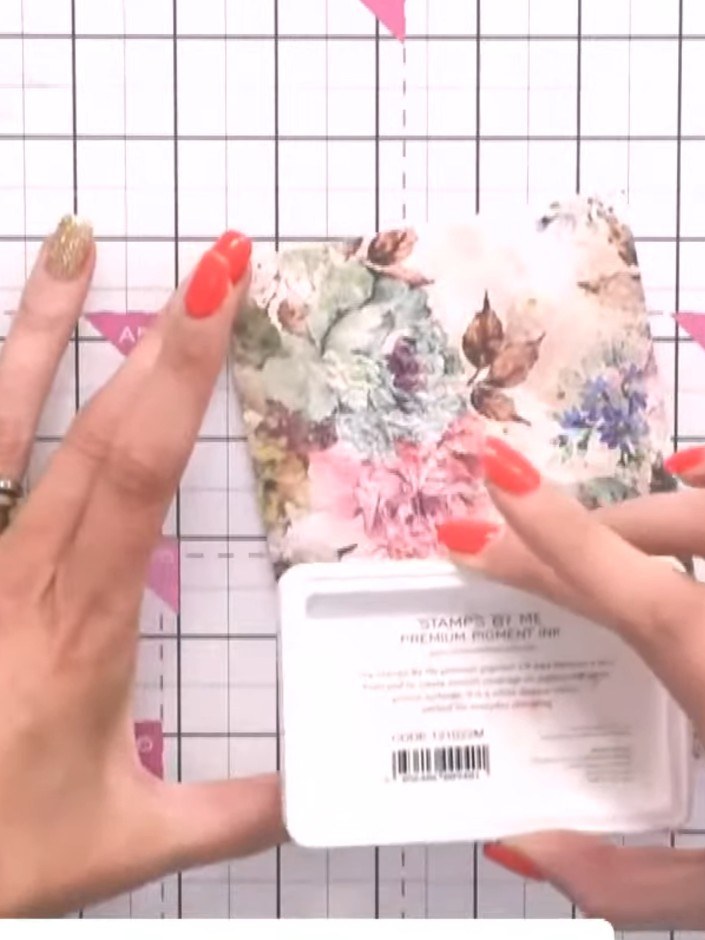
Take a white ink pad and lightly swipe it across the embossed floral design to highlight the raised detail and bring the pattern to life.
▶ watch this step (27:30)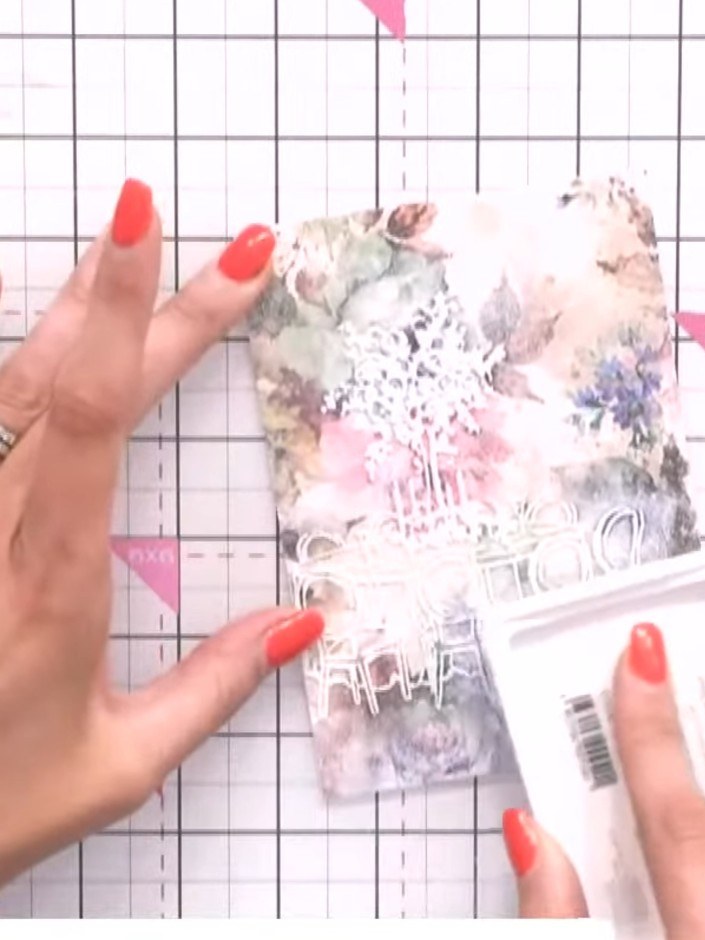
Continue tapping and swiping the white ink pad over the entire embossed area of the mount. Work the ink into all the raised details to create a chalkboard effect, ensuring even coverage across the design.
▶ watch this step (28:00)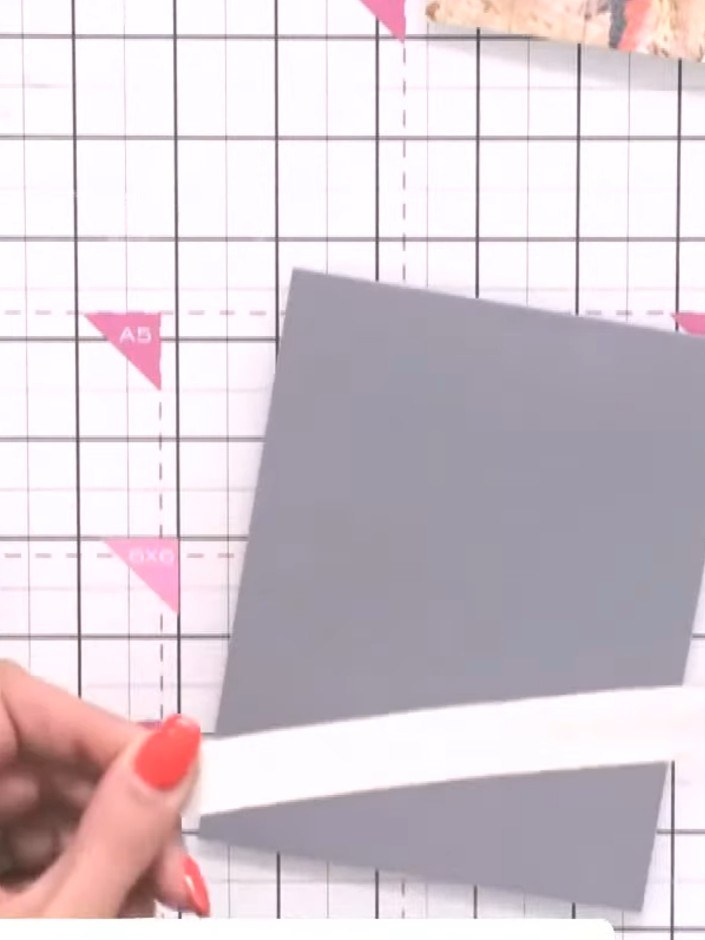
Mount the embossed and inked piece onto a gold card panel, then attach this to the side of a grey card blank.
▶ watch this step (28:30)Written up from the show itself. See every guide from our shows · free how-to guides · watch live on My Telly