Give your friends £10 off their first order!
Refer a FRIEND








Prices change straight away. Every language is our own translation, not Google.
A project from our live show HOBBYMAKER TV - Join us for the latest show - Broadcast 5 p.m. (UK) 15th August 2026 · 15/08/2026
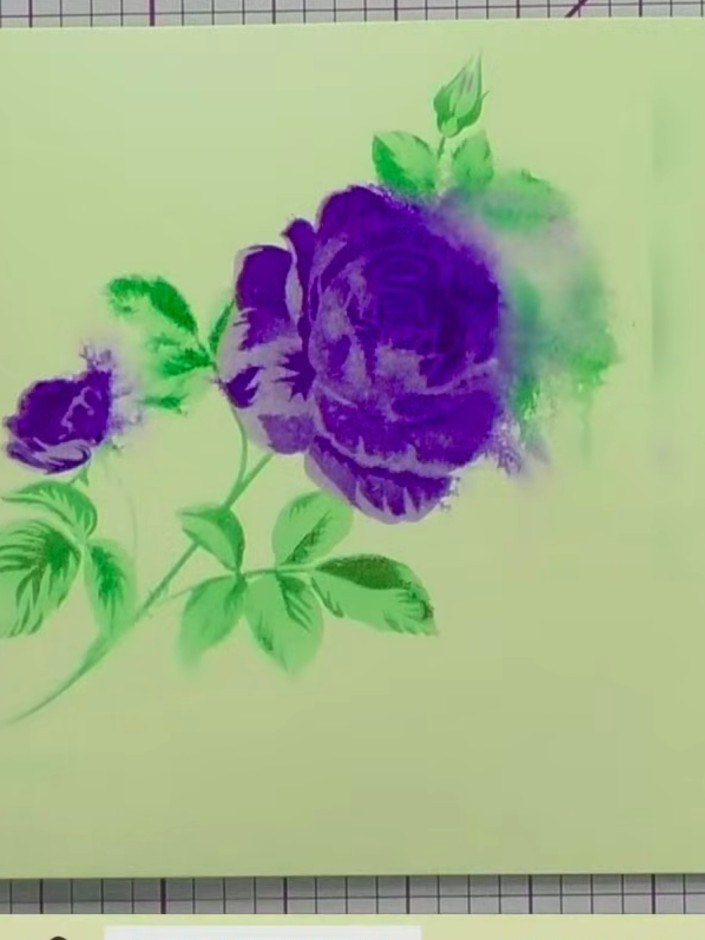
Create a stunning large-headed rose card using a four-layer stencil system. Build rich purple blooms with green foliage on a soft yellow-green background, achieving realistic shading and dimension through progressive colour layering. This elegant floral design showcases the beautiful depth possible with layering stencils.
 1
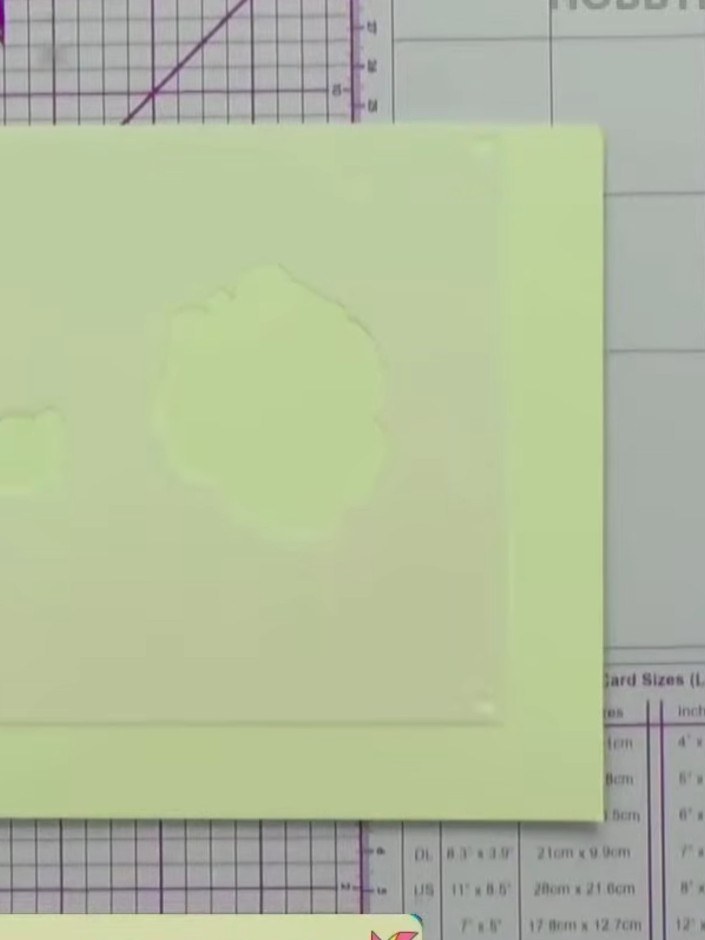
Prepare a cream or pale green card blank as your base. The card should be folded to create a standard greeting card format.
 2
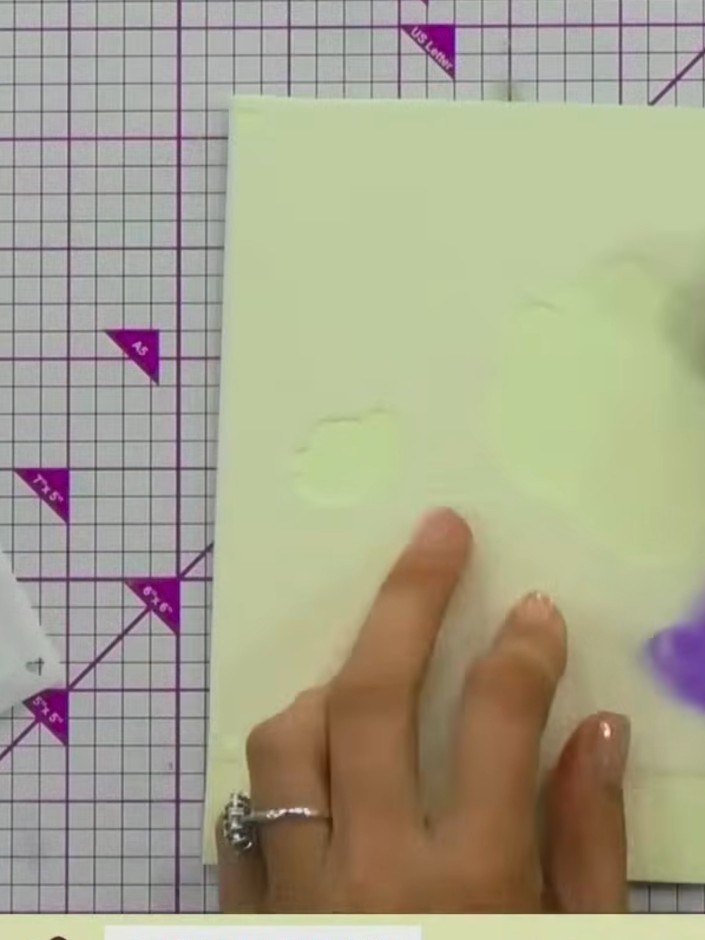
Select stencil number one from your layering stencil set. Position it on your pale green card blank, aligning the edge of the stencil with the edge of the card and ensuring the number marking is facing towards you.
 3
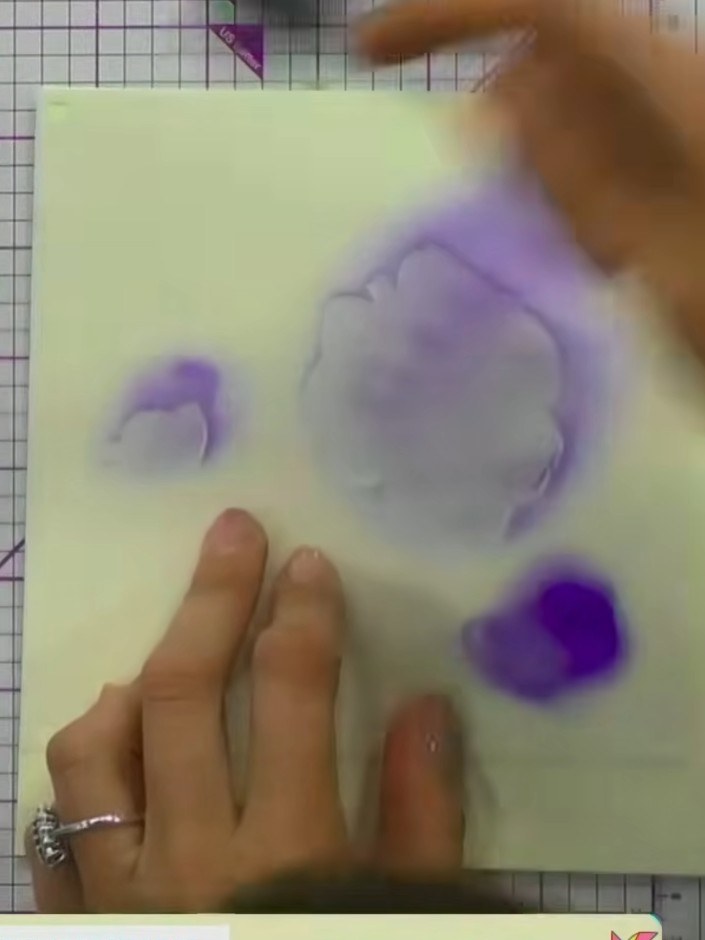
Choose a dye-based ink colour and tap it lightly through the stencil using a sponge dauber. Build up the colour gradually with light tapping motions.
 4
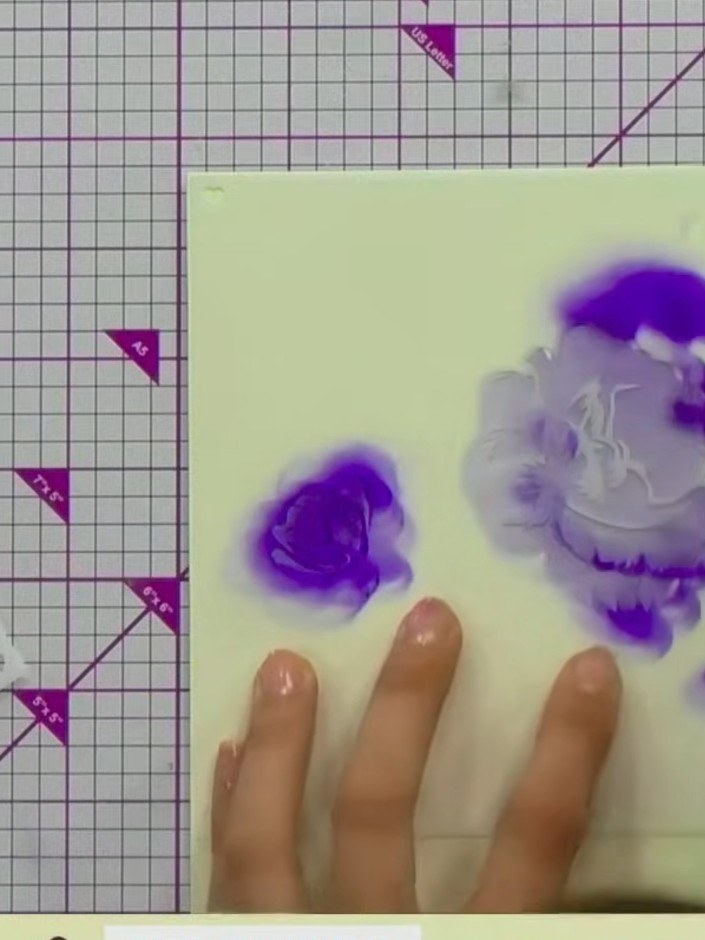
Position stencil number two over your rose design and apply the same purple ink with slightly more pressure to build depth and colour intensity in the petals.
 5
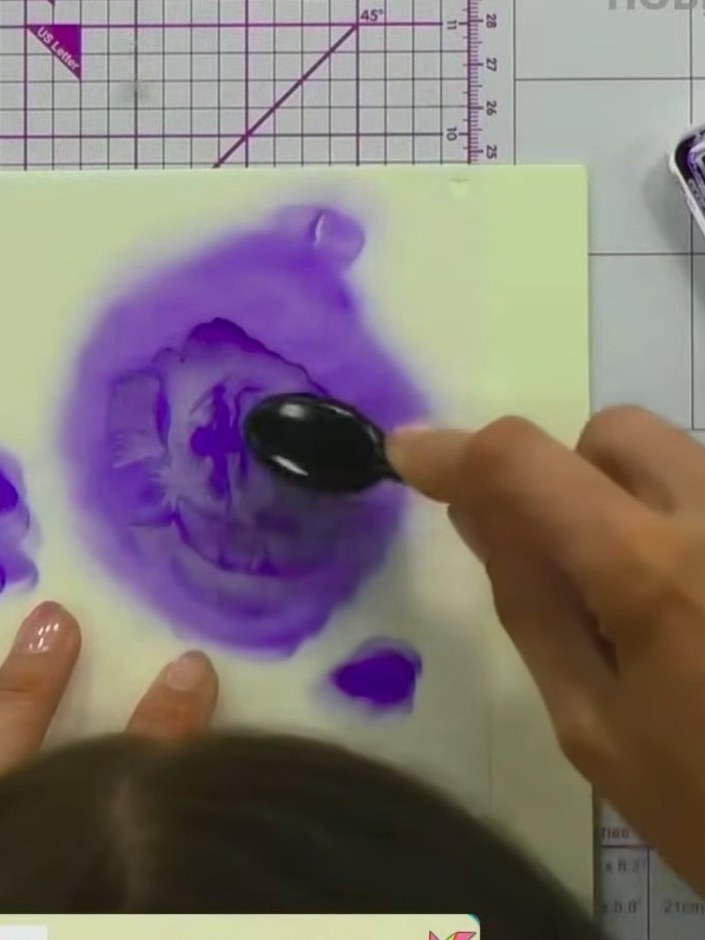
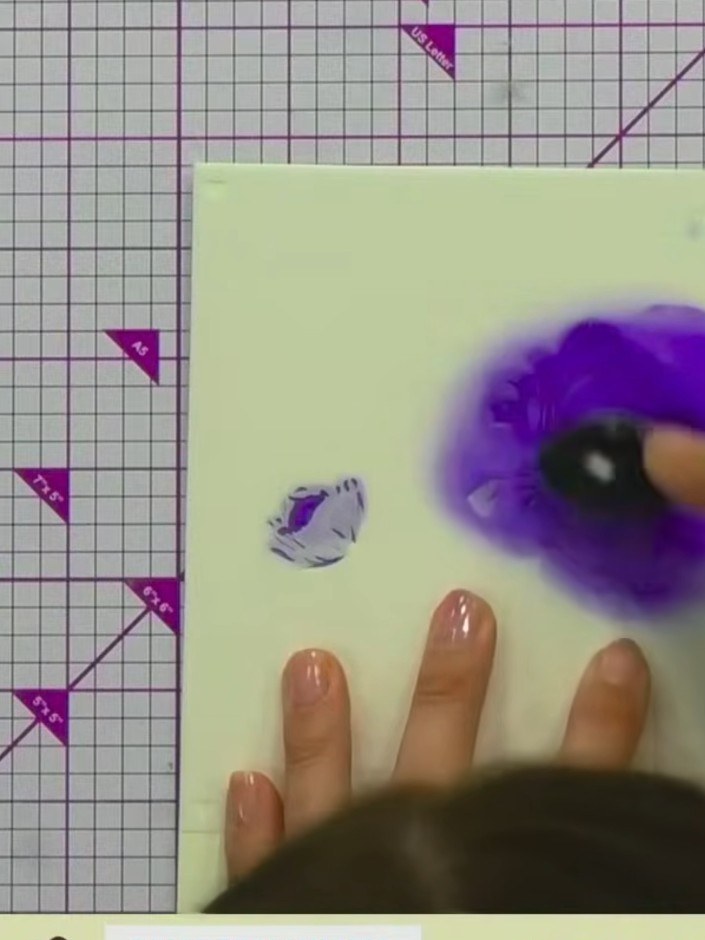
Position stencil number three over your rose design and apply purple ink using a blending tool. Press more firmly to build up darker mid-tones and add depth to the petals.
 6
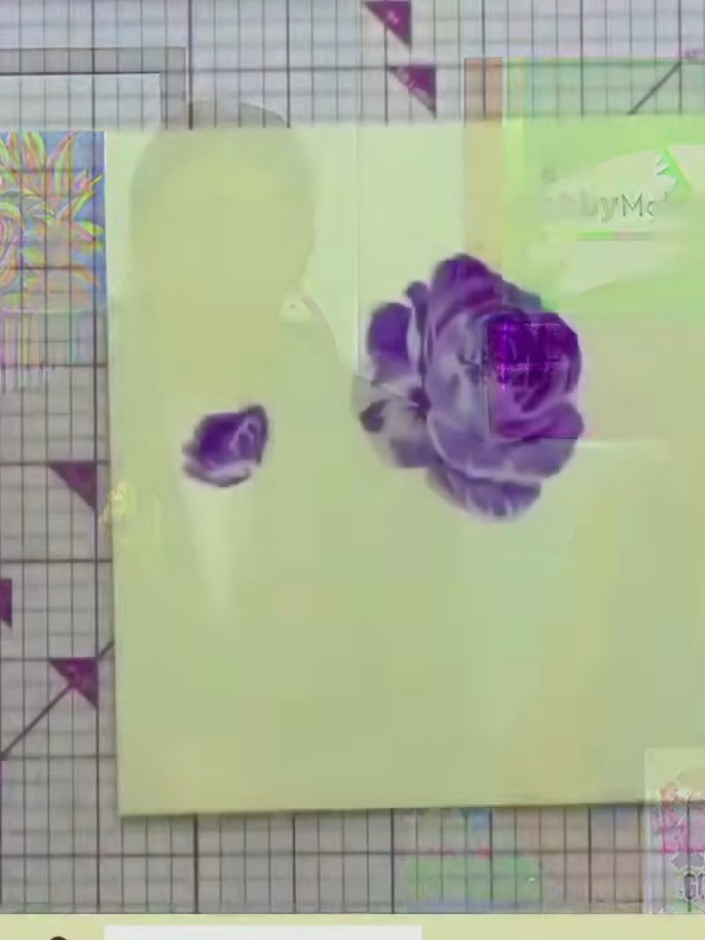
Position stencil number four over your card and apply purple ink using a blending tool. Press firmly to create the darkest, most defined details of the petals.
 7
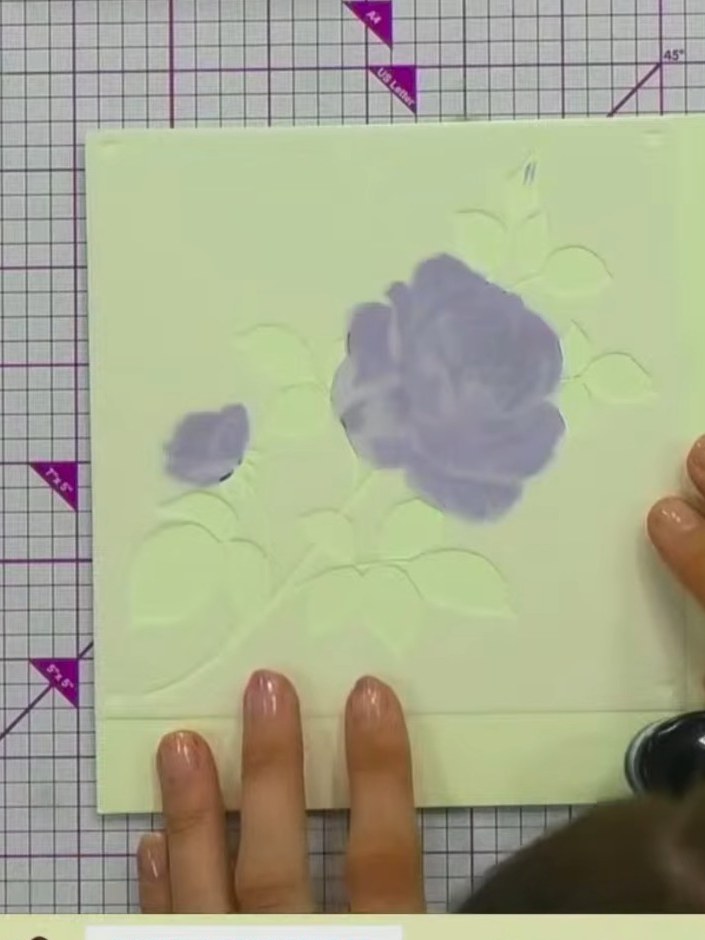
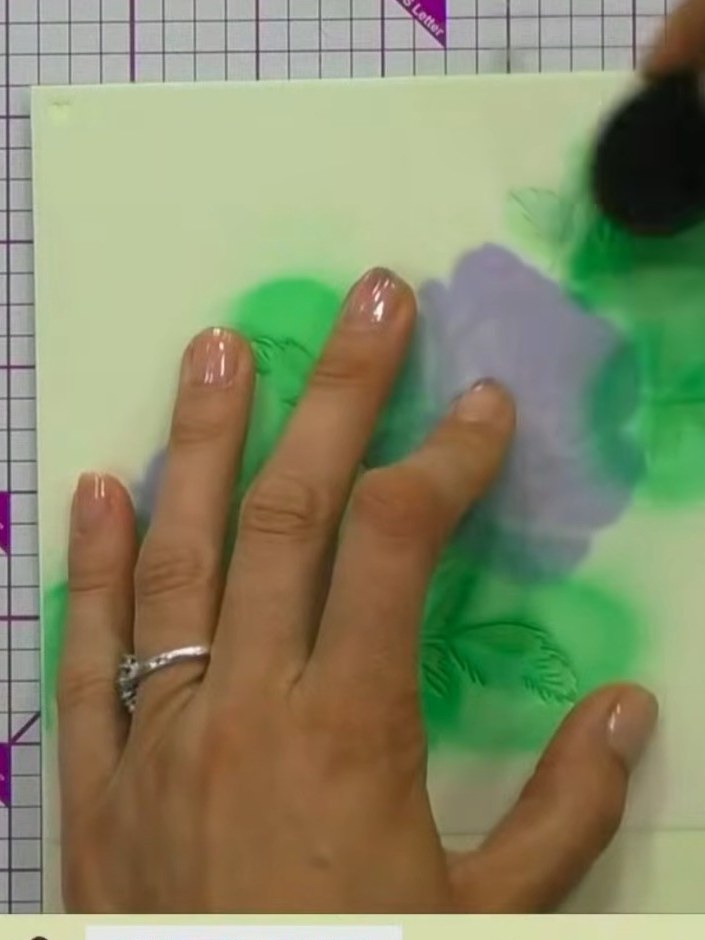
Using the same layering stencil system, apply green colour to the leaves and stem area. Build up the colour gradually to create depth and dimension in the foliage.
 8
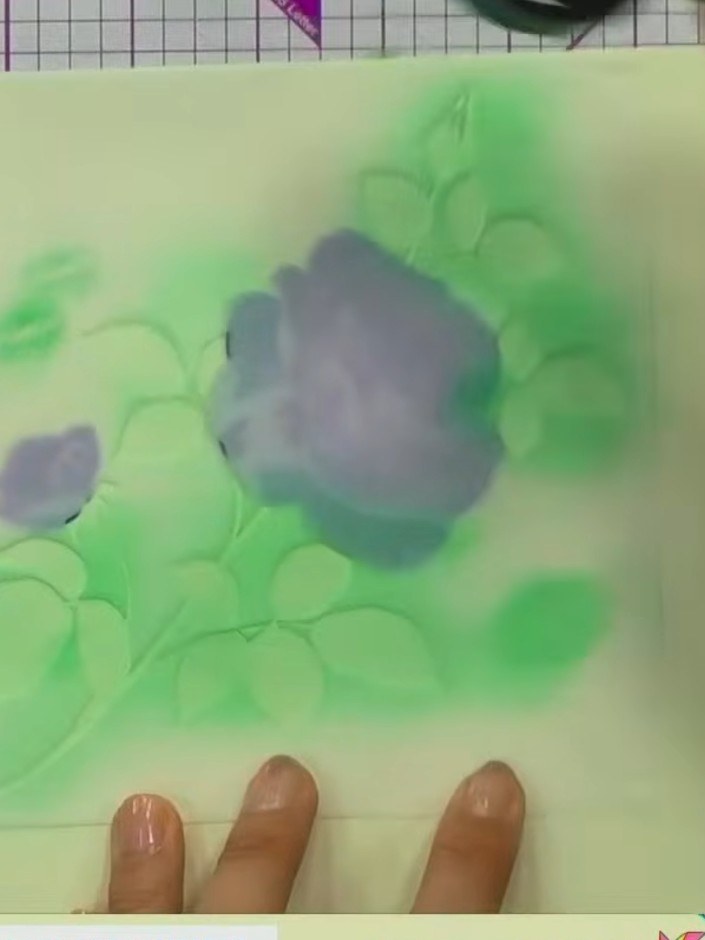
Allow the card to dry completely. The purple and green ink layers need to be fully dry before proceeding to the next step.
 9
If desired, add metallic wax or paste to selected areas of the stencilled roses and leaves for gilded highlights. Apply with your finger or a soft cloth, gently buffing the product onto the raised or darker areas to create dimension.
 10
For a watercolour effect, lightly spray the stencilled design with water using a spray bottle. The water will soften and blend the ink colours for an artistic finish.
Share your make with the Stamps By Me community - and keep this guide for next time.
Written up from the show itself. See every guide from our shows · free how-to guides · watch live on My Telly · the previous layout