Give your friends £10 off their first order!
Refer a FRIEND








Prices change straight away. Every language is our own translation, not Google.
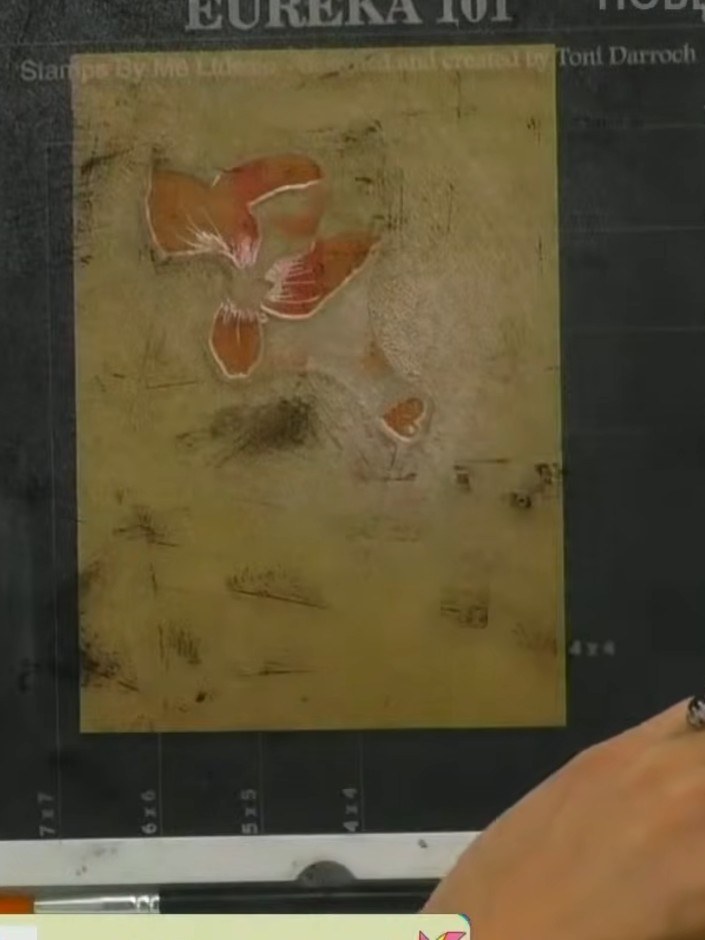
A project from our live show HOBBYMAKER TV - Join us for the latest show - Broadcast 5 p.m. (UK) 15th August 2026 · 15/08/2026
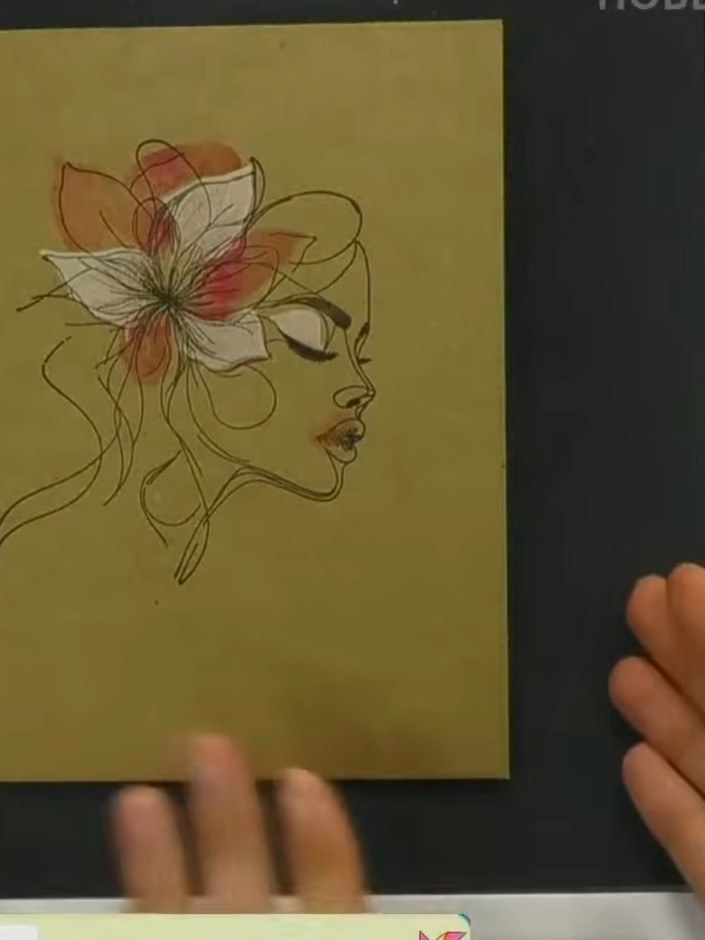
Create a stunning artistic card featuring a woman's profile with a watercolour flower in her hair on a golden background. Using the innovative lamination stamp system, you'll achieve a beautiful painted effect by combining solid colour stamping with watercolours and fine detail overlay. The two-part stamping technique creates depth and dimension for a truly professional finish.
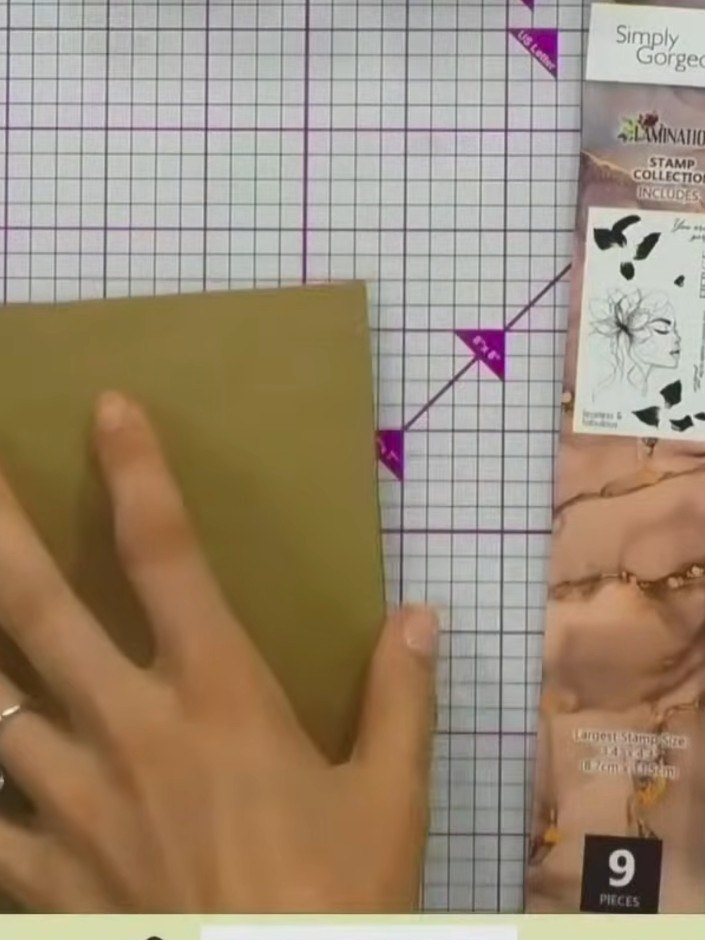 1
Take a craft-coloured card blank as your base. This will form the foundation of your card.
 2
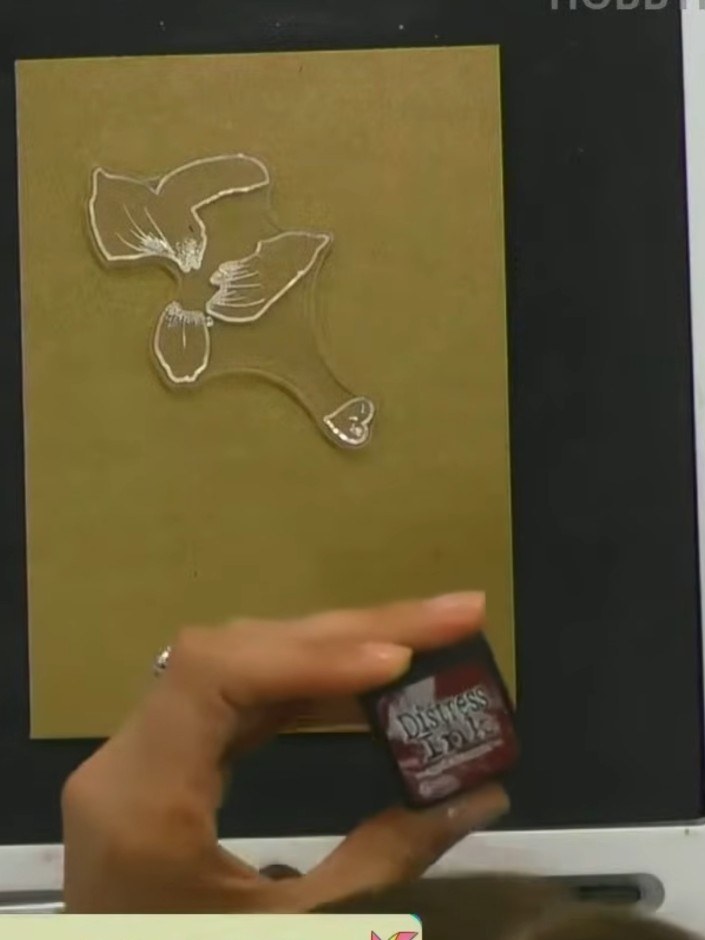
Select your solid black lamination stamp and position it on the gold mirror card. The embossed image should show the bird design clearly on the metallic surface.
 3
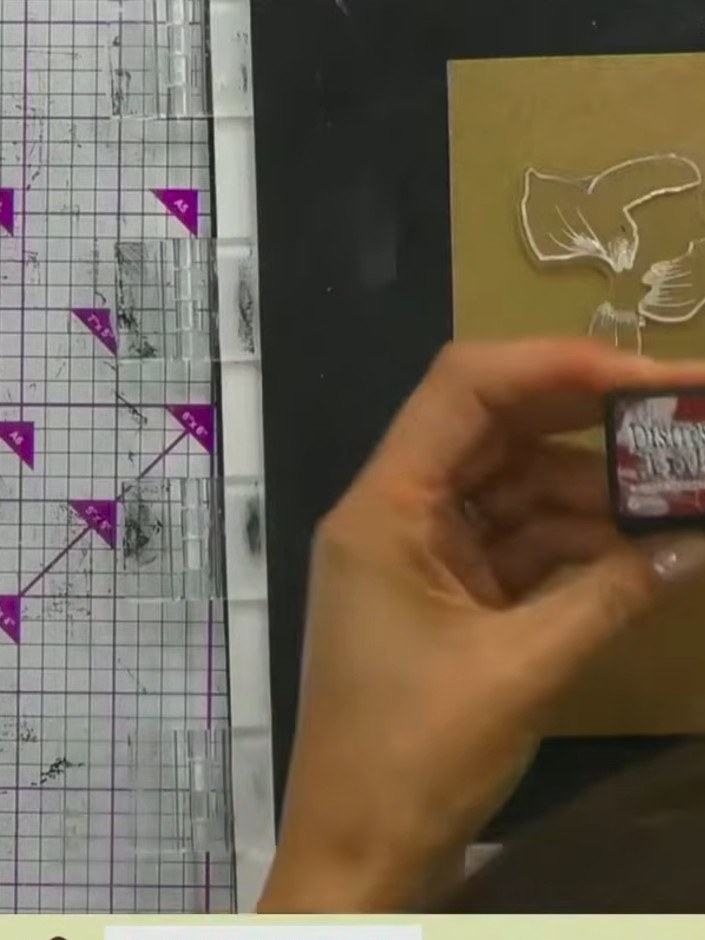
Ink up the embossed dove stamp by tapping multiple Distress Ink colours onto it. Use white, orange and pink ink pads to create a watercolour effect on the raised image.
 4
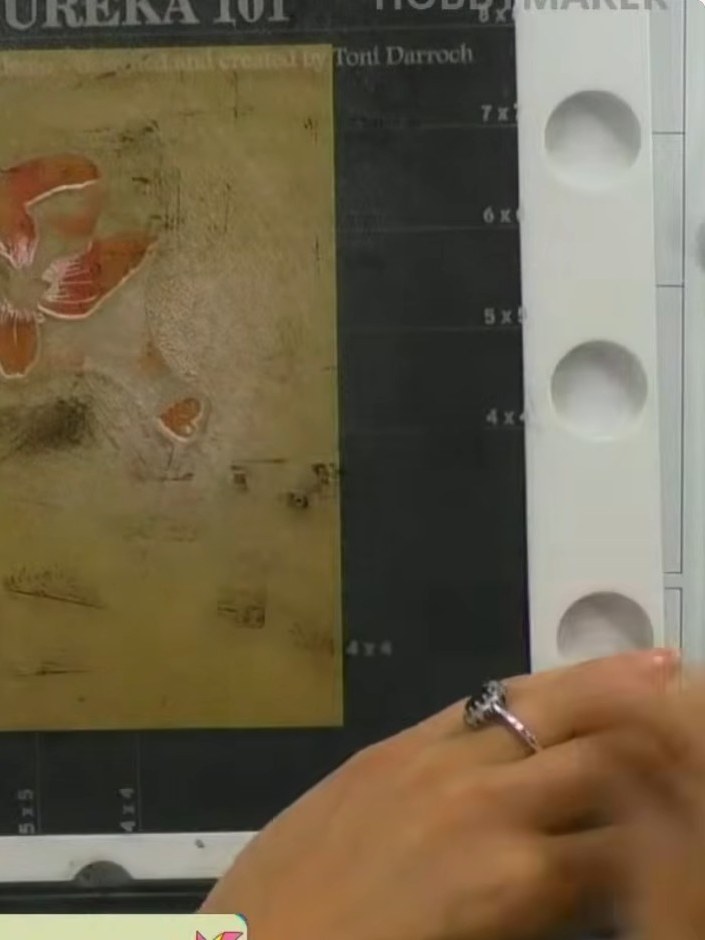
Lightly spray the inked stamp with water to create a watercolour effect. Be careful not to over-spray, as too much water will cause the ink to run excessively.
 5
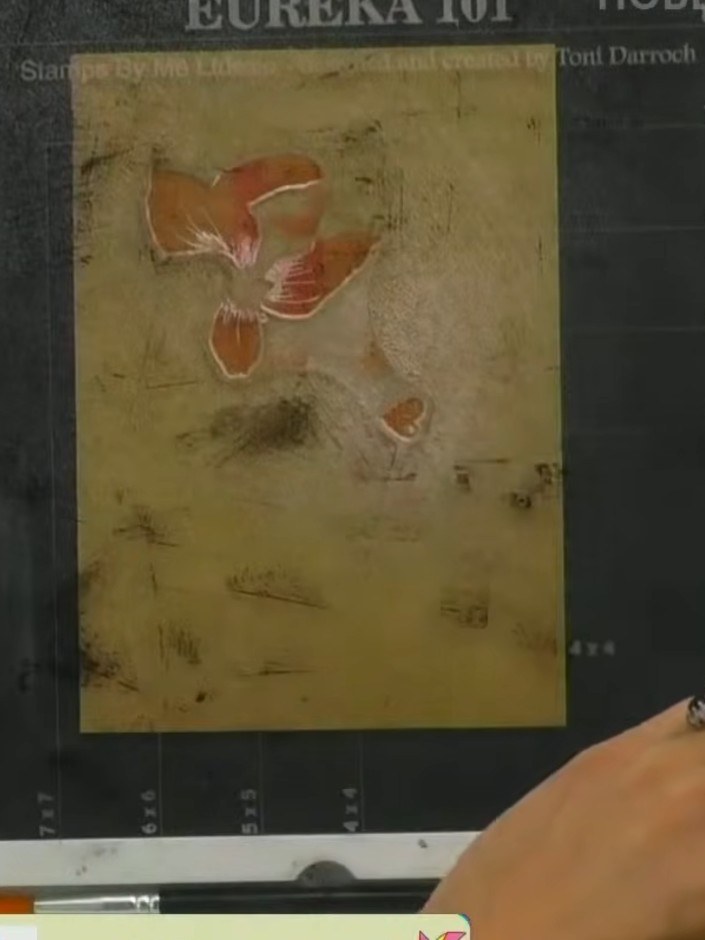
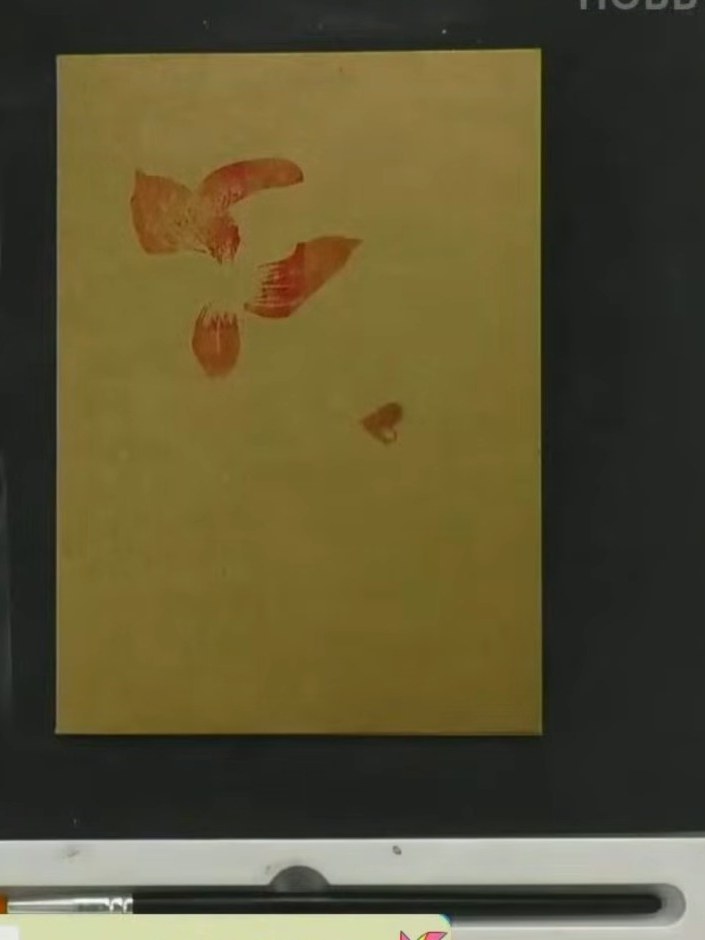
Stamp the flower and leaf images onto your gold card using the orange ink, pressing down firmly to transfer the colour. Repeat the stamping process to build up the watercolour effect with multiple impressions.
 6
Allow the card to dry completely. The stamped feather images in coral and pink tones need to be fully dry before proceeding to the next step. Clean your stamp thoroughly. Ink up the detailed outline stamp using black ink, ensuring even coverage across the entire stamp surface.
 7
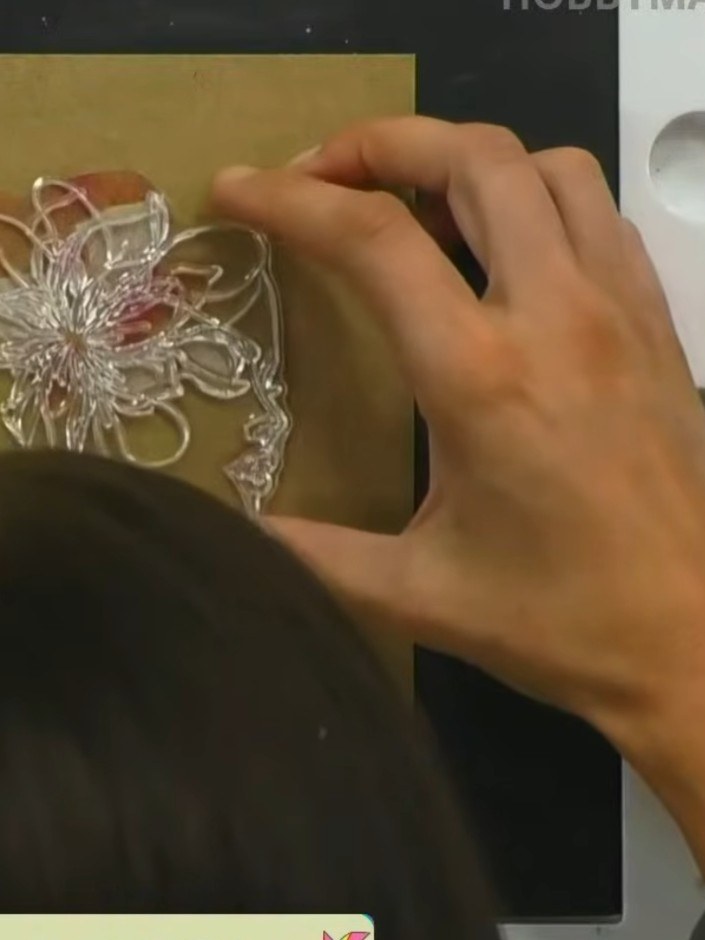
Position the clear detail stamp over the coloured flower on the gold card, carefully aligning it with the visible watercolour areas showing through from behind. Press down firmly to stamp the outline detail over the coloured portions.
 8
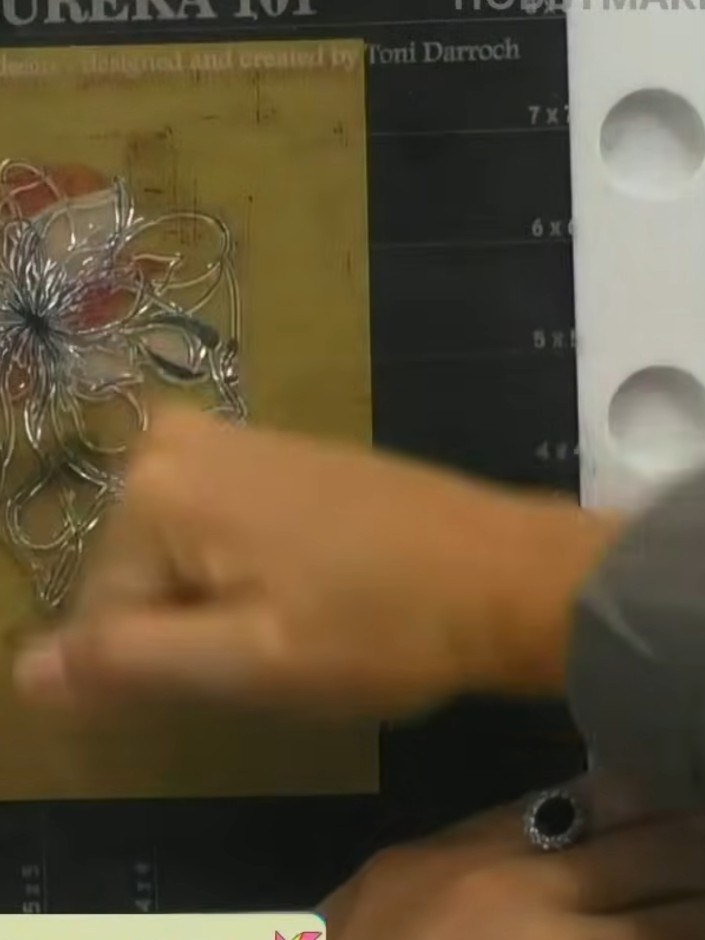
Stamp the detailed outline portion of the flower stamp onto the card over the watercoloured image to complete the layered effect. Press firmly to ensure a clear impression.
 9
If desired, add a sentiment stamp underneath the floral design, leaving plenty of white space around it to maintain the elegant look of the card.
Share your make with the Stamps By Me community - and keep this guide for next time.
Written up from the show itself. See every guide from our shows · free how-to guides · watch live on My Telly · the previous layout