QUICK LINKS

Welcome to the How to Craft Network
 
SBM SHOP
GIVE YOUR FRIENDS £10 OFF REFER A FRIEND › DISCOVER MY-TELLY.COM › WE JUST GOT SMARTER GET THE APP › AWARD WINNING CHANNEL ON YOUR TV › JOIN THE CLUB FOR SAVINGS ›
 

Lily Embossed Card with Die-Cut Detail

A project from our live show ONE DAY SPECIAL - Join Toni for her brand new launch - Broadcast 4th Jan 2025 · 04/01/2025 · watch it from 15:30
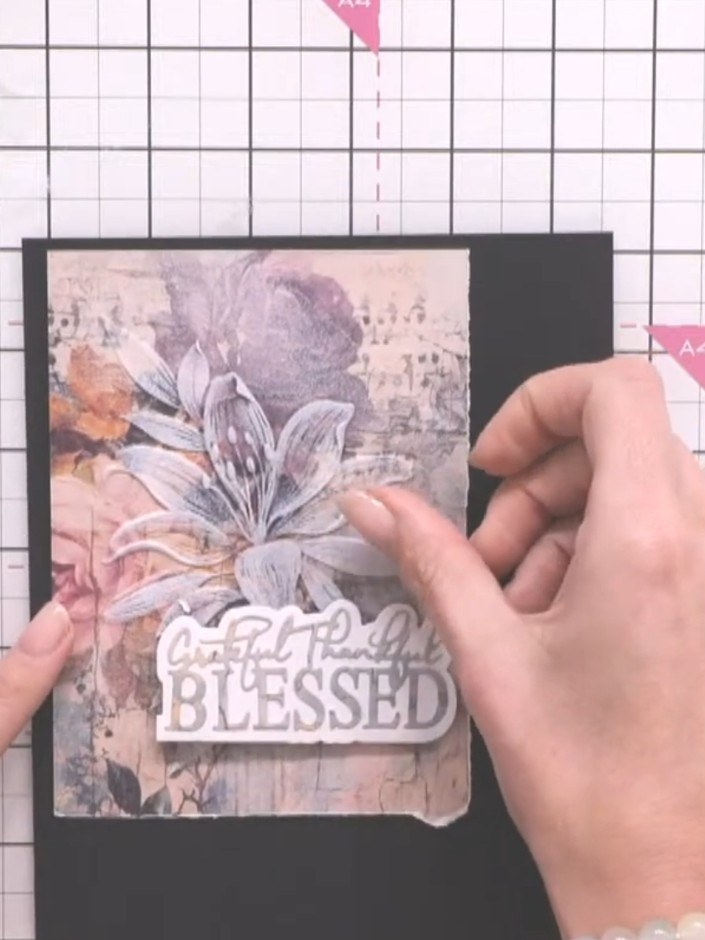
Lily Embossed Card with Die-Cut Detail - the finished project
The finished project

Create an elegant greeting card featuring a stunning 3D embossed watercolour lily as the centrepiece. The design combines soft peach, grey and lavender tones on a sophisticated charcoal card base, finished with a 'Grateful & Blessed' sentiment. This project showcases high-definition embossing and coordinating die-cutting techniques to achieve beautiful dimensional detail.
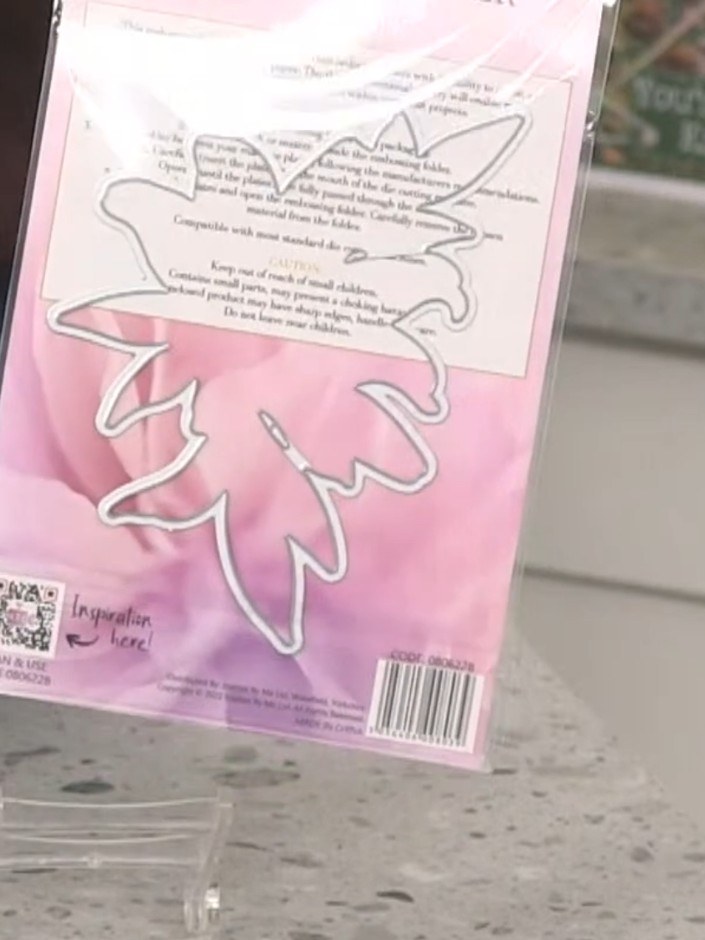
You will need

Stamps By Me Paper Bundle - Timeless -   8 X 8 Paper Pad  - 061223GStamps By Me Paper Bundle - Timeless - 8 X 8 Paper Pad - 061223GSEE IT

DOWNLOAD THIS GUIDE (PDF)

Step by step

  1. Step 1: Select a piece of patterned paper from your Timeless 8 x 8 paper pad.

    Select a piece of patterned paper from your Timeless 8 x 8 paper pad.

    ▶ watch this step (15:30)
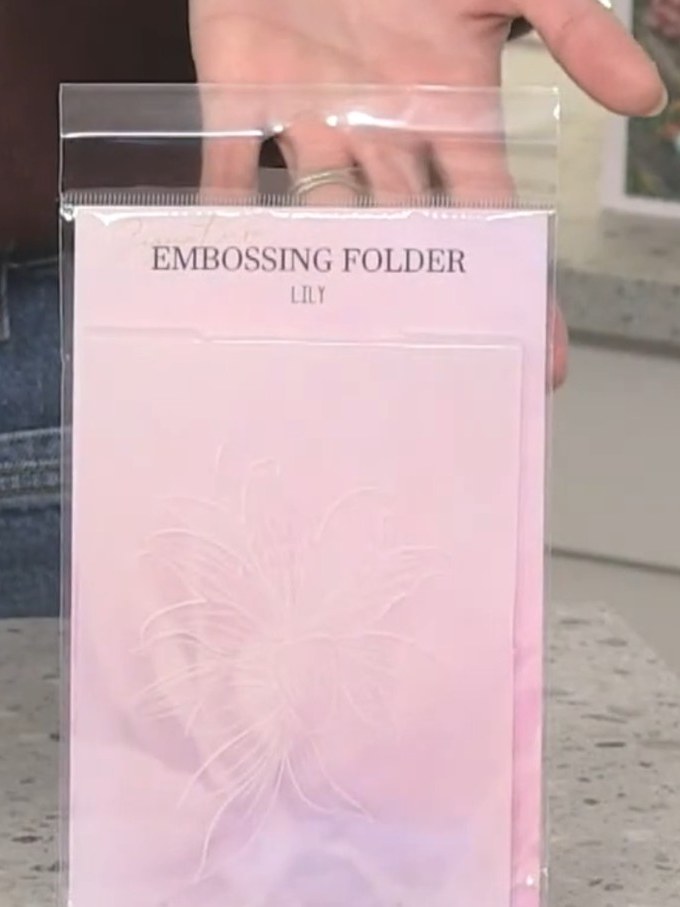
  2. Step 2: Select your patterned paper from the Timeless paper pad and trim it to a suitable size for your card base.

    Select your patterned paper from the Timeless paper pad and trim it to a suitable size for your card base.

    ▶ watch this step (16:00)
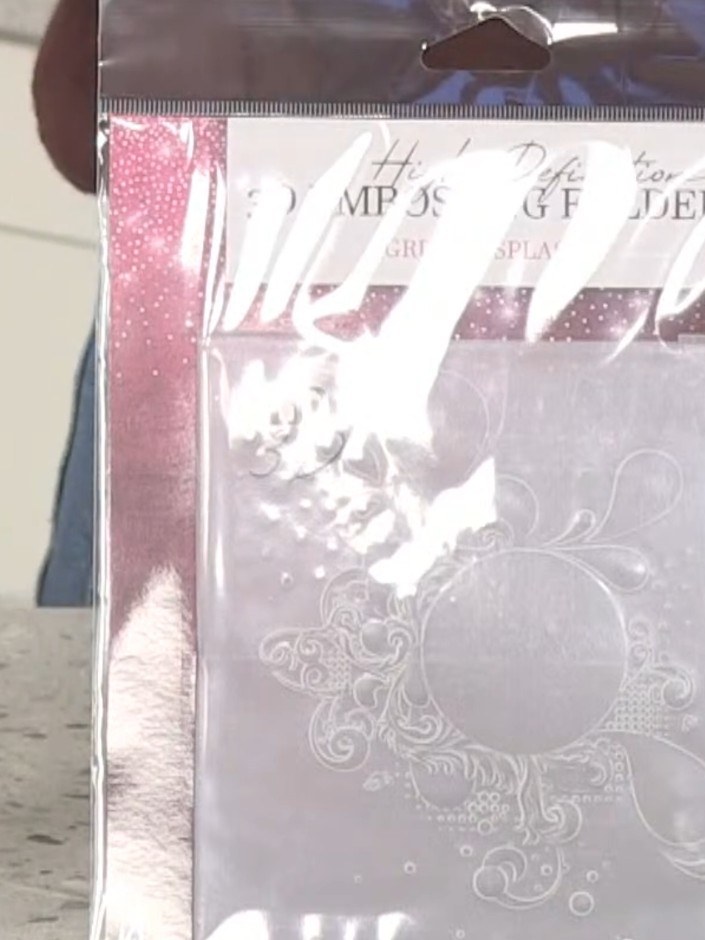
  3. Step 3: Place the watercolour paper into the Lily embossing folder, ensuring it is positioned correctly within the fol

    Place the watercolour paper into the Lily embossing folder, ensuring it is positioned correctly within the folder.

    ▶ watch this step (16:15)
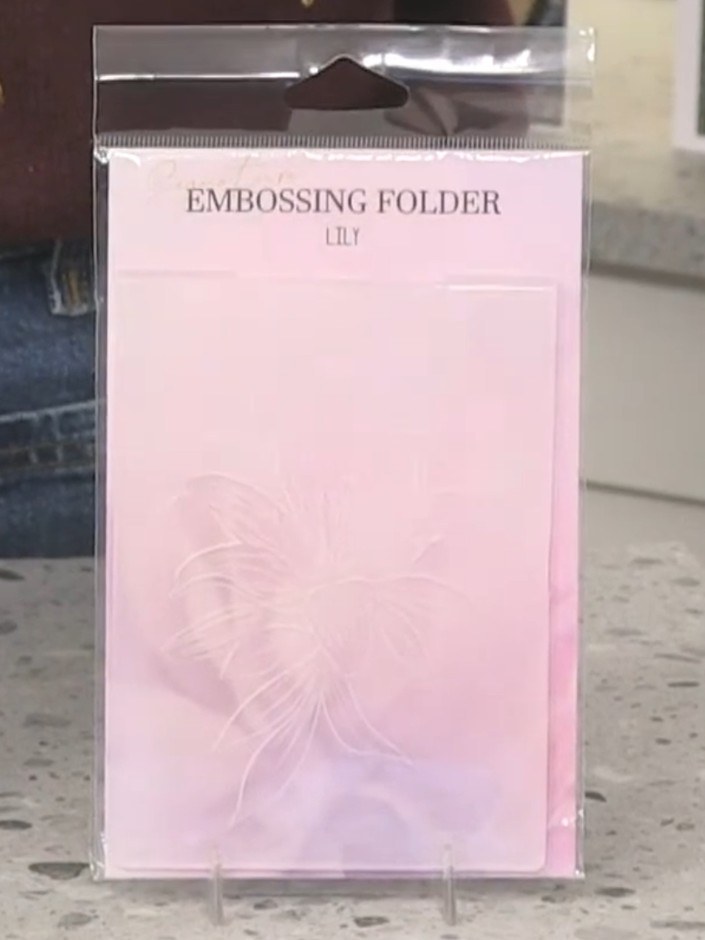
  4. Step 4: Place your chosen piece of cardstock inside the Lily embossing folder. Run the folder through your die-cutting

    Place your chosen piece of cardstock inside the Lily embossing folder. Run the folder through your die-cutting and embossing machine to create the detailed 3D embossed design.

    ▶ watch this step (16:30)
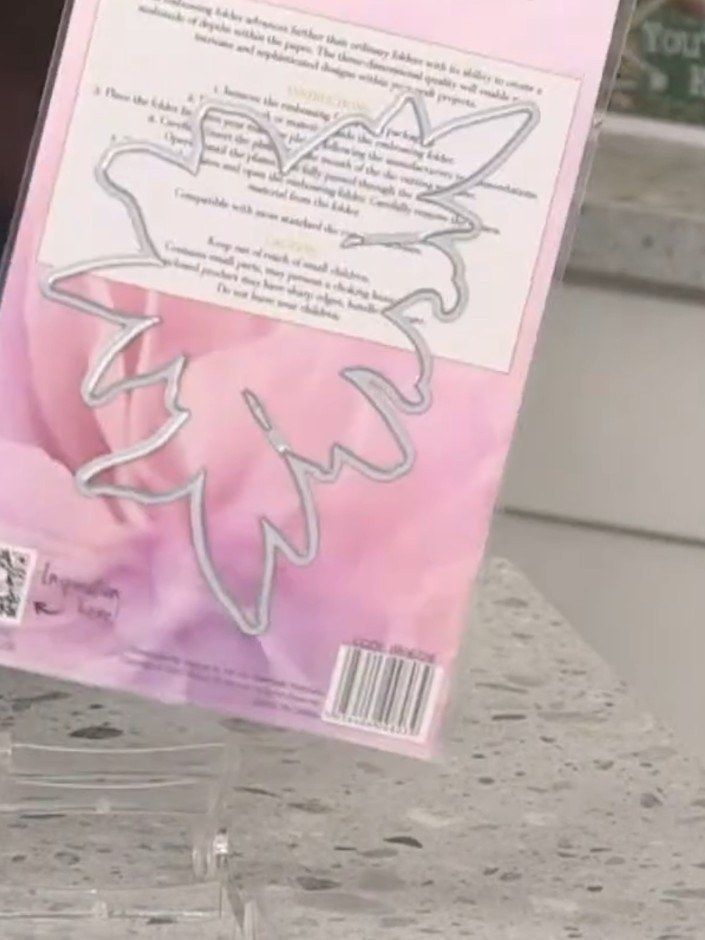
  5. Step 5: Carefully remove the paper from the embossing folder to reveal the beautiful embossed lily design.

    Carefully remove the paper from the embossing folder to reveal the beautiful embossed lily design.

    ▶ watch this step (16:45)
  6. Use the coordinating lily die to cut out the embossed design from the card front. This creates a delicate die-cut detail that highlights the embossed lily pattern. ▶ watch 17:00
  7. Mount the embossed lily panel onto your card base, positioning it off-centre or in a corner for visual interest. ▶ watch 17:15
  8. Add any additional embellishments if desired, or leave the card as is for a clean, elegant finish. The completed card features the embossed and die-cut lily design on the layered panels. ▶ watch 17:30

Tips from the show

More from this show

Written up from the show itself. See every guide from our shows · free how-to guides · watch live on My Telly







