Give your friends £10 off their first order!
Refer a FRIEND








A project from our live show ONE DAY SPECIAL - Join Toni for her brand new launch - Broadcast 4th Jan 2025 · 04/01/2025 · watch it from 27:45
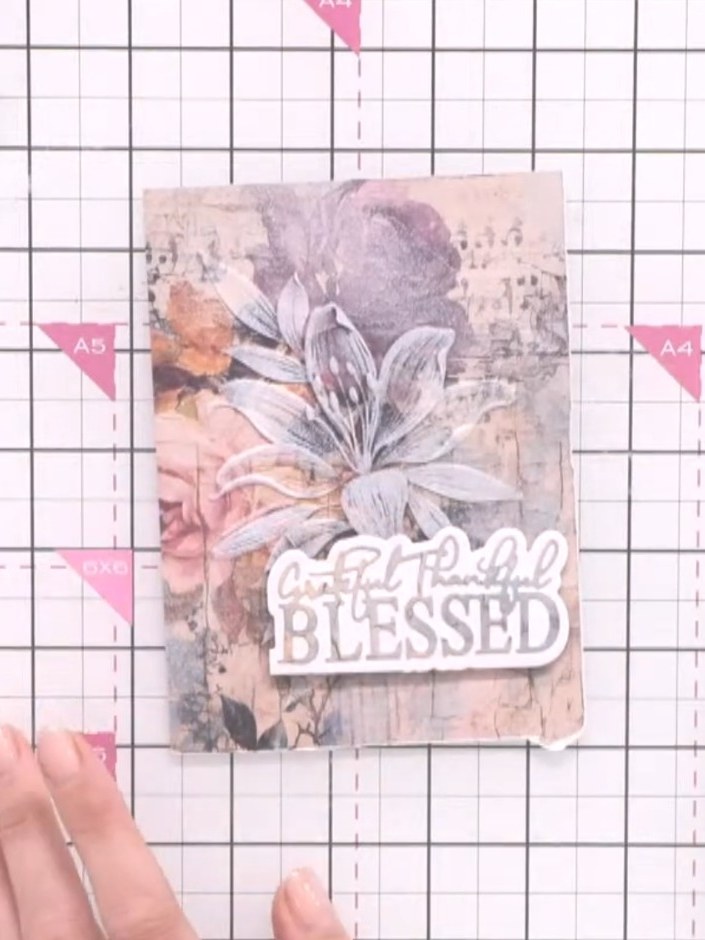
Create a stunning layered card featuring a delicate floral wreath design with the sentiment 'Blessed'. Using coordinating stencils and dies, you'll build up soft pink, peach and grey tones to create a dimensional botanical wreath with elegant leaves and blooms. This project demonstrates layering techniques with stencils and die-cutting to achieve a professional, textured finish.
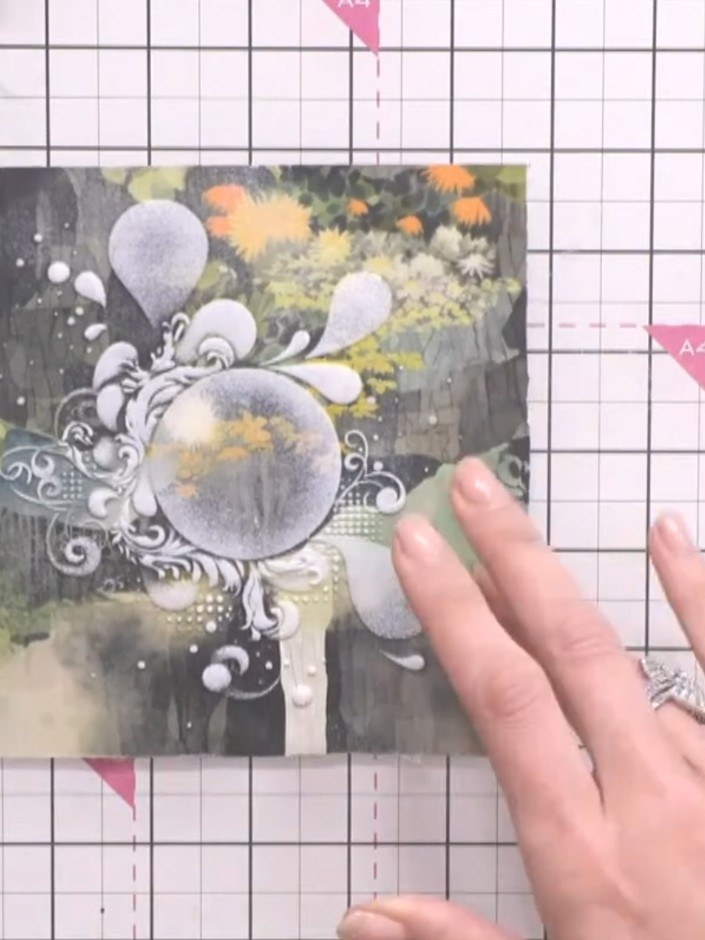
Prepare a piece of white card stock as your base card.
▶ watch this step (27:45)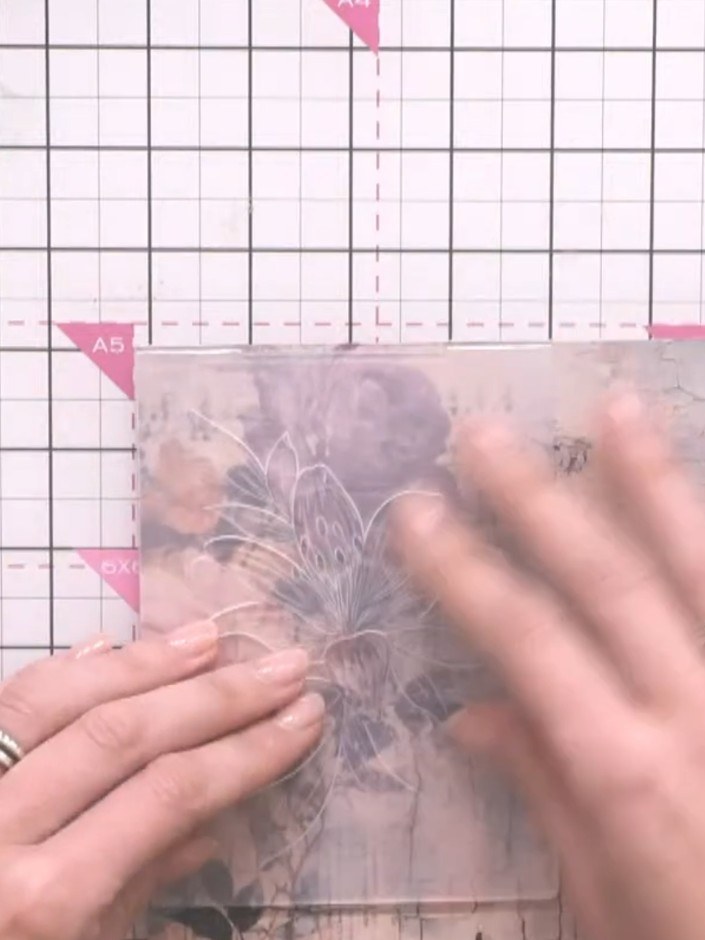
Select the first Heart Wreath layering stencil and position it on your paper. Use a pencil to mark the hearts in each of the four corners to help with alignment.
▶ watch this step (28:00)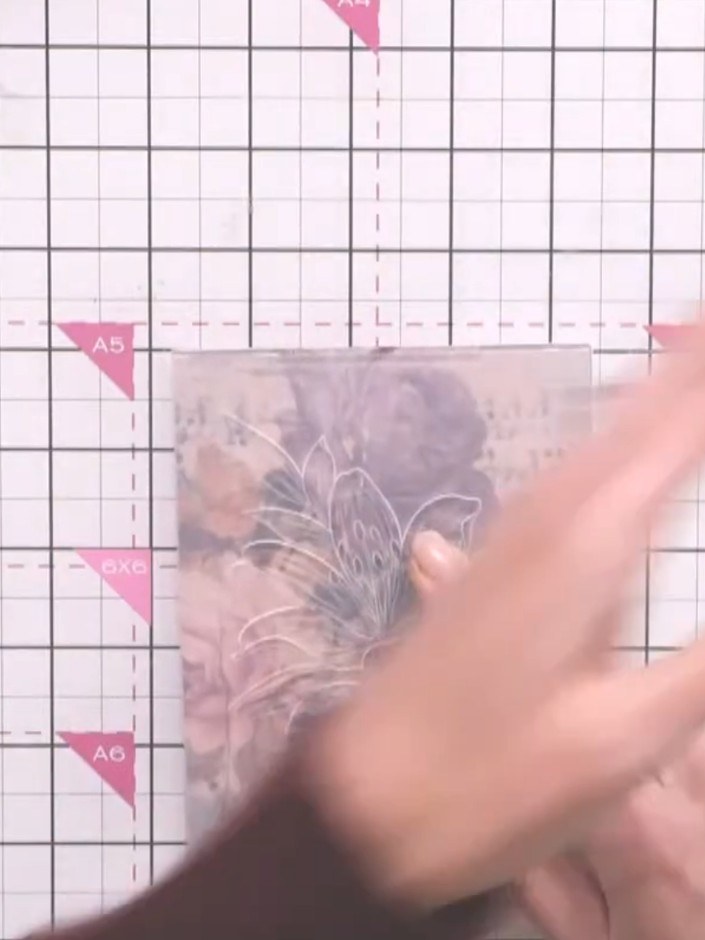
Position your heart wreath stencil on the card front. Using a blending tool, apply ink through the stencil in your chosen first colour, working the ink gently over the stencil design.
▶ watch this step (28:30)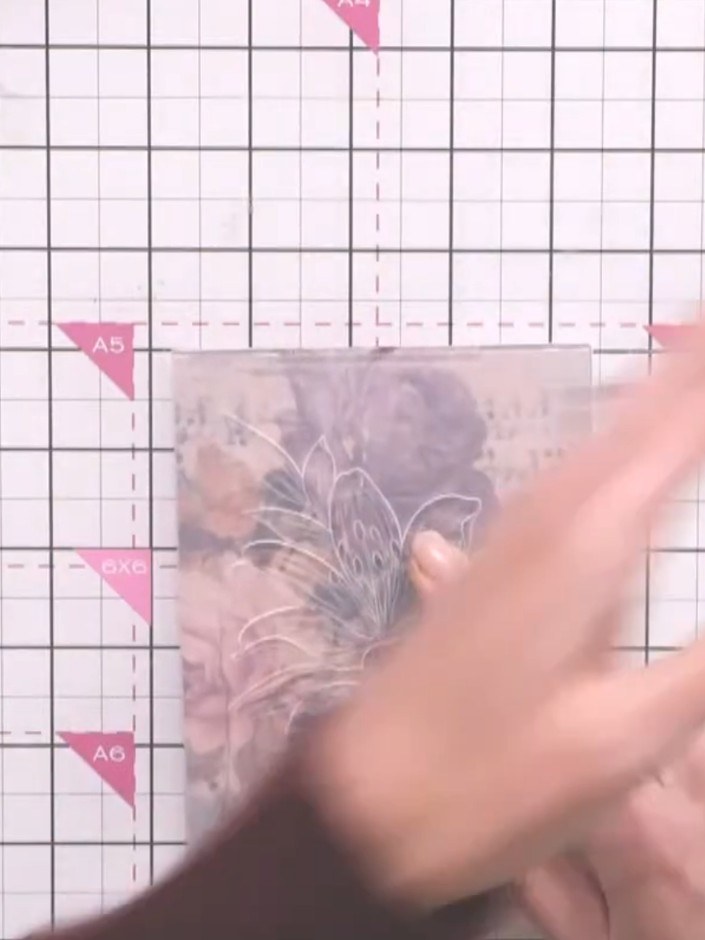
Position the second stencil over your card, aligning it with the corner hearts. Apply a second colour through the stencil using your blending tool or sponge.
▶ watch this step (29:00)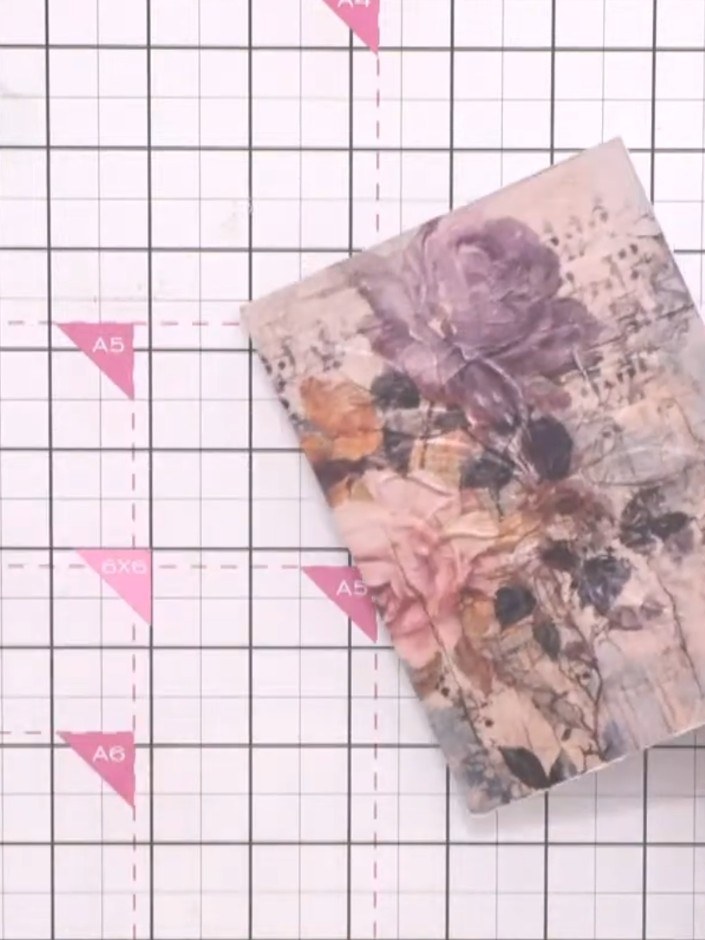
Continue building up the wreath design by applying additional stencils over the base layer. Use different colours through the stencils to add depth and dimension to the floral wreath pattern.
▶ watch this step (29:30)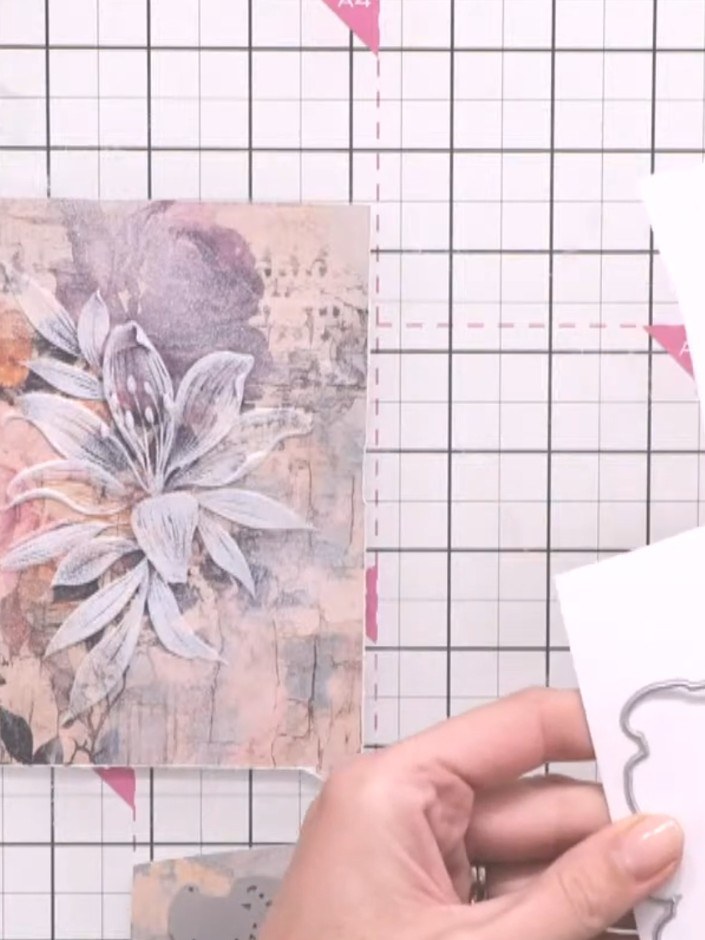
Die-cut your chosen sentiment word (Grateful, Thankful, or Bless) from coordinating cardstock using the die from the Heart Wreath set.
▶ watch this step (34:00)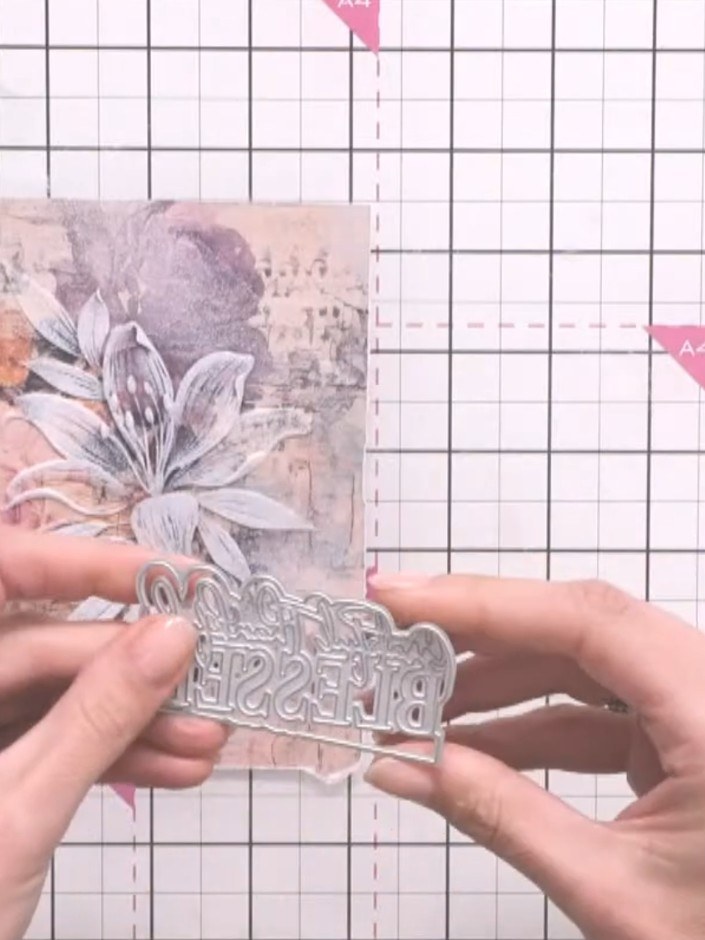
Adhere the sentiment die-cut to the centre of the wreath using glue, positioning it over the floral design.
▶ watch this step (34:30)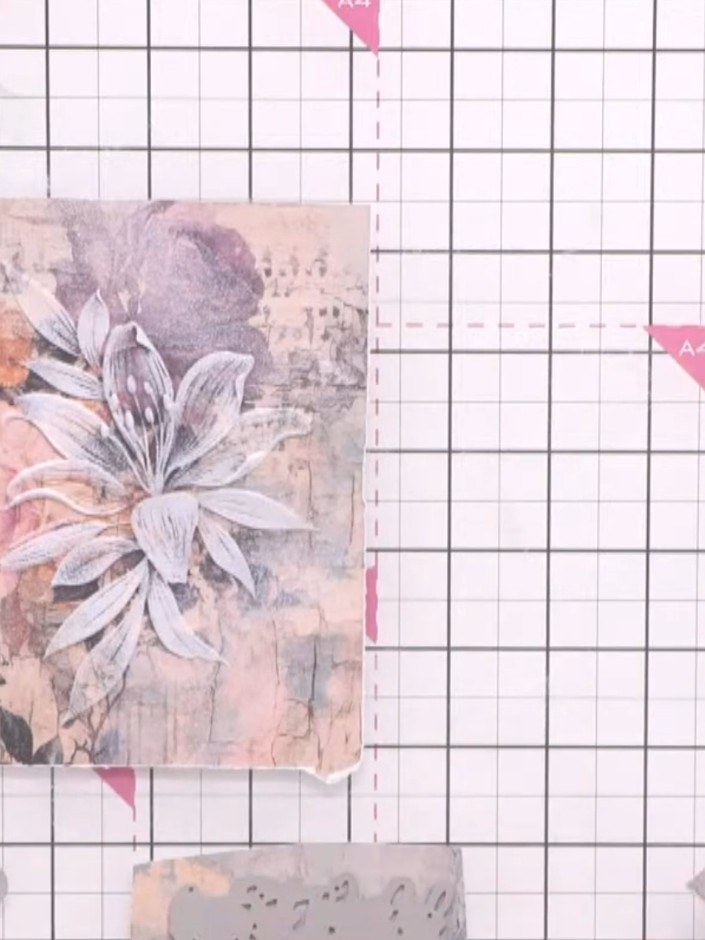
Mount the completed layered design onto your card base to finish the card.
▶ watch this step (35:00)Written up from the show itself. See every guide from our shows · free how-to guides · watch live on My Telly
