Give your friends £10 off their first order!
Refer a FRIEND








A project from our live show ONE DAY SPECIAL - Join Toni for her brand new launch - Broadcast 4th Jan 2025 · 04/01/2025 · watch it from 40:30

Create a stunning layered card featuring elegant purple tulips with a dotted and lined pattern effect. The tulips are positioned against a vibrant abstract floral background with coral, pink, yellow and grey tones. This project uses a detailed stencilling technique to build up beautiful dimension and texture through multiple layers.
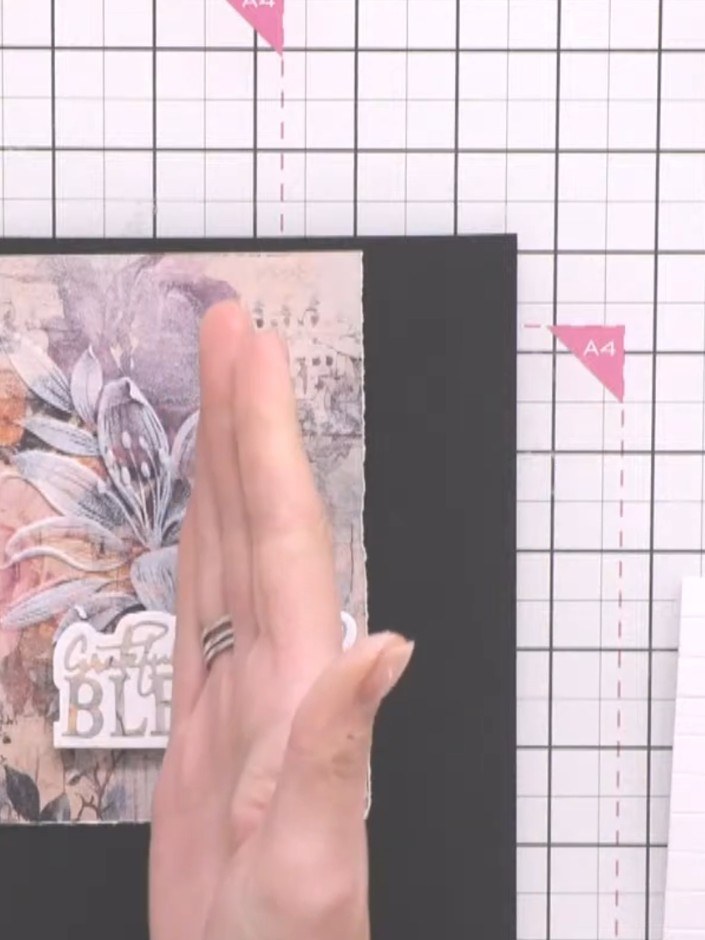
Prepare a piece of white card stock as your base. Mount a decorative panel featuring the dotted tulips design onto a dark grey card base.
▶ watch this step (40:30)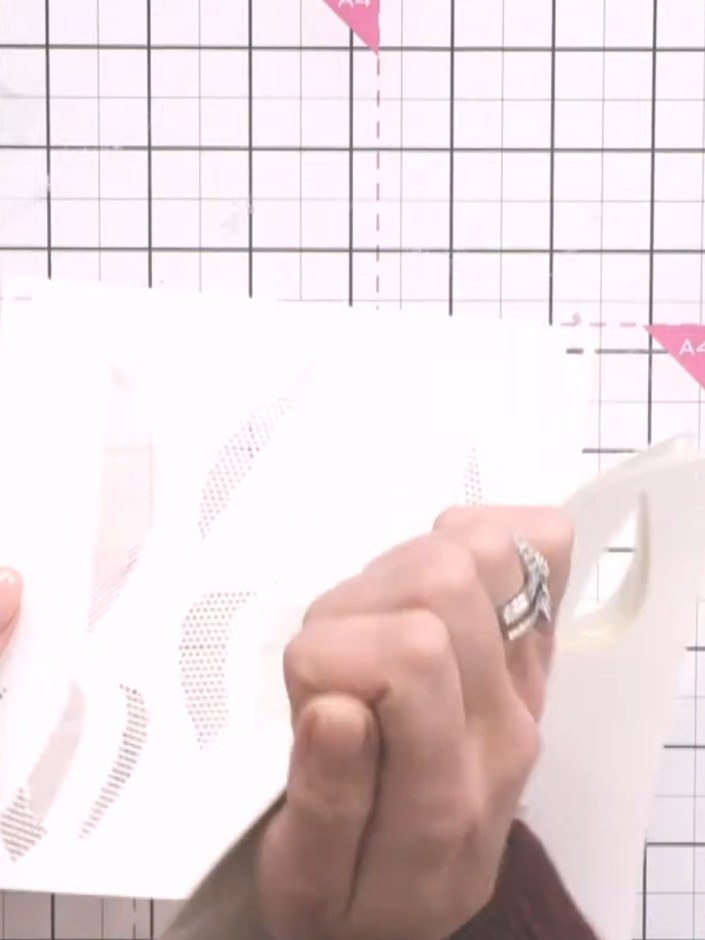
Select stencil number one from the Dotted Tulips set and position it along the edge of your card base on the craft mat.
▶ watch this step (41:00)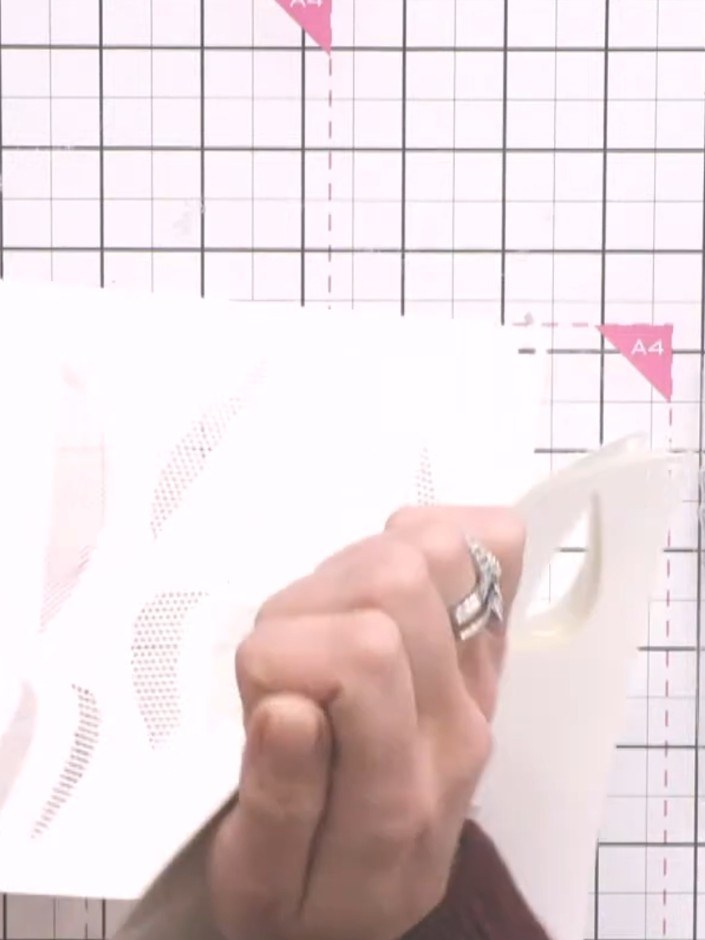
Select stencil number two from the Dotted Tulips set. Line up the stencil with the edge of your card, ensuring it is properly aligned with the first layer.
▶ watch this step (42:00)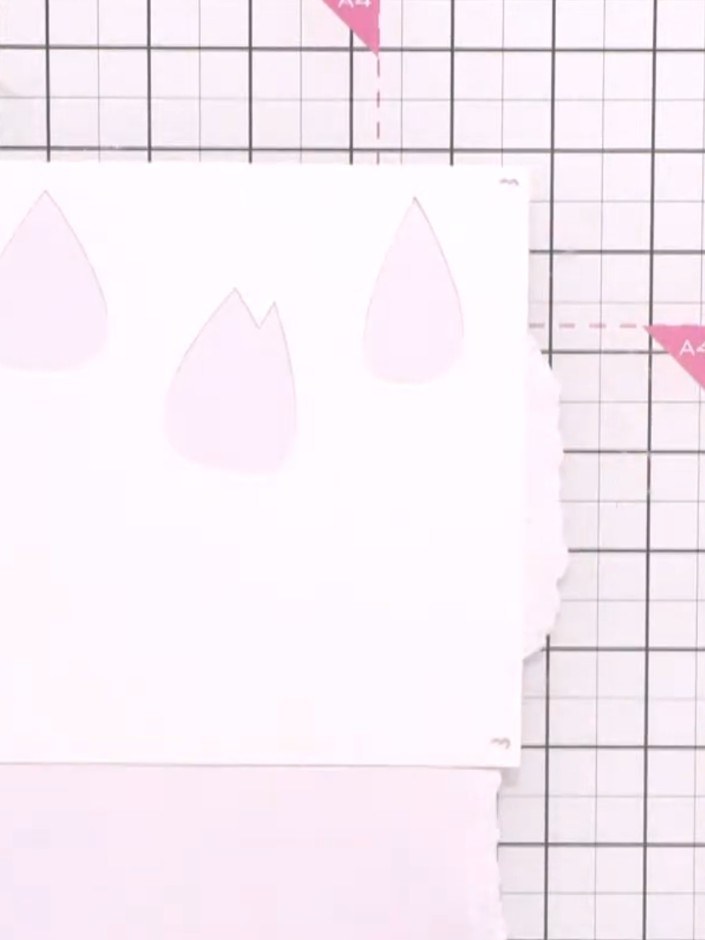
Position the stencil over your card base and apply your second colour through the stencil, ensuring each layer lines up with the previous one. Use a blending tool or sponge to apply the ink evenly through the stencil openings.
▶ watch this step (42:30)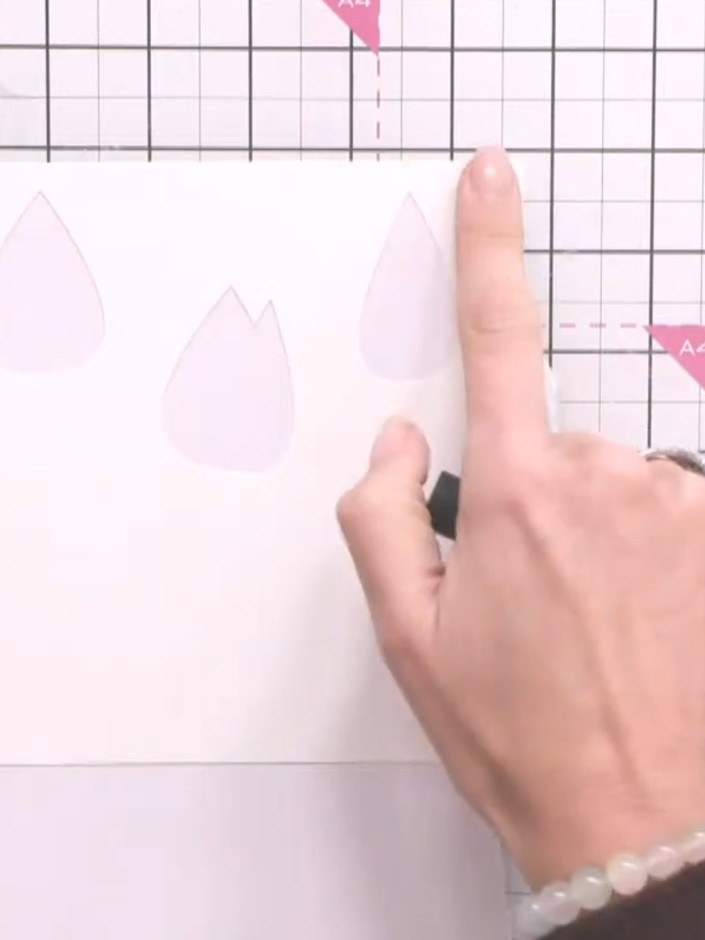
Continue layering the remaining stencils from the Dotted Tulips set, using different colours to build up the complete tulip design on your card.
▶ watch this step (43:00)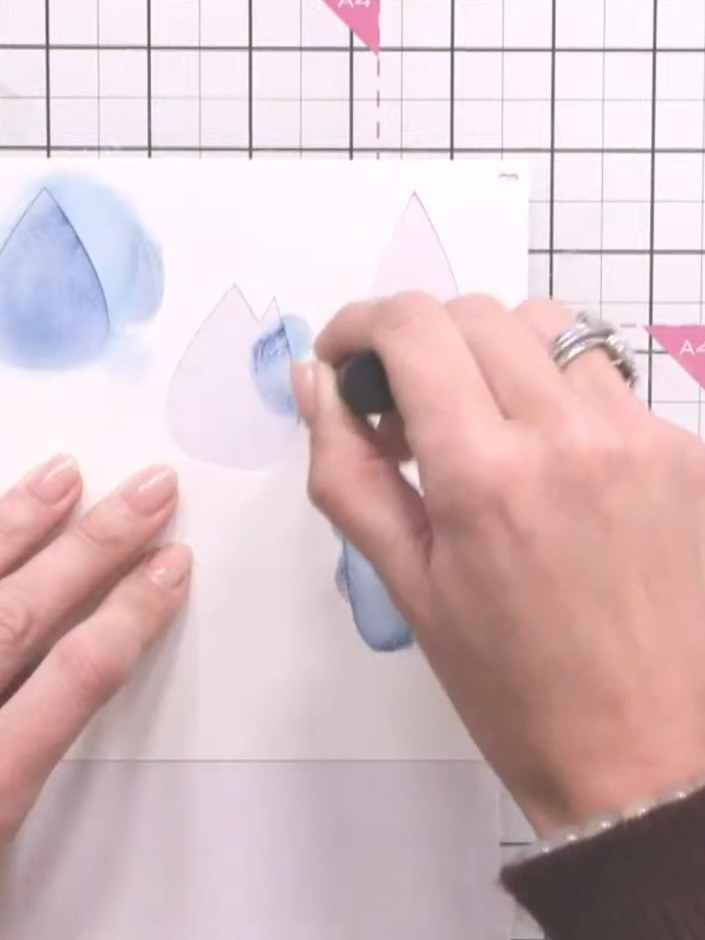
Apply embossing ink through one of the tulip stencils onto your card. Sprinkle embossing powder over the inked area and heat-set with a heat tool to create raised, dimensional detail.
▶ watch this step (43:30)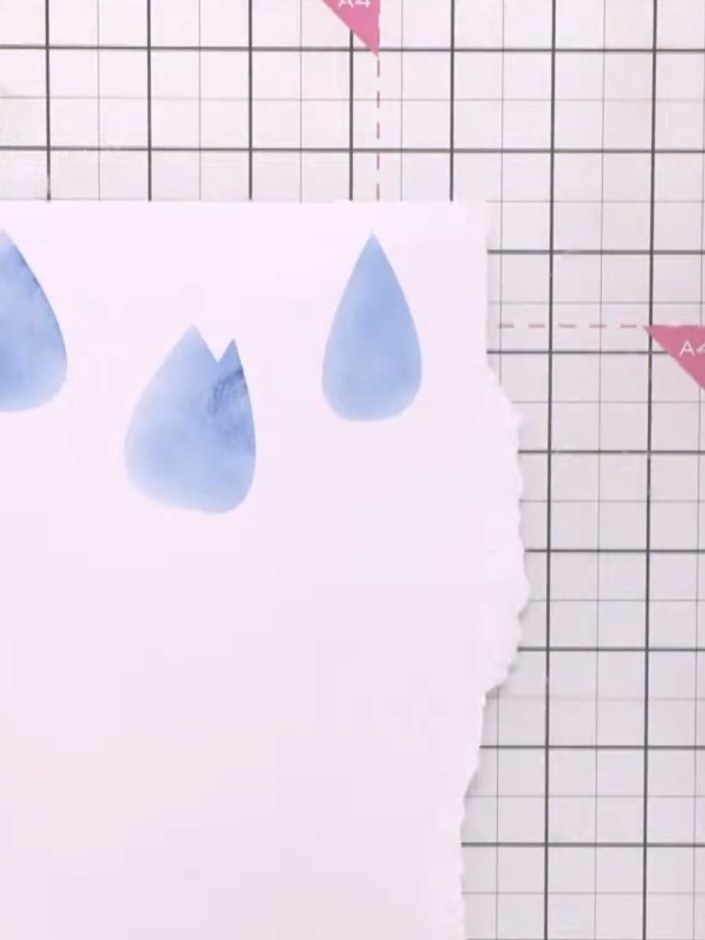
Die-cut the outline dies from the Dotted Tulips set to frame your stencilled design and add extra dimension to your card.
▶ watch this step (44:00)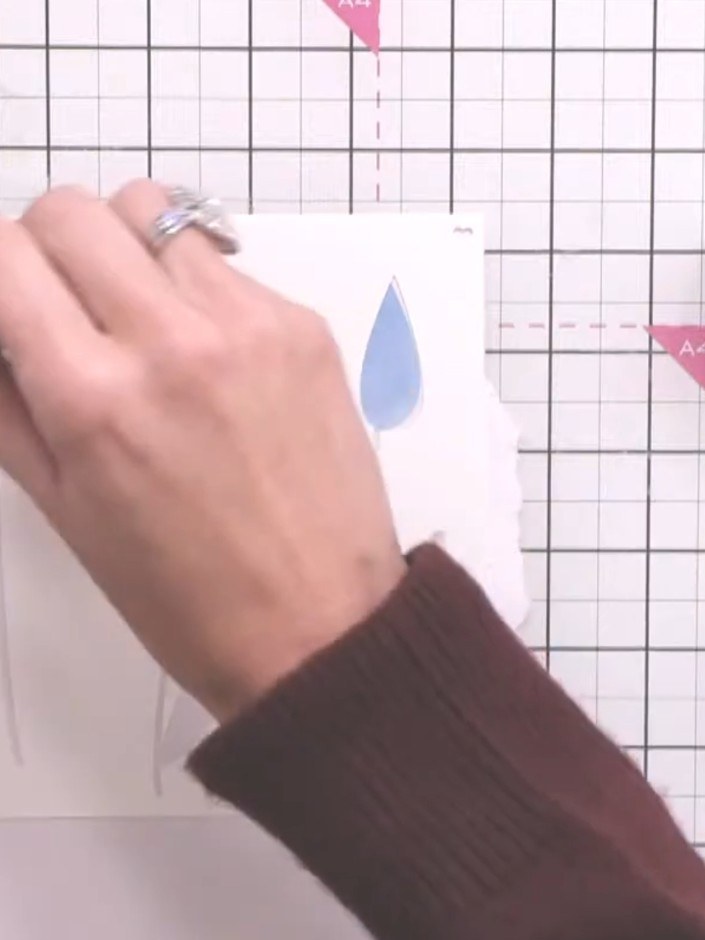
Mount the completed tulip design onto your card base using adhesive. Smooth down carefully to ensure it is securely attached.
▶ watch this step (44:30)Written up from the show itself. See every guide from our shows · free how-to guides · watch live on My Telly
