Give your friends £10 off their first order!
Refer a FRIEND








Prices change straight away. Every language is our own translation, not Google.
A project from our live show ONE DAY SPECIAL - Join Toni for her brand new launch - Broadcast 14th Feb 2025 · 14/02/2025
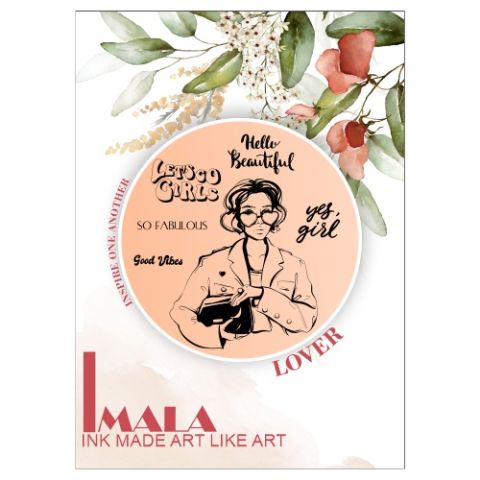
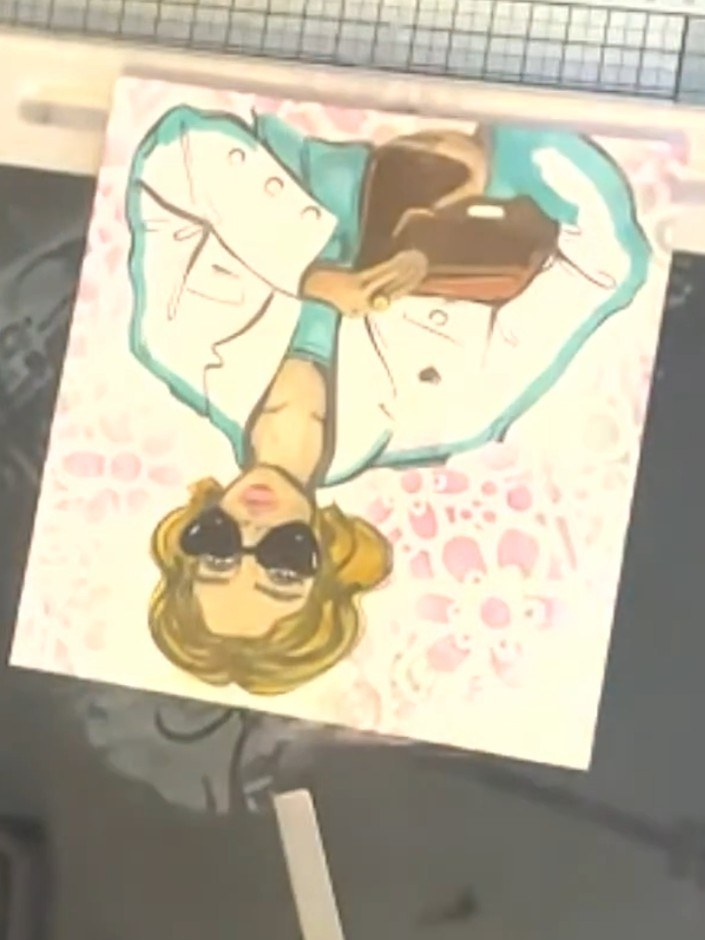
Create a vibrant, eye-catching card featuring a stylish 'Lover Girl' character set against a colourful patchwork background. Using stencils, distress inks in pink, yellow and teal, and decorative papers, you'll build up layers of pattern and texture, framed with bold black ink. The focal image is coloured with alcohol markers and positioned on the patchwork design for a contemporary, artistic finish.
 1
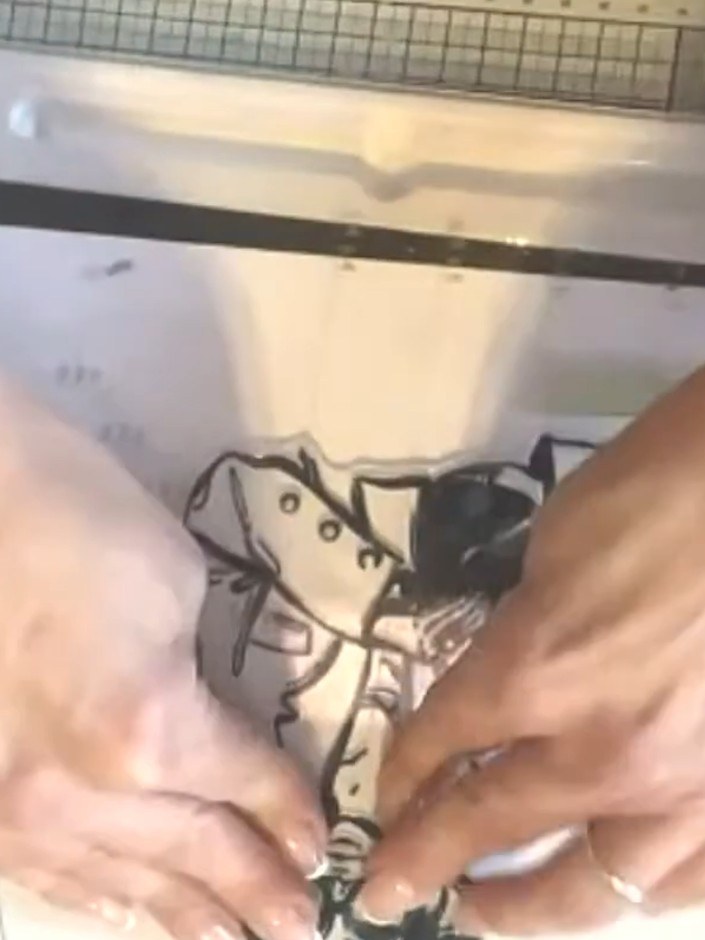
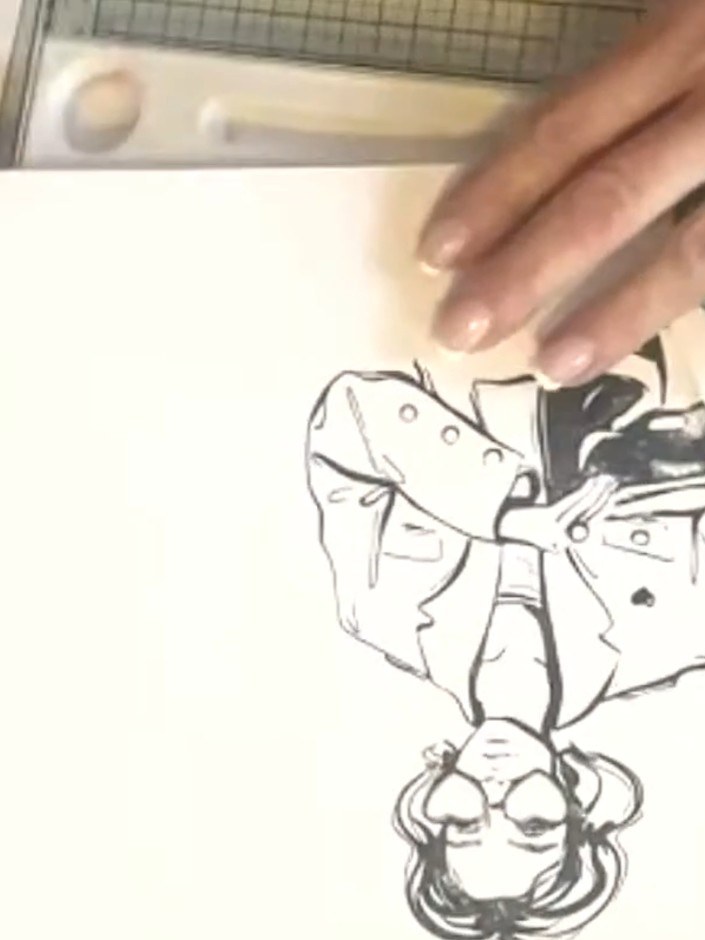
Stamp the Lover Girl (Daisy) image onto white card using black ink. Position the stamp carefully and press firmly to ensure a clear impression.
 2
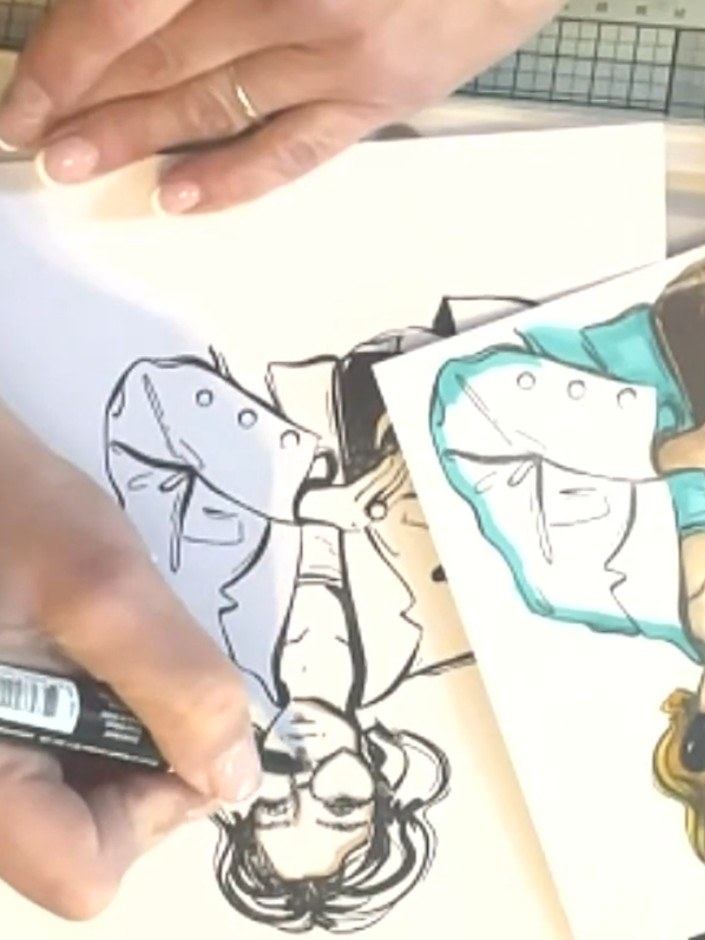
Using a darker alcohol marker, lightly outline and shade the girl's features, focusing on areas like the cheeks, lips, and nose to add definition and depth.
 3
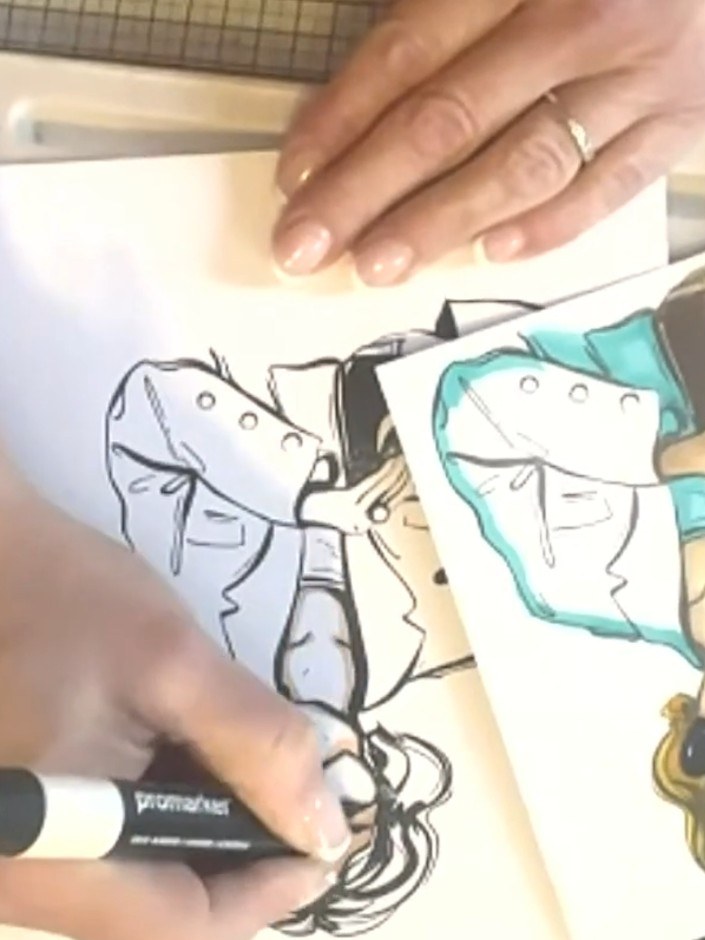
Apply a peachy alcohol marker under the cheekbones of the character. Layer your skin tone over the top using the other end of the marker to blend and create natural shadows.
 4
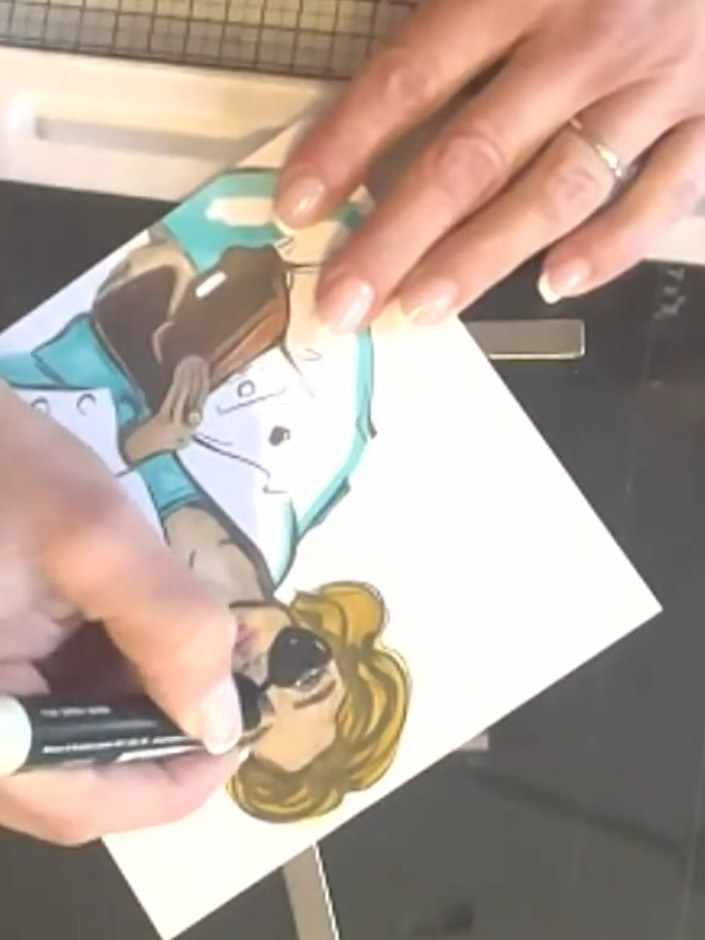
Use darker markers to add depth and dimension to the face, accentuating key features such as the eyes, nose and mouth. Work carefully to enhance the facial details and bring the character to life.
 5
Use a white gel pen to add highlights to the eyes and other features. Then use a black pen to define the eyes and add detail, creating more texture and dimension to the character's face.
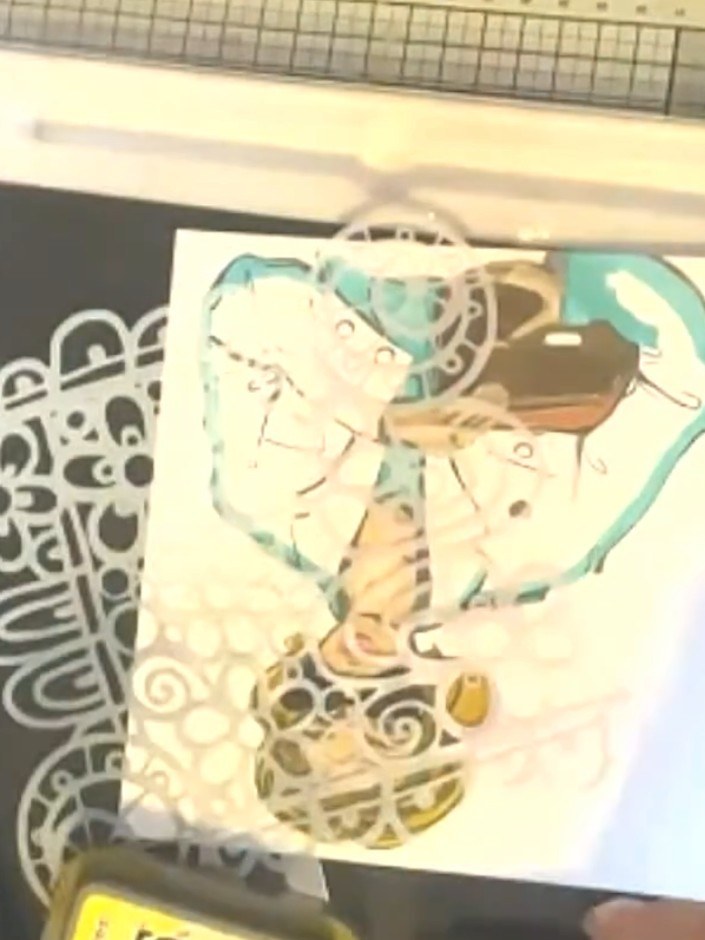 6
Use teal alcohol marker to colour the girl's clothing and accessories. Add colour to her top, trousers, and sunglasses to complete the character.
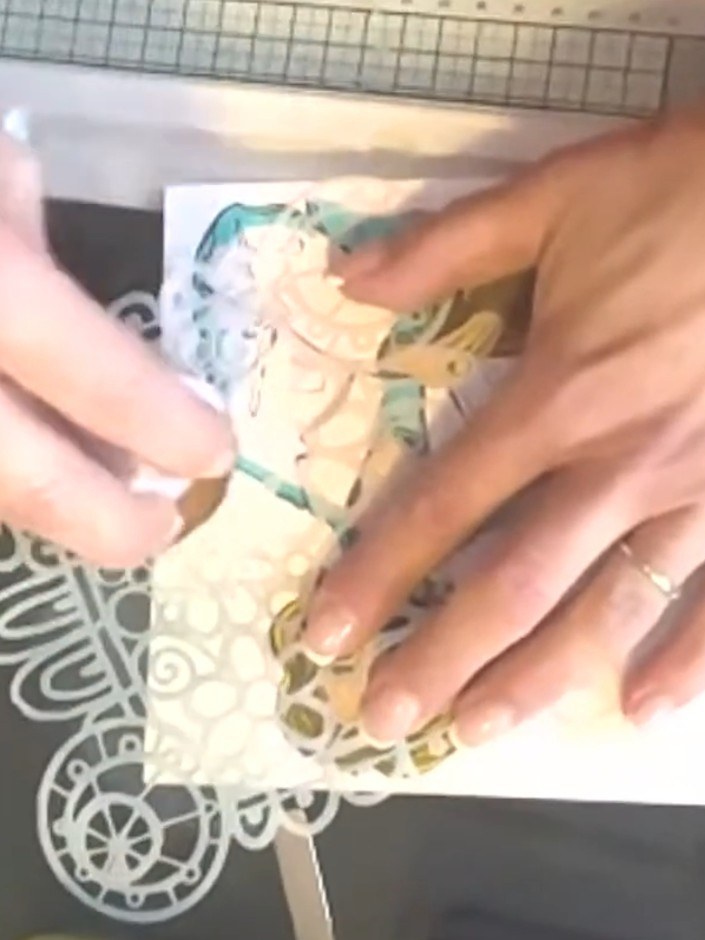 7
Stamp the girl image onto decorative patterned paper that coordinates with your background. Colour around the edges of the stamped image with matching markers to blend with the paper pattern, ready for fussy cutting.
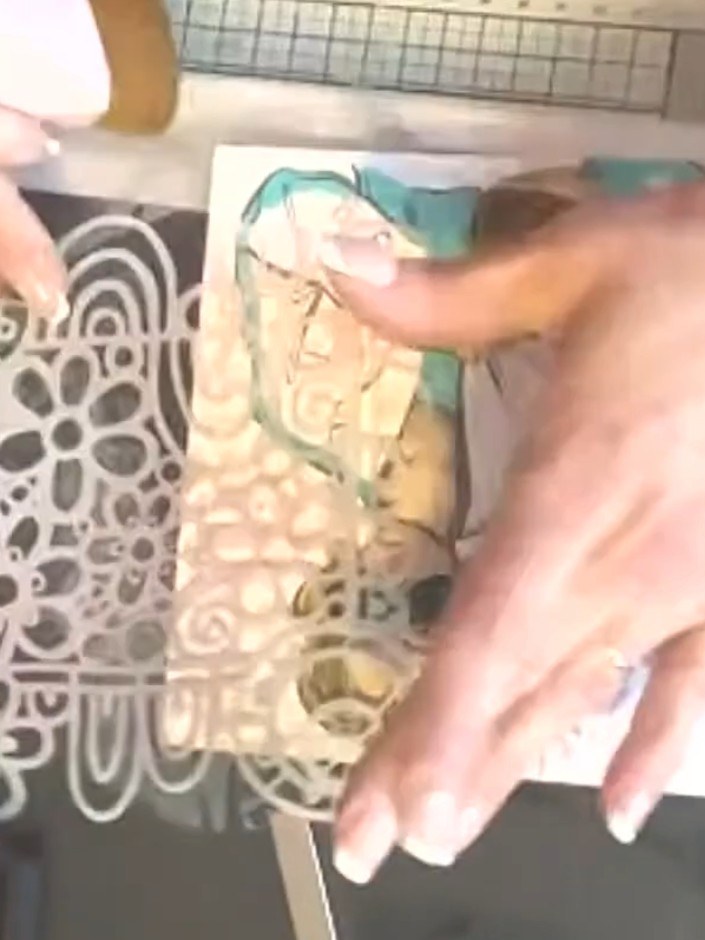 8
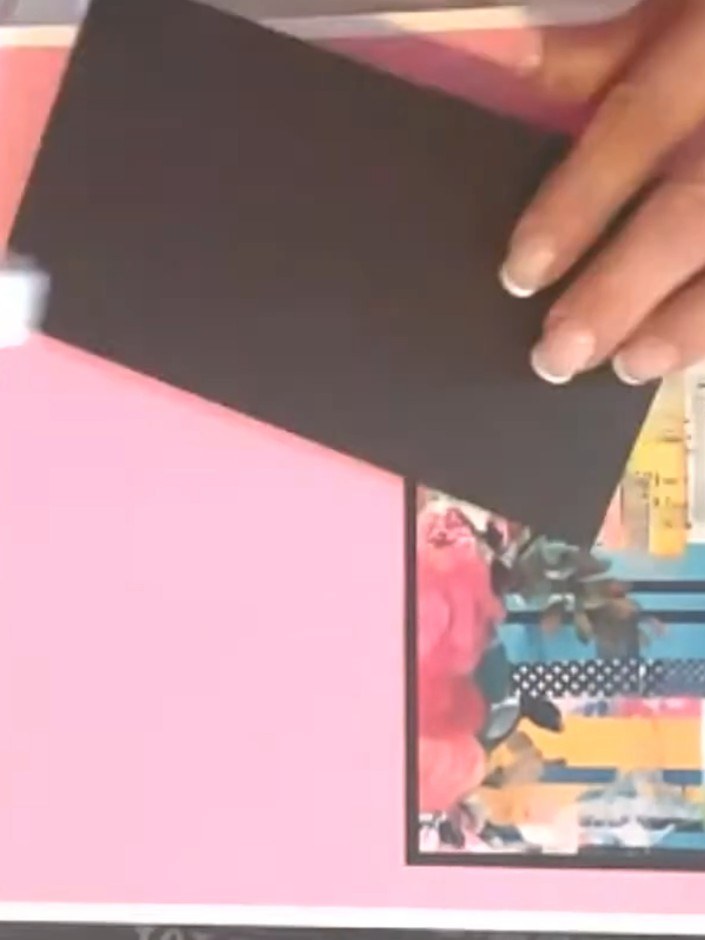
Take a large card base and begin building the background by layering decorative paper panels at angles around the sides. Position the panels to create texture and visual interest across the card front.
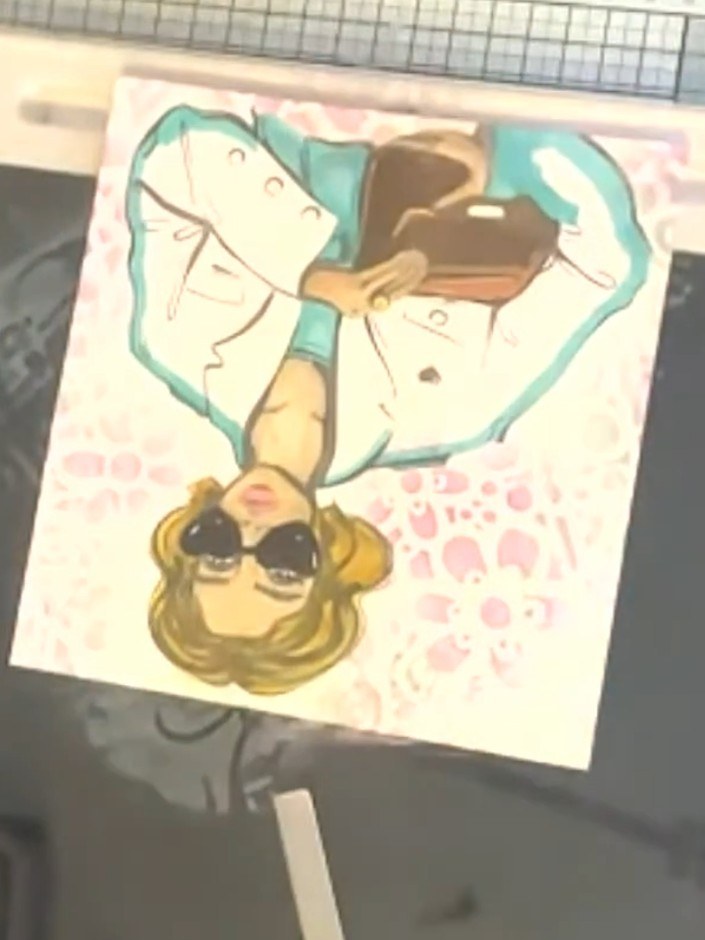 9
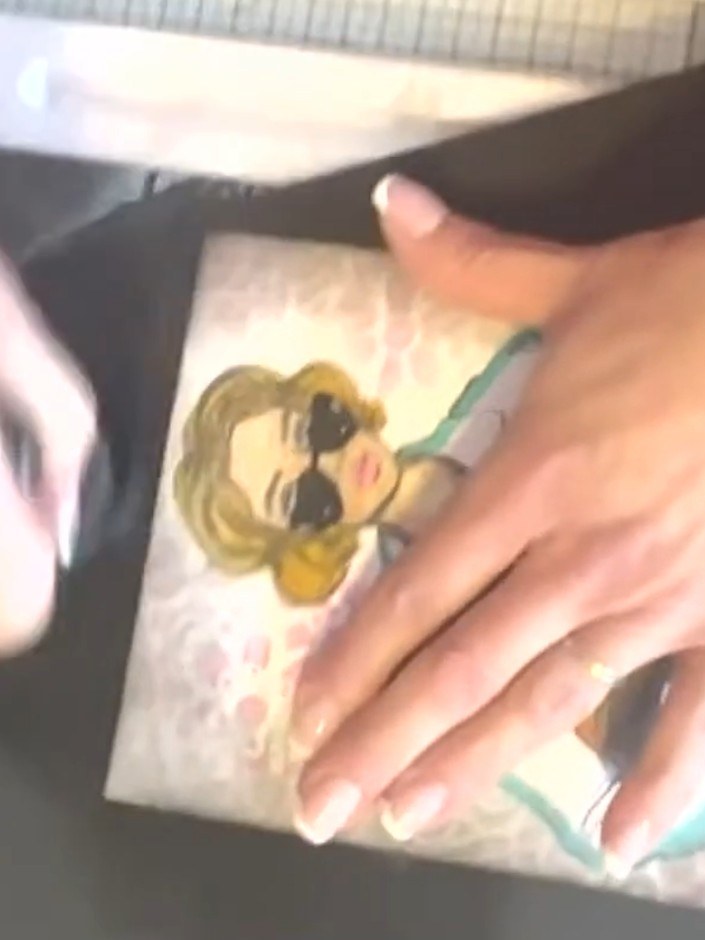
Use a stencil and distress ink in salvage patina to add colour around the edges of your background panels. Apply the ink lightly around the borders to create subtle shading.
 10
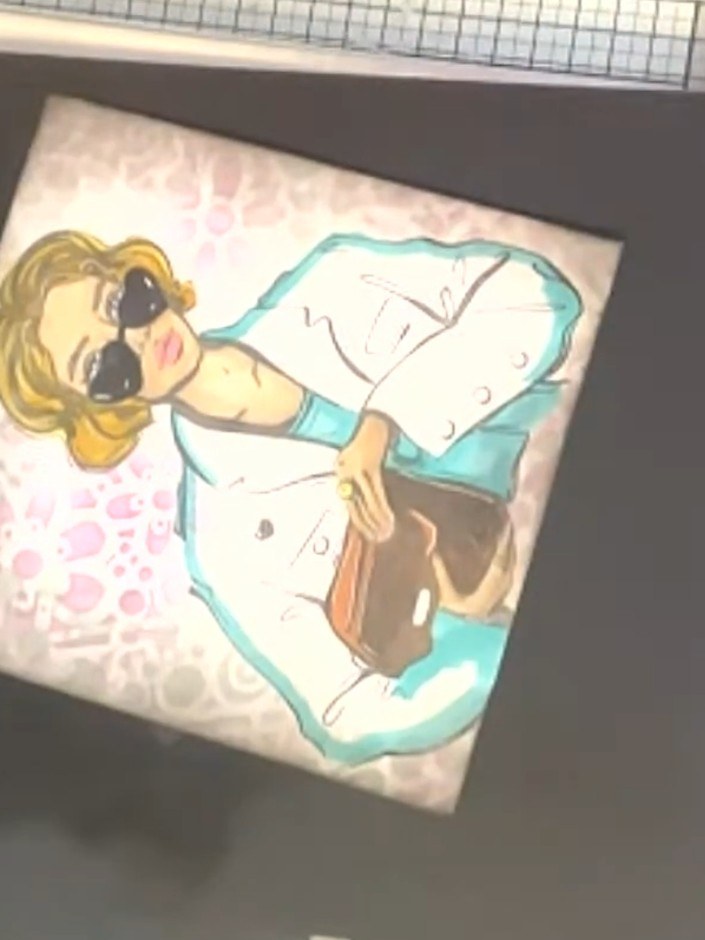
Layer pink distress ink over the stencilled background, slightly overlapping the previous colour to build depth and dimension.
 11
Using the same stencil, apply teal distress ink to the background to continue building up a multi-coloured, textured effect.
 12
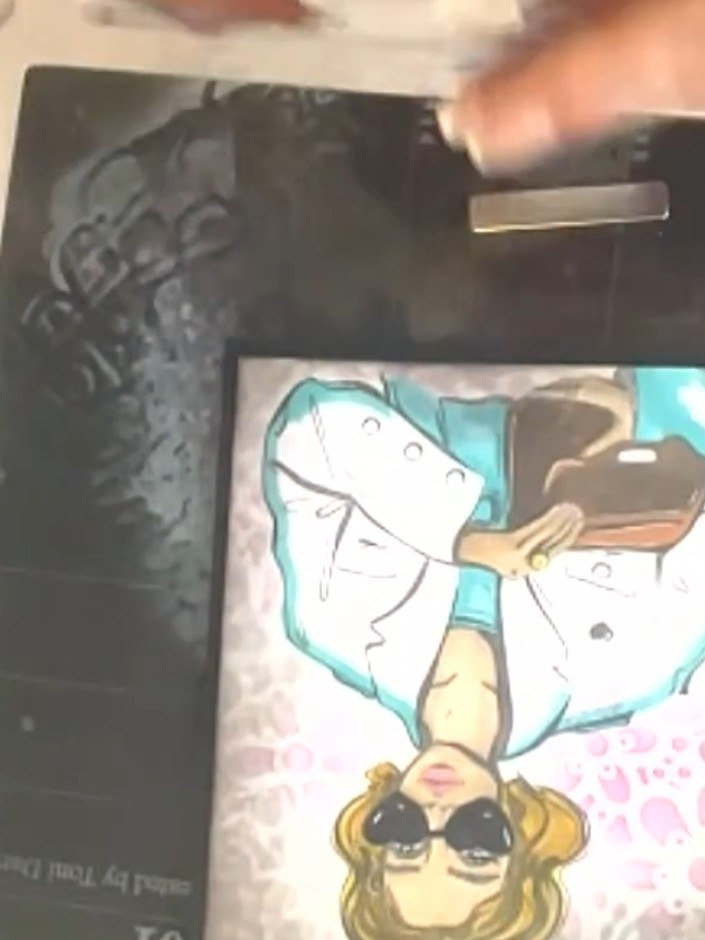
Frame the entire background with black distress ink, applying it lightly around all the edges to pull the design together and add definition.
 13
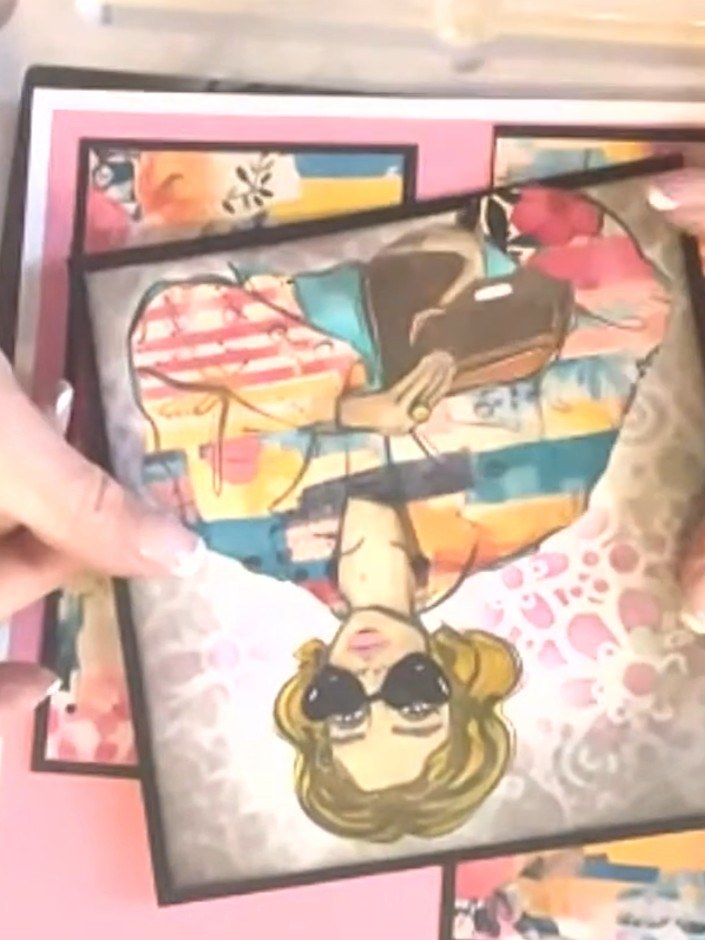
Mat the coloured girl image onto black card. This creates a border that makes the image pop against the patterned background.
 14
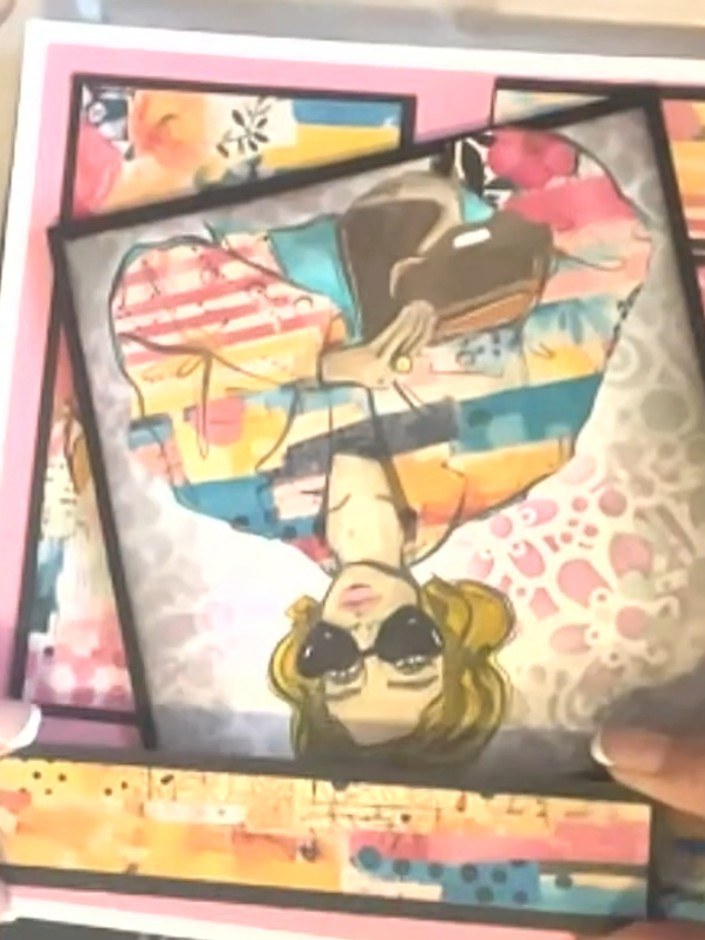
Adhere the matted girl image to the centre of the layered background using foam pads for dimension.
 15
Add a sentiment such as 'Hello beautiful' to the card. Frame the sentiment lightly with black ink to tie the design together.
Share your make with the Stamps By Me community - and keep this guide for next time.
Written up from the show itself. See every guide from our shows · free how-to guides · watch live on My Telly · the previous layout