Give your friends £10 off their first order!
Refer a FRIEND








Prices change straight away. Every language is our own translation, not Google.
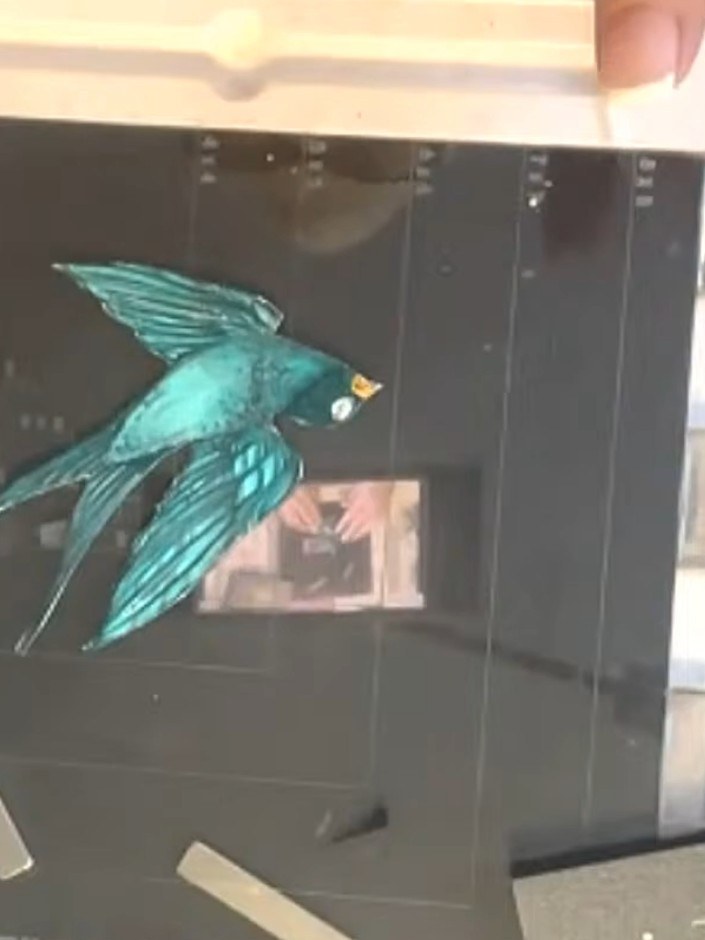
A project from our live show ONE DAY SPECIAL - Join Toni for her brand new launch - Broadcast 14th Feb 2025 · 14/02/2025
Create a striking card featuring a beautiful songbird stamp coloured with shimmering metallic watercolours on an elegant black card base. The design showcases layered silver and white metallic washes for the background, an embossed sentiment, and dimensional wings created with vellum and foam pads to add depth and interest. This sophisticated project combines watercolour techniques with embossing and dimensional layering for a truly eye-catching result.
 1
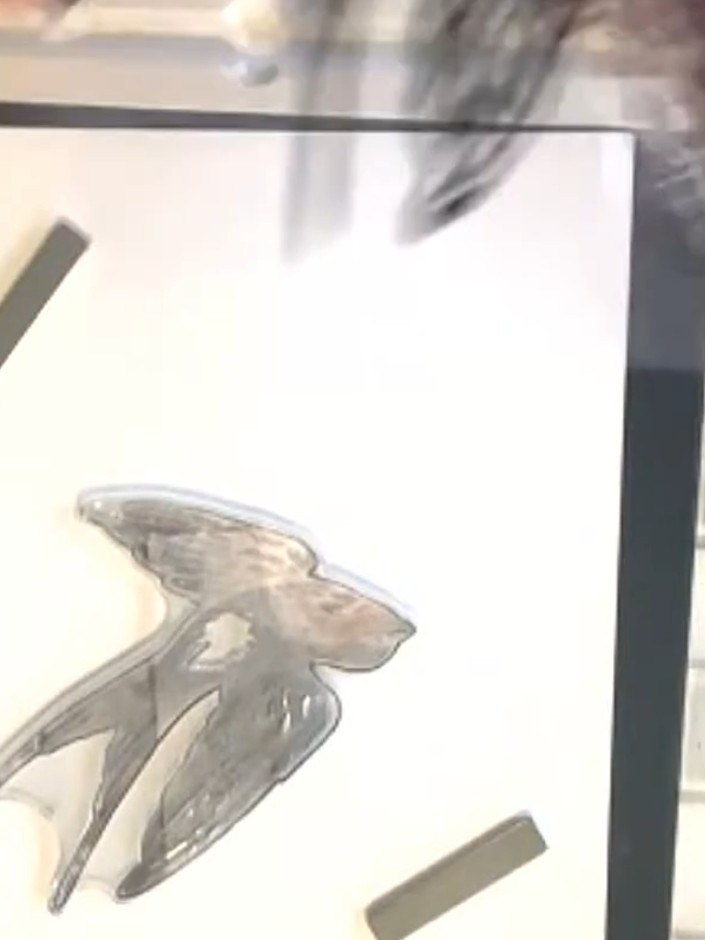
Stamp the songbird image onto white card using black ink, positioning it in the centre. Press firmly to ensure a crisp, clear impression.
 2
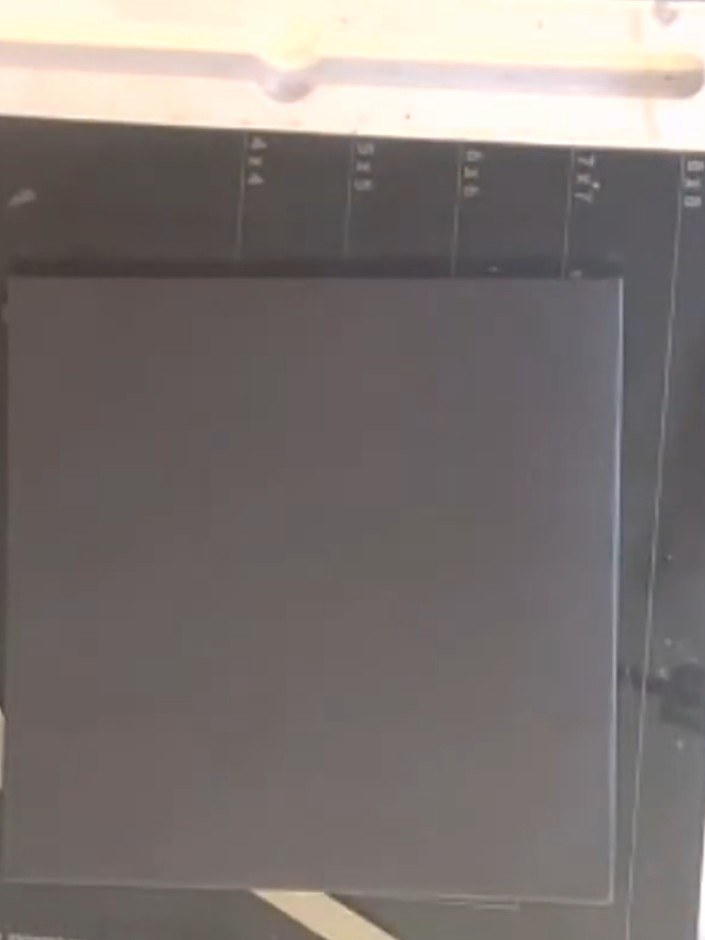
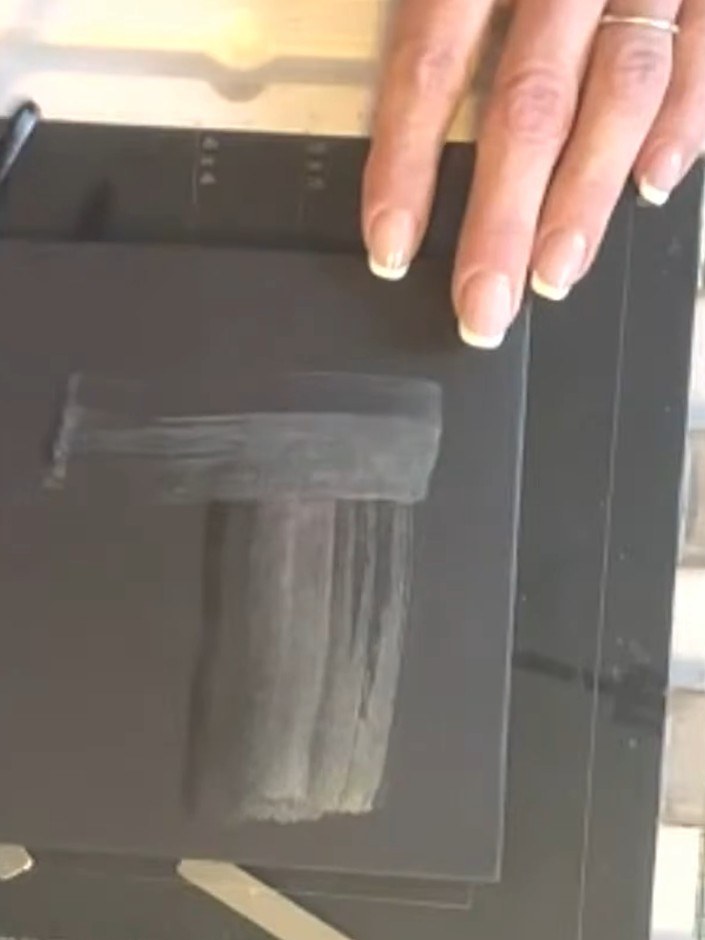
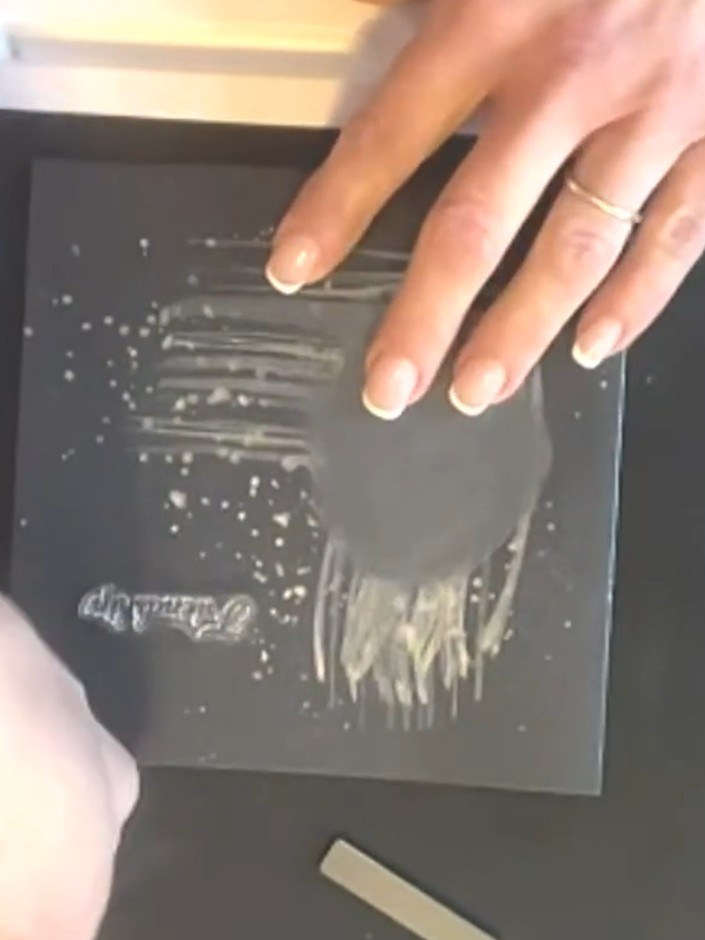
Place a piece of black card onto your stamping platform. Using a flat brush, apply silver metallic watercolour to the card, dragging the brush downwards to create a graduated corner zone for your focal point.
 3
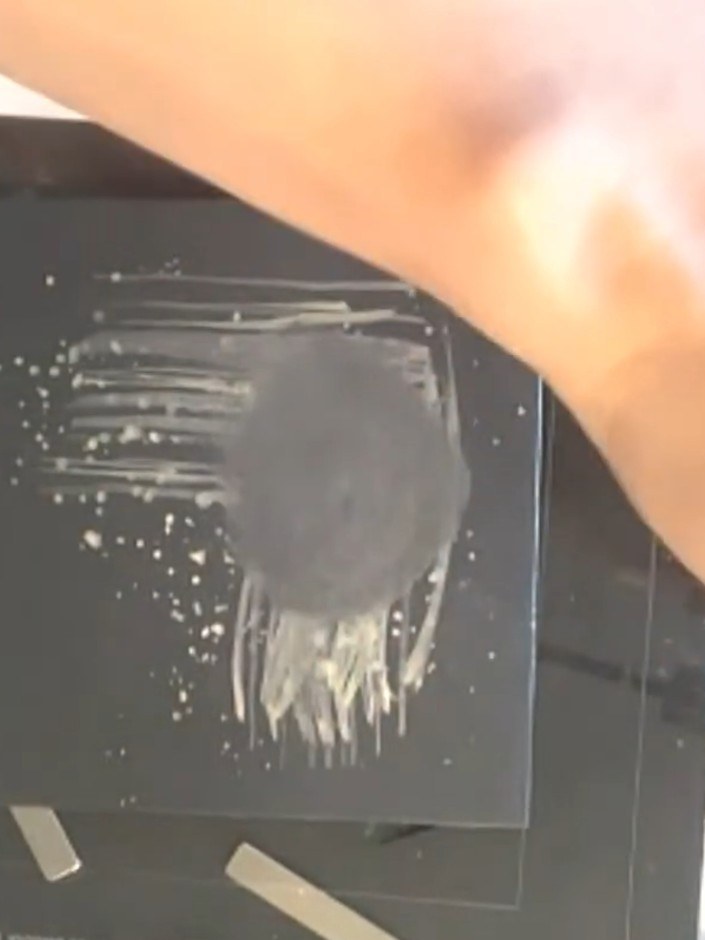
Layer grey metallic watercolour over the silver base. Add white metallic watercolour in a circular motion to create depth and interest on the background.
 4
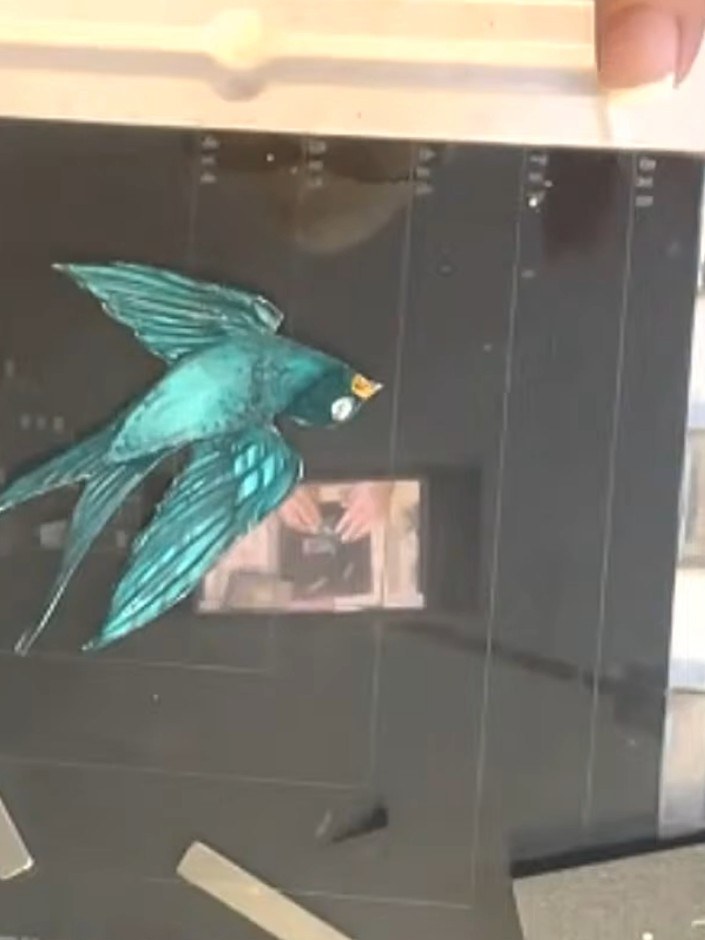
Use a fan brush to flick metallic watercolour across the top of the black background to add texture and visual interest.
 5
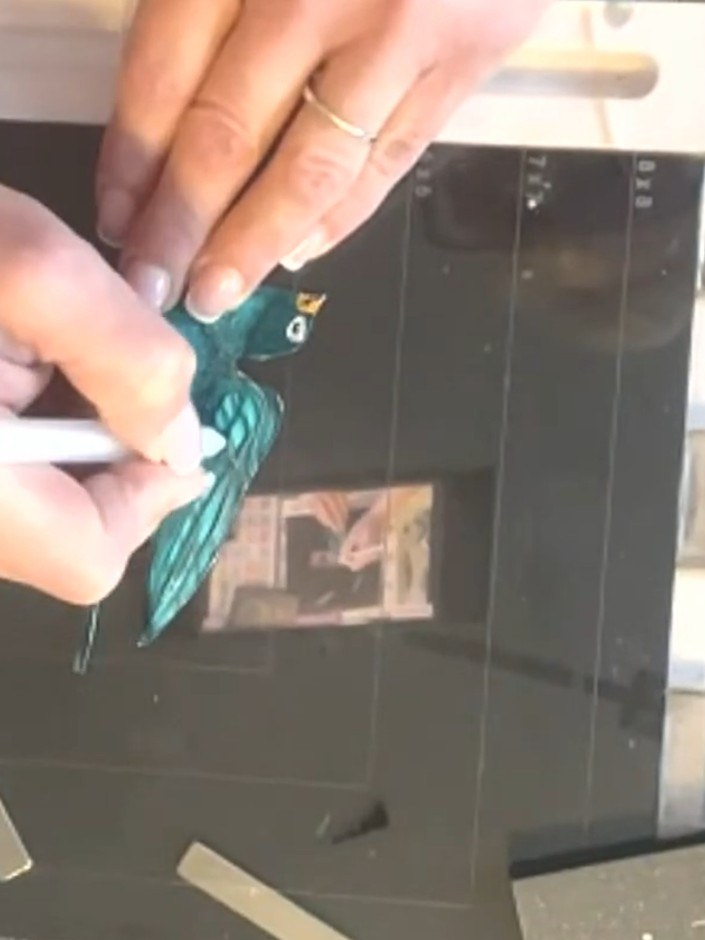
Colour the stamped bird using watercolour and alcohol markers. Blend darker tones to define features such as the eye and wing details. Work in different directions to create depth and dimension.
 6
Use a white gel pen to trace over the existing lines of the teal bird design, following the printed artwork without adding any new details.
 7
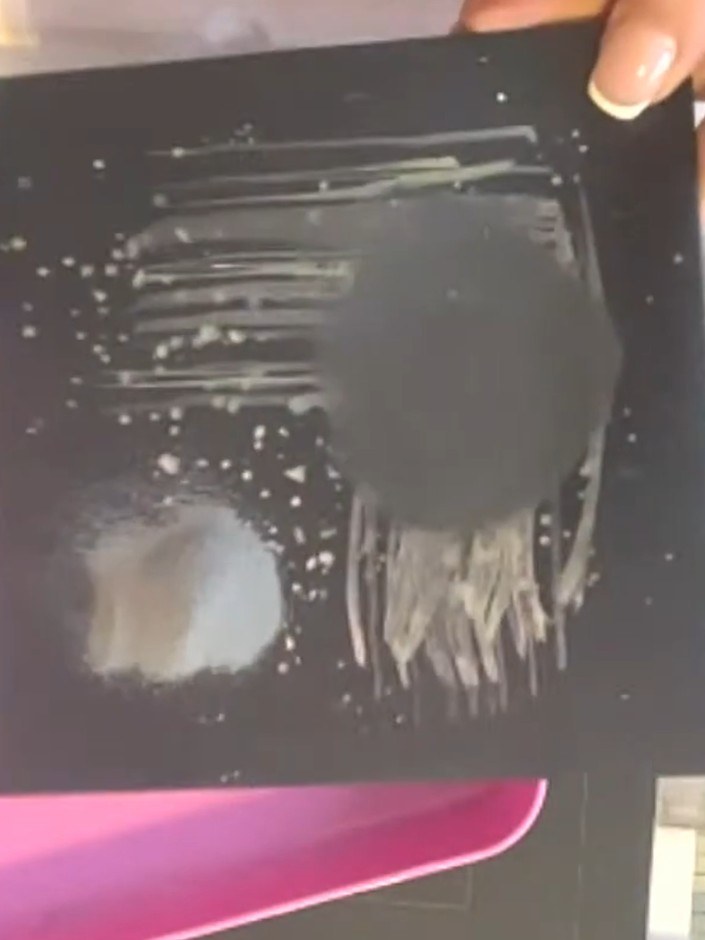
Stamp a sentiment from the Songbird stamp set onto the black card base. Heat emboss the stamped sentiment using silver embossing powder.
 8
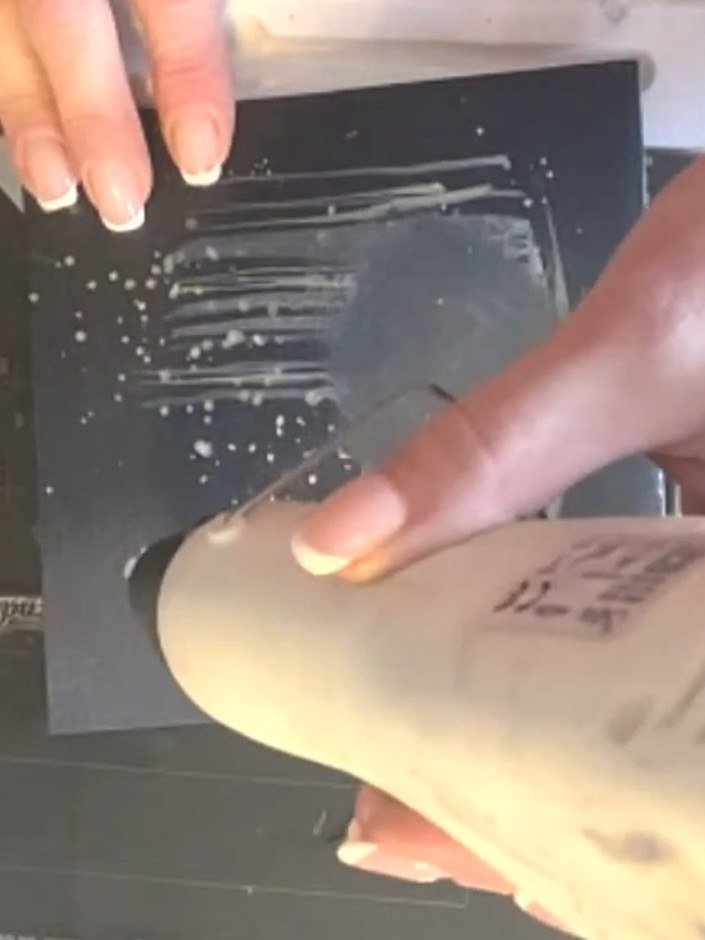
Use your heat tool to heat set the embossed sentiment on the black card, bringing the embossing powder to its full metallic colour. Move the heat tool evenly over the design until the powder has fully melted and set.
 9
Cut out the coloured bird from the black cardstock. Gently sculpt the wings upwards with your fingers to add dimension to the bird.
 10
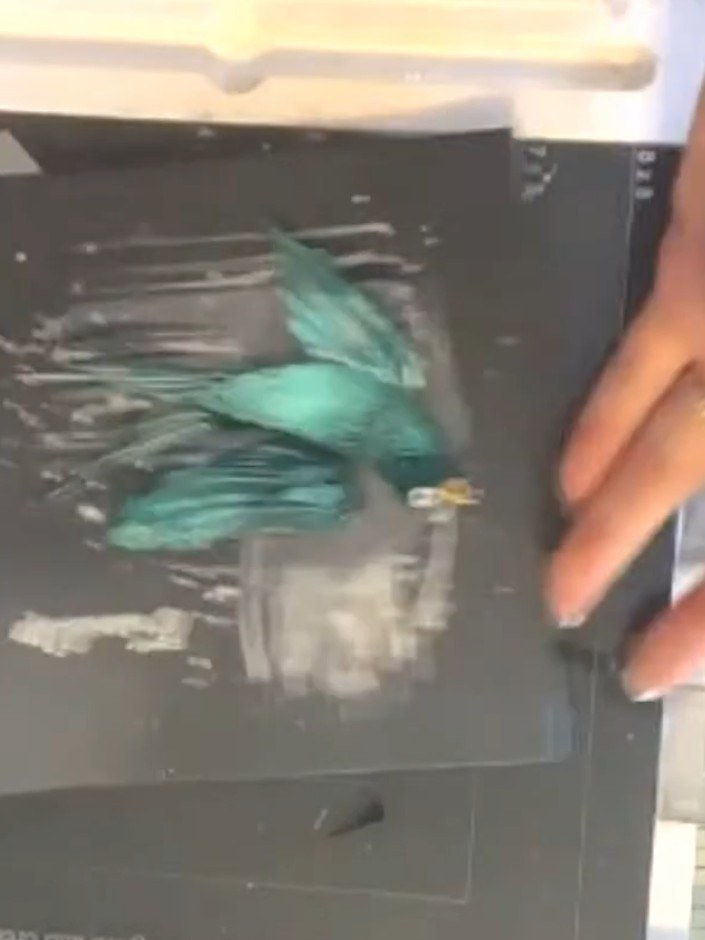
Adhere a piece of vellum behind the stamped bird image to create a subtle layered effect. Attach the bird to the card front using foam pads for dimension.
Share your make with the Stamps By Me community - and keep this guide for next time.
Written up from the show itself. See every guide from our shows · free how-to guides · watch live on My Telly · the previous layout