Give your friends £10 off their first order!
Refer a FRIEND








 Hidden GemsWed 18 Nov 10am
 The Thursday DropThu 19 Nov 6pm
 The Friday Final CutFri 20 Nov 10am
Prices change straight away. Every language is our own translation, not Google.
A project from our live show HOBBYMAKER TV - Join us for the latest show - Broadcast 1 P.M. (UK) 6rth April 2026 · 06/04/2026
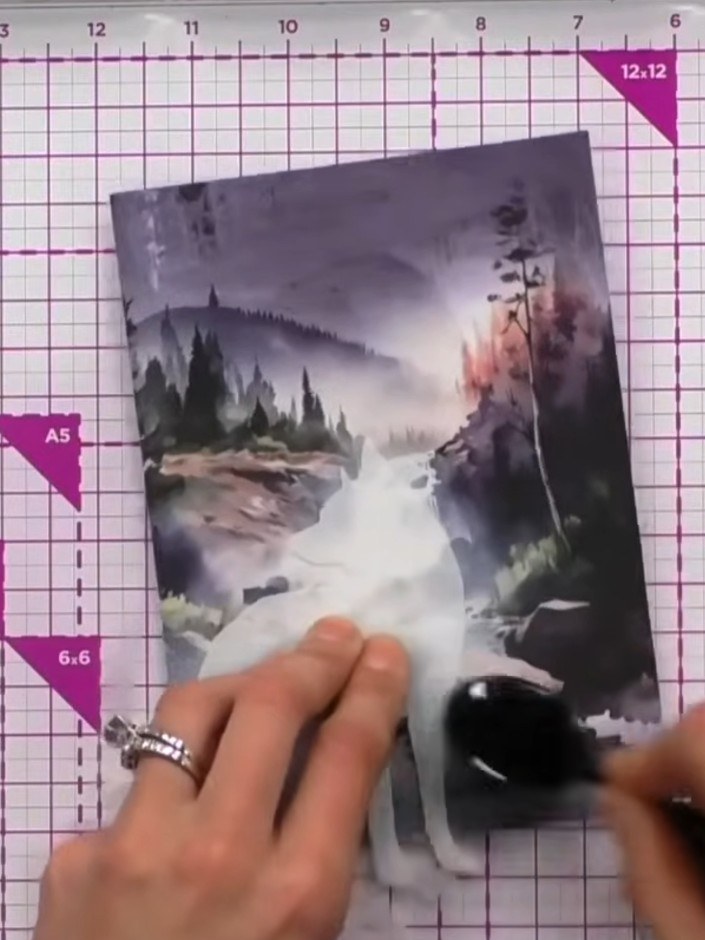
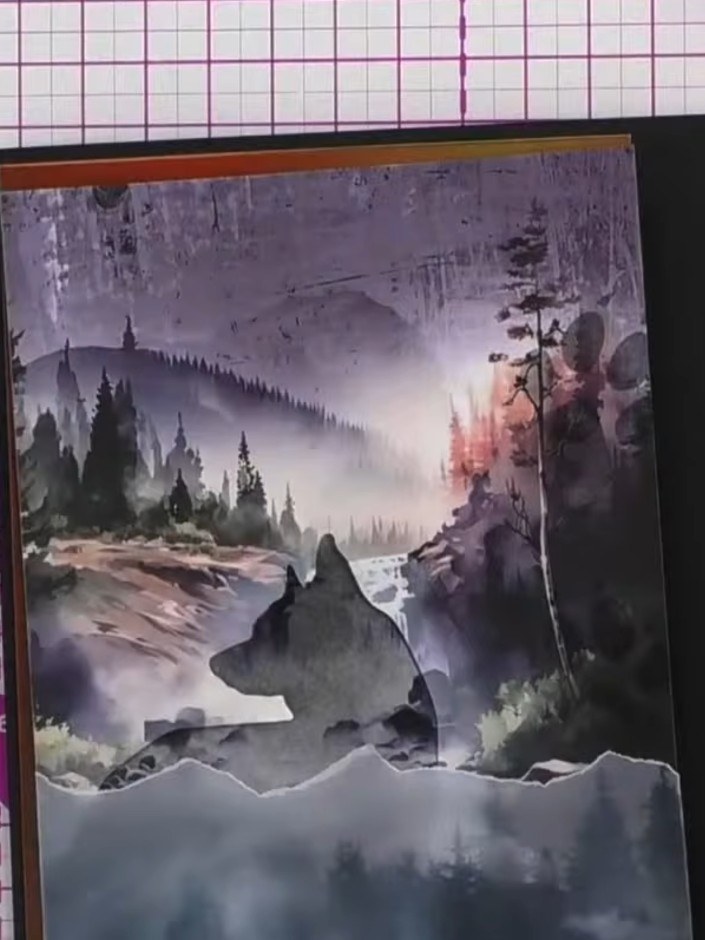
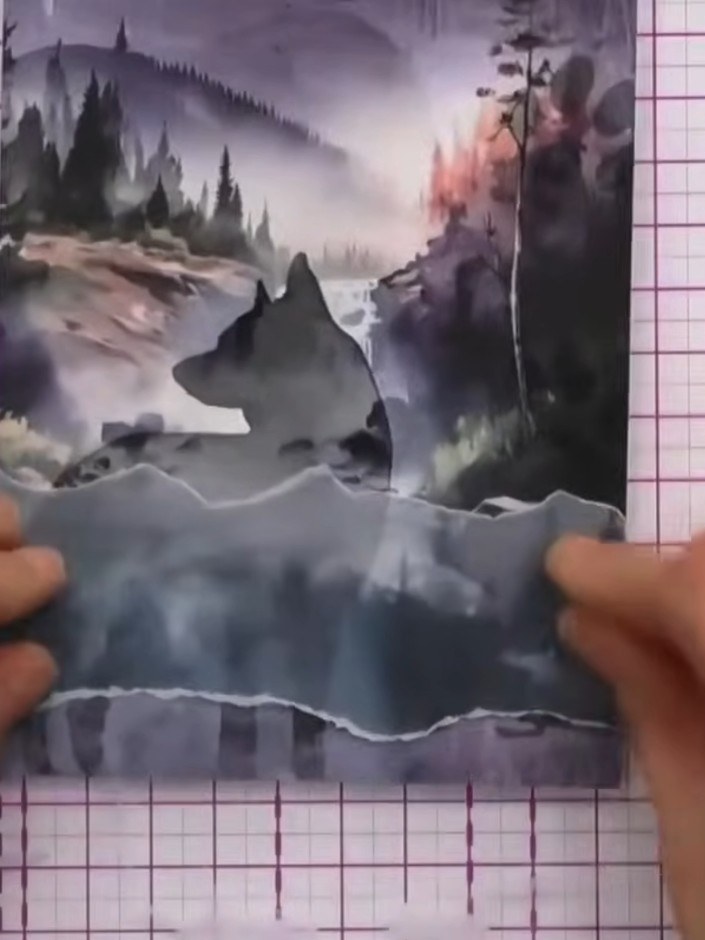
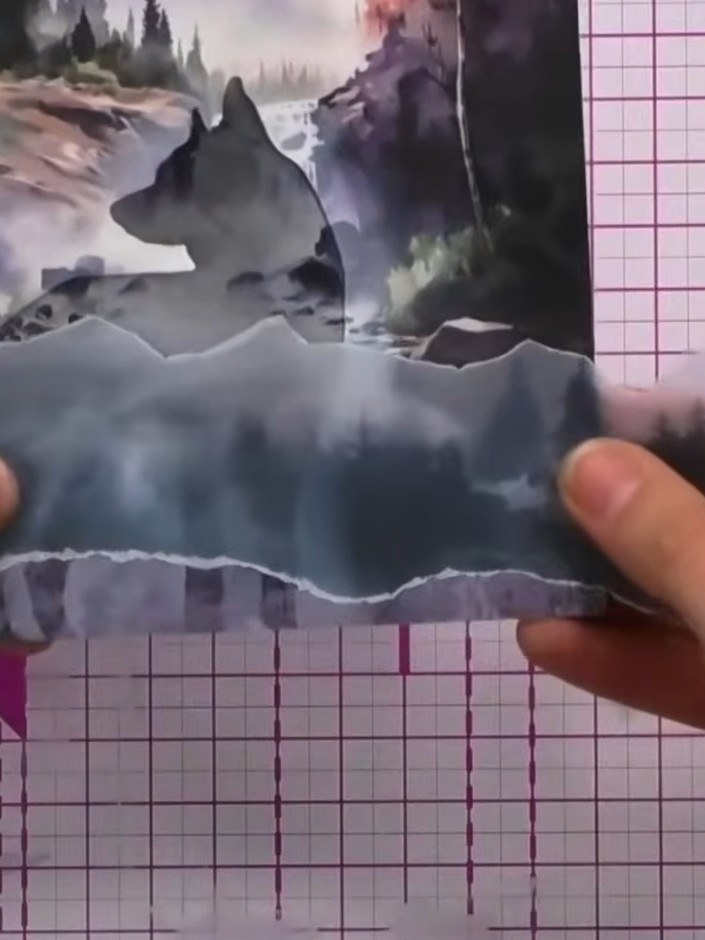
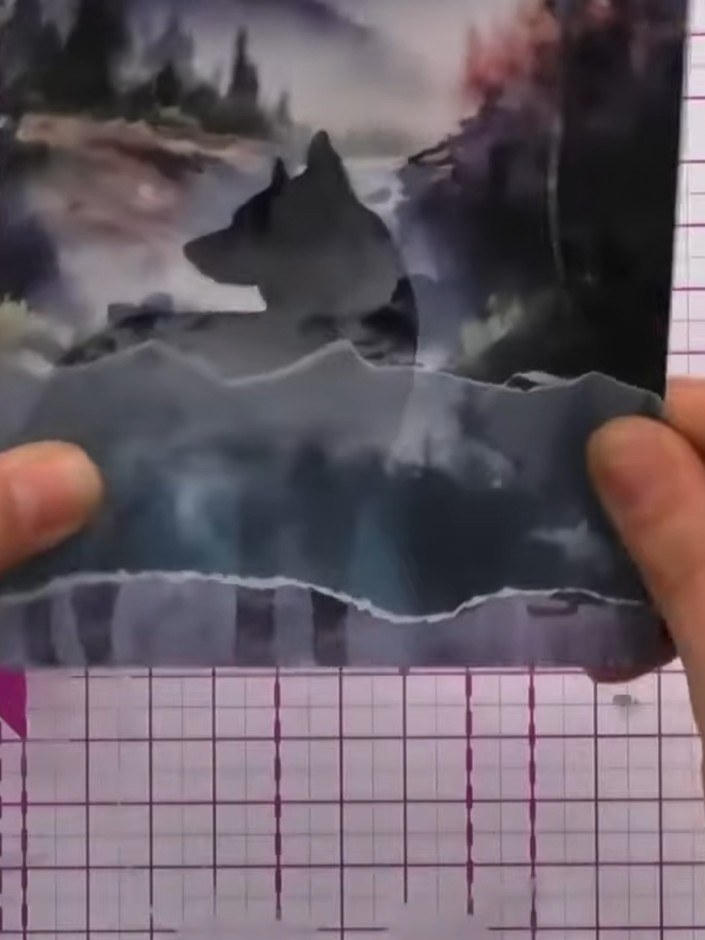
Create an elegant layered card featuring a wolf silhouette with a scenic wilderness background. The design uses torn vellum as a decorative wrap across the lower portion, combined with heat-embossed sentiment on a matted layer. This technique blends transparency and dimension for a sophisticated, nature-inspired finish in moody blues and greys.
 1
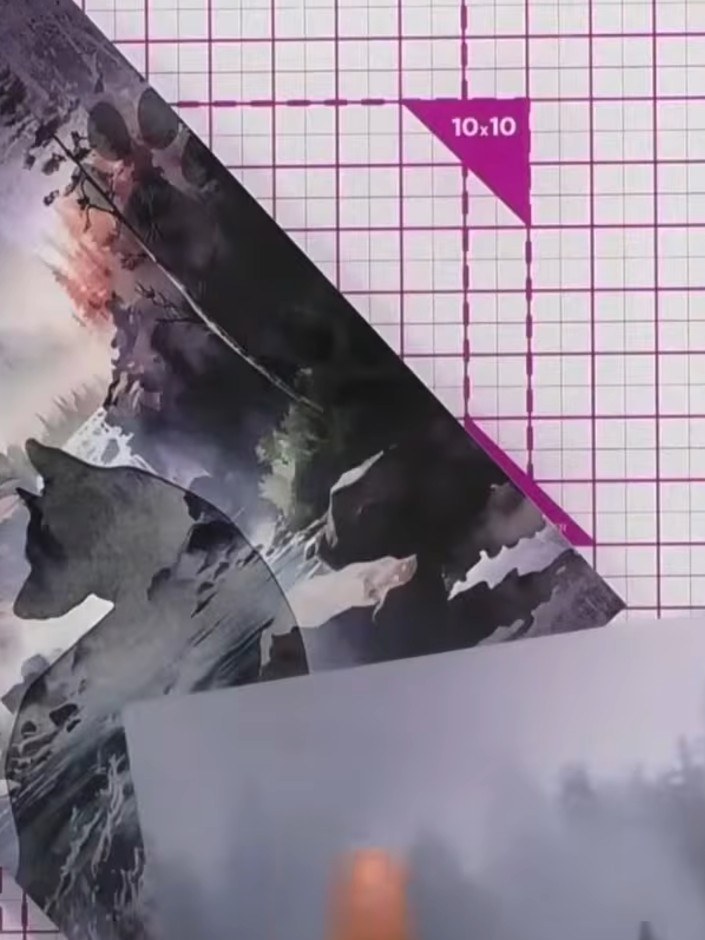
Tear the vellum wrap along a tree line or design element from the printed image to create a natural-looking edge. Don't put yourself under pressure - tear gently to follow the contours of the design for an organic finish.
 2
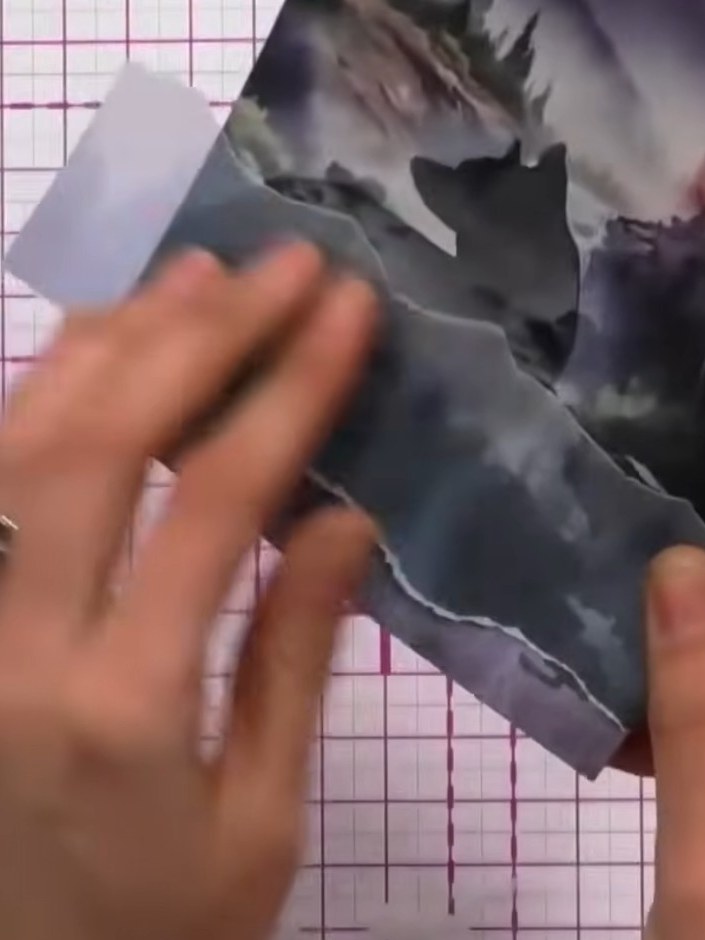
Position the torn vellum piece across your stamped card front. Secure it in place with tape, pinning it down at the edges to hold it firmly.
 3
Position your chosen sentiment stamp from the set onto the black or mirror board. Apply heat-embossing ink to the stamp and press firmly onto the surface to create your sentiment.
 4
Heat-emboss your chosen sentiment stamp to create a raised, dimensional finish. The heat will set the embossing powder and give your sentiment a professional, glossy appearance.
 5
Mount the embossed sentiment panel onto a mat layer. Adhere the matted sentiment to your card front for added dimension and elevation.
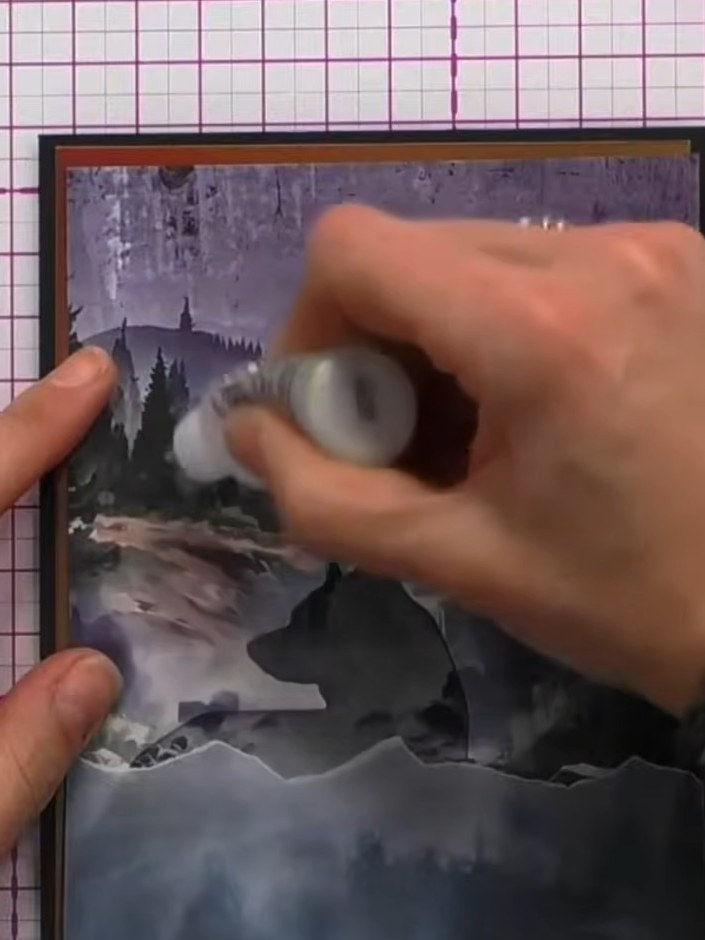 6
Add sparkles to the trees on the vellum using a glitter glue or stickles applicator. Apply small amounts to create shimmer and dimension on the tree areas.
Share your make with the Stamps By Me community - and keep this guide for next time.
Written up from the show itself. See every guide from our shows · free how-to guides · watch live on My Telly · the previous layout