Give your friends £10 off their first order!
Refer a FRIEND








 Hidden GemsWed 18 Nov 10am
 The Thursday DropThu 19 Nov 6pm
 The Friday Final CutFri 20 Nov 10am
Prices change straight away. Every language is our own translation, not Google.
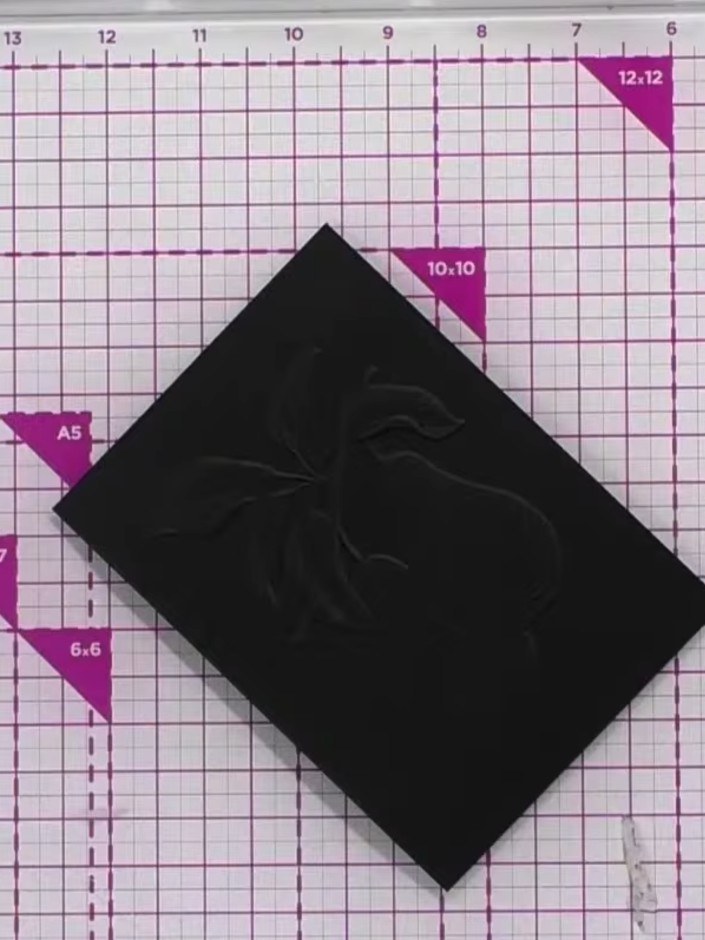
A project from our live show HOBBYMAKER TV - Join us for the latest show - Broadcast 1 P.M. (UK) 6rth April 2026 · 06/04/2026
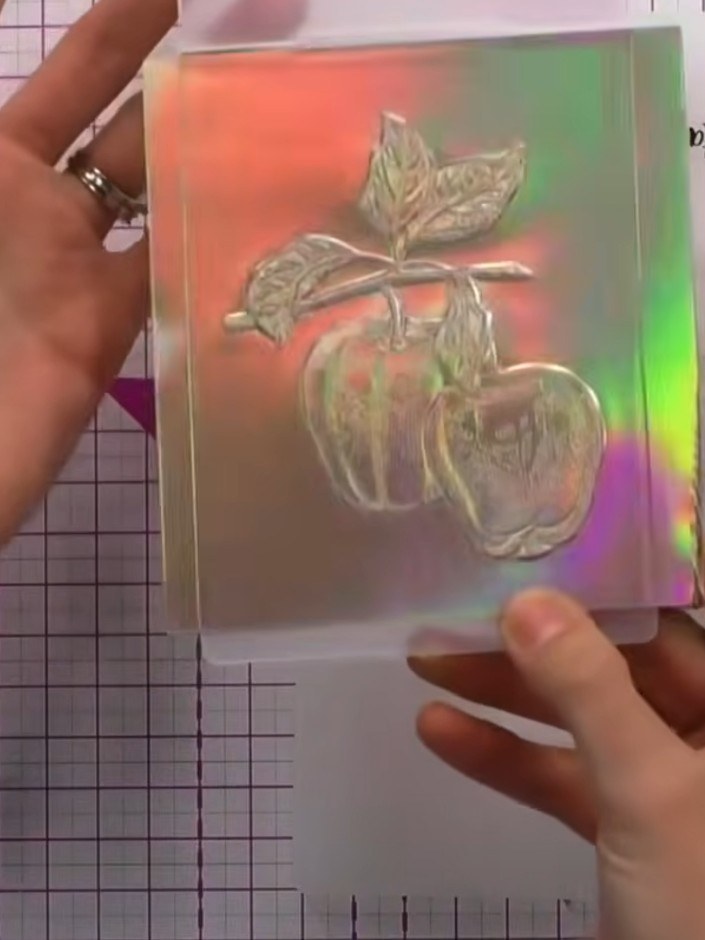
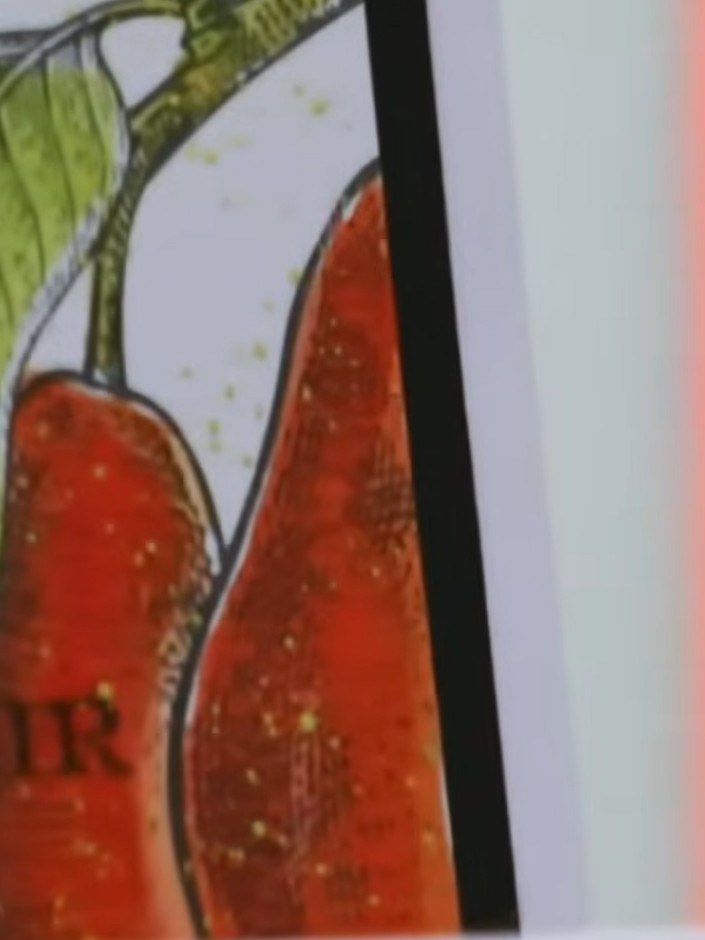
Create a luxurious embossed card featuring a dimensional pear design on black card stock, enhanced with shimmering gold wax. This elegant technique produces a sophisticated card with beautiful depth and metallic highlights that catch the light. The embossed texture combined with the gold finish creates a shop-bought quality result perfect for special occasions.
 1
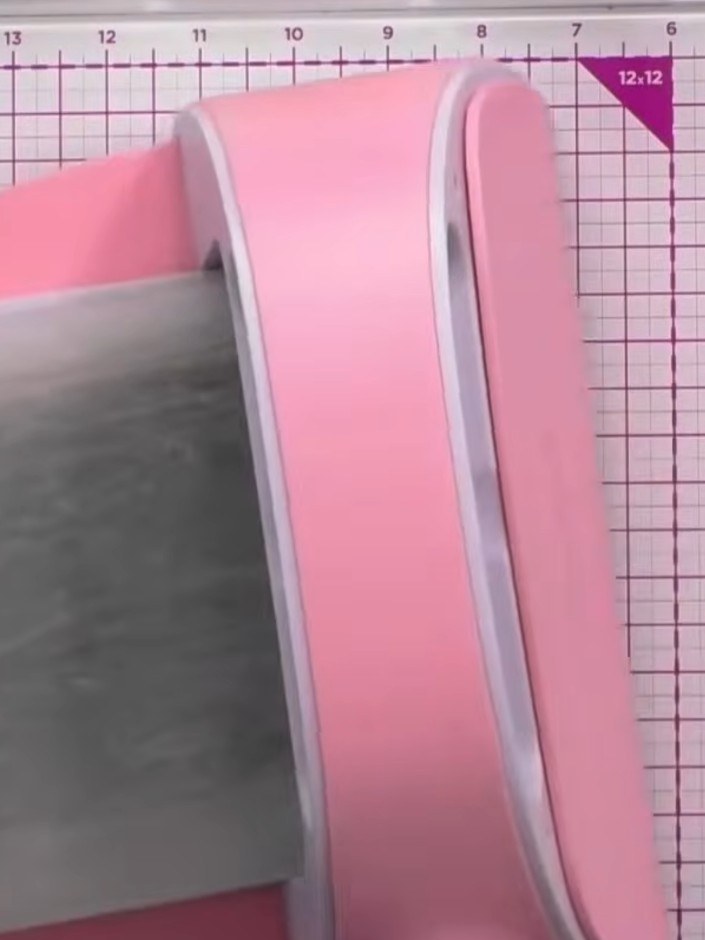
Create a sandwich with your black card stock between the embossing folder plates in your die-cutting machine. Ensure the raised part of the embossing folder is positioned at the back.
 2
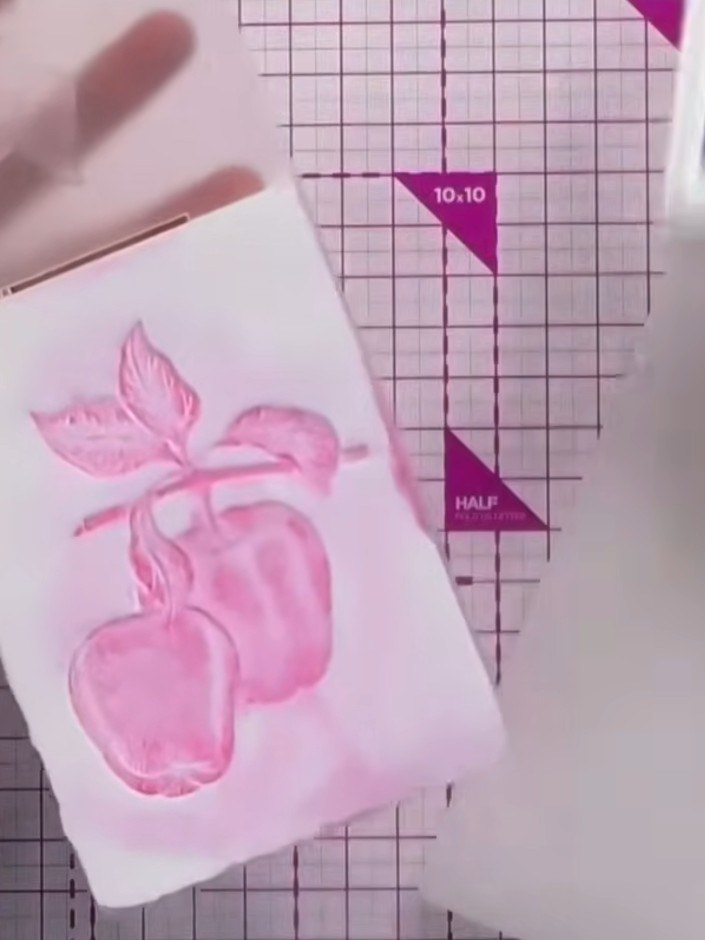
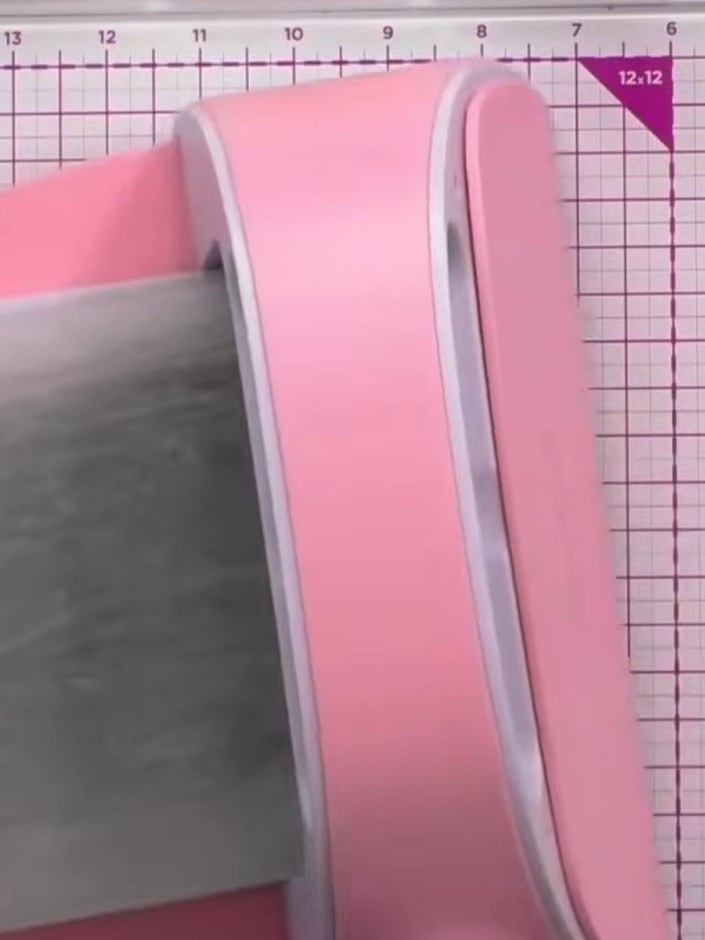
Place your embossing sandwich (with the black card and embossing folder inside) into your die-cutting machine. Run the sandwich through the machine to emboss the design into the card.
 3
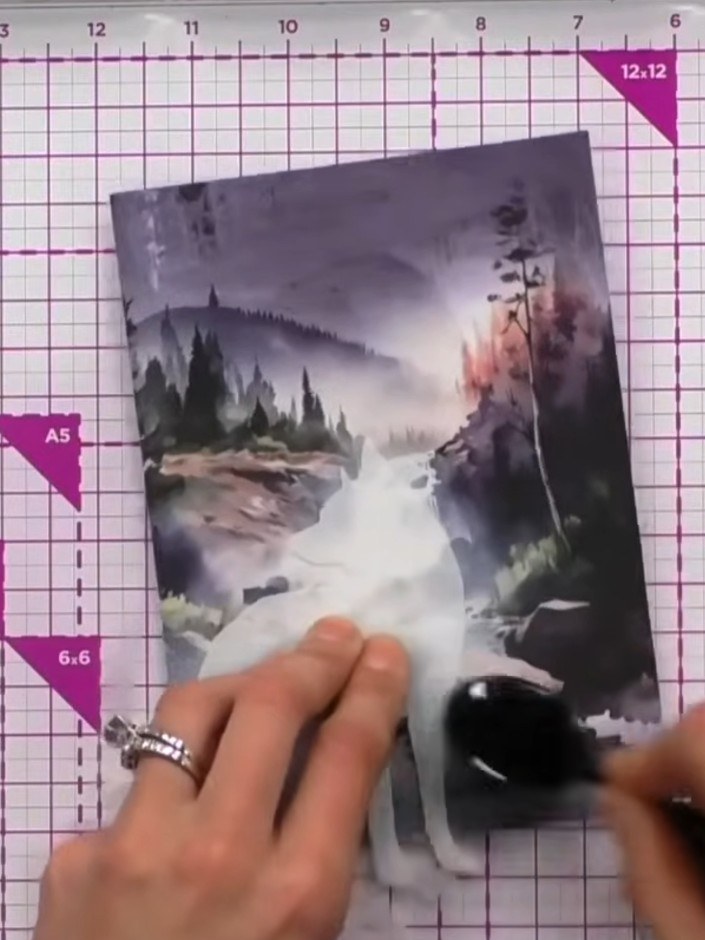
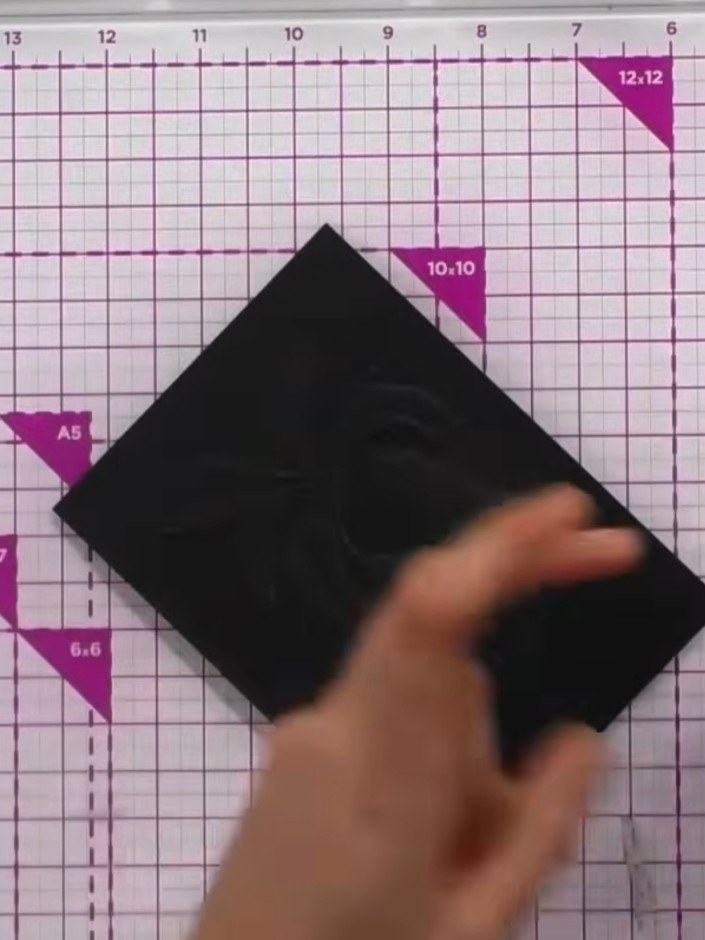
Apply gold wax generously onto the embossed black card surface using your finger or an applicator. Rub the wax over the raised embossed design to highlight the fruit pattern.
 4
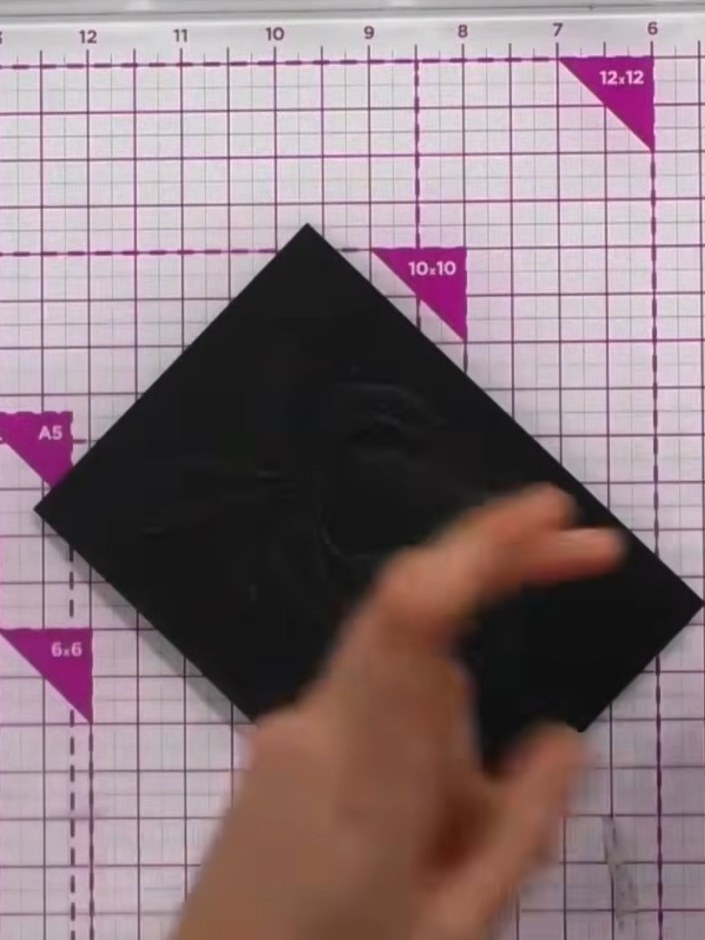
Use your thumb or finger to rub the gold wax into the embossed details on the black card, working it into both the raised and recessed areas to highlight the design.
 5
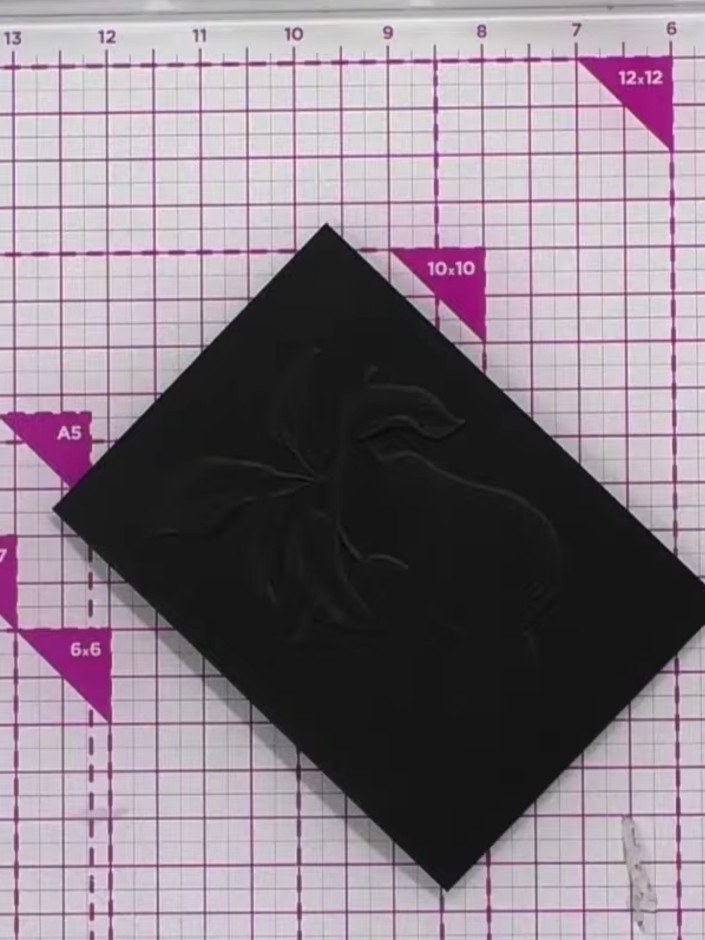
Tilt the finished card to view the embossed effect and see how the gold wax highlights the dimensional details of the pears and leaves.
Share your make with the Stamps By Me community - and keep this guide for next time.
Written up from the show itself. See every guide from our shows · free how-to guides · watch live on My Telly · the previous layout