Give your friends £10 off their first order!
Refer a FRIEND








 Hidden GemsWed 18 Nov 10am
 The Thursday DropThu 19 Nov 6pm
 The Friday Final CutFri 20 Nov 10am
Prices change straight away. Every language is our own translation, not Google.
A project from our live show HOBBYMAKER TV - Join us for the latest show - Broadcast 1 P.M. (UK) 6rth April 2026 · 06/04/2026
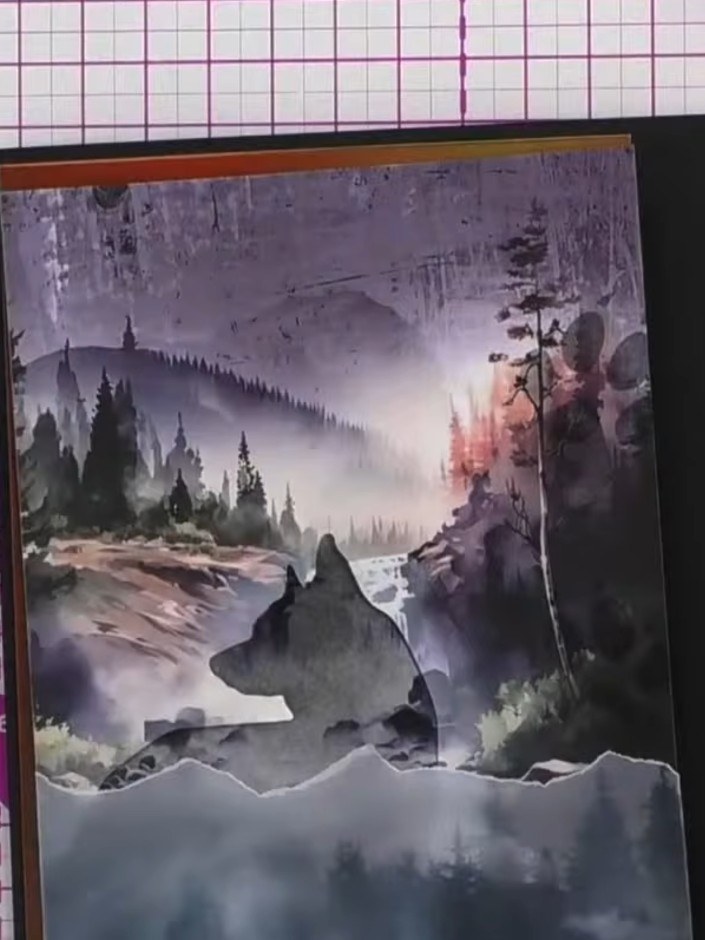
Create an atmospheric wolf card with a stunning halo effect using layered stamping techniques. This artistic piece combines a wolf mask silhouette with a misty forest scene, using black and white inks to build depth and create a glowing border around the animal. The layering technique produces a beautiful double-exposure style that brings the wilderness scene to life within the wolf's form.
 1
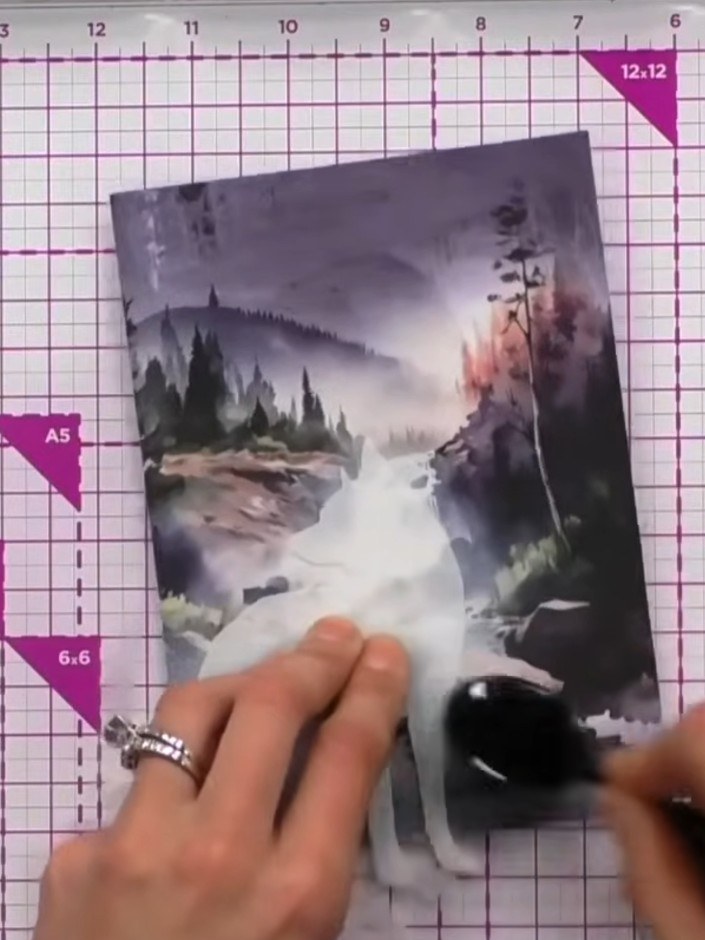
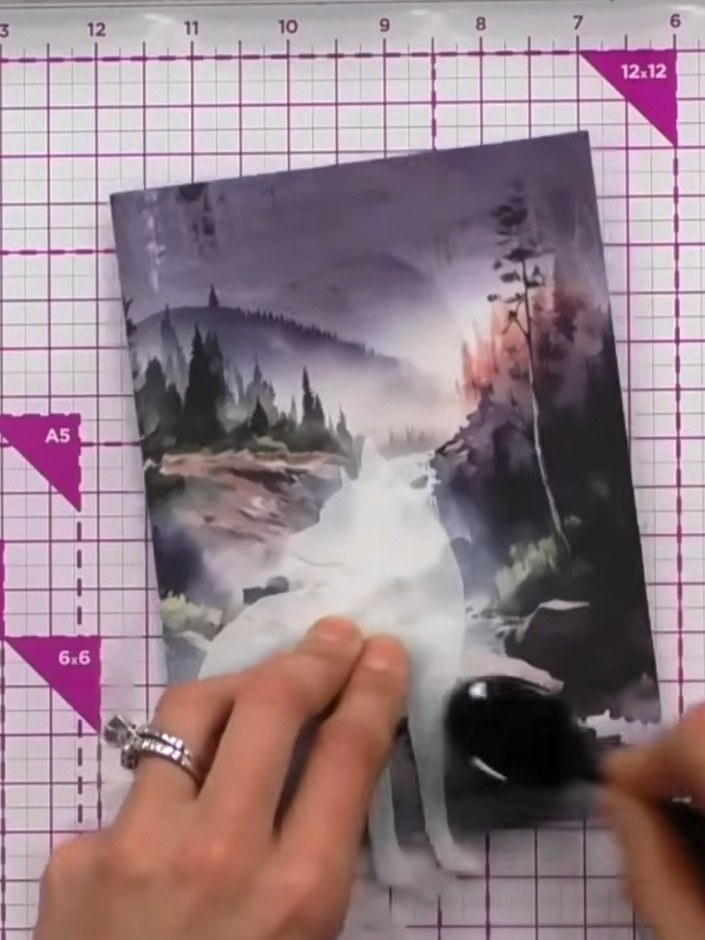
Place the wolf mask image slightly offset on your card, positioning it towards the bottom or wherever you wish to create the impression that the animal is part of the scene.
 2
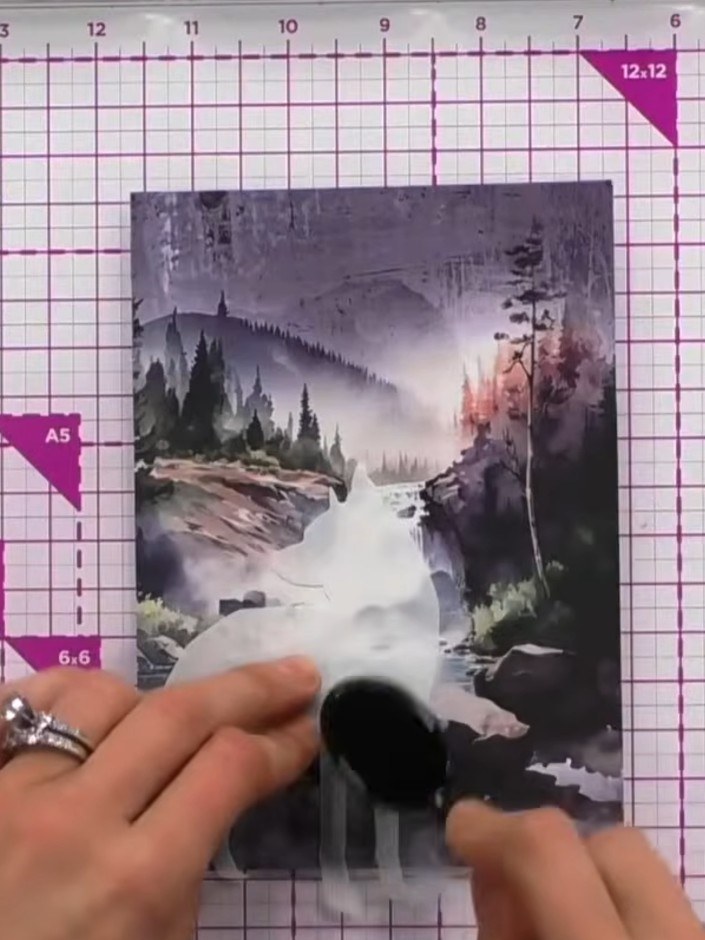
Using a blending brush, dab white ink from an ink pad around the edges of the wolf mask to create a halo or shadow effect.
 3
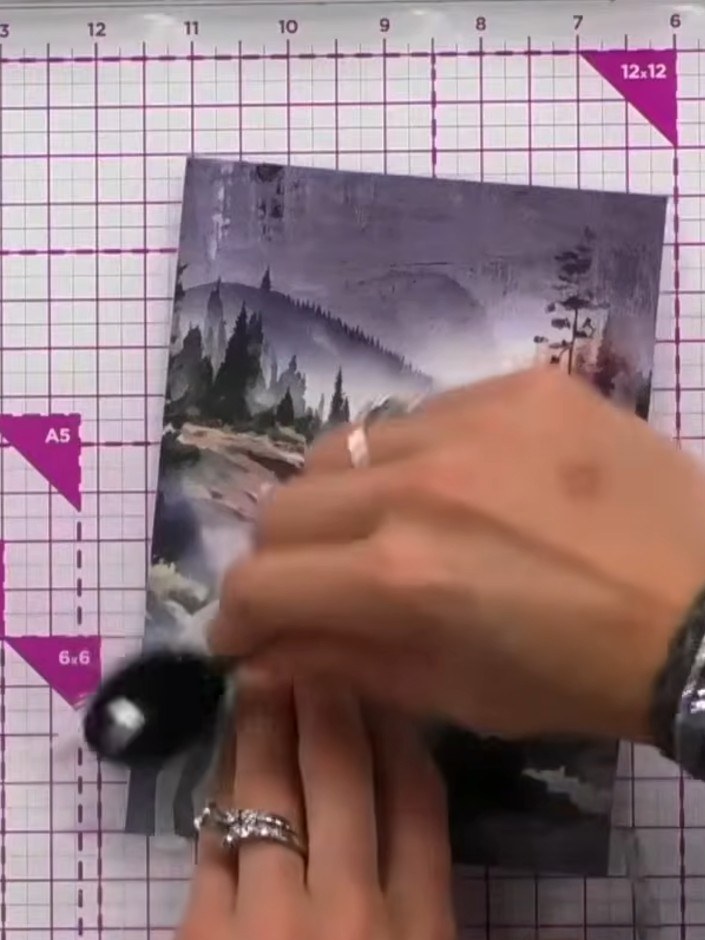
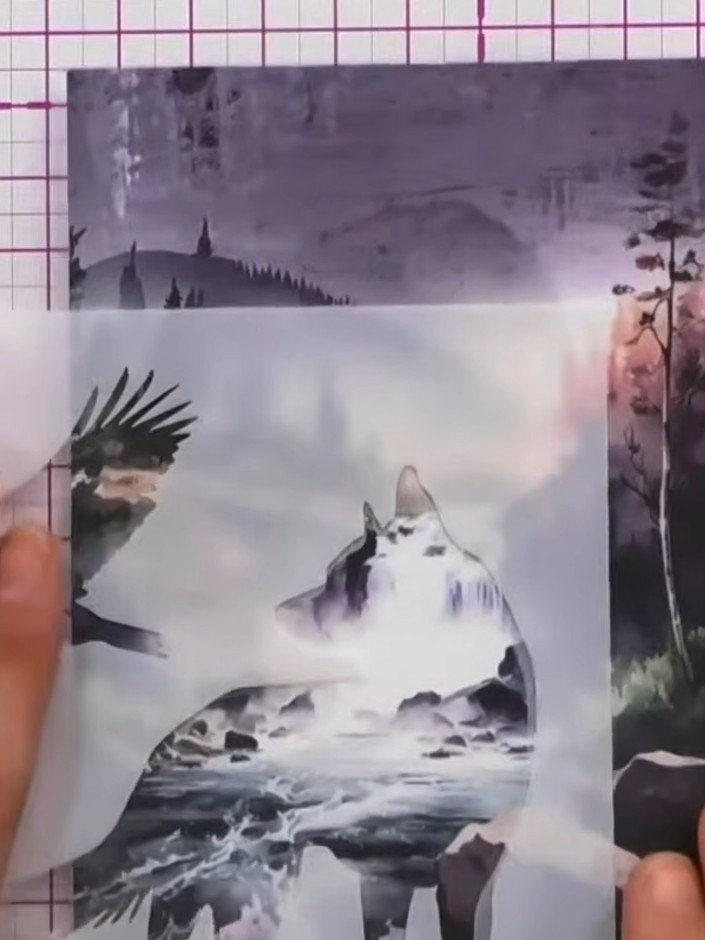
Using a brush with minimal white ink, blend the white outward from the halo area to create a soft, gradual transition. Work gently to achieve a subtle fade effect around the edges.
 4
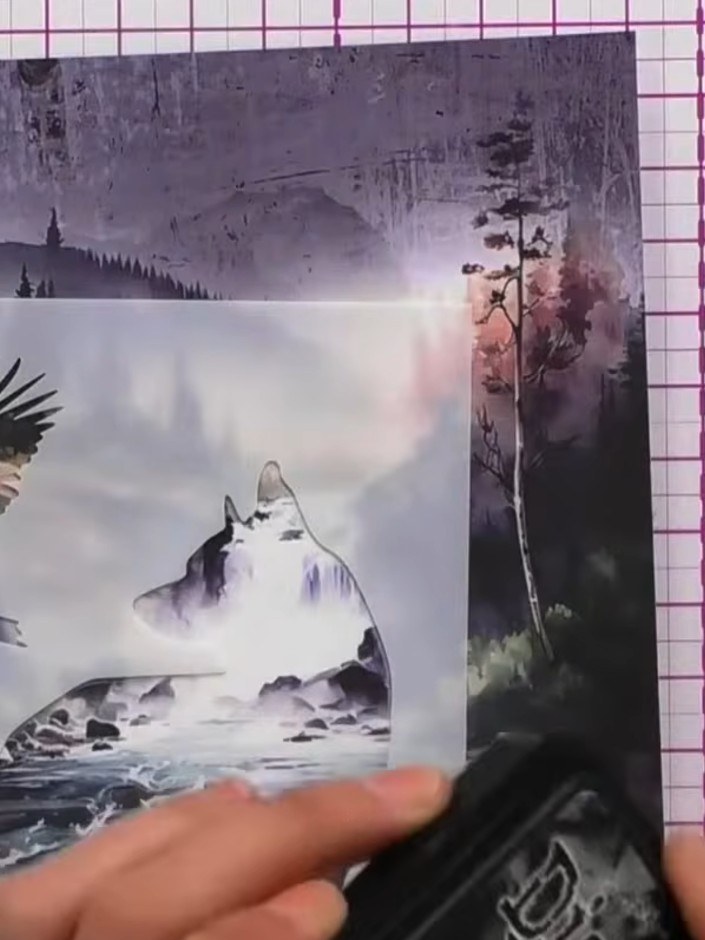
Remove the mask from the card. Position the wolf stencil over the white halo area in the centre of the card, ensuring the wolf image is placed within the masked circle.
 5
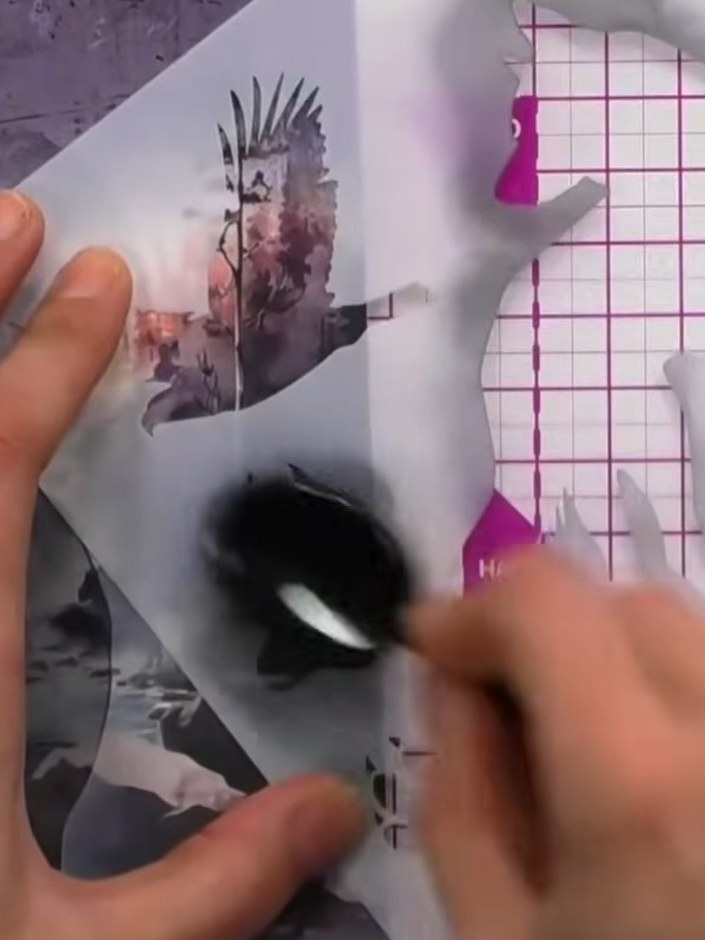
Use a stencil and black or dark ink to add shading to the interior of the wolf silhouette. This creates contrast and makes the white halo effect stand out more prominently.
 6
Using a stamp or mask, add subtle paw print details in black ink around the wolf silhouette to enhance the composition and add visual interest to the card.
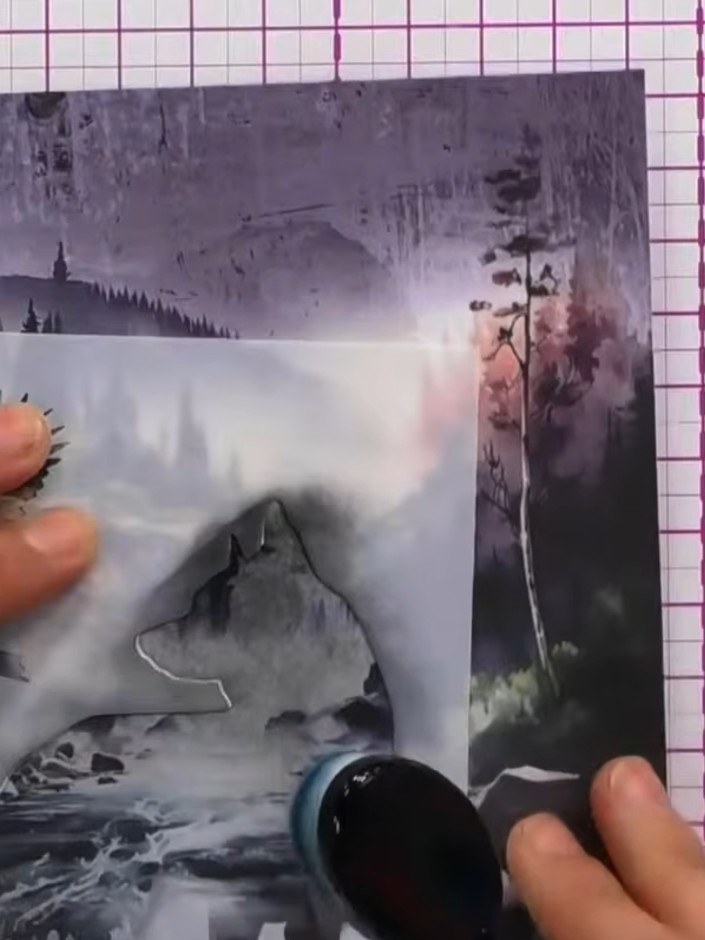 7
Layer a sheet of vellum with tree line details across the front of the card to add depth and create a misty, atmospheric effect over the wolf scene.
Share your make with the Stamps By Me community - and keep this guide for next time.
Written up from the show itself. See every guide from our shows · free how-to guides · watch live on My Telly · the previous layout