Give your friends £10 off their first order!
Refer a FRIEND








 Hidden GemsWed 18 Nov 10am
 The Thursday DropThu 19 Nov 6pm
 The Friday Final CutFri 20 Nov 10am
Prices change straight away. Every language is our own translation, not Google.
A project from our live show HOBBYMAKER TV - Join us for the latest show - Broadcast 1 P.M. (UK) 6rth April 2026 · 06/04/2026 · watch it from 45:30
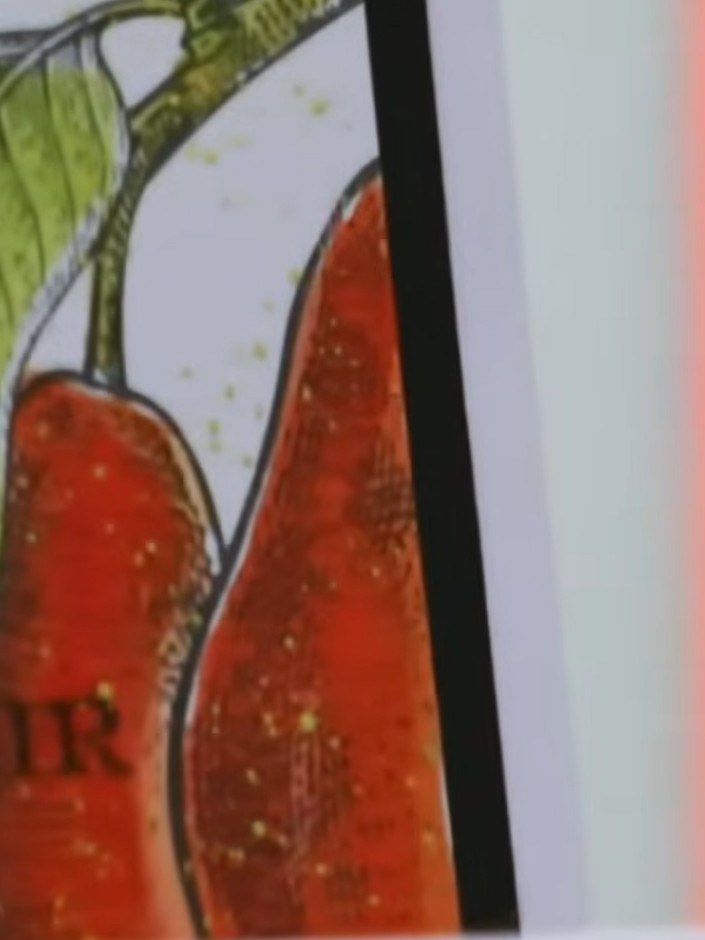
Create an elegant dimensional card featuring beautifully detailed pears using stamping and embossing techniques on watercolour card stock. The design showcases rich watercolour tones of red, coral and green, enhanced by embossed texture that adds depth and sophistication. This project combines traditional stamping with modern embossing to create a stunning, tactile greeting card.
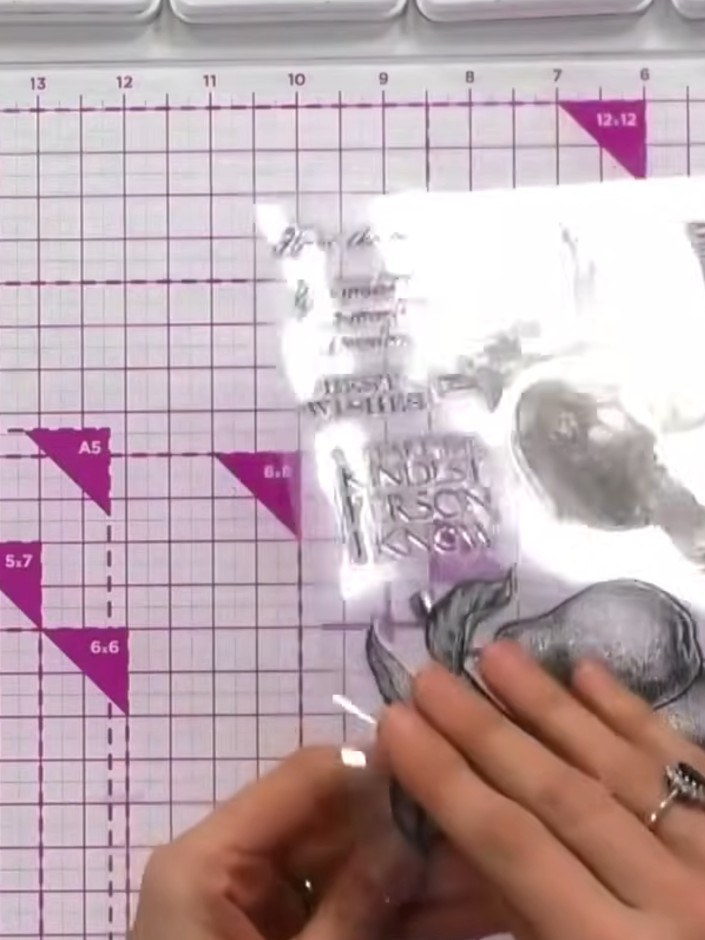
Stamp the pear image onto watercolour card stock using black ink. Stamp twice to ensure full coverage on the textured surface.
▶ watch this step (45:45)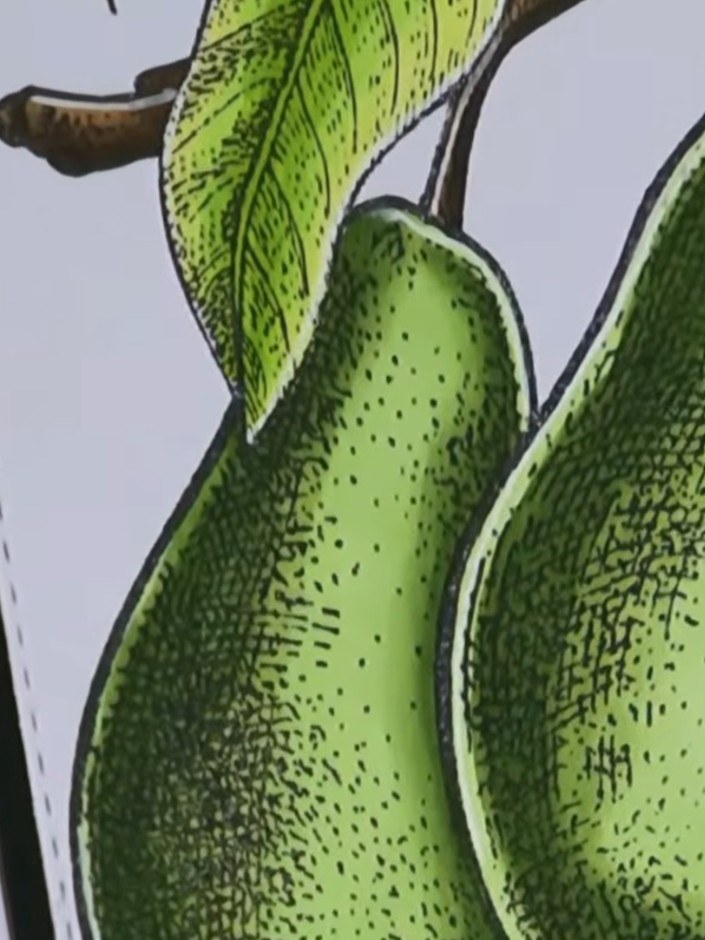
Place the stamped card into the embossing folder, aligning the pear image with the folder design as best you can by eye.
▶ watch this step (46:15)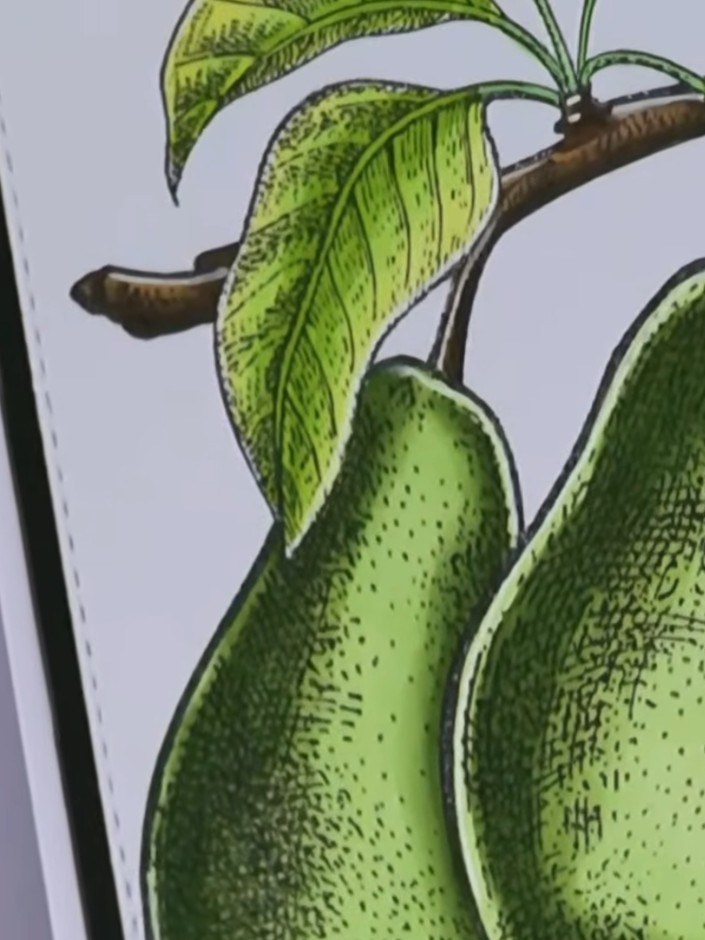
Place your stamped card into an embossing folder with the design facing up. Run the sandwich through your die-cutting machine to emboss the pear design, creating a 3D textured effect over the stamped image.
▶ watch this step (46:30)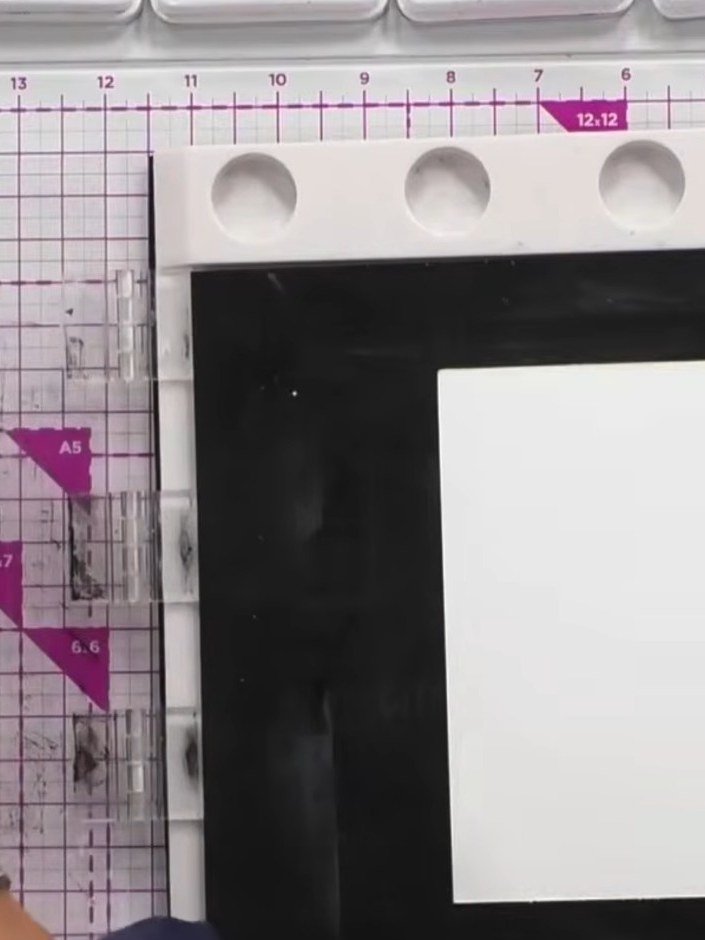
Remove the card from the embossing folder and feel the raised embossed details that now sit on top of the stamped design.
▶ watch this step (47:00)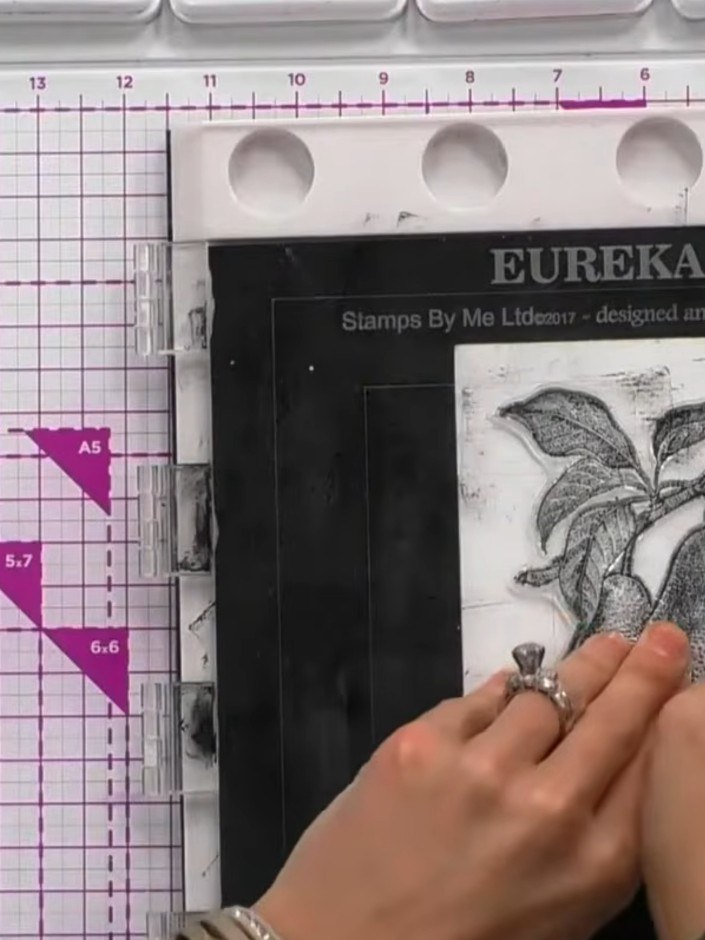
Examine the finished card to appreciate how the stamped pear image combines with the embossed details to create a tactile, dimensional design. The watercolour adds depth whilst the embossing provides a luxurious raised texture.
▶ watch this step (47:15)Written up from the show itself. See every guide from our shows · free how-to guides · watch live on My Telly