Give your friends £10 off their first order!
Refer a FRIEND








 Hidden GemsWed 18 Nov 10am
 The Thursday DropThu 19 Nov 6pm
 The Friday Final CutFri 20 Nov 10am
Prices change straight away. Every language is our own translation, not Google.
A project from our live show HOBBYMAKER TV - Join us for the latest show - Broadcast 3 p.m. (UK) 6rth April 2026 · 06/04/2026
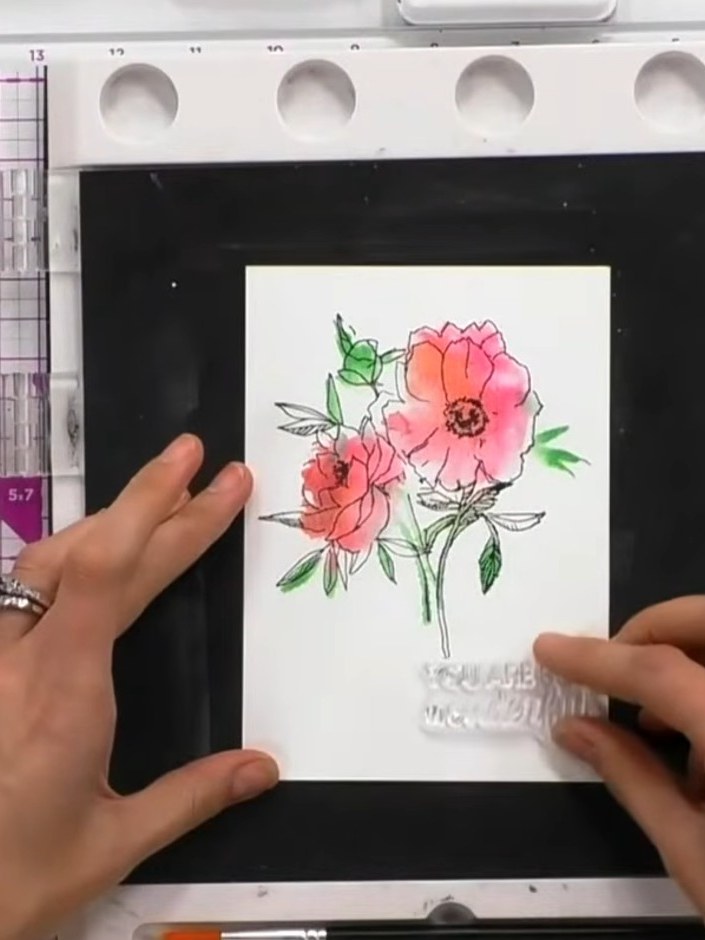
Create a beautiful watercolour-effect floral card featuring pink and coral blooms with green foliage and a sentiment. Using a two-part lamination stamp system, you'll achieve realistic painted effects by inking the solid stamp with multiple colours, misting with water for blended watercolour tones, then adding the detail stamp overlay to complete the dimensional look.
 1
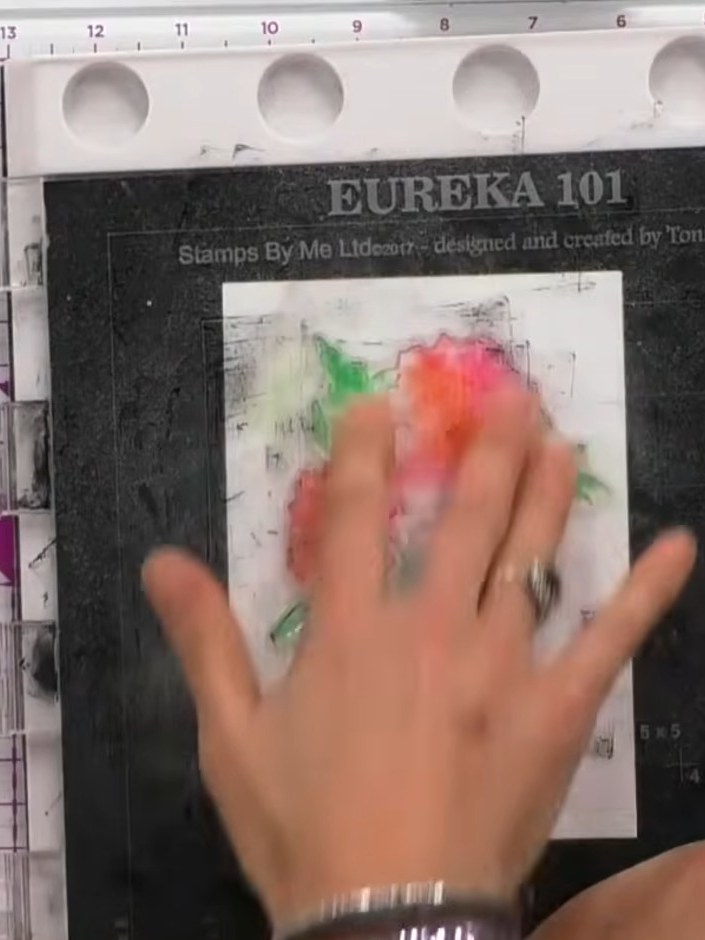
Ink the solid portion of the lamination stamp with multiple colours using distress ink pads. Apply pink, orange, green and other colours to different areas of the floral design.
 2
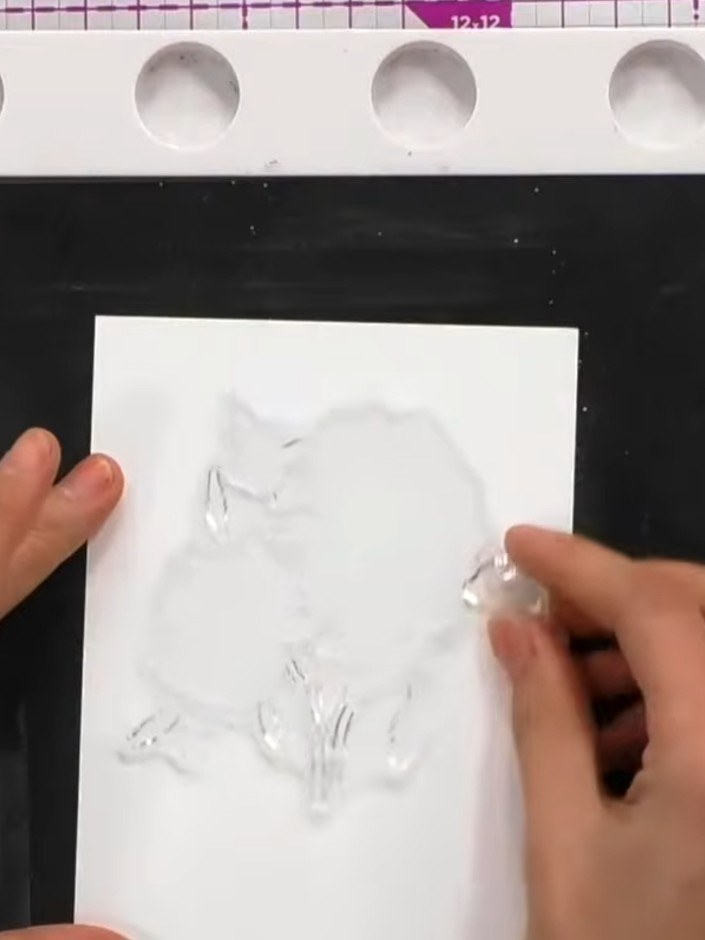
Spray the inked stamp with water from a spray bottle to activate the inks and create a puddle effect on the white watercolour card.
 3
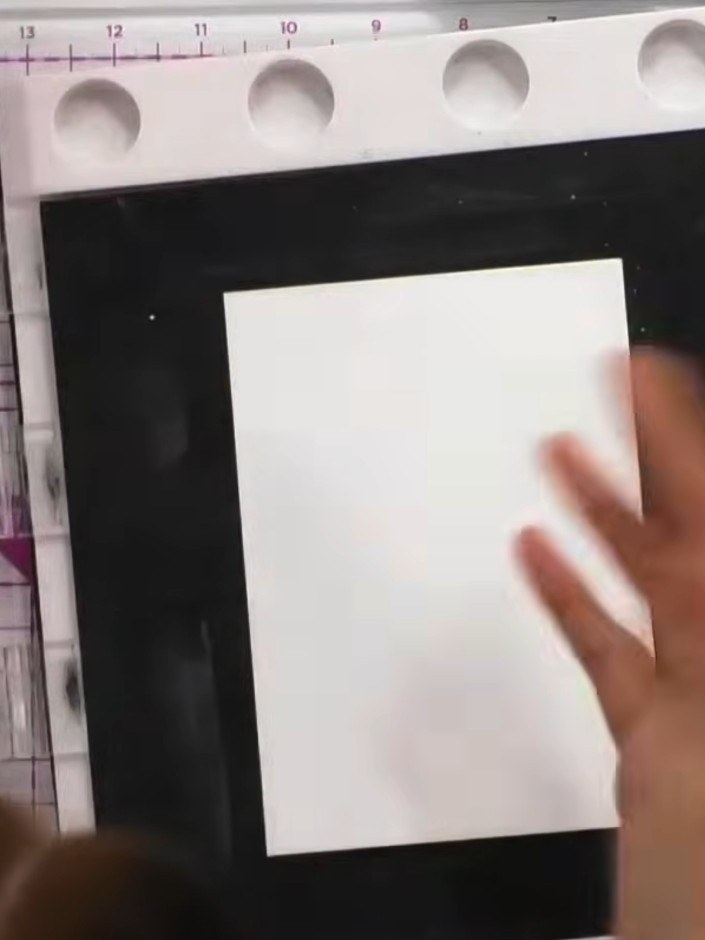
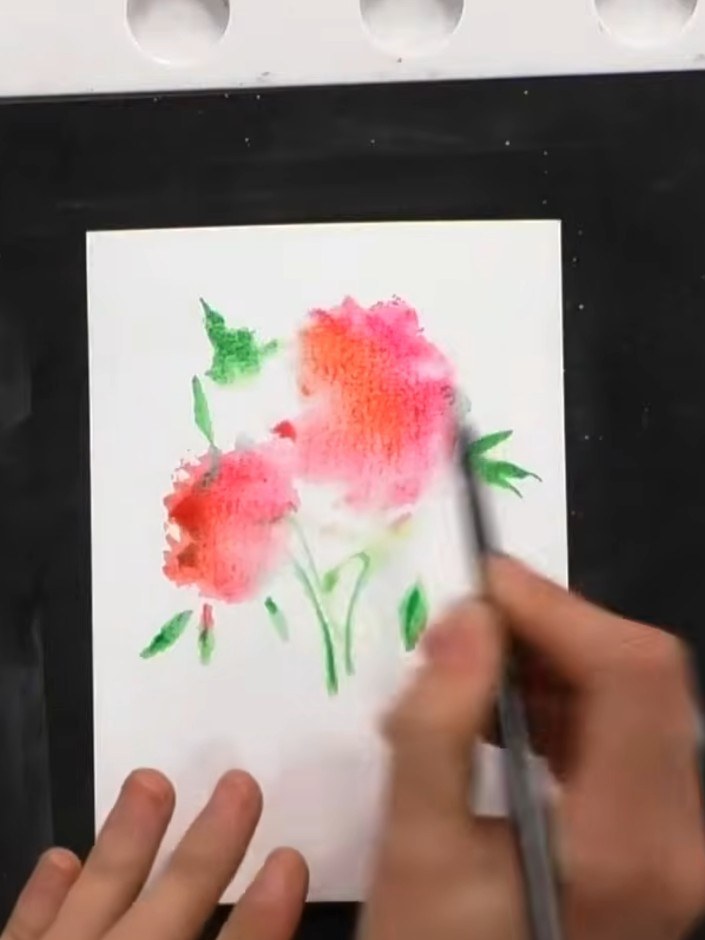
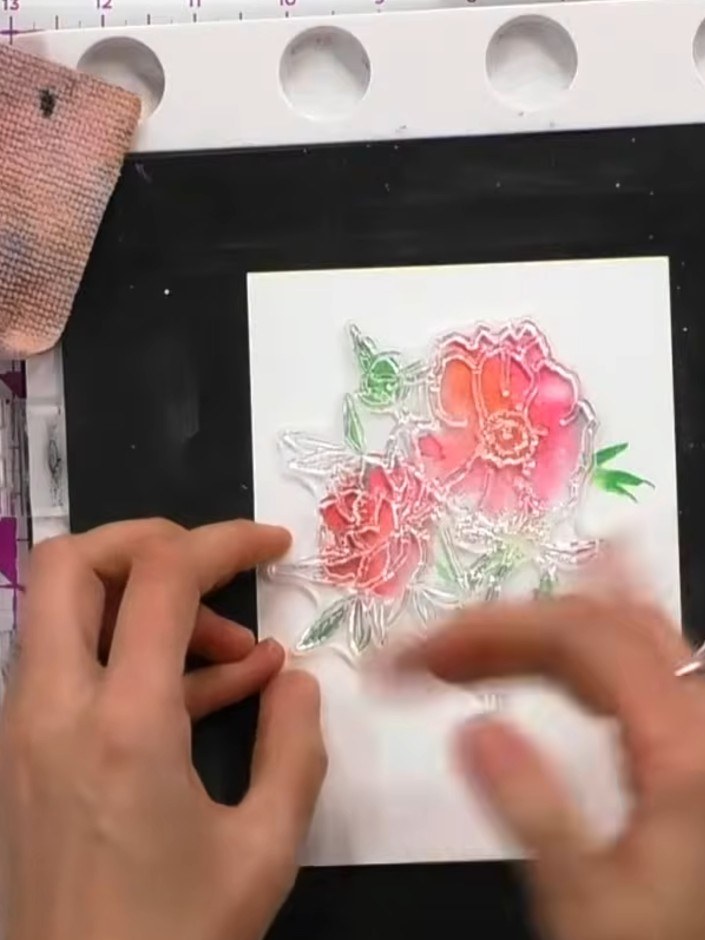
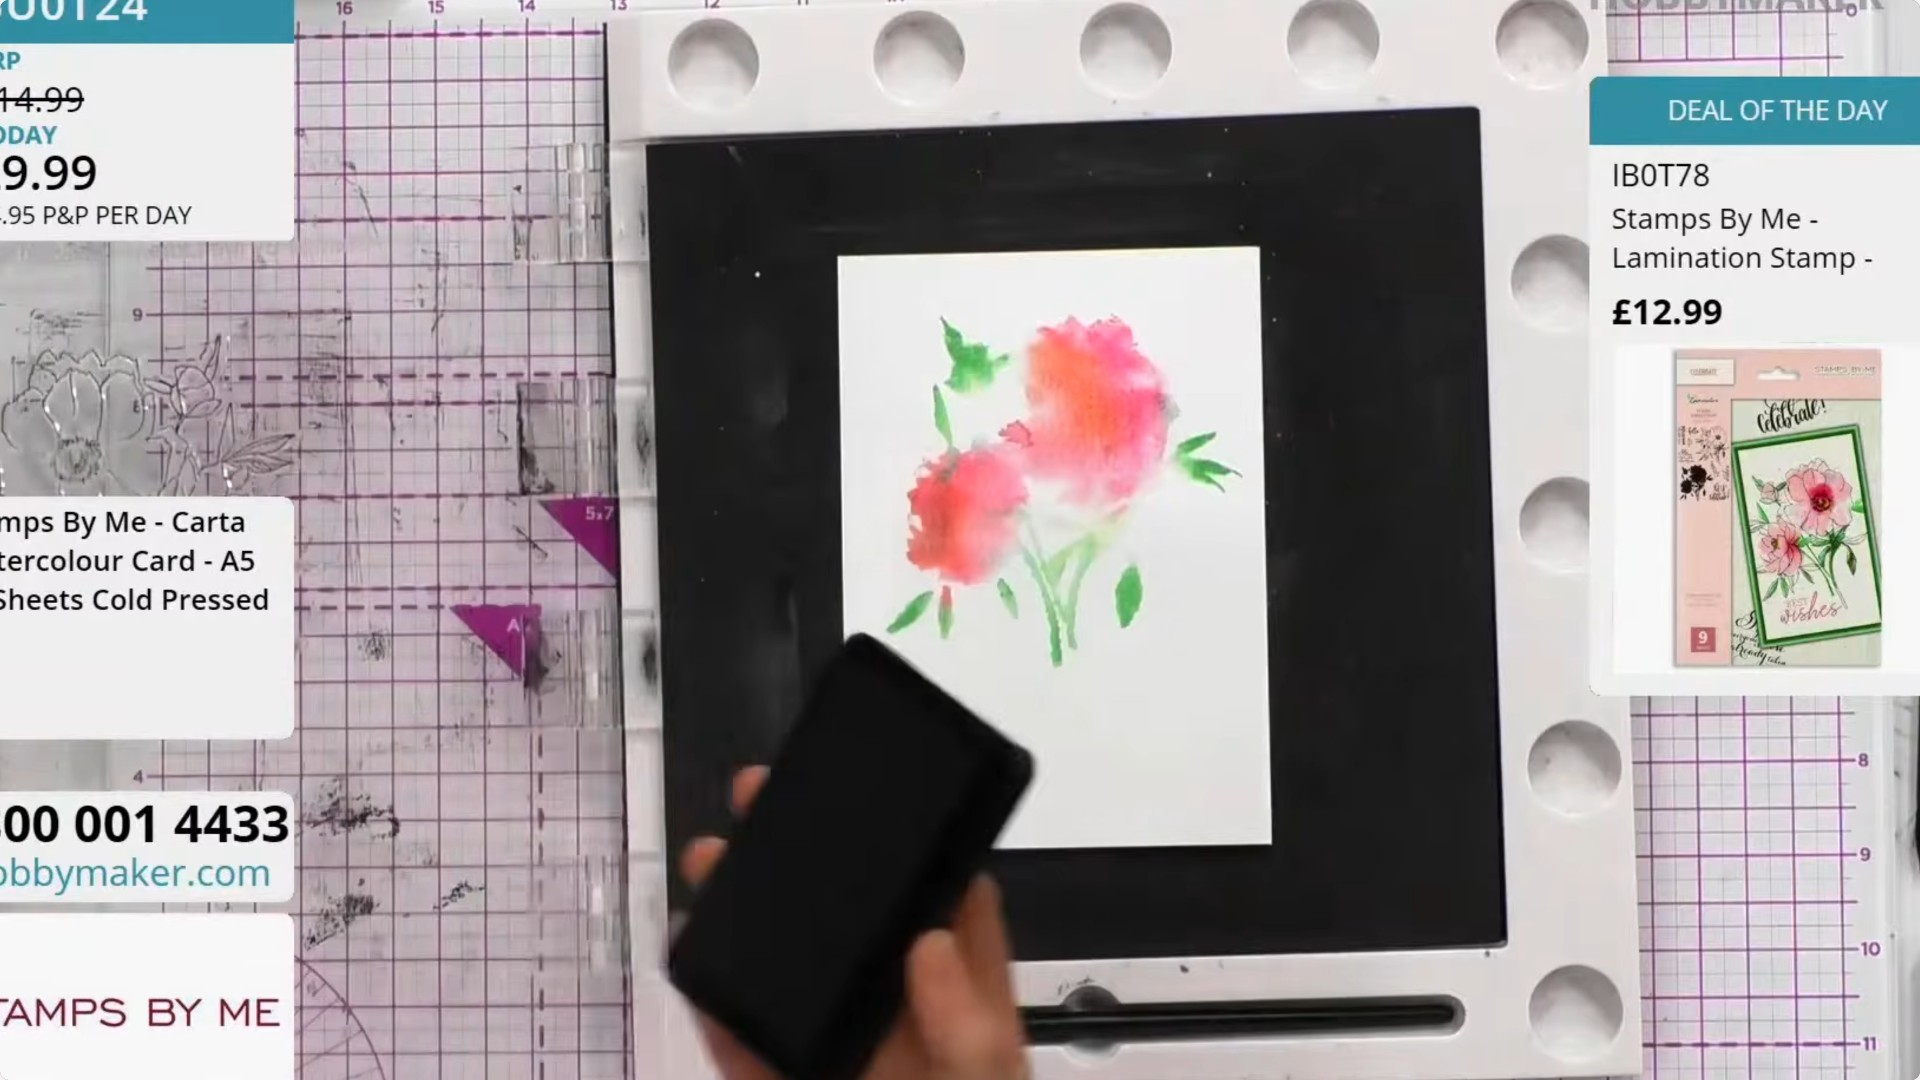
Press the stamp firmly down onto the white watercolour card. Lift the stamp away cleanly to reveal the watercolour image transferred onto the card.
 4
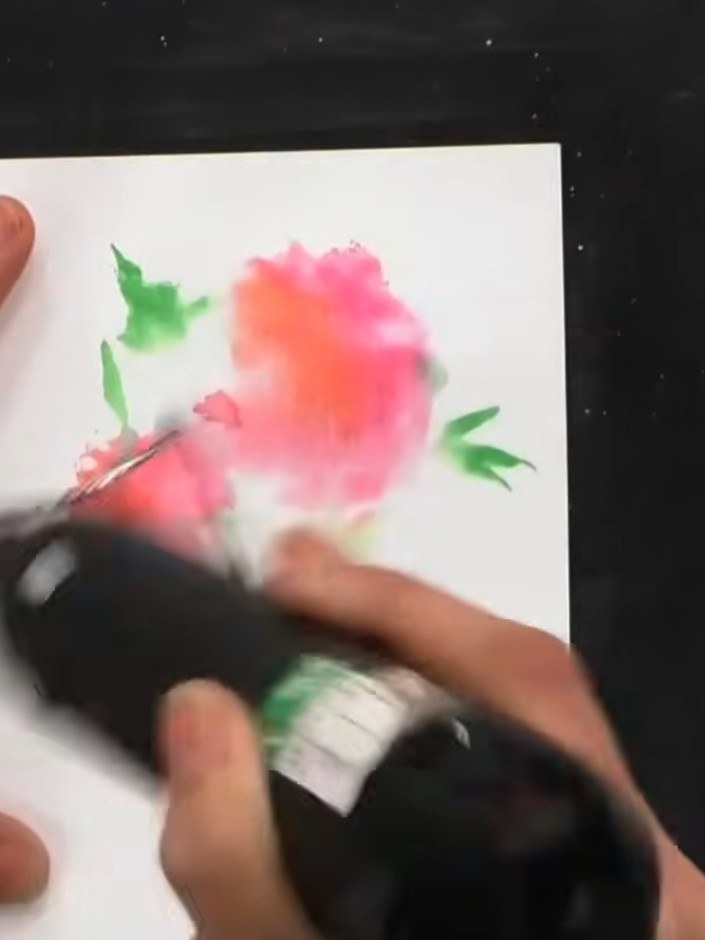
Dry the stamped watercolour image completely using a heat gun. Hold the heat gun above the card and move it gently over the entire design until fully dry.
 5
Clean the solid stamp portion. Place the detail stamp on its carrier sheet and ink it with black ink.
 6
Stamp the detailed line work stamp over the dried watercolour flowers to add definition and outline details to the floral image.
 7
Mount the completed watercolour floral panel onto a white card base using foam pads to add dimension and create a professional finish.
Share your make with the Stamps By Me community - and keep this guide for next time.
Written up from the show itself. See every guide from our shows · free how-to guides · watch live on My Telly · the previous layout