Give your friends £10 off their first order!
Refer a FRIEND








 Hidden GemsWed 18 Nov 10am
 The Thursday DropThu 19 Nov 6pm
 The Friday Final CutFri 20 Nov 10am
Prices change straight away. Every language is our own translation, not Google.
A project from our live show HOBBYMAKER TV - Join us for the latest show - Broadcast 3 p.m. (UK) 6rth April 2026 · 06/04/2026
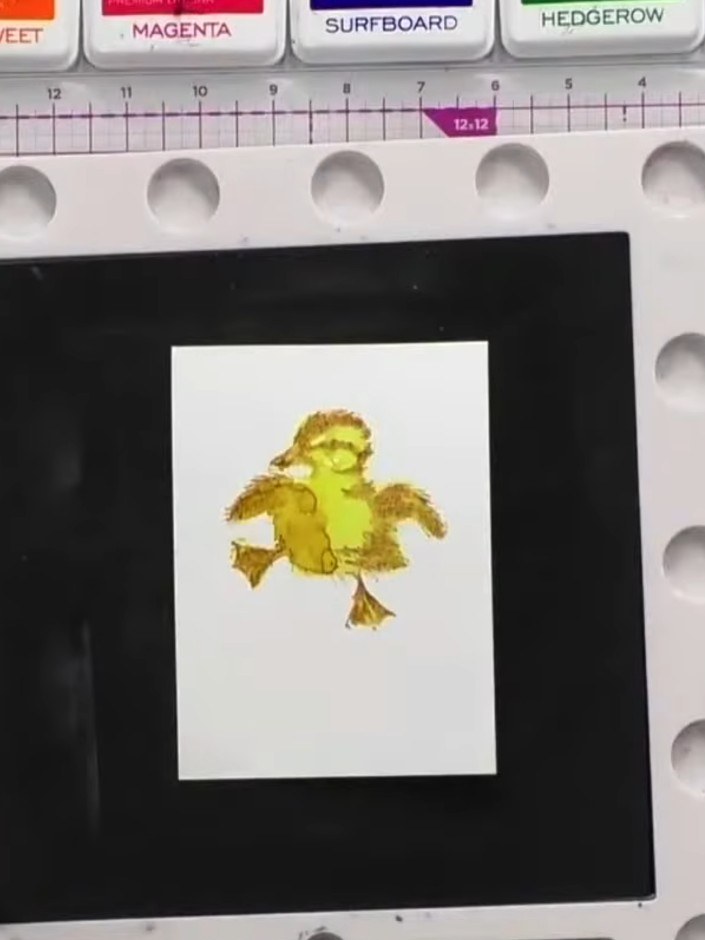
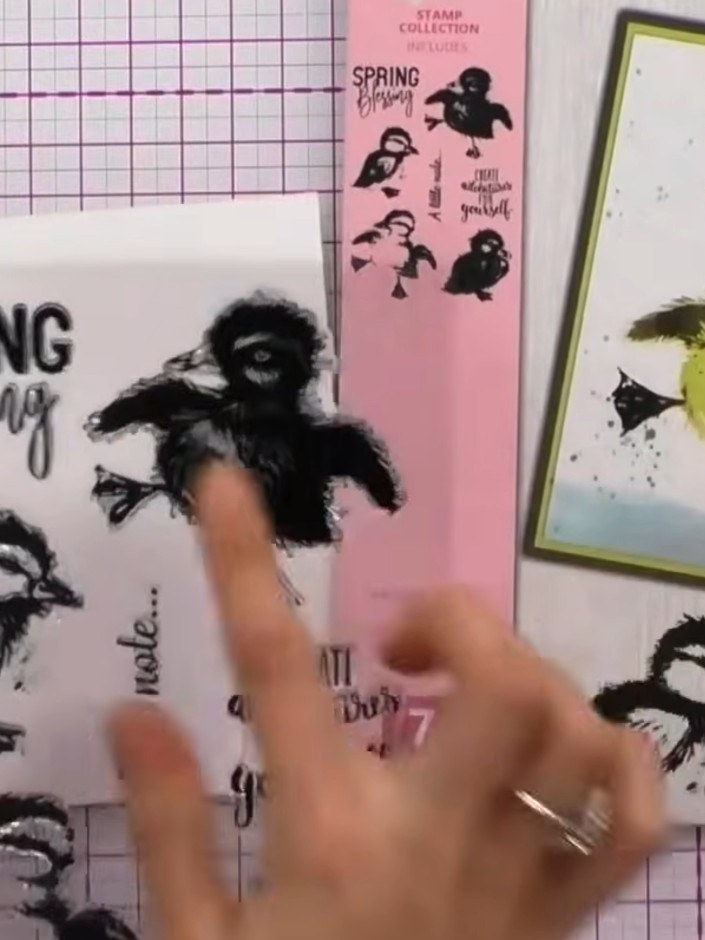
Create a charming spring card featuring an adorable duckling jumping in a puddle. Using the Spring Blossom lamination stamp set, you'll colour the duckling in cheerful yellow and brown tones, then add a delightful blue puddle effect around its feet. The finished card includes the sentiment 'A little note...' for a sweet springtime greeting.
 1
Trim the watercolour card down to A6 size to ensure the duckling design is appropriately sized for your card.
 2
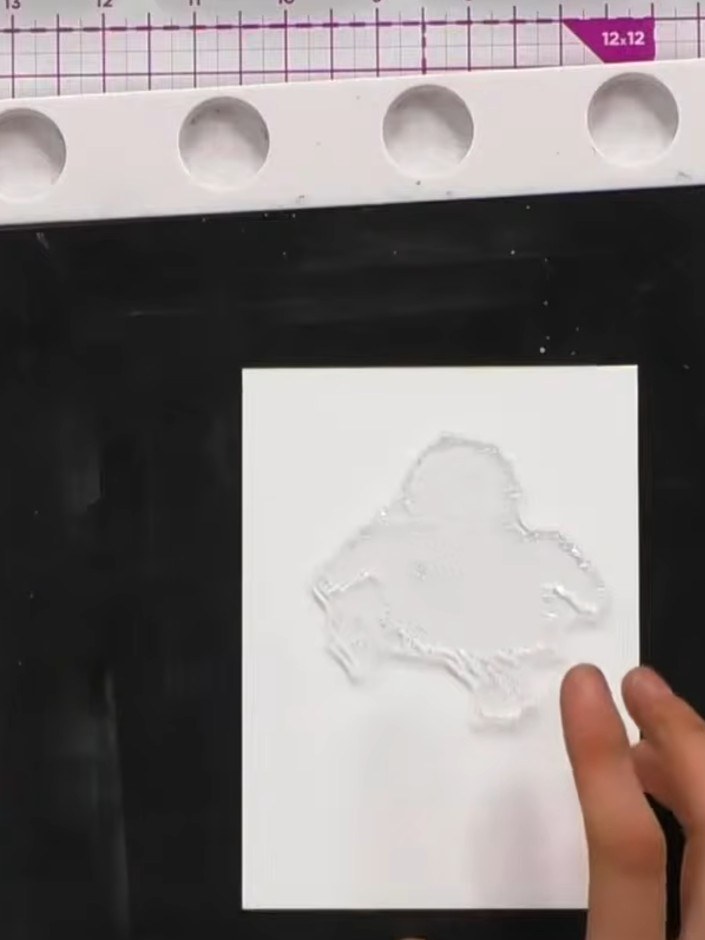
Position the solid portion of the spring blossom stamp in the centre of the white card panel. Ensure the duckling image is centred before stamping.
 3
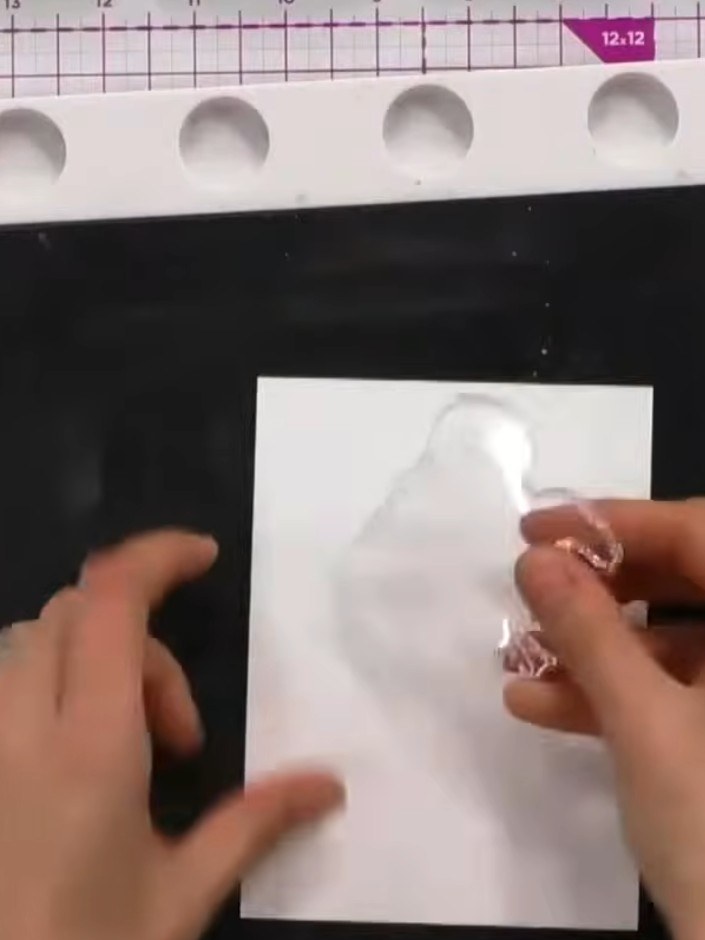
Ink the solid duckling stamp with yellow ink, covering the entire duckling shape including the body and feet.
 4
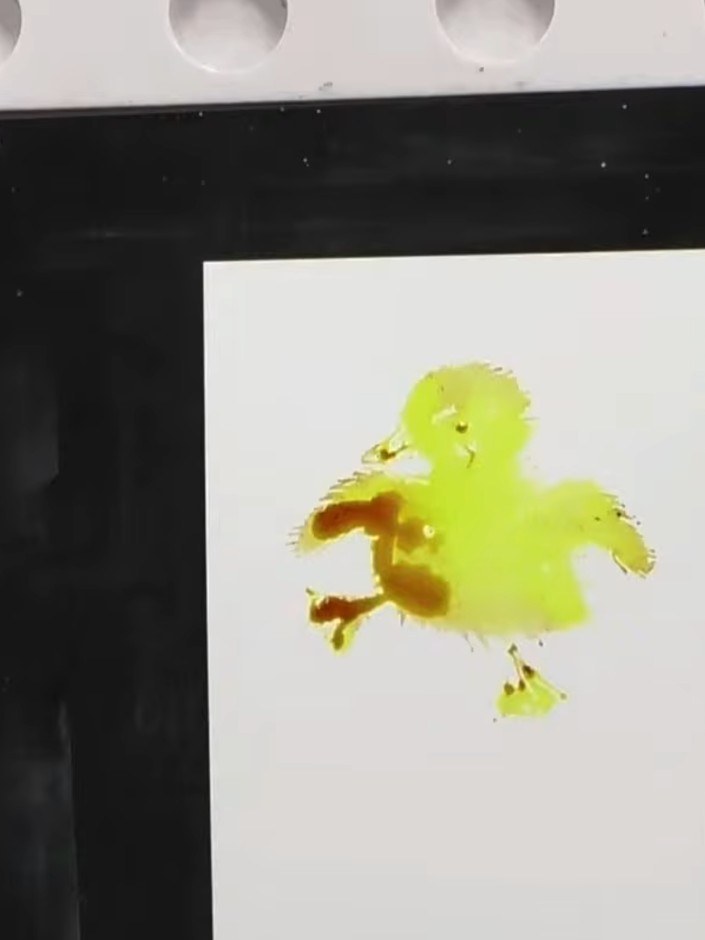
Add brown ink to the duckling's tummy, wings and head to create shading and texture. Build up the colour gradually to add depth and dimension to the watercolour duckling.
 5
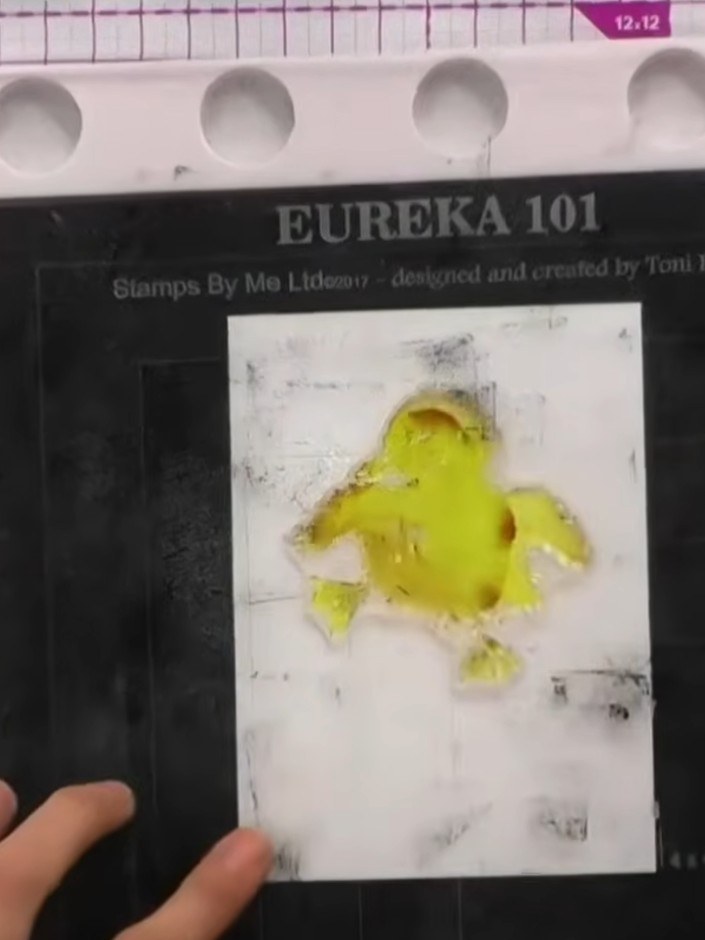
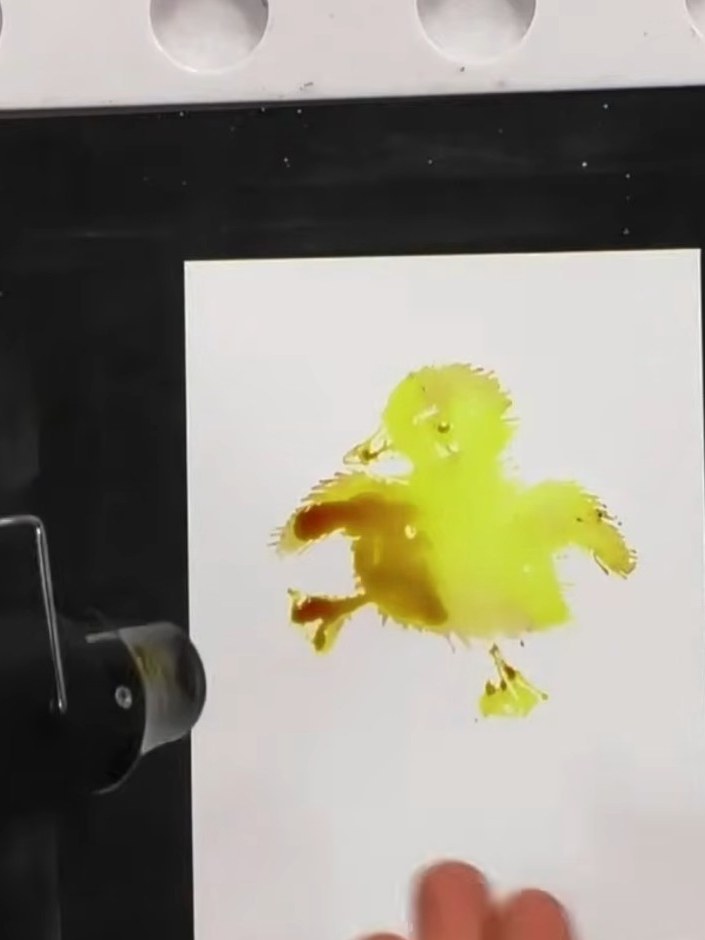
Lightly spray the inked stamp with water to activate the watercolour effect and create a soft, blended appearance.
 6
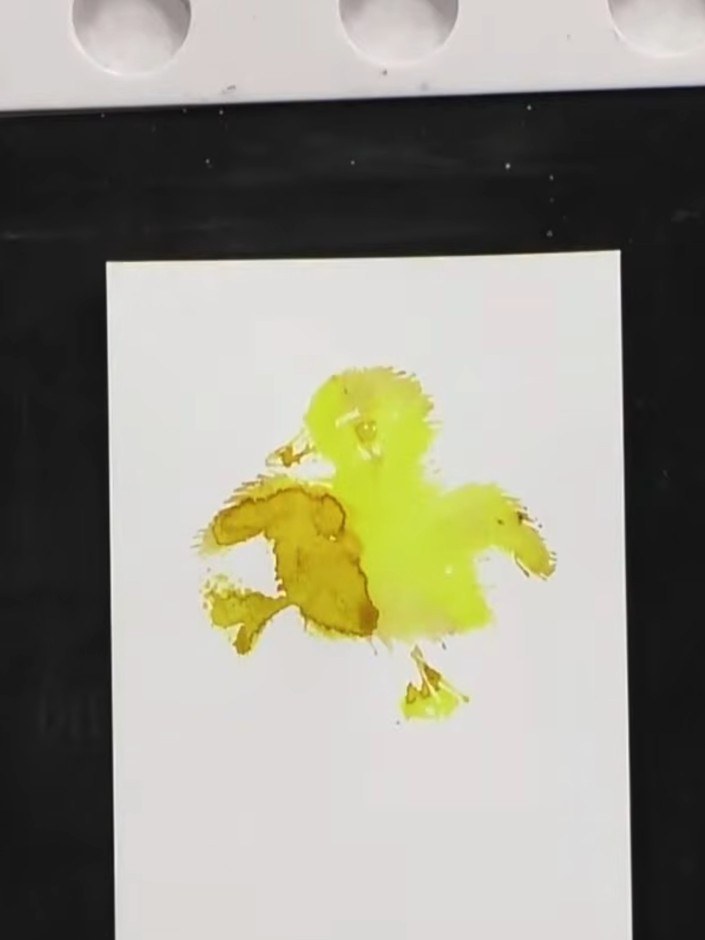
Stamp the duckling design firmly onto the watercolour card. Lift the stamp away cleanly to reveal the watercoloured duckling image with its yellow and brown tones.
 7
Dry the stamped duckling image completely before proceeding to the next step.
 8
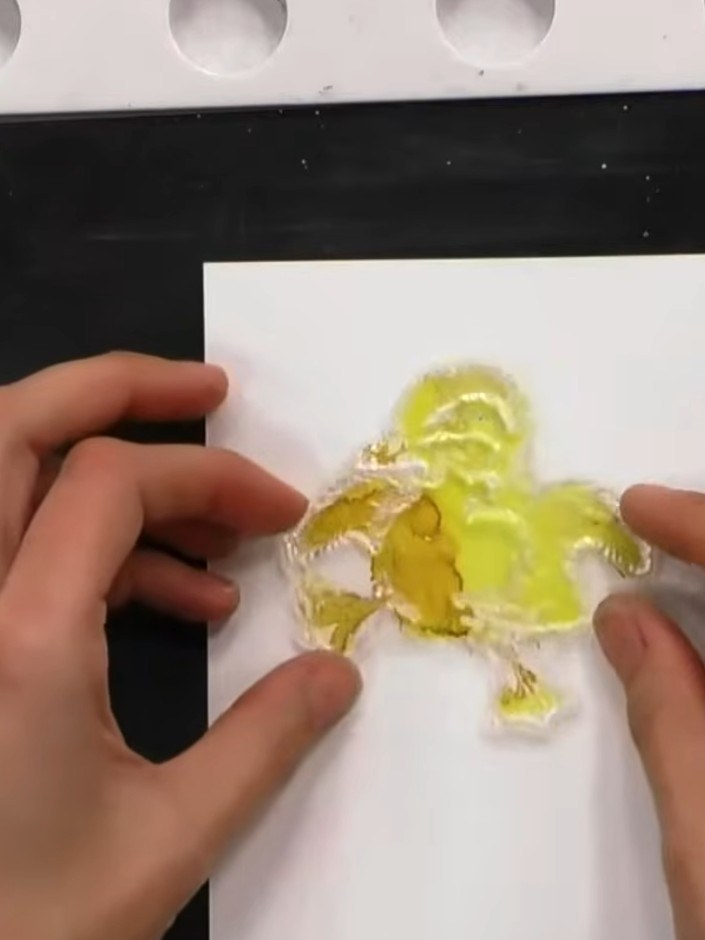
Clean the solid stamp and use a blending brush or cloth to apply the detail portion with brown ink to add texture and depth to the duckling's body.
 9
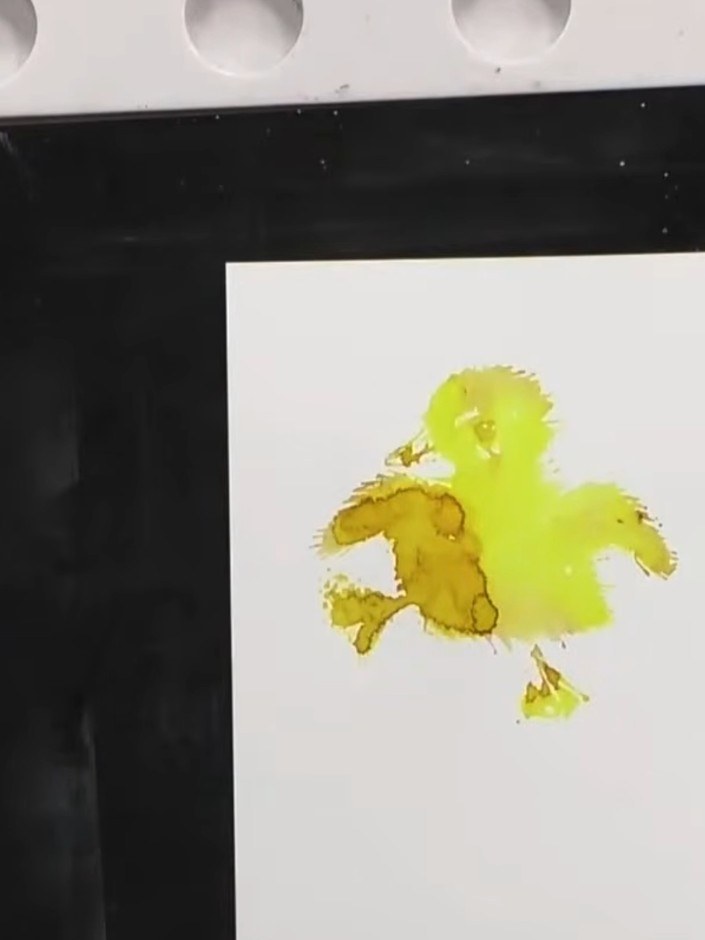
Stamp the detail portion of the duckling stamp over the dried yellow watercolour to add feather definition and texture to the duckling's body.
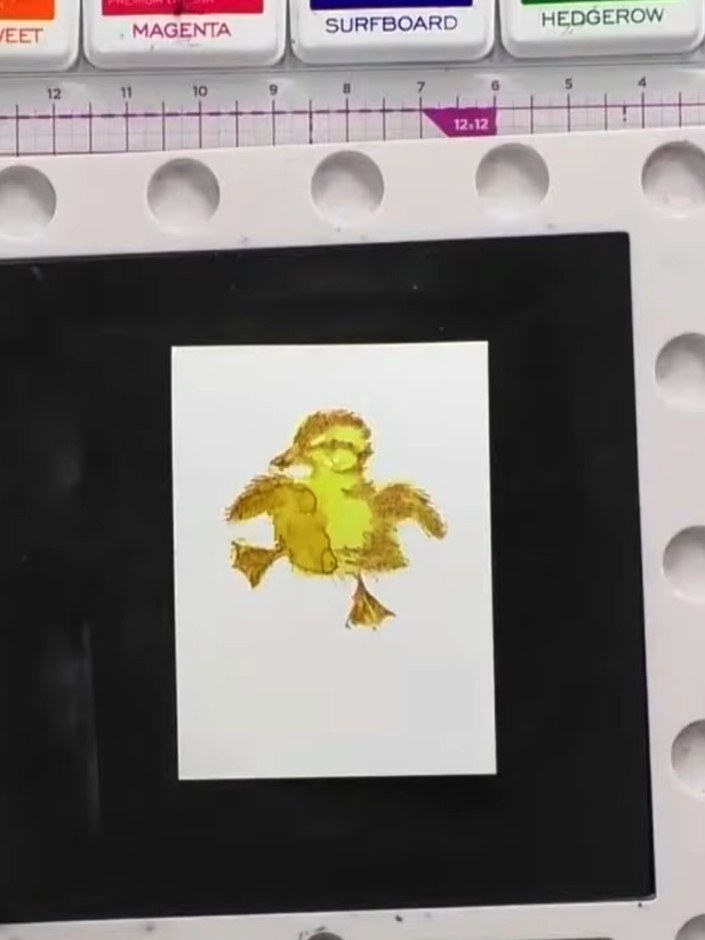 10
Using black ink and a fine brush, add small dots for the duckling's eyes and define the feet to make these details stand out against the yellow and gold tones.
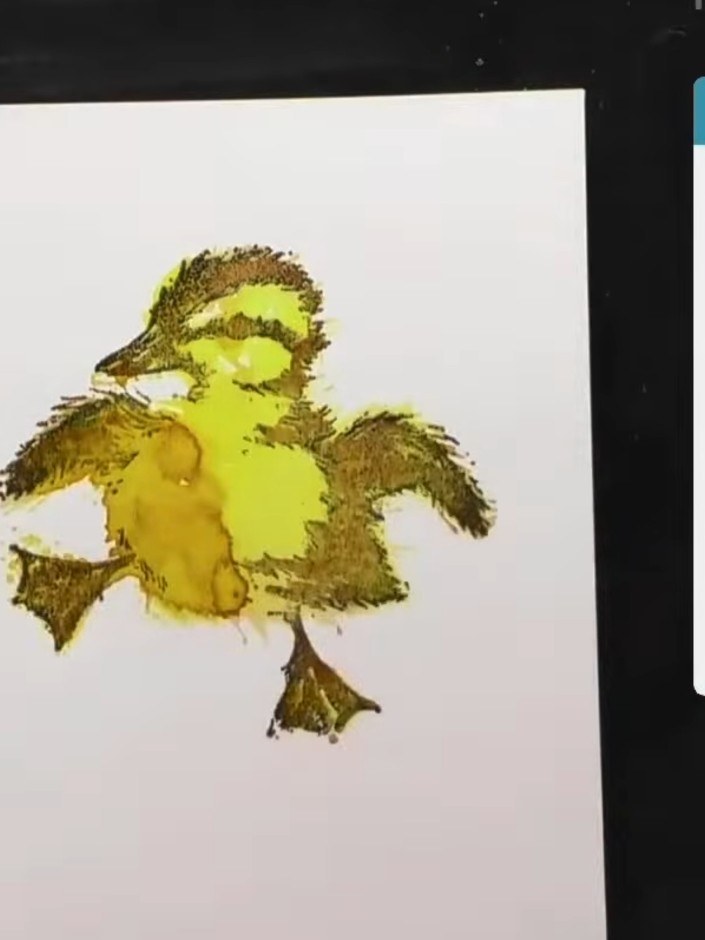 11
Spray a small amount of blue ink around the duckling's feet to create a puddle effect, suggesting the duckling is jumping in water.
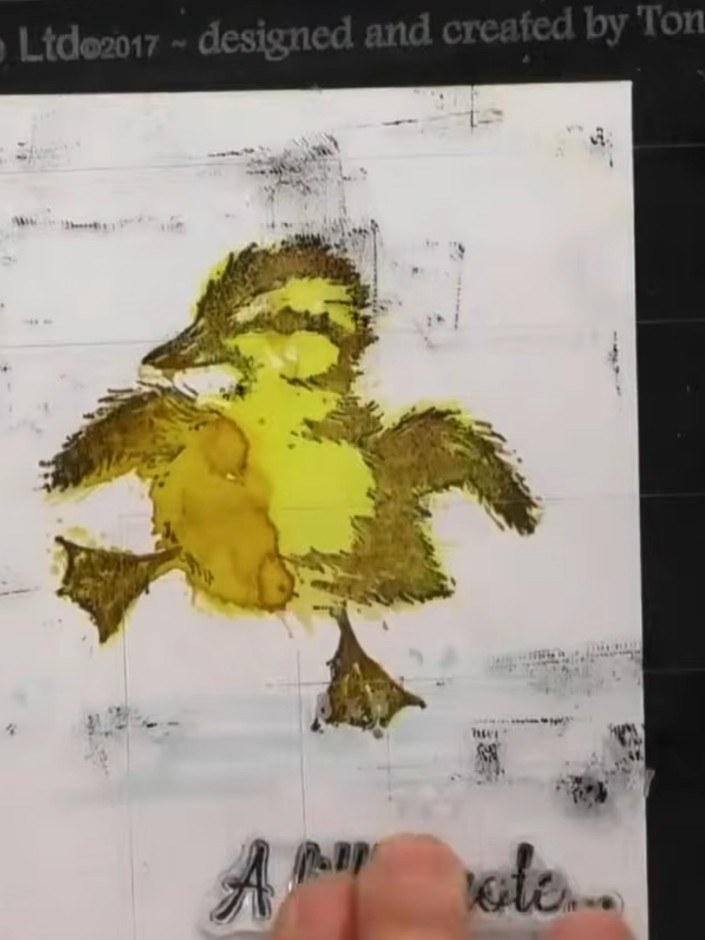 12
Add a sentiment stamp such as 'A little note' to the lower side of the card beneath the duckling design.
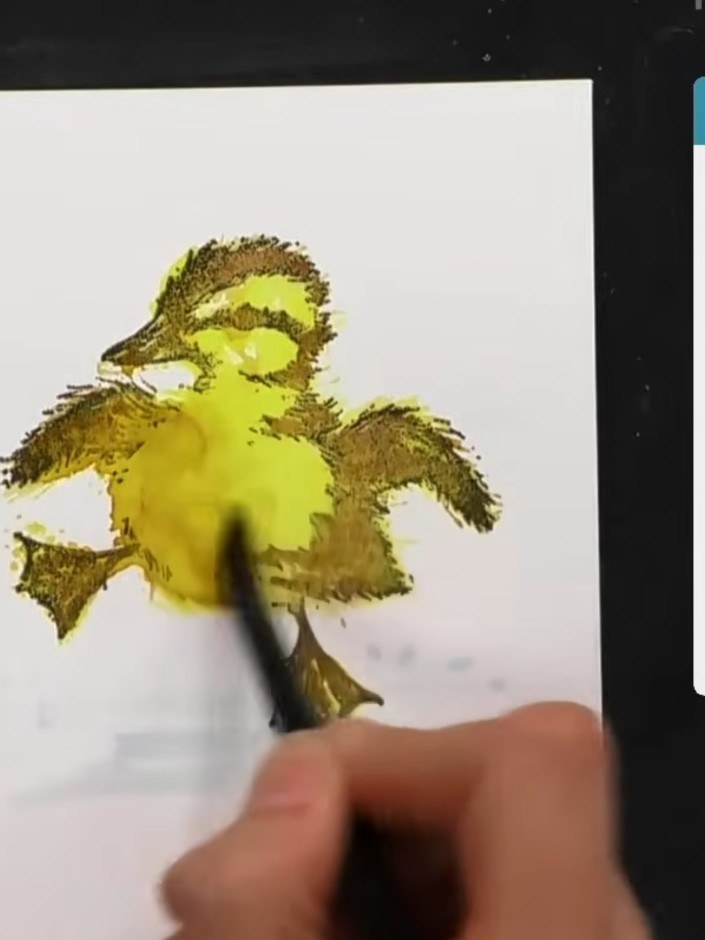 13
Use a wet brush with water to blend out any unwanted splodges or marks on the yellow watercolour areas of the duckling. The cotton content of the watercolour card allows for easy blending and smoothing of the colours.
Share your make with the Stamps By Me community - and keep this guide for next time.
Written up from the show itself. See every guide from our shows · free how-to guides · watch live on My Telly · the previous layout