Give your friends £10 off their first order!
Refer a FRIEND








A project from our live show THE THURSDAY DROP - Brand New Launch from Toni - Broadcast 23rd April 26 · 23/04/2026 · watch it from 15:45
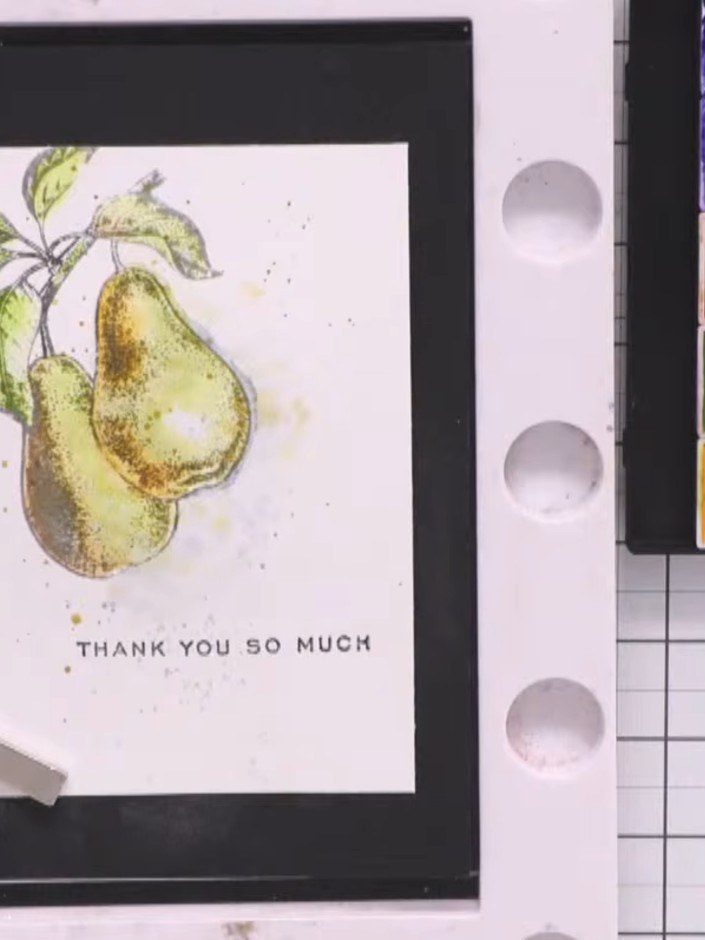
Create a stunning watercoloured card featuring a pear motif with the text 'THANK YOU SO MUCH'. Using a no-line ink pad technique, you'll stamp the pear and leaves to create a soft, pencil-sketch effect, then bring the image to life with gentle watercolour washes in greens, yellows and browns. This simple yet professional-looking technique produces beautiful artwork that's perfect for thank you cards and special occasions.
 Stamps By Me - No-line Ink Pad - 121022OSEE IT
 Stamps & Embossing Folders - Apples & Pears - 191224ASEE IT
 Carta - Traditional Watercolour Paper - A5 - WCPA501SEE IT
 943380 TV - 100270 - HTCN - Stamps By Me Flat Tip Paintbrush Set - 061121CSEE IT
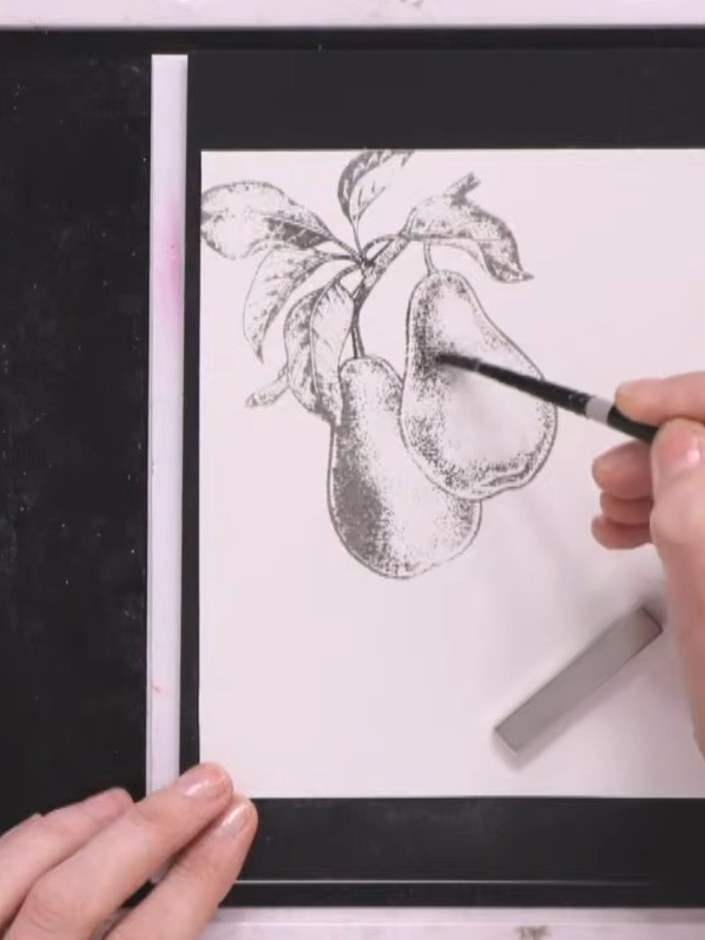
Using a round brush, apply clean water to the stamped pear area to create a wet base for the watercolour to flow into.
▶ watch this step (27:30)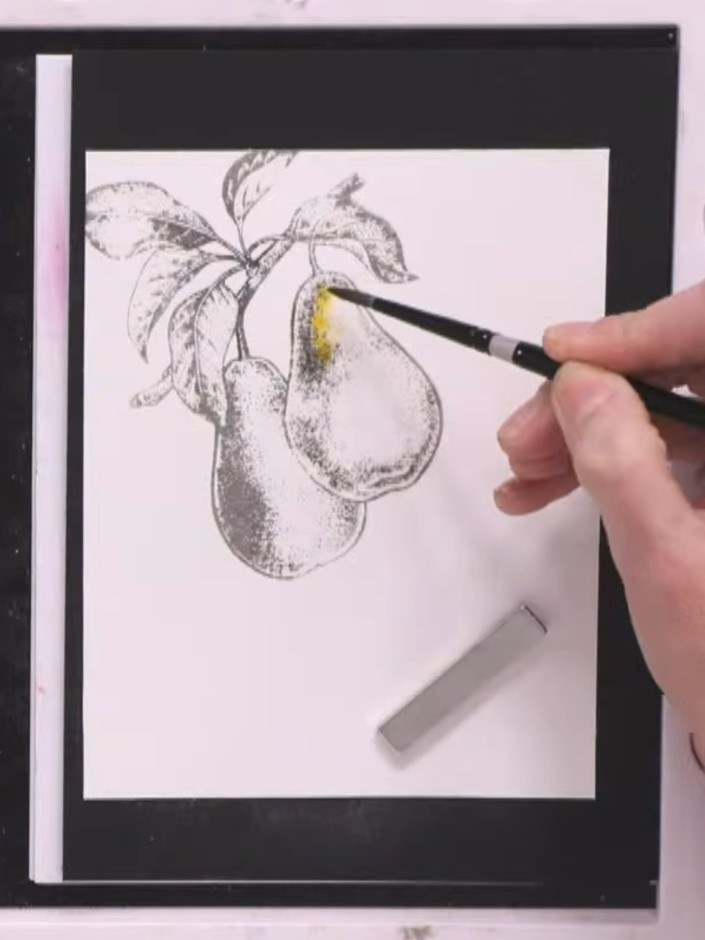
Pick up orange watercolour on your brush and drop it into the wet area on the pear. Pounce with your brush to build up colour in the darker areas of the pear.
▶ watch this step (28:30)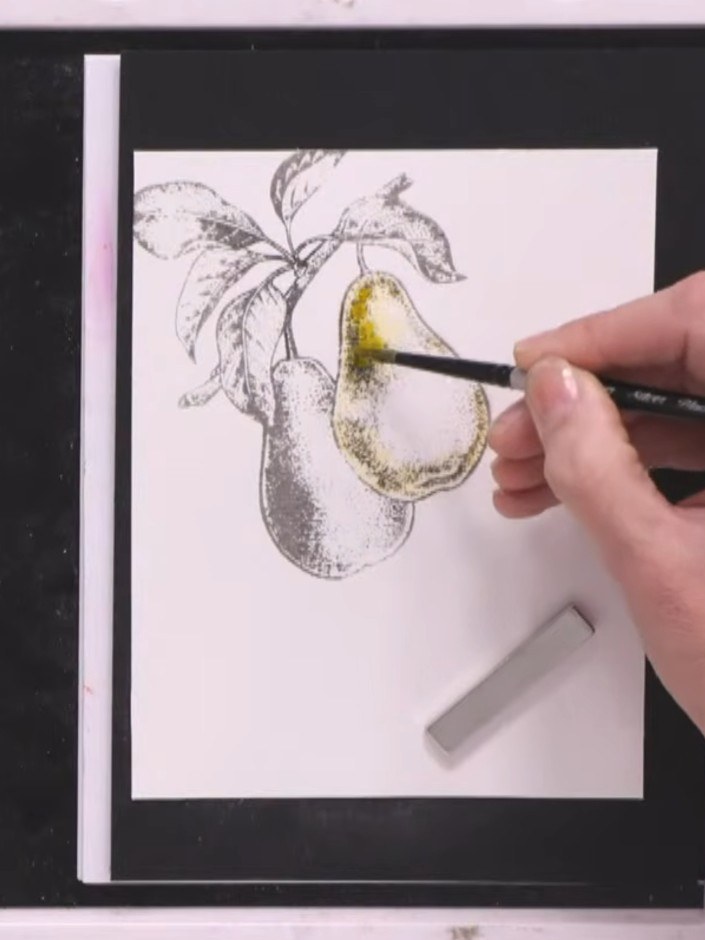
Add more orange ink to the pear, blending it with the existing green and yellow tones. Allow the colours to blend naturally on the wet watercolour paper to create depth and dimension.
▶ watch this step (29:30)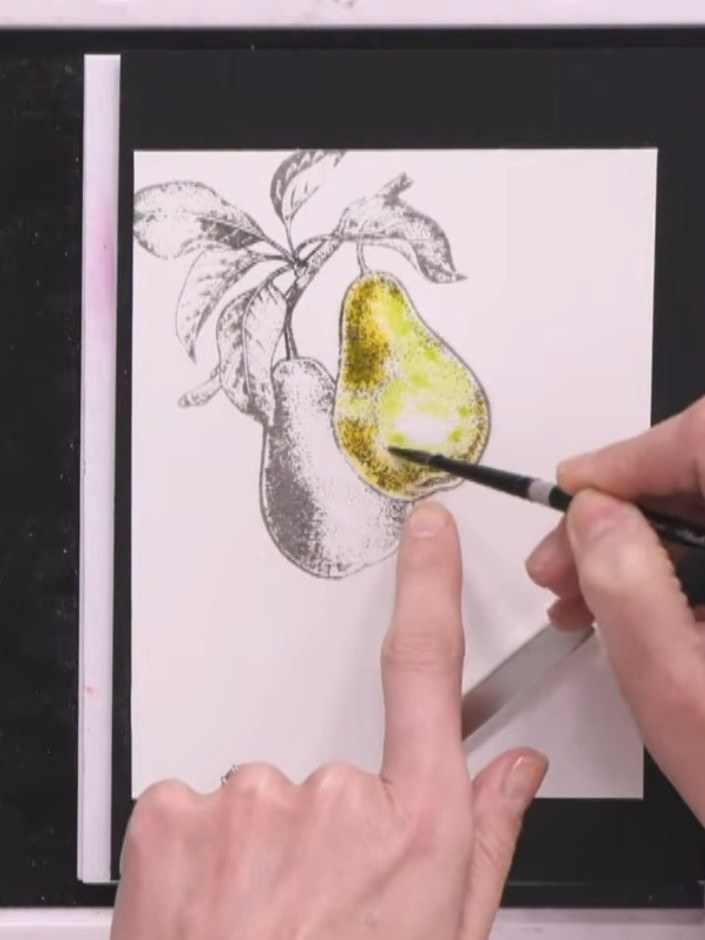
If you create a puddle of excess water, squeeze out your brush on a tissue and use the dry brush to lift the water back out of the painted area.
▶ watch this step (30:00)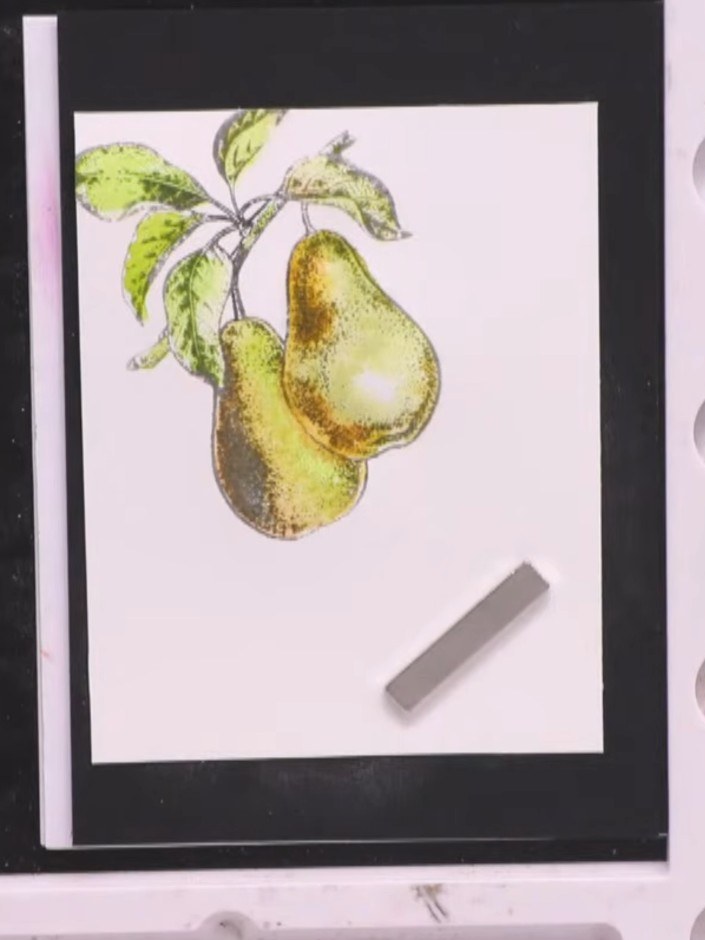
Mix blue watercolour with water to create a grey shadow colour. Using a wet brush, apply the grey mixture around the edge of the pear to create shadow and depth.
▶ watch this step (37:15)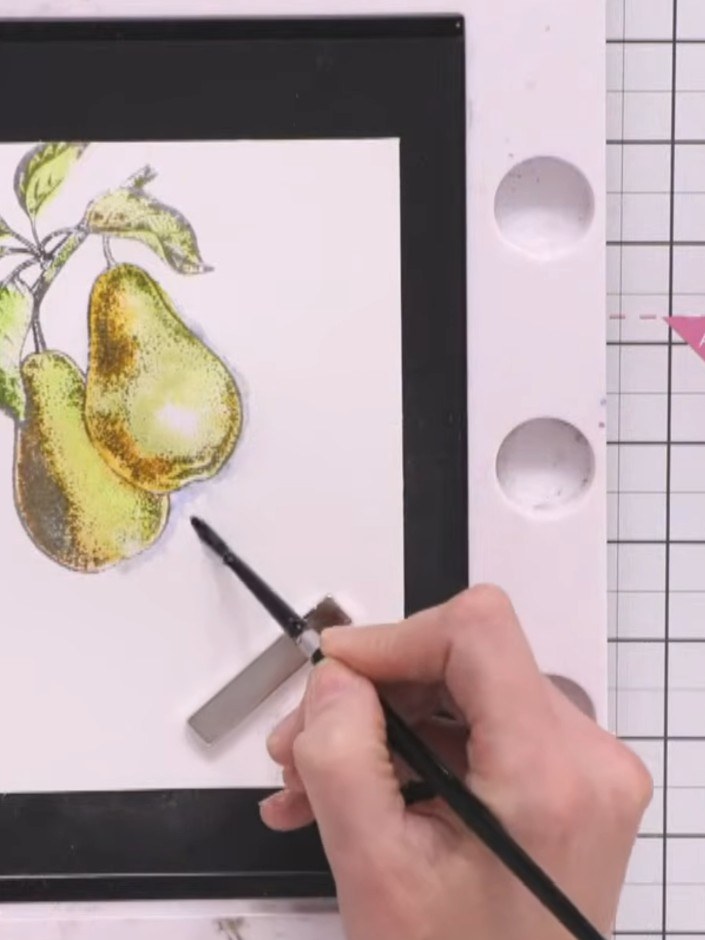
Use a clean, damp paintbrush to blend the blue shadow outward from the pear, creating a seamless fade that gives dimension and realism to the image.
▶ watch this step (38:45)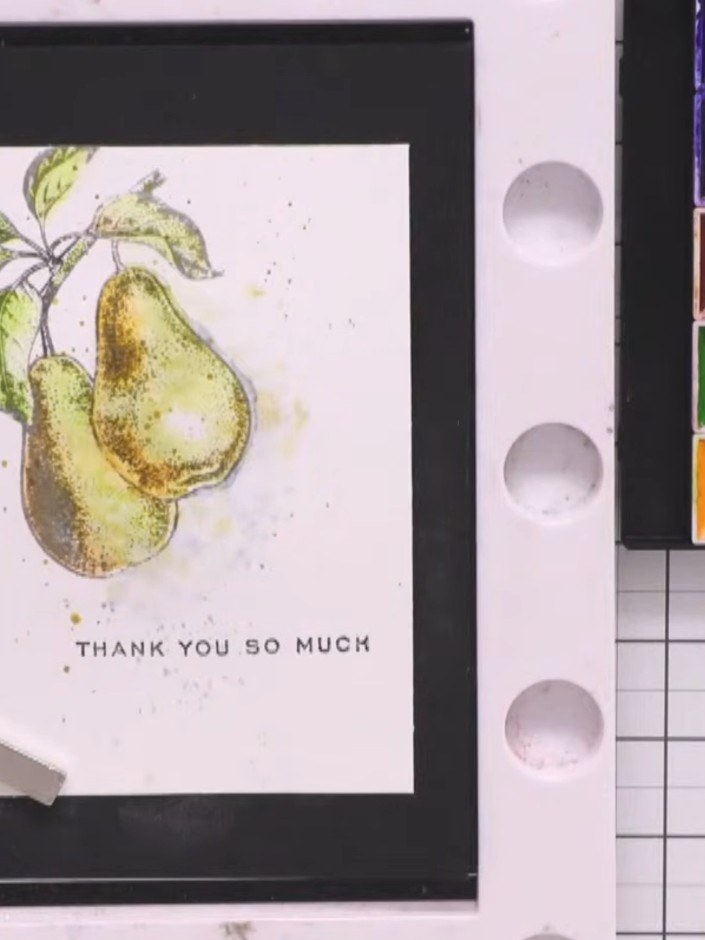
Stamp 'THANK YOU SO MUCH' or your chosen sentiment onto the bottom of the painted panel using a black ink pad. Mount the completed watercoloured pear panel onto a black card blank to finish.
▶ watch this step (41:30)Written up from the show itself. See every guide from our shows · free how-to guides · watch live on My Telly