Give your friends £10 off their first order!
Refer a FRIEND








A project from our live show THE THURSDAY DROP - Brand New Launch from Toni - Broadcast 23rd April 26 · 23/04/2026 · watch it from 42:45
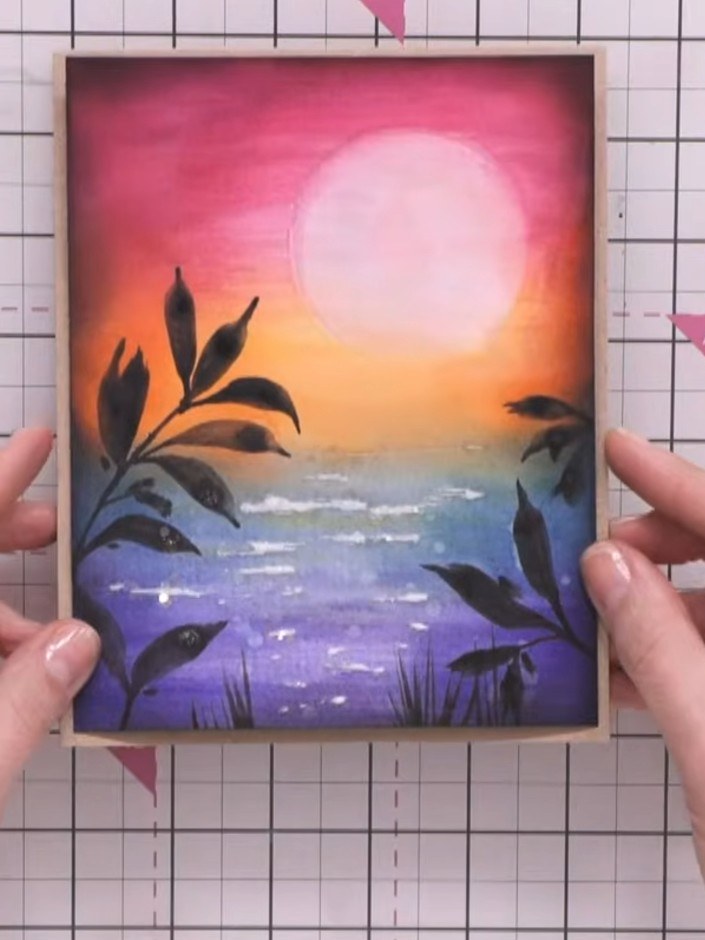
Create a stunning sunset landscape featuring a gradient sky transitioning from pink through orange to purple, with a lifted moon effect and silhouetted foliage framing the scene. This beautiful watercolour piece showcases wet-in-wet blending techniques, colour lifting to create the glowing moon, and layered brushwork for water reflections and botanical elements. The finished artwork captures a serene tropical sunset with dramatic colour transitions and elegant black foliage details.
 Carta - Traditional Watercolour Paper - A5 - WCPA501SEE IT
 943380 TV - 100270 - HTCN - Stamps By Me Flat Tip Paintbrush Set - 061121CSEE IT
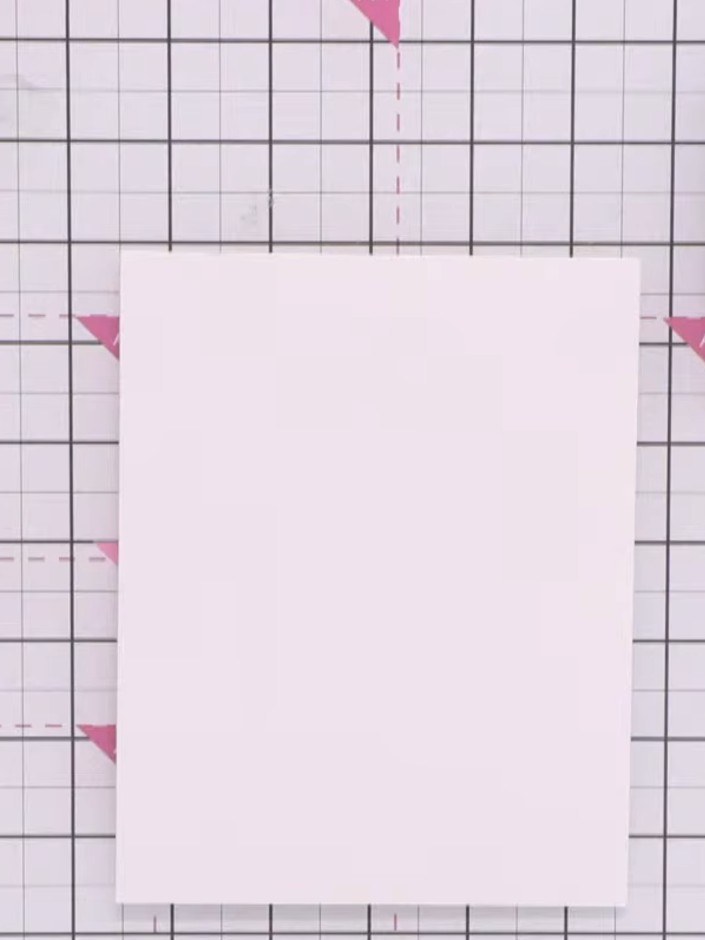
Wet your watercolour card completely from top to bottom using clean water and a flat brush, ensuring the surface is evenly saturated.
▶ watch this step (47:30)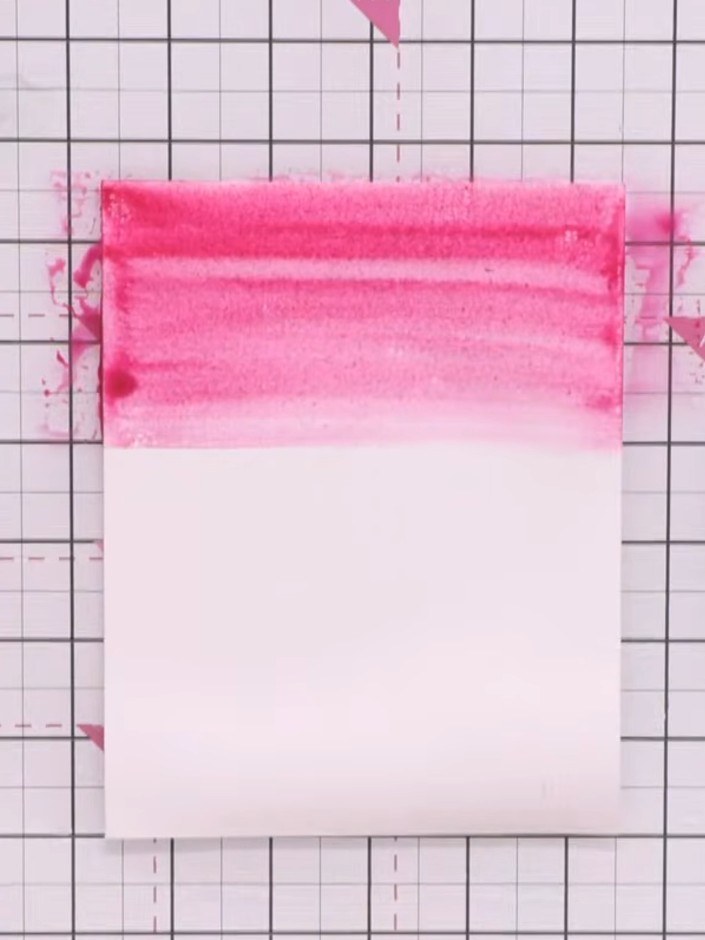
Apply red watercolour to the top of the wet card. Add orange below the red, allowing the colours to blend naturally on the wet surface.
▶ watch this step (50:00)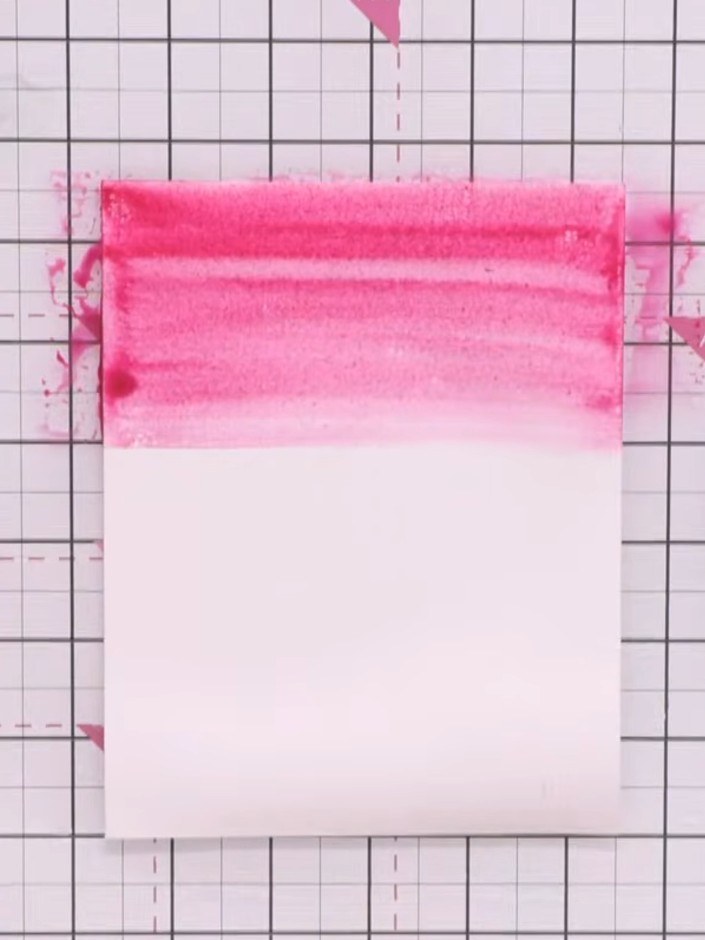
Apply pink or magenta ink to the upper section of the watercolour paper using a flat tip paintbrush, creating a horizontal band of colour. Work whilst the paper is wet to allow the colour to blend smoothly.
▶ watch this step (50:45)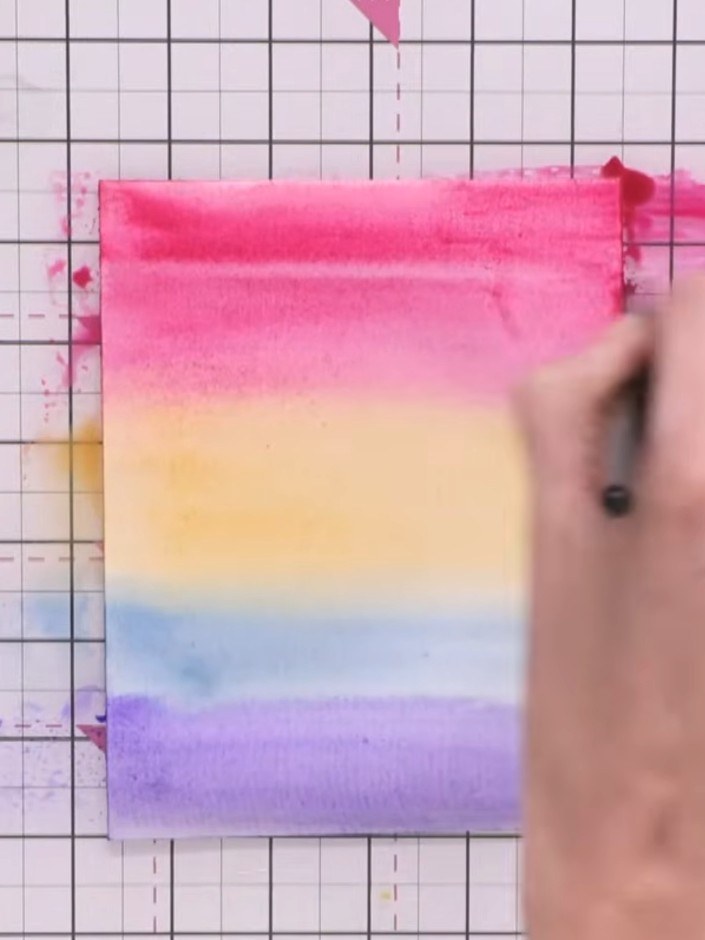
Squeeze all water from your brush. Use the dry brush to lift out colour in a circular motion in the pink section to create a moon shape.
▶ watch this step (52:00)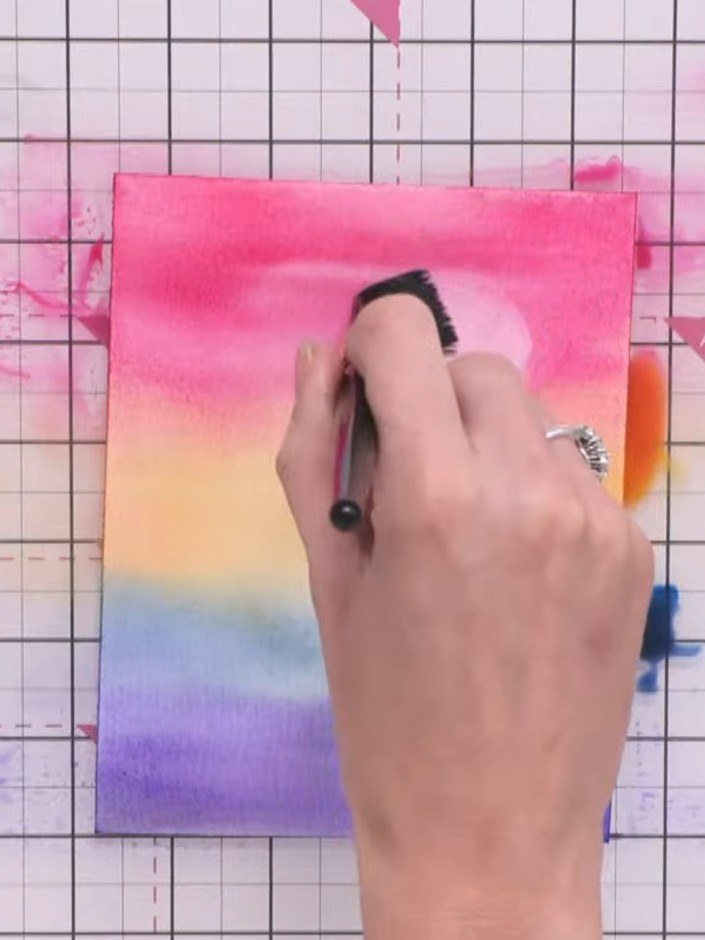
If the colour won't lift easily, wet your brush again to reactivate the paint. Then use a dry brush to lift the colour out of the area.
▶ watch this step (53:30)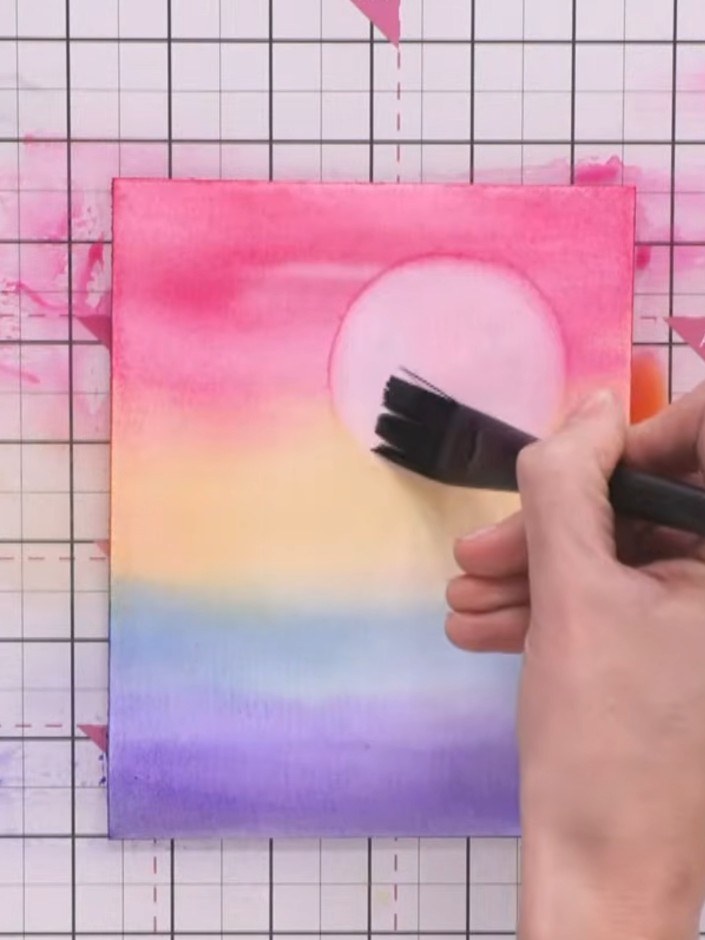
Create water ripples by using a wet brush to add horizontal lines across the lower blue section. Lift colour with a dry brush to create highlights in the water.
▶ watch this step (55:00)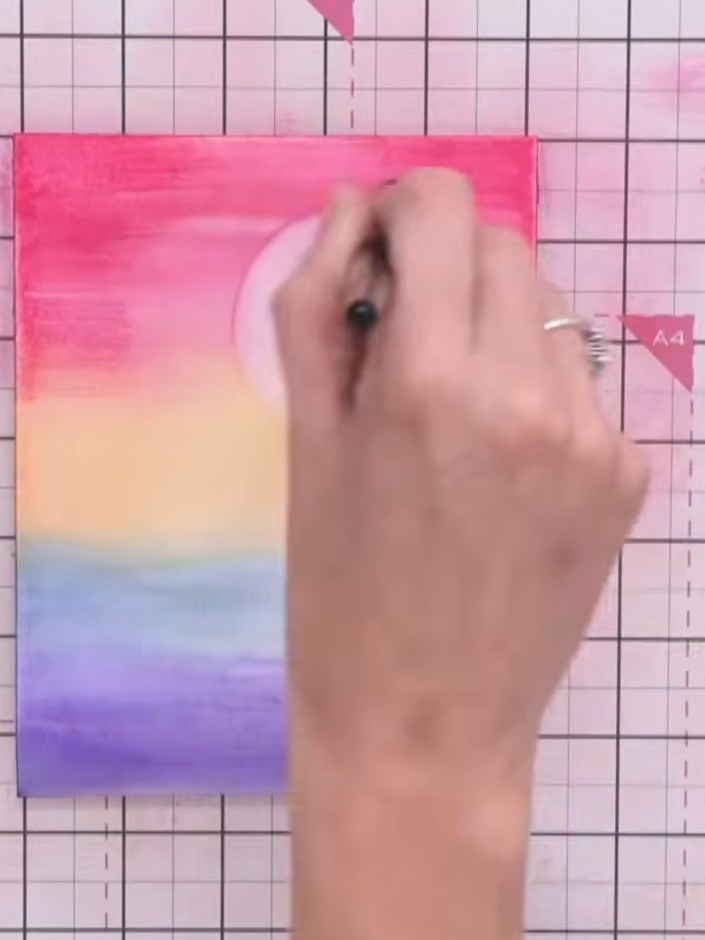
Whilst the paper is still damp, add darker colours such as purple and blue to the top and bottom edges. Use sweeping horizontal strokes to create a vignette effect that frames the composition.
▶ watch this step (56:30)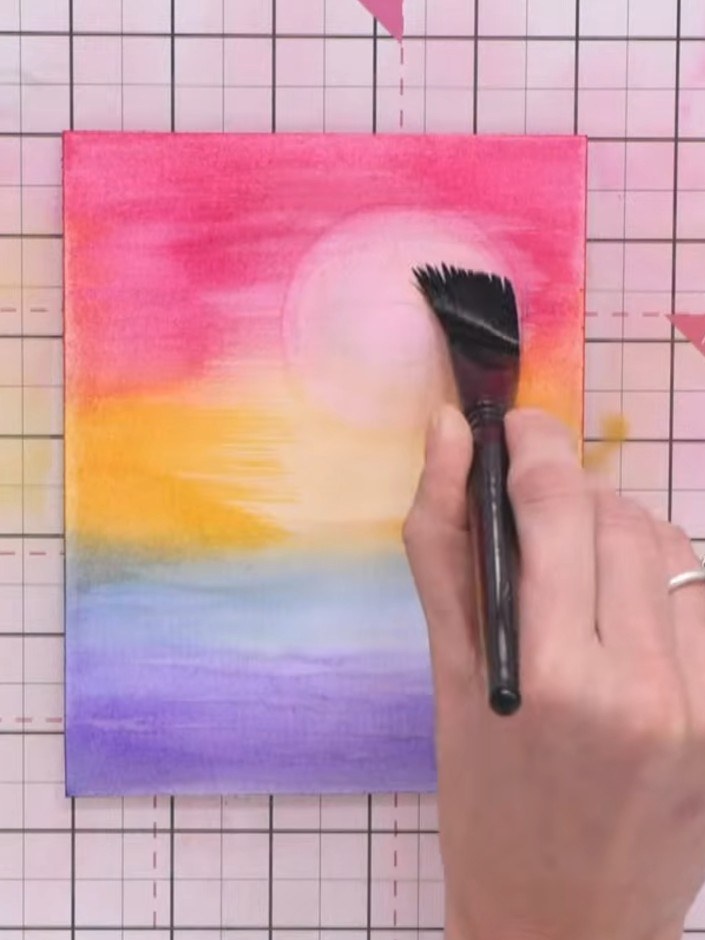
Use a blending brush to gently apply darker ink pad colour around the outer edges of the rainbow gradient, building up gradually to avoid harsh lines.
▶ watch this step (57:45)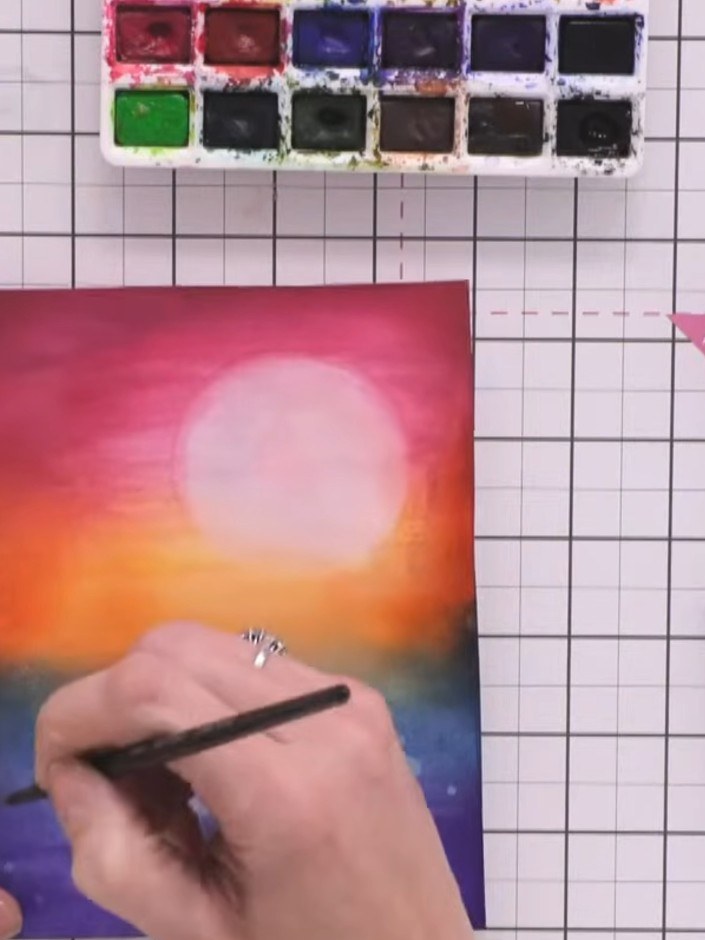
Paint foliage shapes using a flat tip brush with the toe-belly-toe technique. Start on the toe of the brush, press down to the belly, then lift back to the toe to create leaf shapes in the orange and blue areas of the sunset.
▶ watch this step (1:18:00)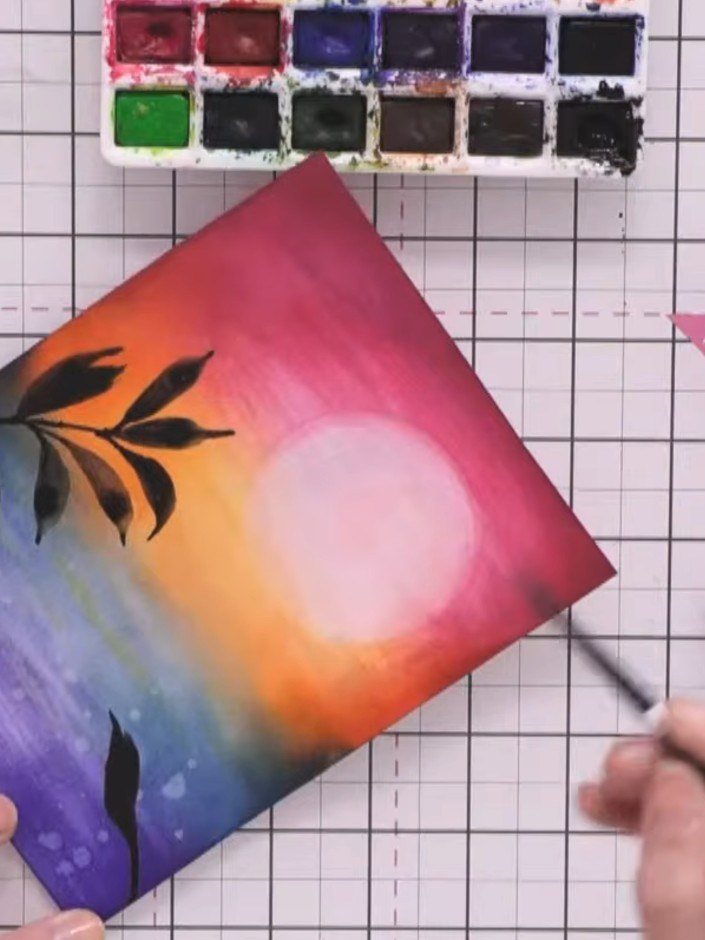
Paint additional stems and leaves coming in from the sides of your sunset landscape, varying the sizes. Allow each layer to dry between applications to create depth and dimension.
▶ watch this step (1:19:30)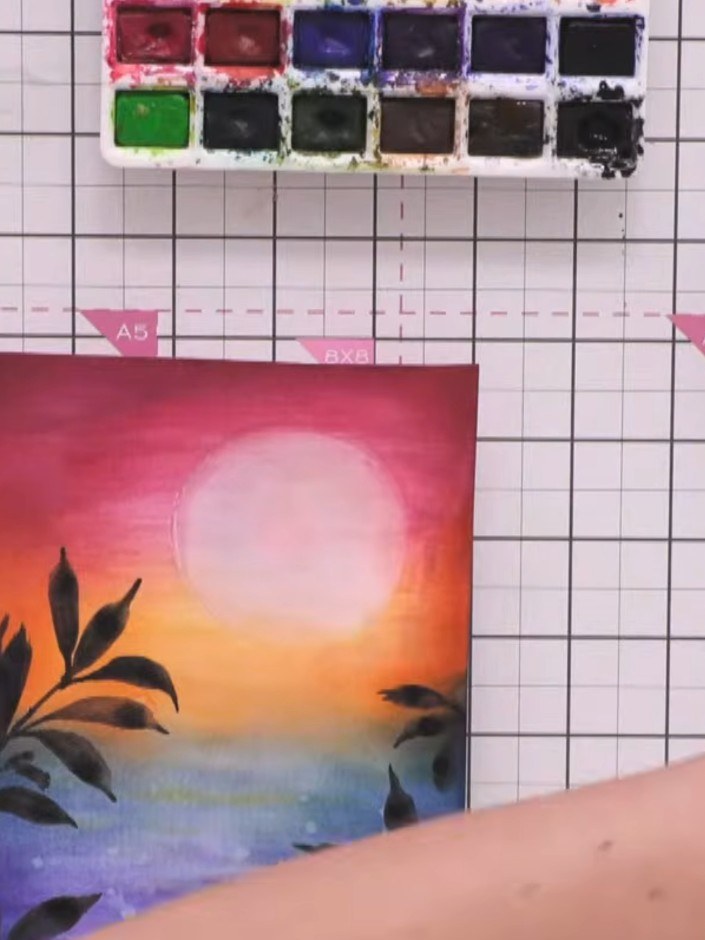
Using a blending brush and black ink pad, gently add a dark vignette frame around the entire edge of the artwork. Apply lightly to avoid overwhelming the piece.
▶ watch this step (1:23:00)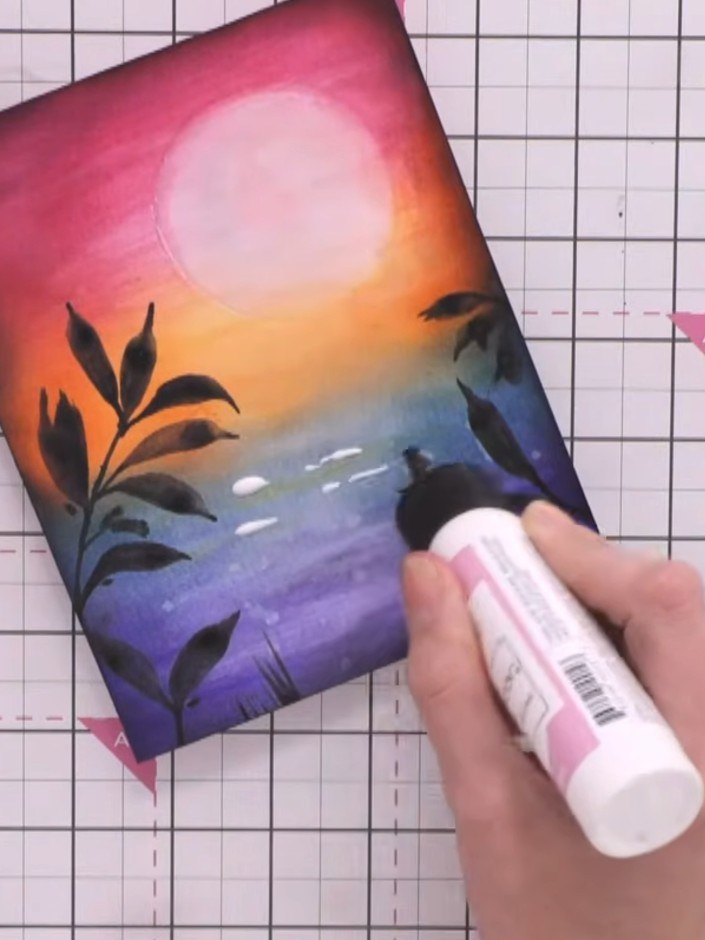
Apply clear drying glue in vertical lines down the lower section of the card to create a water reflection. Sprinkle clear chunky glitter over the glue whilst wet to catch the light.
▶ watch this step (1:26:00)Written up from the show itself. See every guide from our shows · free how-to guides · watch live on My Telly