Give your friends £10 off their first order!
Refer a FRIEND








A project from our live show HOBBYMAKER TV - Join us for the latest show - Broadcast 7 p.m. (UK) 13th July 2026 · 13/07/2026 · watch it from 36:00
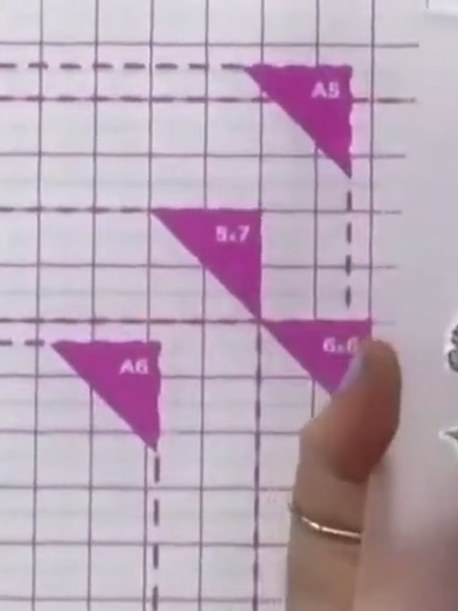
Create a stunning multi-layered hibiscus card featuring delicate pink and white flowers with vibrant green leaves. This project combines four essential card-making techniques—stencilling, stamping, die-cutting and embossing—to achieve a beautiful hand-painted effect. The finished card has a professional, dimensional look with elegant layered florals perfect for any occasion.
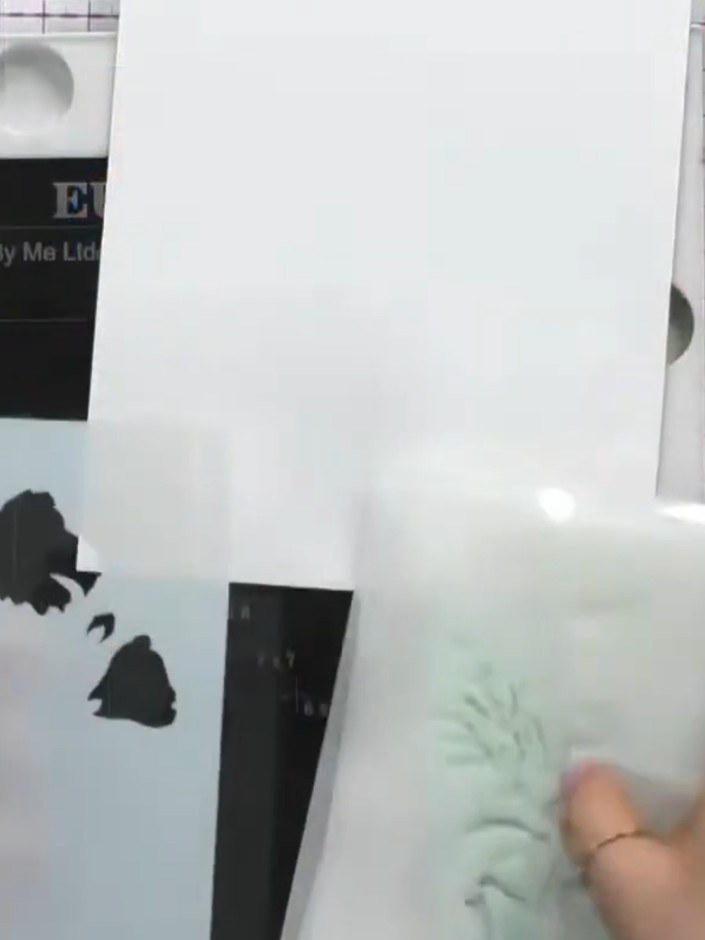
Begin with stencil number one, which is identified by the number one and a heart marker on the stencil. Position the stencil on your card base ready for layering.
▶ watch this step (38:15)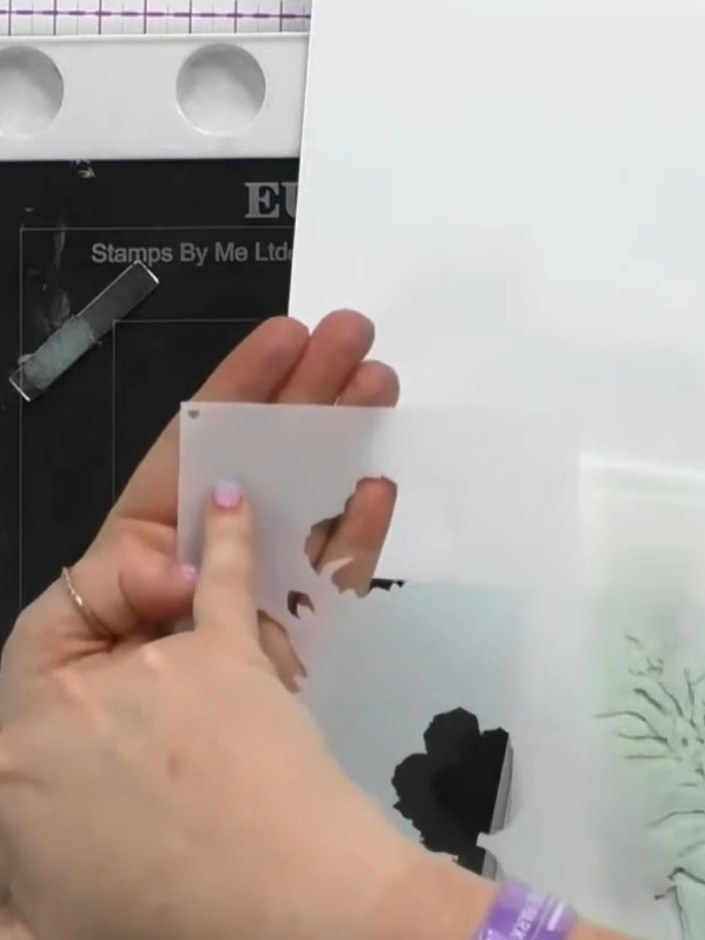
Apply pale pink ink through the first stencil onto your card. Use the heart shape as a registration guide to help position the next layer accurately.
▶ watch this step (38:30)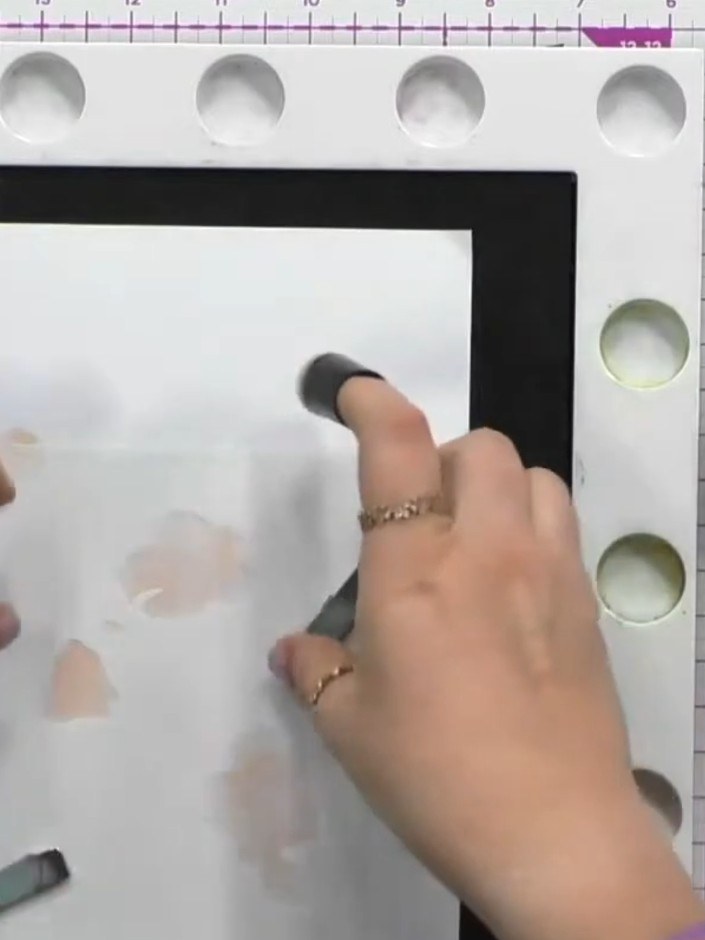
Line up stencil number two using the heart registration mark and apply rose bud pink ink through the stencil onto your card.
▶ watch this step (39:45)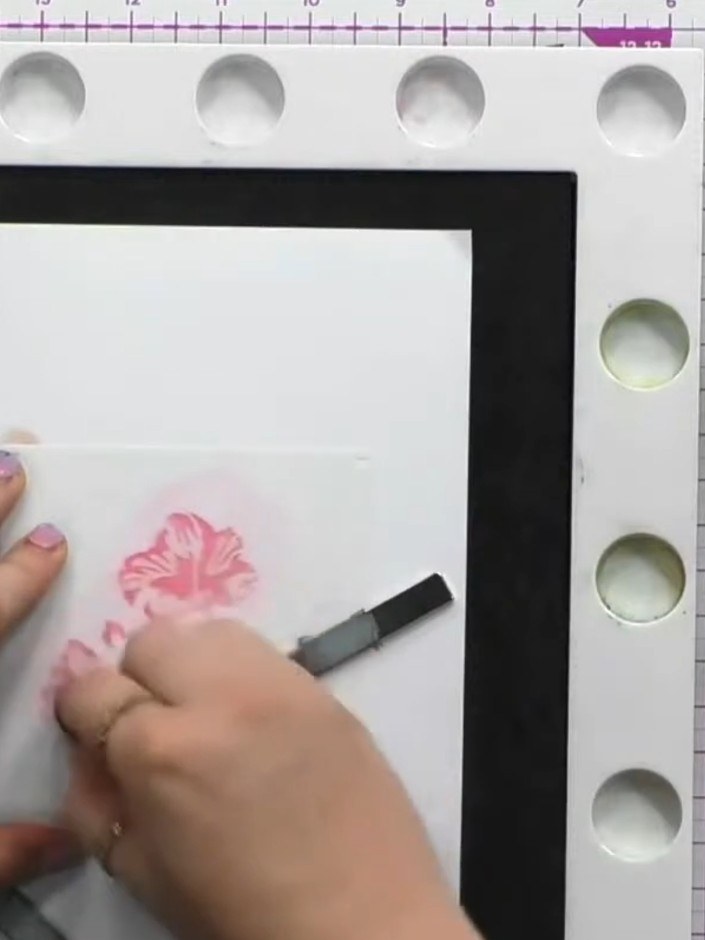
Apply the third stencil using a darker pink ink pad to add depth and dimension to the hibiscus flower petals. Use a blending tool to apply the ink in gentle circular motions.
▶ watch this step (40:15)
Apply stencils four, five and six using varying shades of green ink to create the foliage and leaves on your card.
▶ watch this step (41:00)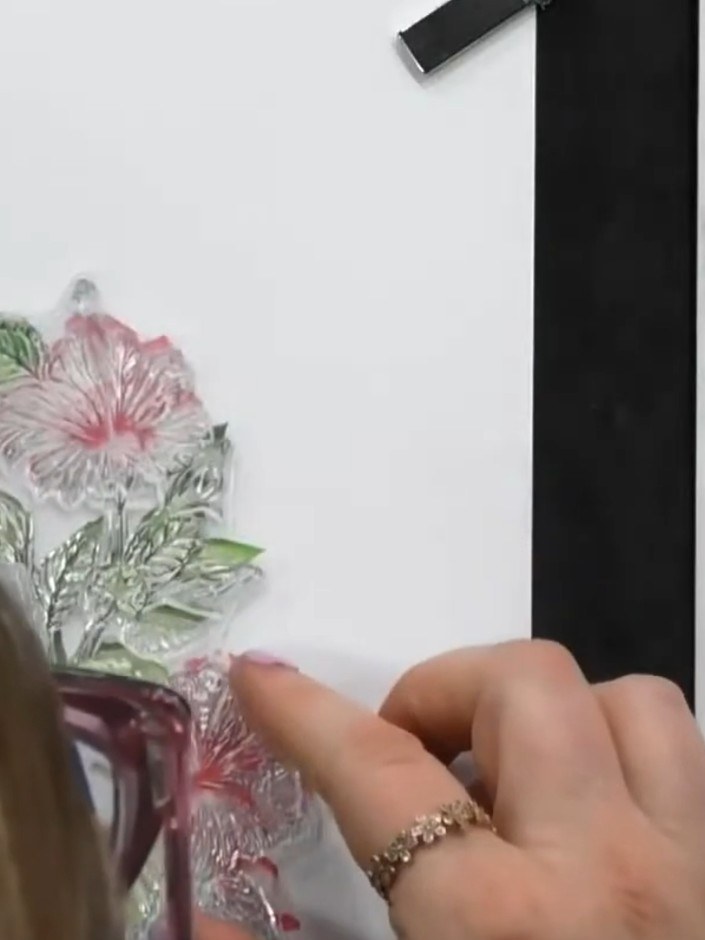
Stamp the detailed hibiscus stamp in black ink over your stencilled floral image to add fine detail and definition to the design.
▶ watch this step (44:00)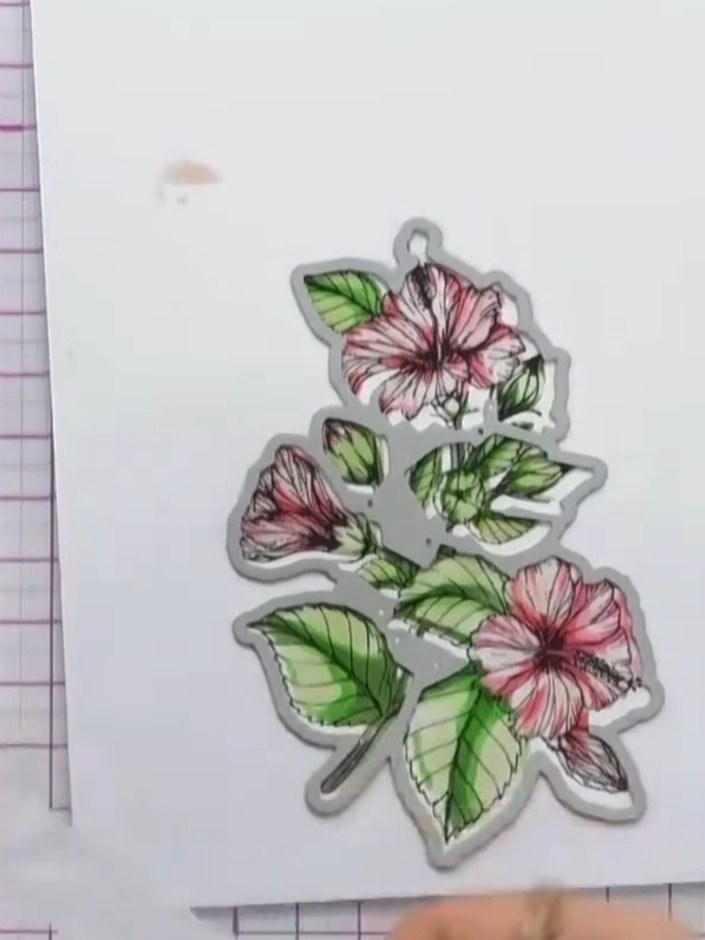
Secure your stamped and stencilled hibiscus piece to your cutting mat with low-tack tape. Position the hibiscus die over the stamped image and place it in your die-cutting machine.
▶ watch this step (45:00)
Run the stamped hibiscus image through the die-cutting machine with the coordinating die to cut out the layered design.
▶ watch this step (45:30)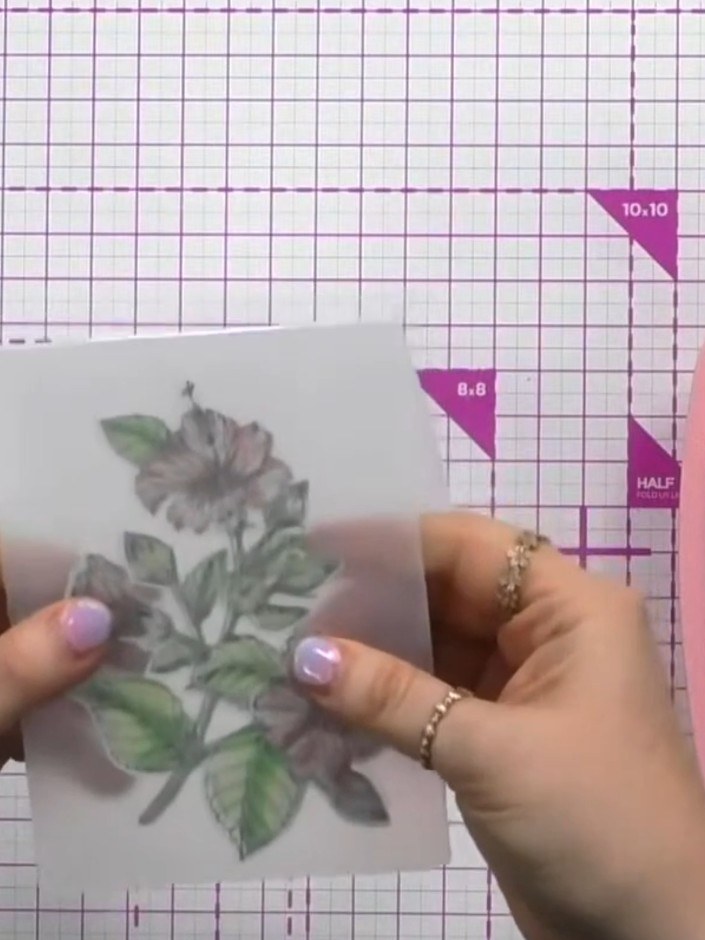
Place your die-cut hibiscus into the embossing folder, aligning the raised section inwards for a boss emboss effect rather than debossing.
▶ watch this step (46:15)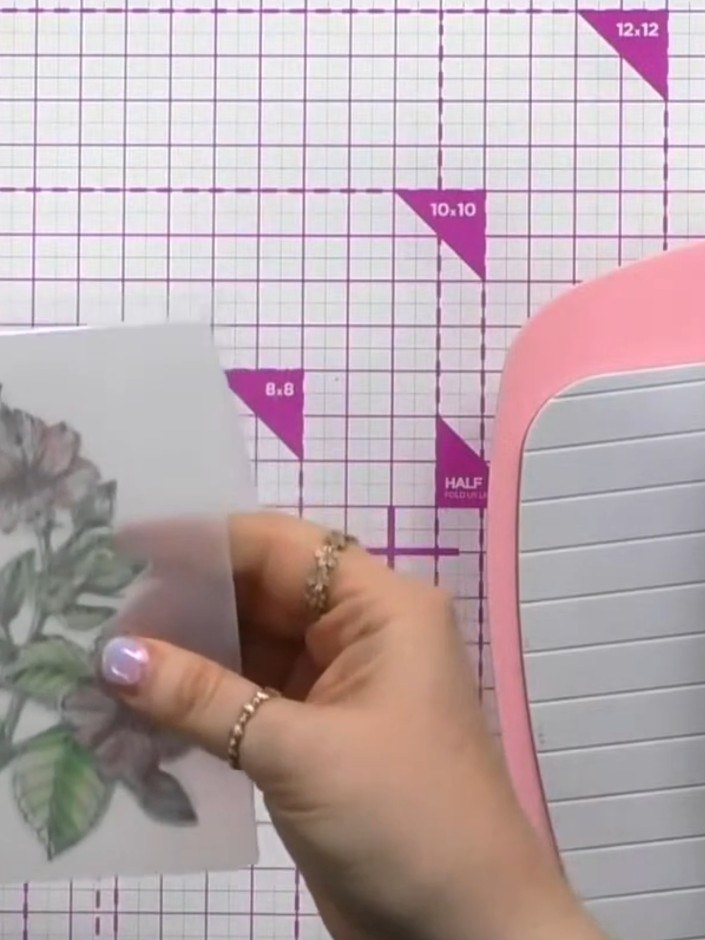
Run the embossing folder with your hibiscus image through your die-cutting machine to add the final embossed detail to your hibiscus.
▶ watch this step (46:30)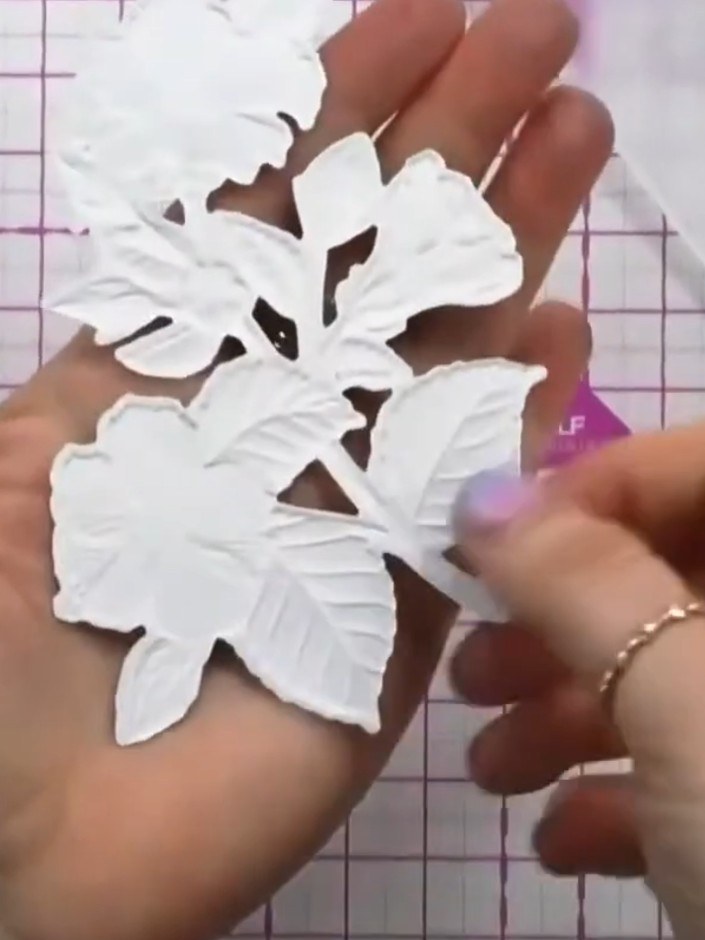
Mount your completed four-layered hibiscus flower onto your prepared card base to finish your card. Position the flower centrally and secure it in place.
▶ watch this step (47:00)Written up from the show itself. See every guide from our shows · free how-to guides · watch live on My Telly