Give your friends £10 off their first order!
Refer a FRIEND








A project from our live show HOBBYMAKER TV - Join us for the latest show - Broadcast 7 p.m. (UK) 13th July 2026 · 13/07/2026 · watch it from 20:15
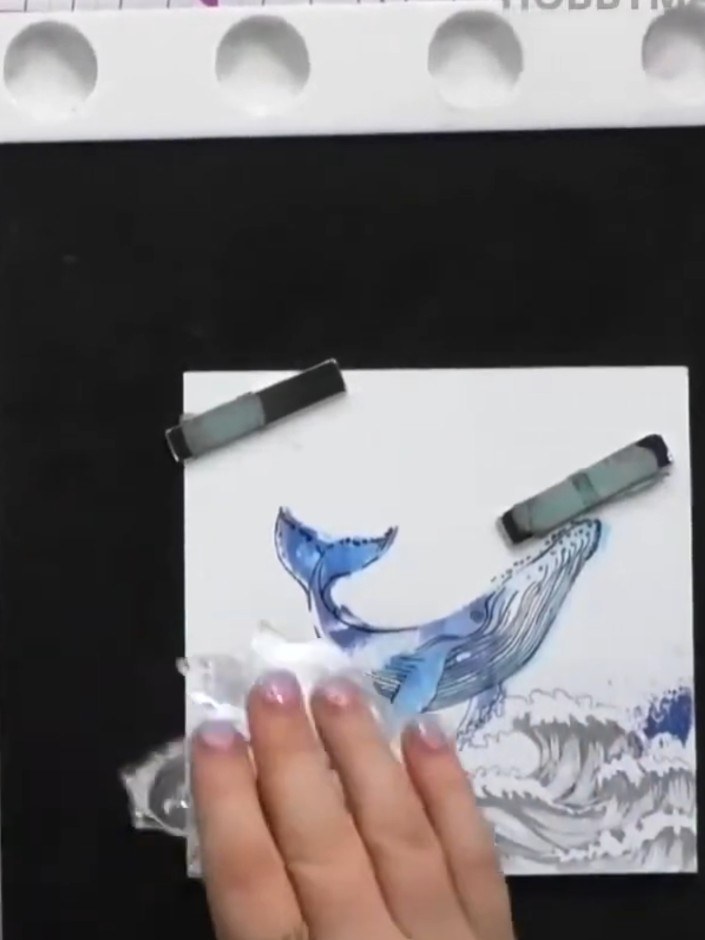
Create a stunning watercolour-effect whale card using the innovative lamination technique. This elegant design features a beautiful blue whale with soft watercolour tones, enhanced with fine stamped details to bring depth and dimension to the image. The technique combines two coordinating stamps to achieve a professional artistic finish on a black card base.

Place your multimedia paper on a craft mat. Select a distress oxide ink in your chosen colour that will react with water to create the watercolour effect.
▶ watch this step (22:00)
Stamp the first whale stamp (the one with less detail) three times onto your white cardstock using three different colours of distress oxide ink.
▶ watch this step (22:15)
Spritz water onto the stamped images on your card. Allow the water to react with the ink for a few seconds to create a watercolour effect.
▶ watch this step (22:30)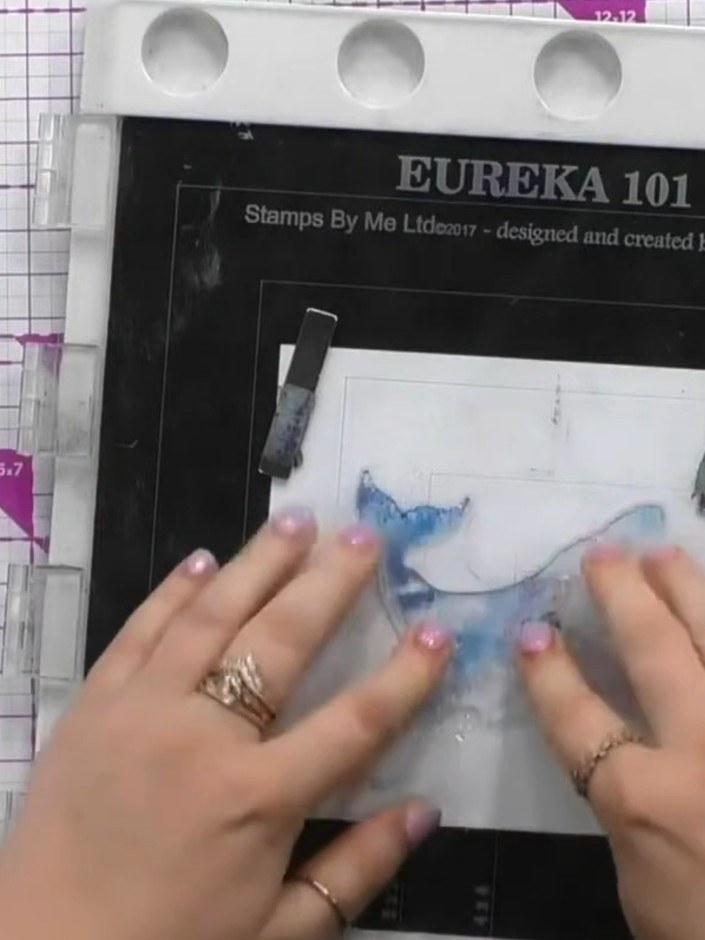
Press your paper firmly onto the stamping platform to transfer the watercolour effect from the stamp. Lift the paper away carefully to reveal the image, then heat dry if desired.
▶ watch this step (22:45)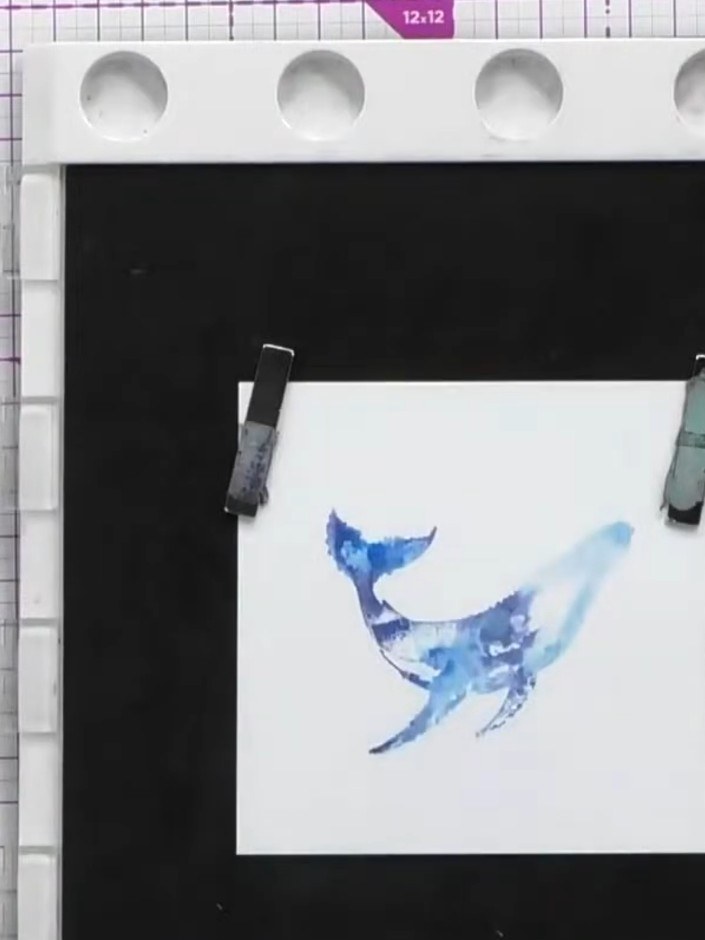
Stamp the detailed whale stamp in black ink over the dried watercolour whale to add fine detail and definition.
▶ watch this step (23:15)
Stamp the wave stamps using black ink onto your card. Re-ink the stamps and stamp again onto scrap paper to create lighter, second generation wave impressions.
▶ watch this step (24:15)
Add extra detail to the waves by inking specific areas of your stamp. Press the inked stamp onto scrap paper to create spray effects and texture that you can add to your card.
▶ watch this step (25:00)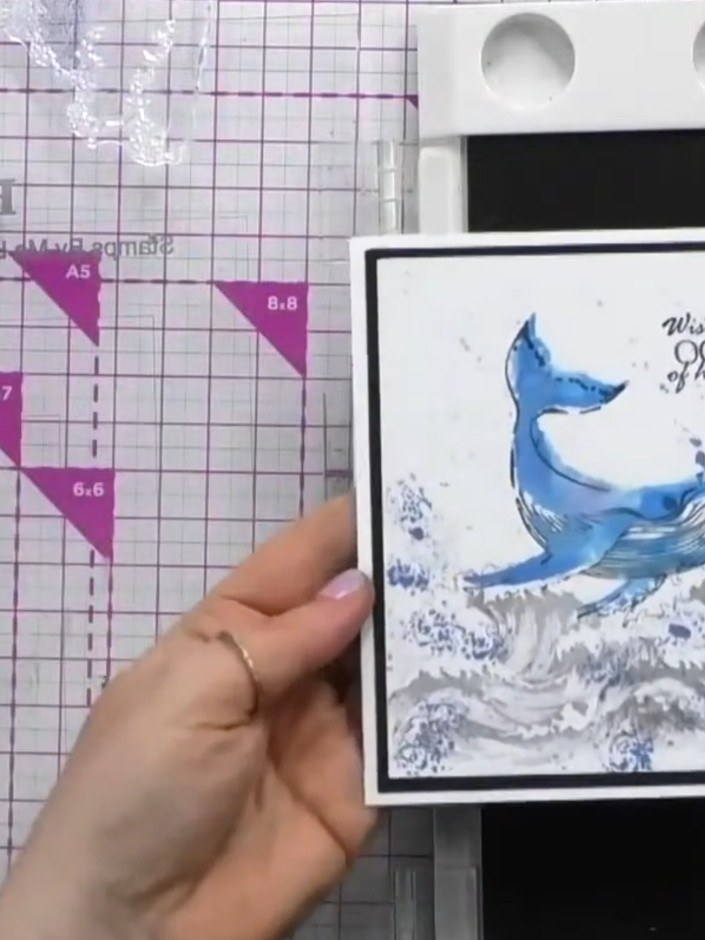
Mount your finished watercolour whale image onto a black card base. Add the sentiment stamp 'Wishing you OCEANS of happiness' to the top right corner to complete your card.
▶ watch this step (27:30)Written up from the show itself. See every guide from our shows · free how-to guides · watch live on My Telly