Give your friends £10 off their first order!
Refer a FRIEND








Prices change straight away. Every language is our own translation, not Google.
A project from our live show HOBBYMAKER TV - Join us for the latest show - Broadcast 6 p.m. (UK) 18th September 2026 · 18/09/2026
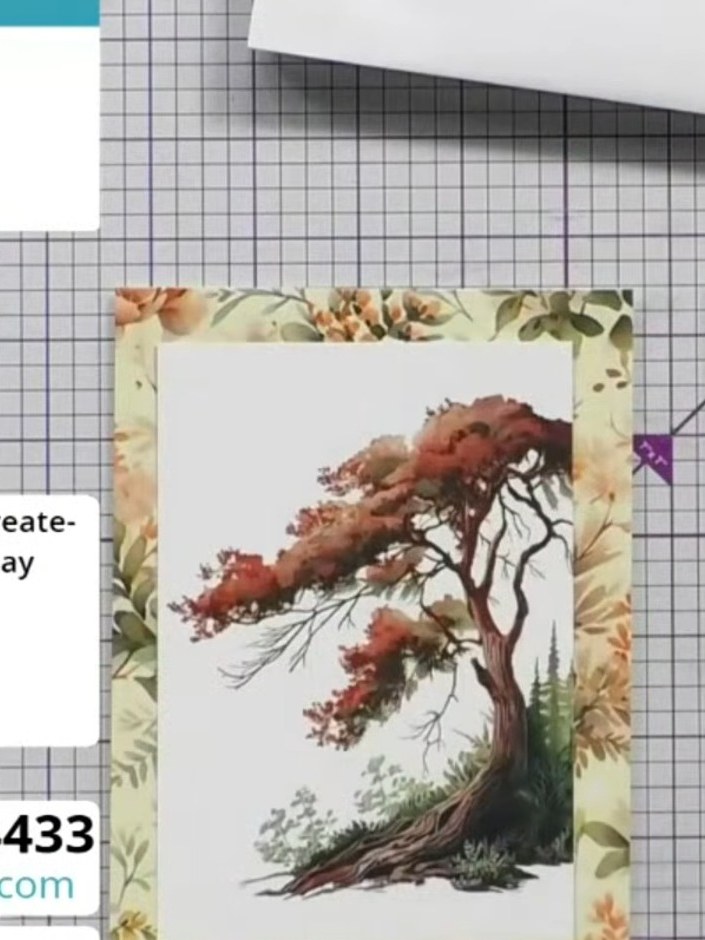
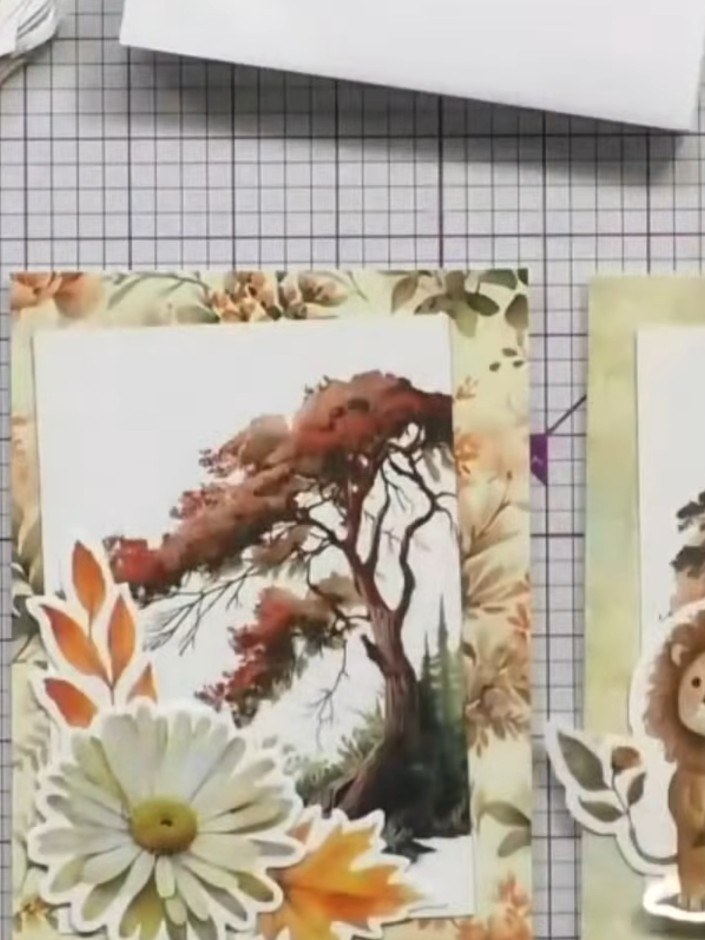
Create a beautiful handmade card featuring a stunning woodland scene with trees in autumnal colours. This project uses the Best Day Ever Creator Card Kit to layer pre-printed toppers and embellishments onto a decorative card base. The finished card showcases nature-inspired imagery with warm orange and green tones, perfect for sending heartfelt messages.
 1
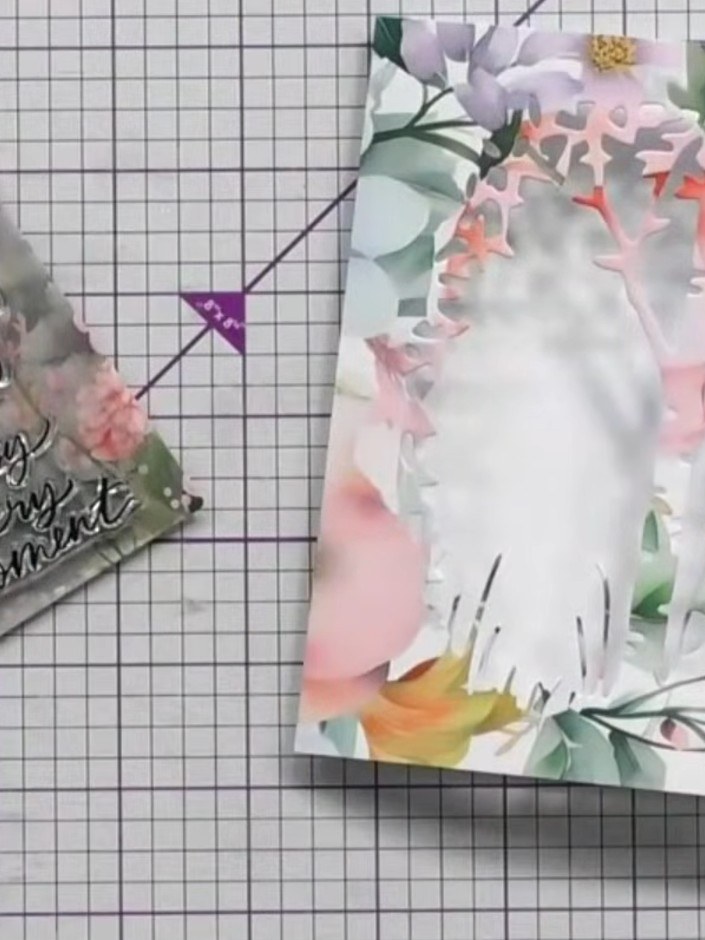
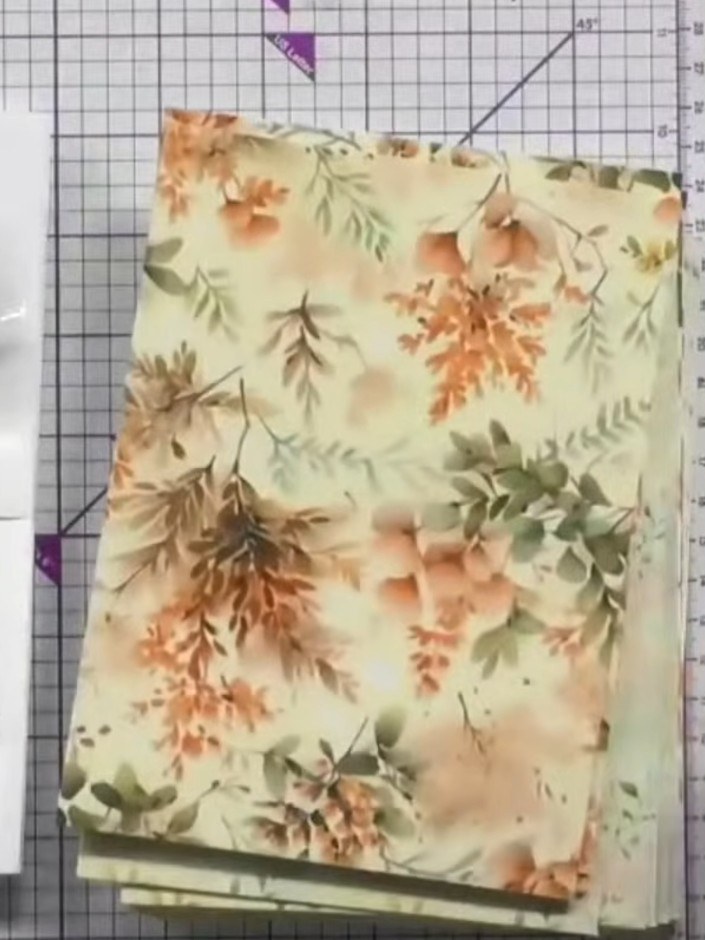
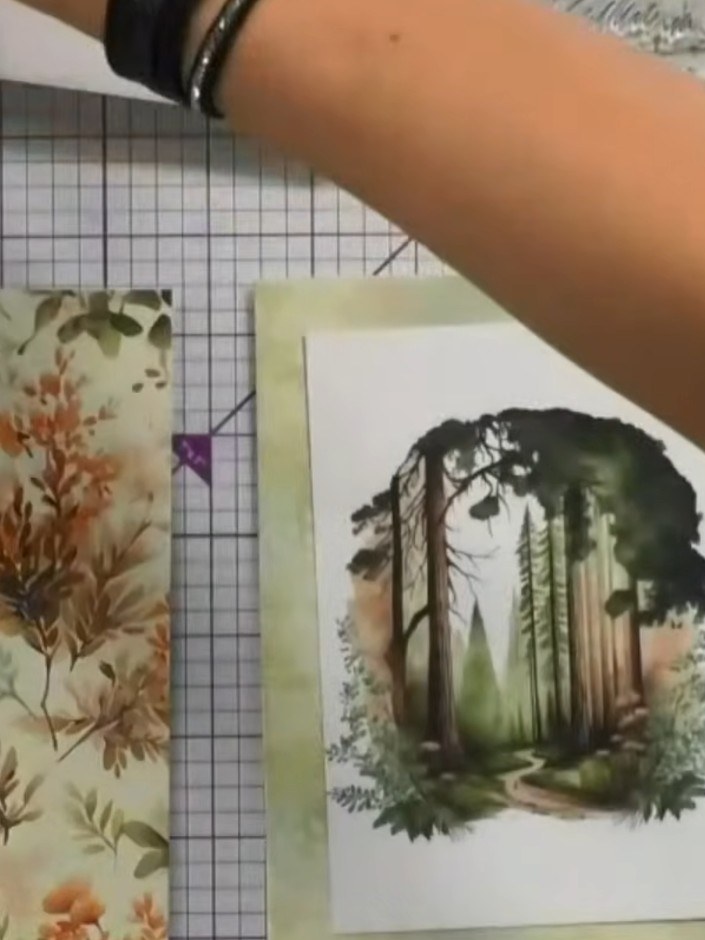
Select a pre-printed card base from the Best Day Ever kit. Choose from the floral designs provided in the collection.
 2
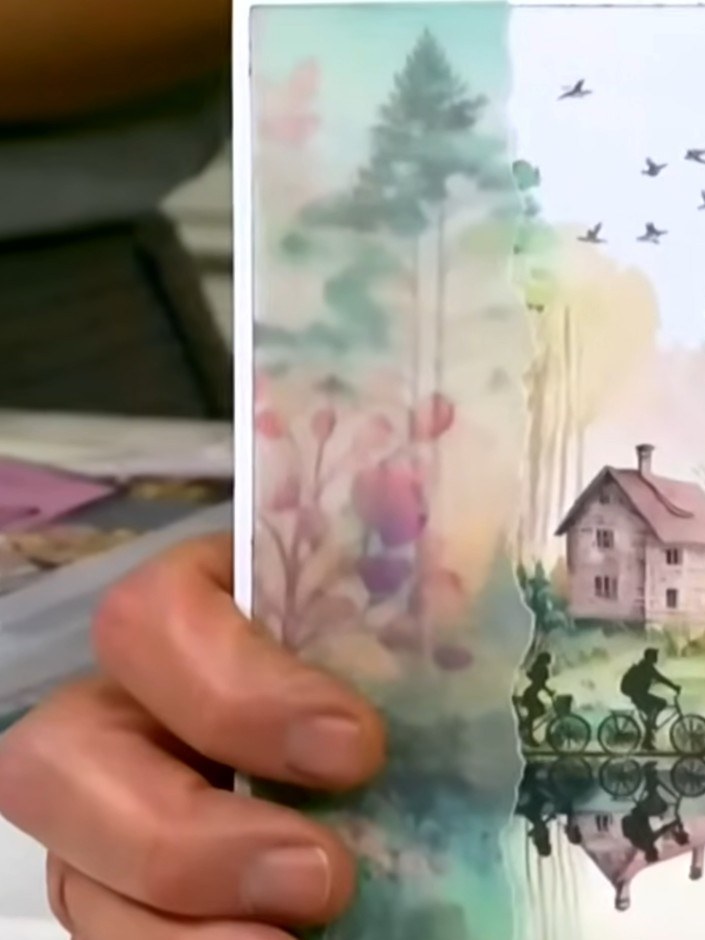
Select a topper from the kit that coordinates with your chosen card base. The topper should complement the colours and theme of your base card.
 3
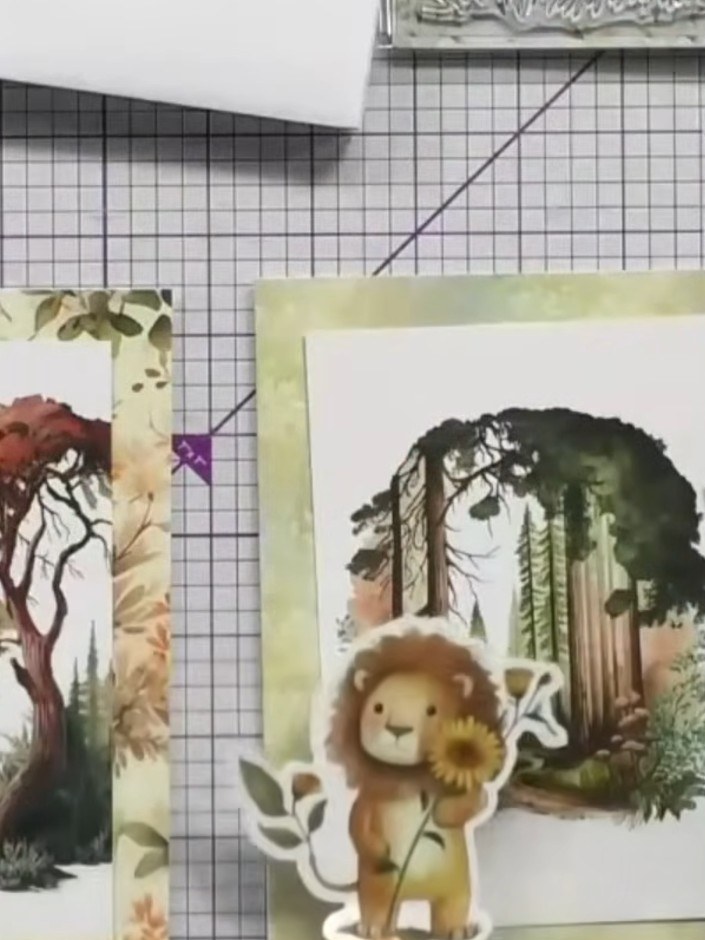
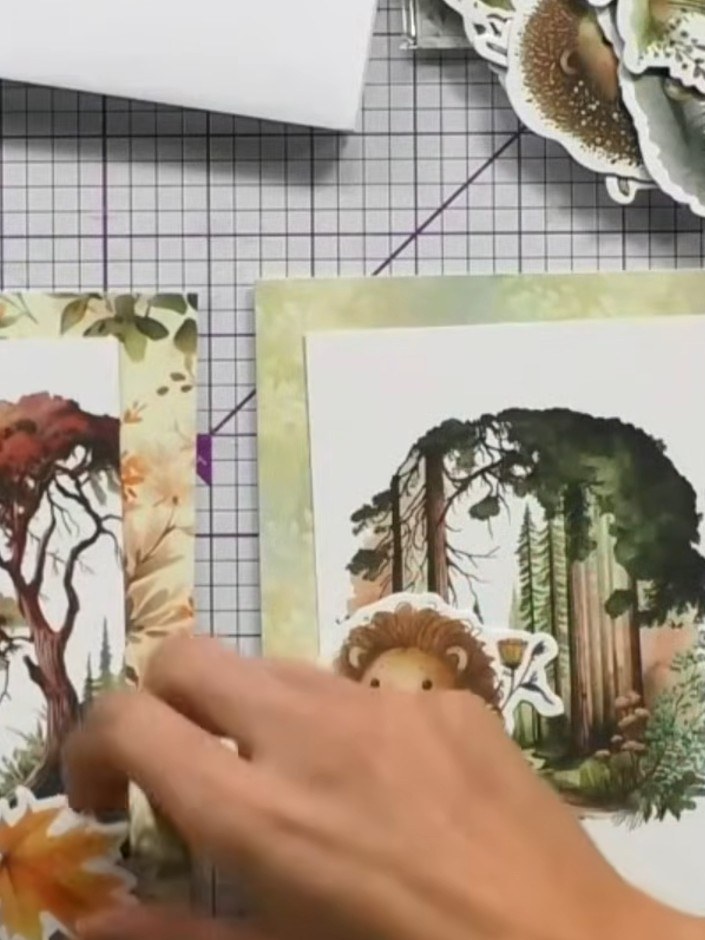
Arrange pre-cut embellishments such as animals, flowers and foliage on your card to create a scene. Position the lion with sunflower on the centre card and add tree and nature elements around it. Build up layers with the decorative die-cuts to create depth and interest.
 4
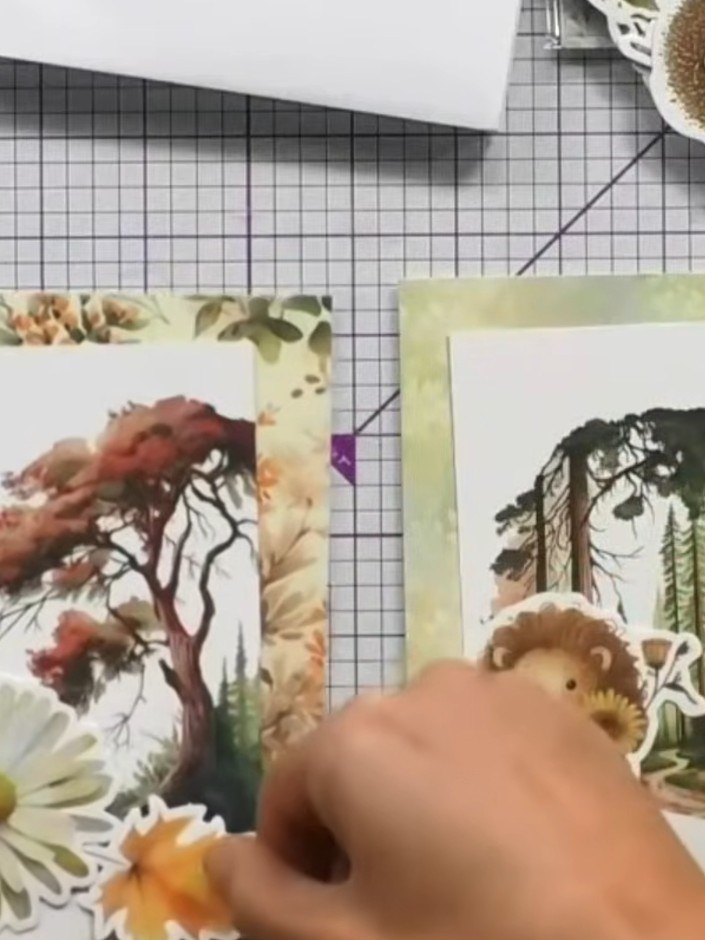
Add dimension to your cards by attaching the decorative elements using foam pads. Layer the flowers and foliage embellishments onto the cards to create visual interest and depth.
 5
Add a sentiment to your card by stamping onto a tag or using a pre-printed sentiment from the kit. Position the sentiment where it looks right on your card design.
 6
Secure all decorative elements in place using your chosen adhesive. Allow the adhesive to dry completely before handling the card. Ensure all layers, toppers, and embellishments are firmly attached.
Share your make with the Stamps By Me community - and keep this guide for next time.
Written up from the show itself. See every guide from our shows · free how-to guides · watch live on My Telly · the previous layout