Give your friends £10 off their first order!
Refer a FRIEND








A project from our live show CREATE AND CRAFT TV - Join Toni for her brand new SBM launch show 4 - broadcast 3rd Jan 2024 · 03/01/2024 · watch it from 33:30
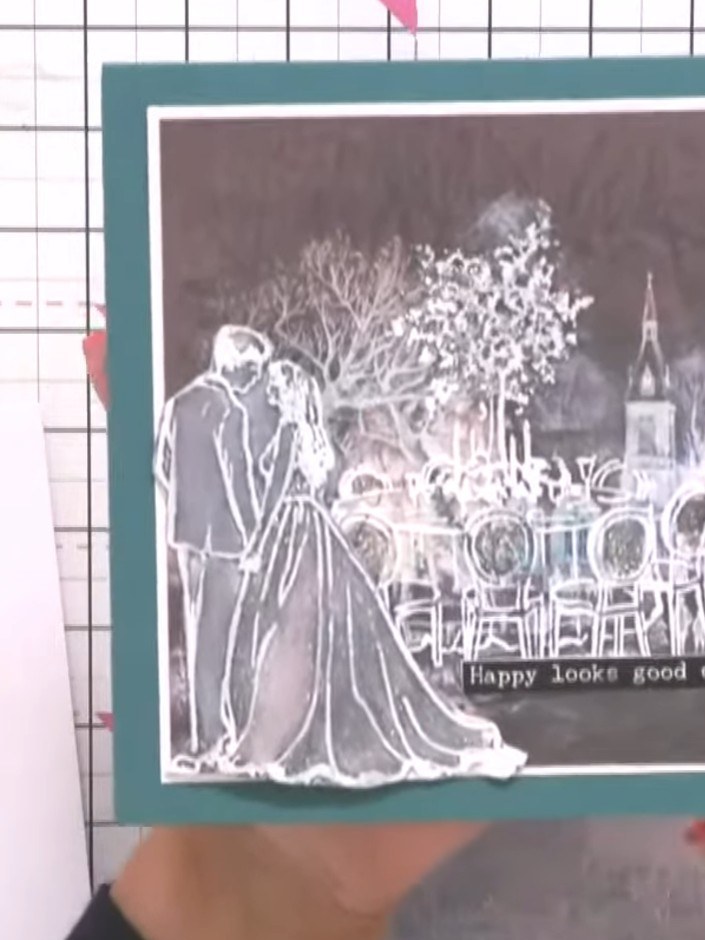
Create an elegant celebration card featuring embossed curtains and a table scene. Using white ink and gold embossing powder, you'll add ornate detail to the design elements before cutting them out to frame a romantic window scene. The finished piece combines sophisticated embossing techniques with layered papercraft for a luxurious effect.
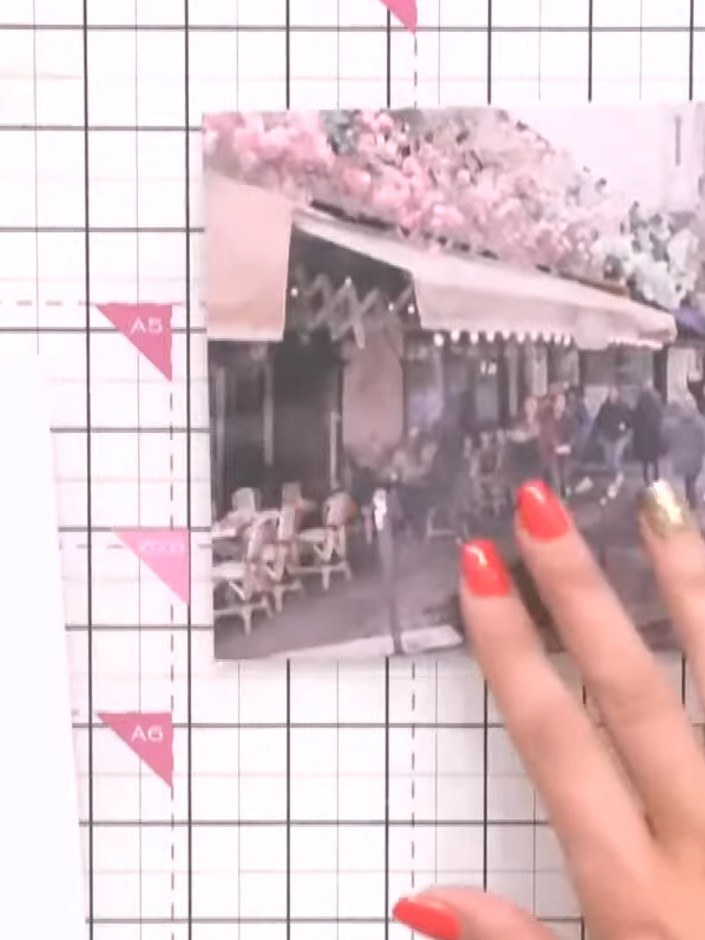
Select two pieces of patterned paper or offcuts to use for the left and right curtains of your card.
▶ watch this step (34:00)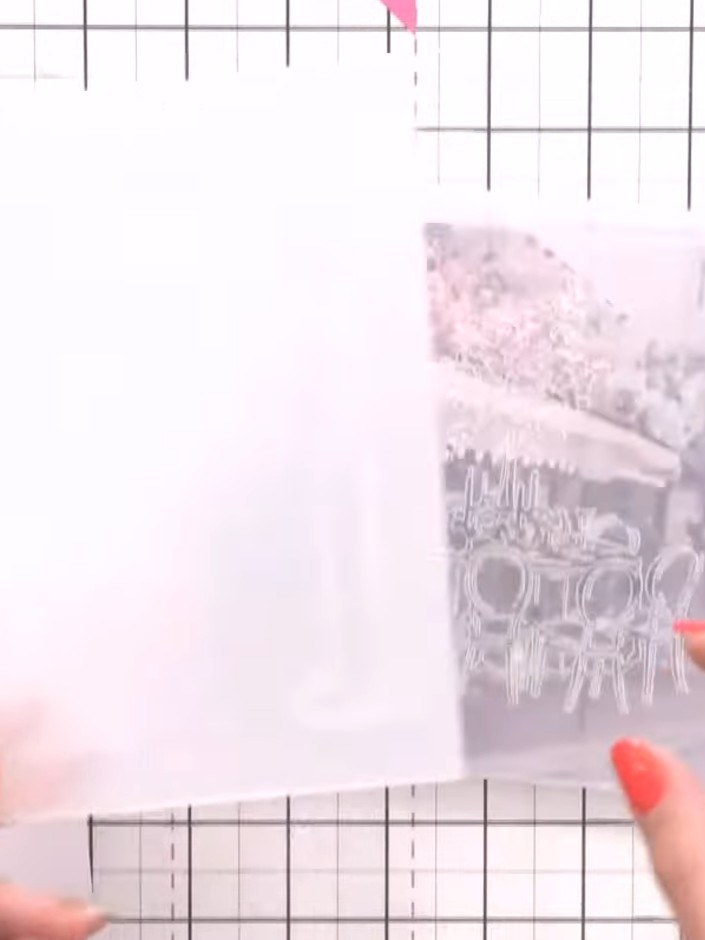
Position the left curtain piece (the 5 by 7 inch piece with the curtain design) into the 3D embossing folder. Run the folder through your die-cutting machine to emboss the curtain pattern.
▶ watch this step (34:30)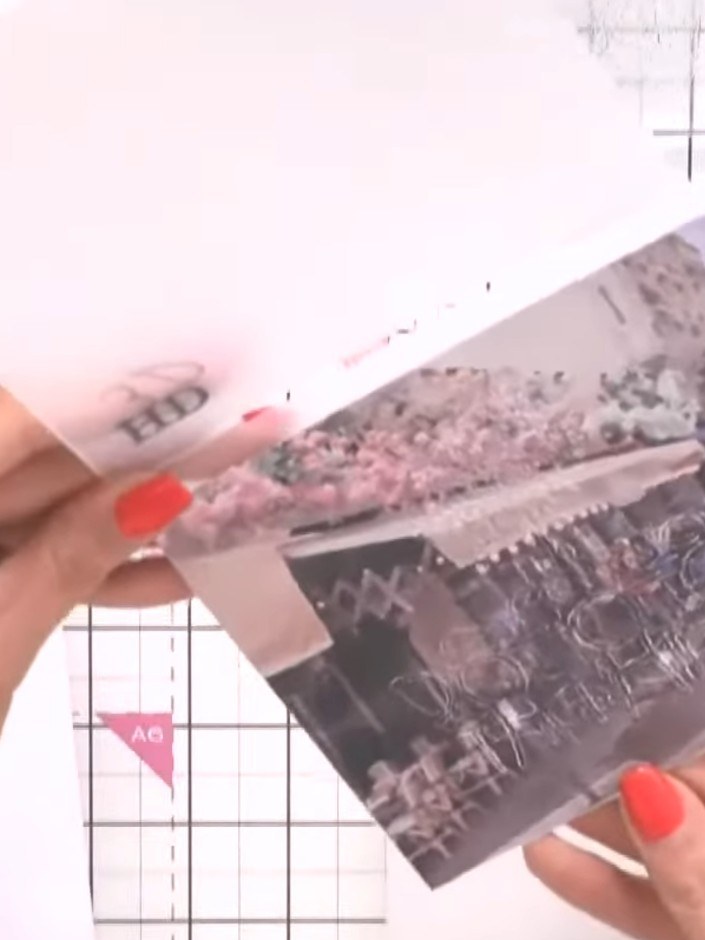
Position the right curtain piece into the embossing folder showing the raised detail of the curtains around the table. Run through your die-cutting machine to emboss the design.
▶ watch this step (34:45)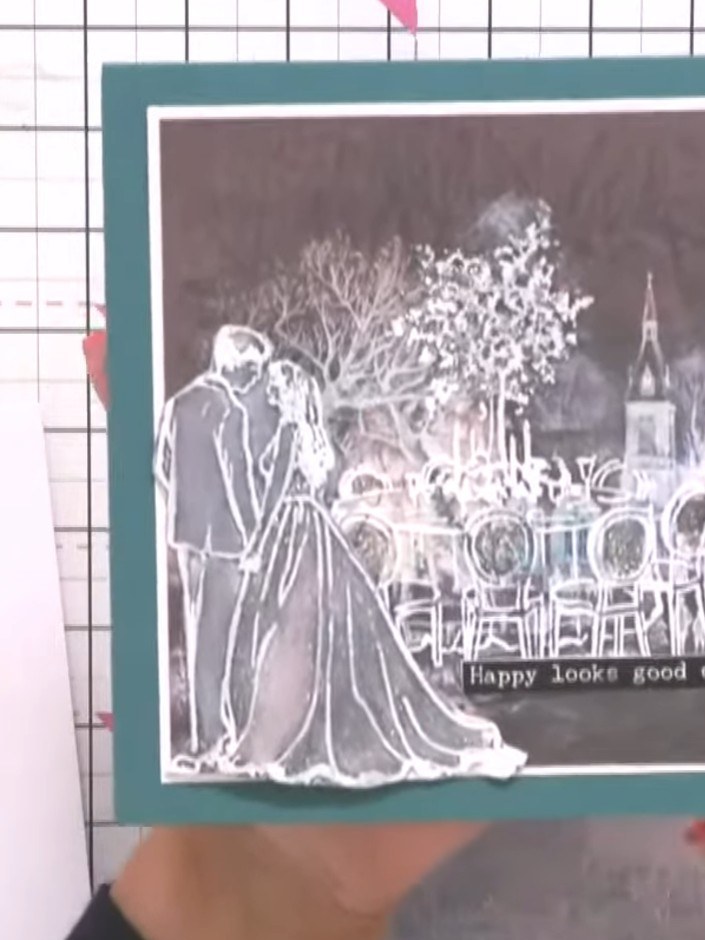
Take a piece of white cardstock and run it through the family gathering 3D embossing folder to create the table scene.
▶ watch this step (35:00)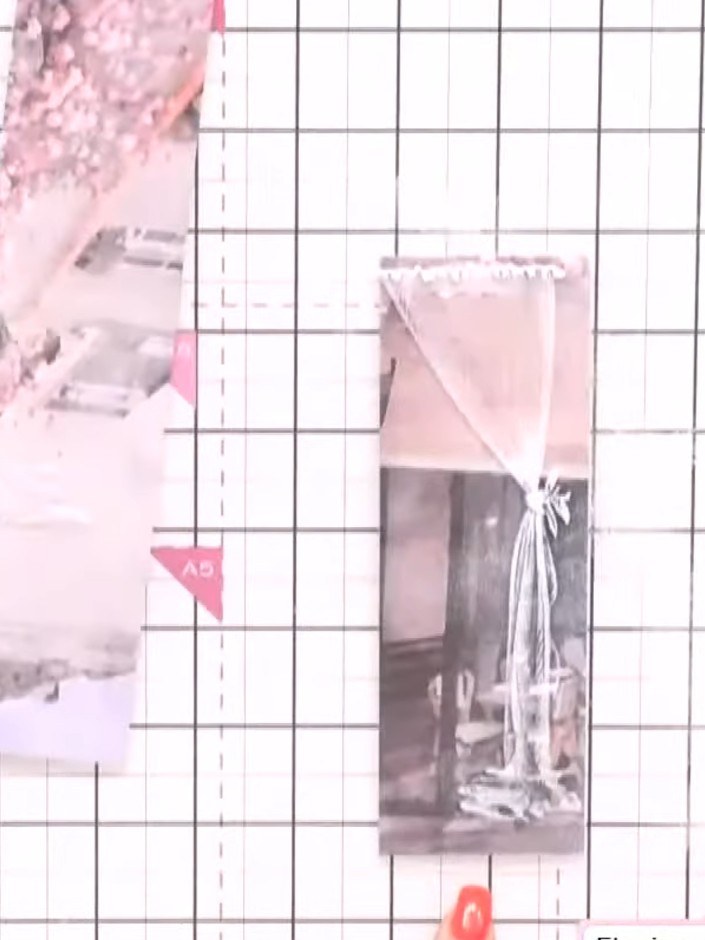
Using a sponge dauber or applicator, gently apply white ink over the embossed right curtain design to highlight the raised detail and create dimension.
▶ watch this step (37:30)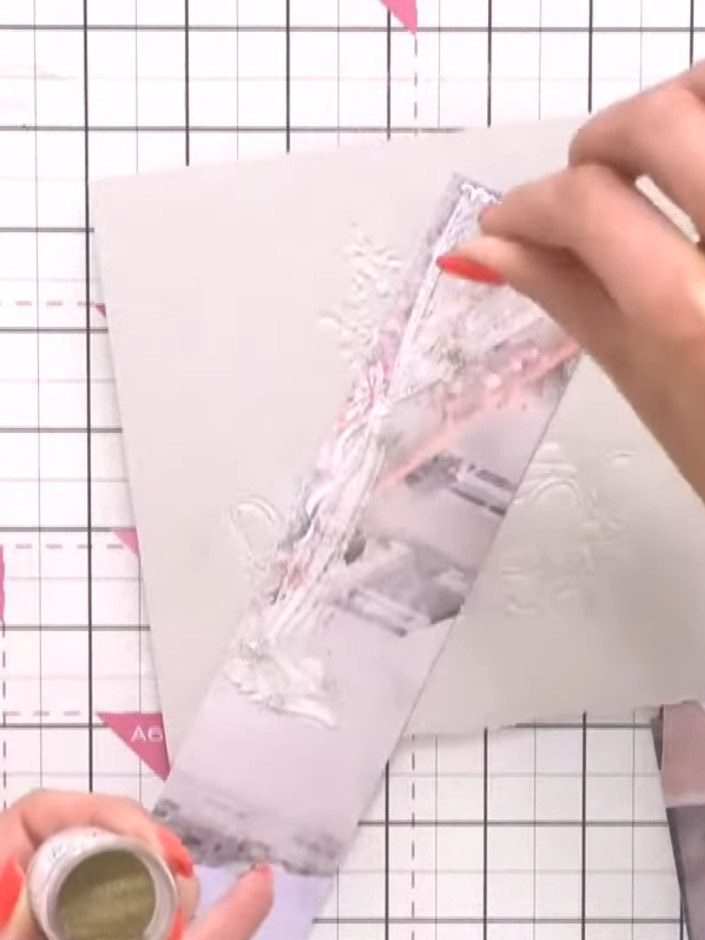
Whilst the white ink is still wet, sprinkle gold embossing powder lightly over the curtain design on the card.
▶ watch this step (38:15)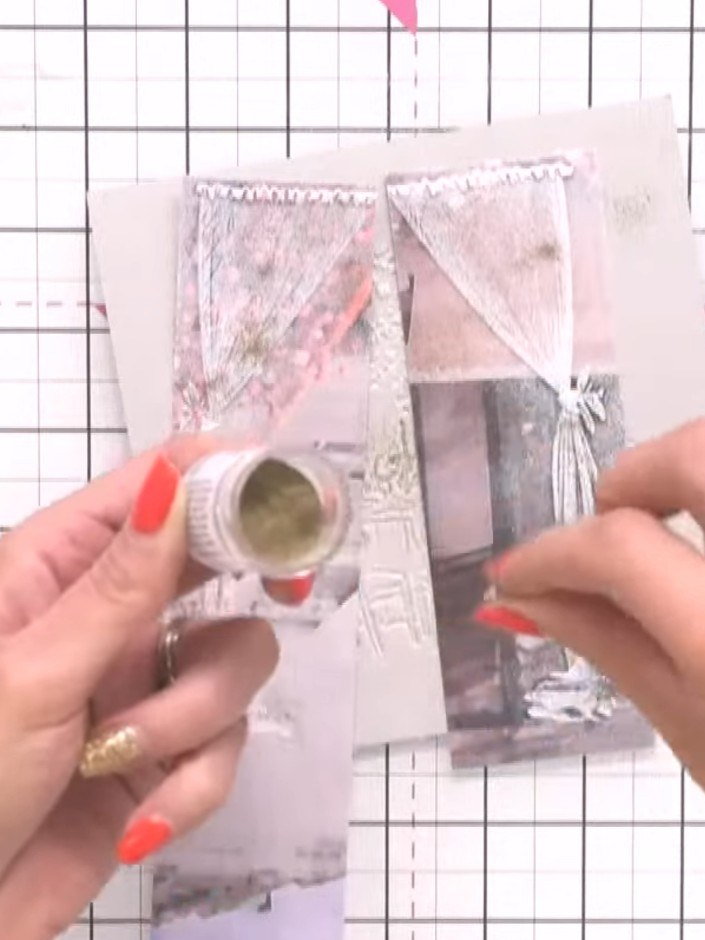
Brush off any excess embossing powder from the card. Use a heat gun to heat-set the embossing powder until it melts and becomes raised and shiny.
▶ watch this step (38:45)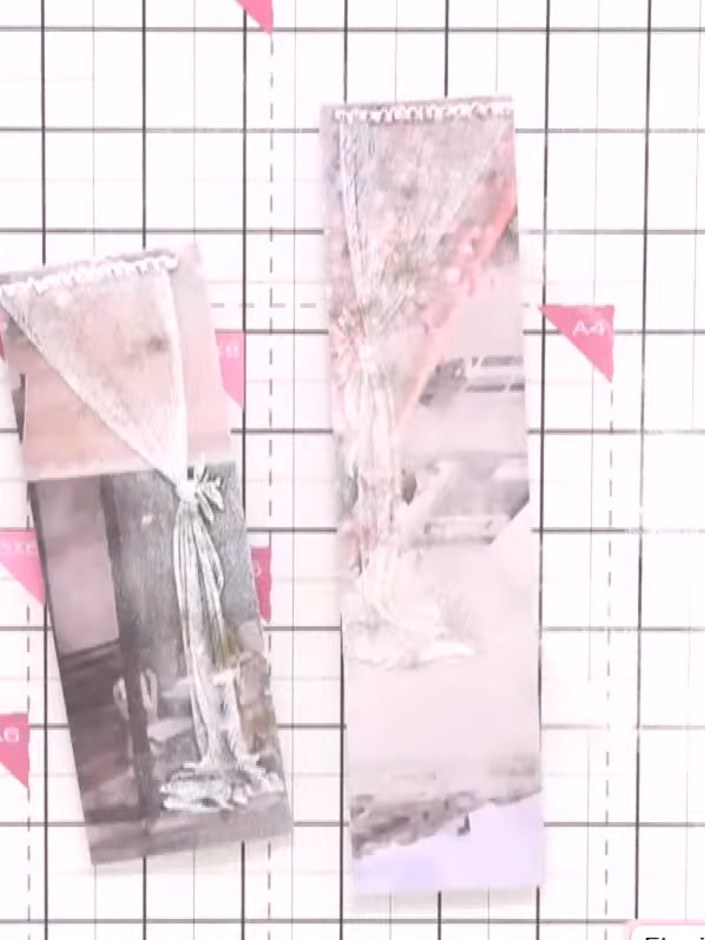
Sponge white ink over the embossed table image to bring out the detail and create contrast against the background.
▶ watch this step (39:00)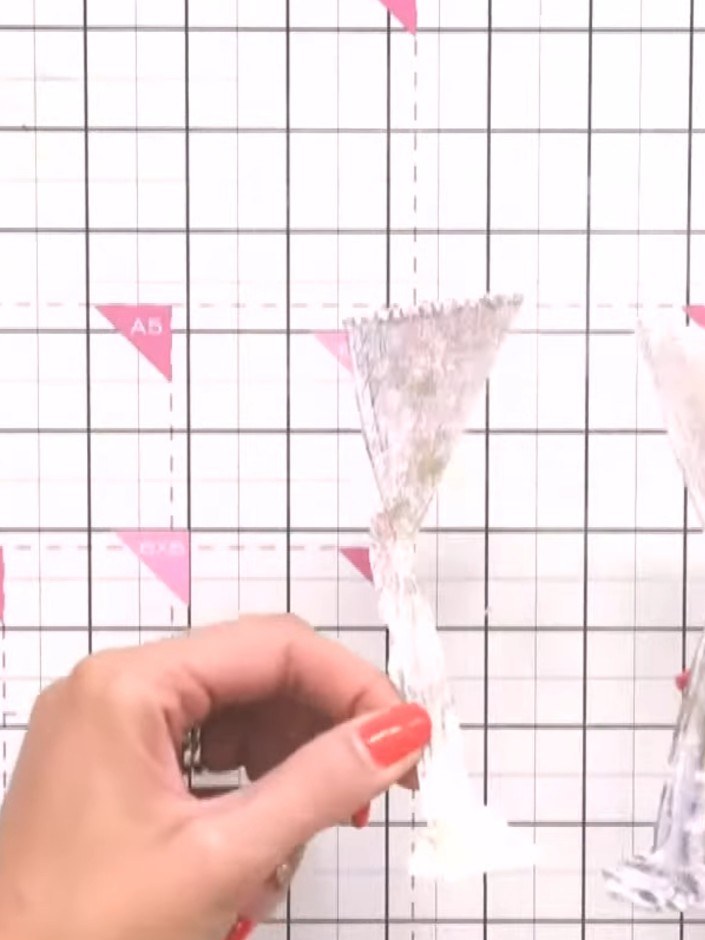
Carefully cut out the curtain designs following their outlines with scissors. Take your time to cut precisely around the delicate lace-effect edges of the curtain pieces.
▶ watch this step (42:00)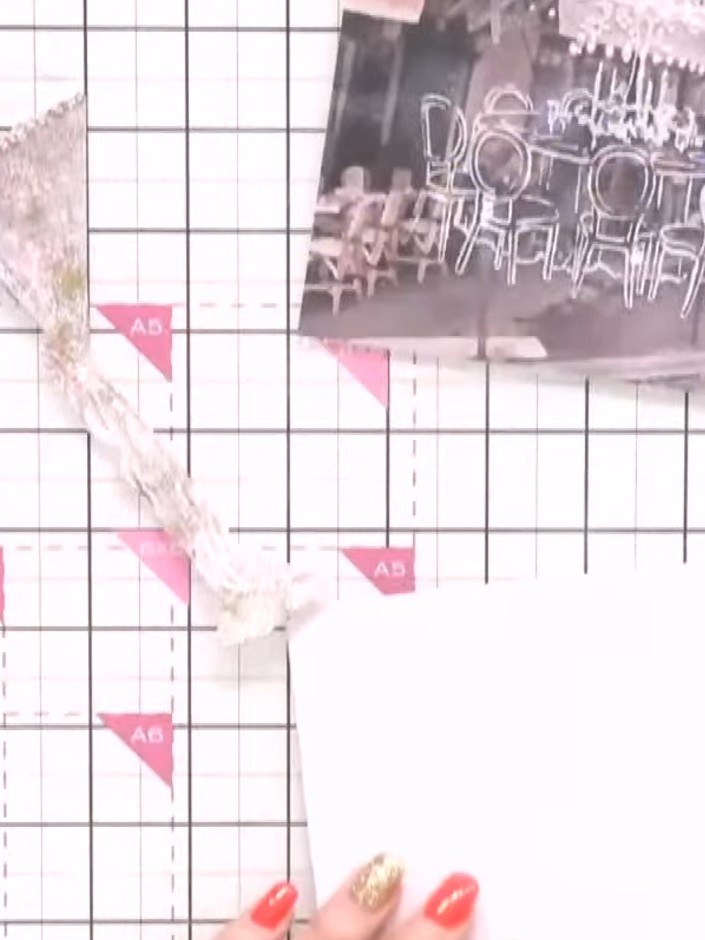
Mount the left curtain piece on the left side of a white card base using foam tape.
▶ watch this step (42:30)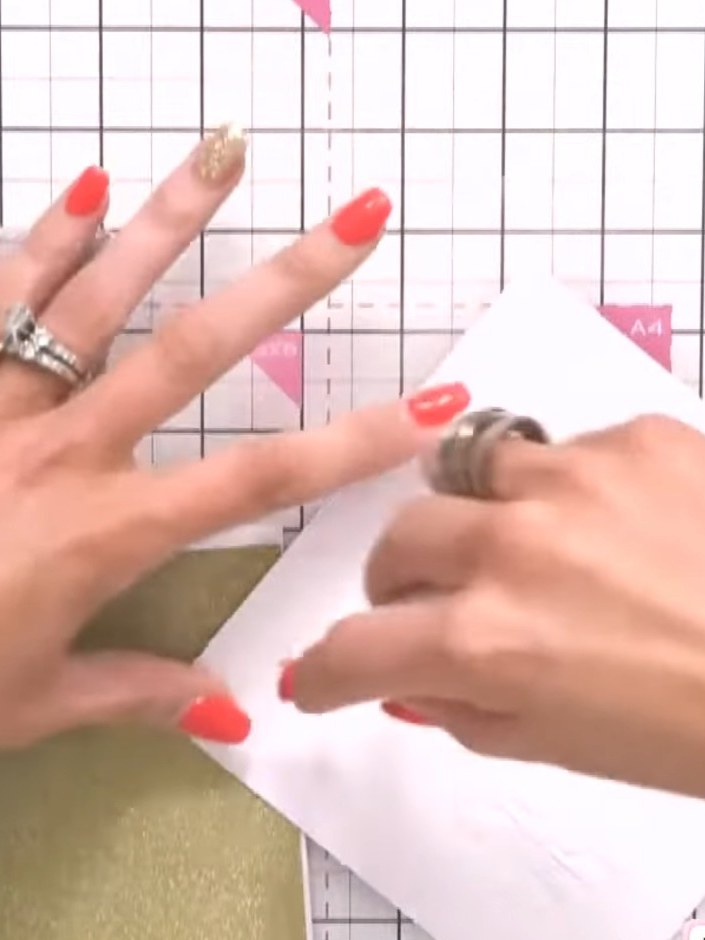
Position the embossed table scene in the centre of the gold-edged card and mount it in place using adhesive.
▶ watch this step (42:45)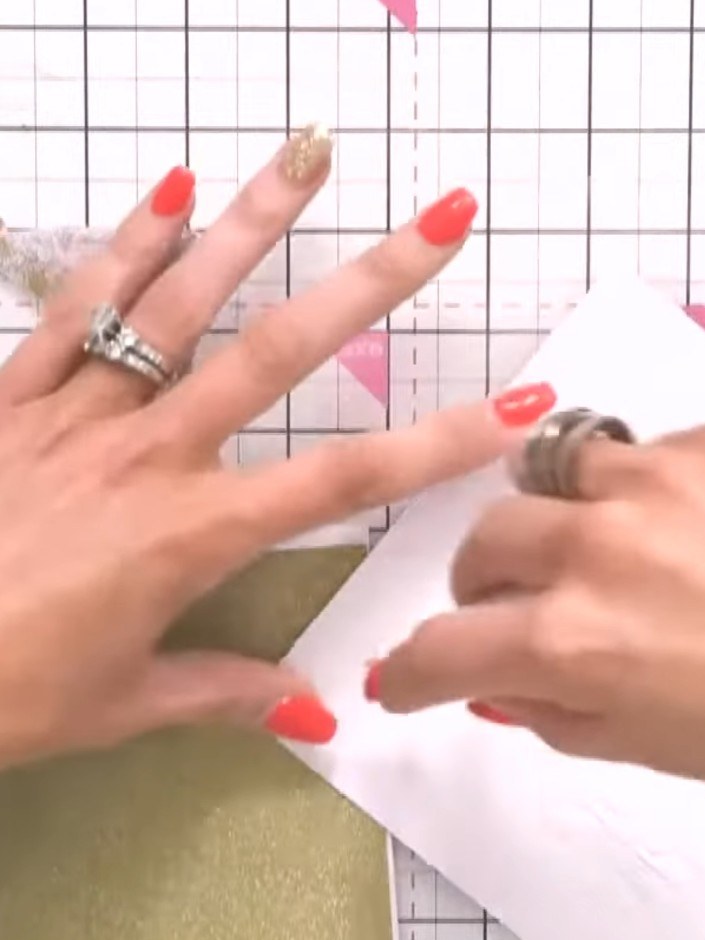
Mount the right curtain on the right side of the card using foam tape to create dimension.
▶ watch this step (43:00)Written up from the show itself. See every guide from our shows · free how-to guides · watch live on My Telly