Give your friends £10 off their first order!
Refer a FRIEND








A project from our live show CREATE AND CRAFT TV - Join Toni for her brand new SBM launch show 4 - broadcast 3rd Jan 2024 · 03/01/2024 · watch it from 23:45
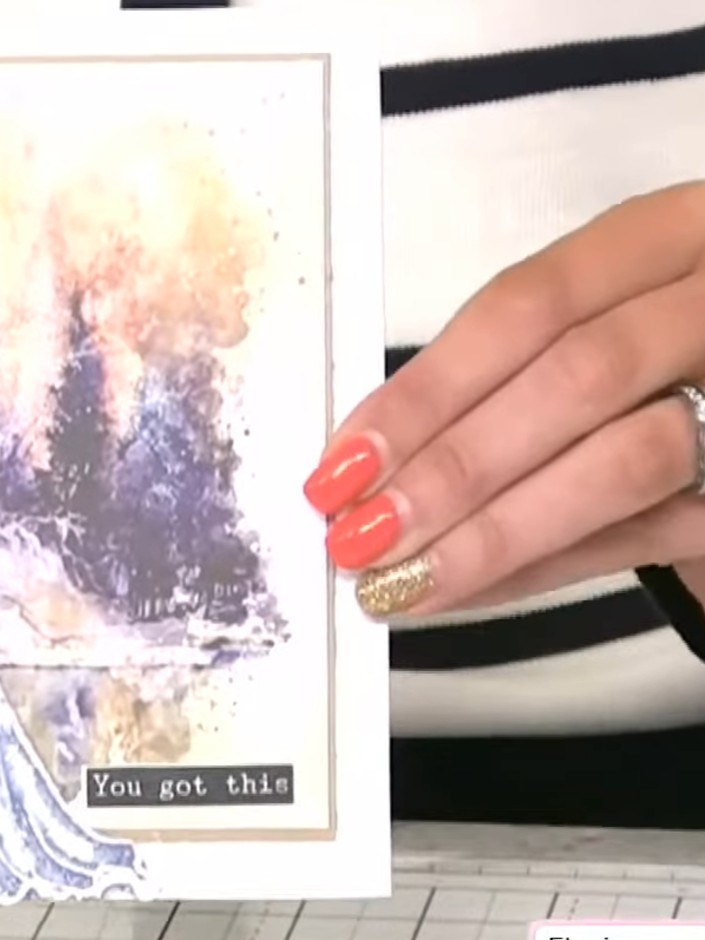
Create an elegant wedding card featuring a bride and groom embossed design layered onto a pre-painted watercolour mount in soft pinks and purples. The bride's gown is embellished with sparkling clear glitter for a touch of glamour. This project combines embossing, watercolour backgrounds and glitter detailing to produce a sophisticated celebration card with minimal effort.
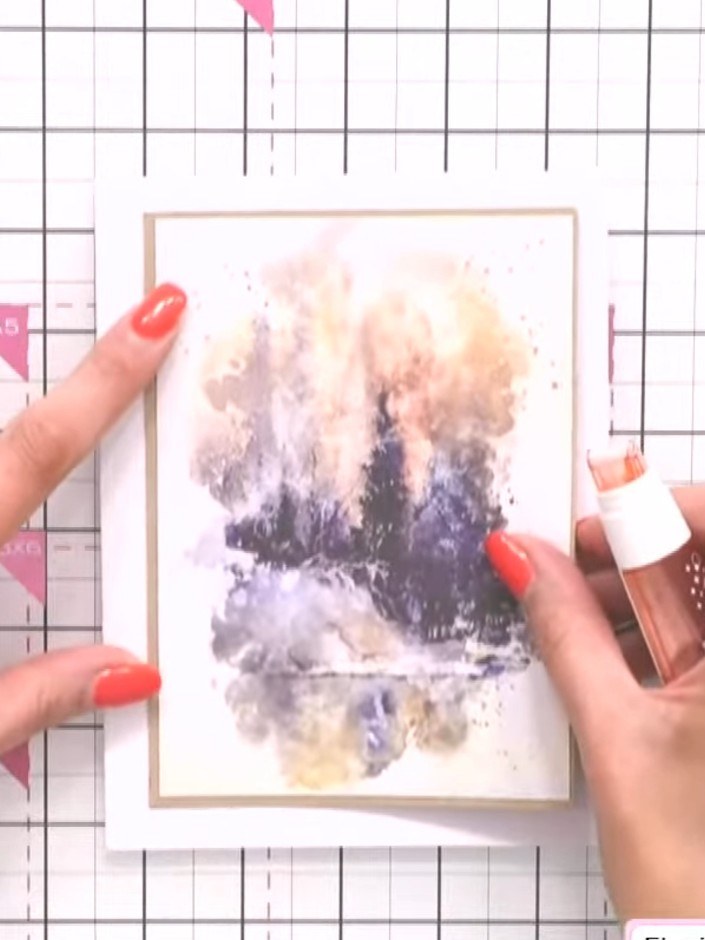
Select a pre-painted watercolour mount featuring complementary colours. The mount shown has purple, pink and golden tones that will coordinate with the bride and groom design.
▶ watch this step (24:00)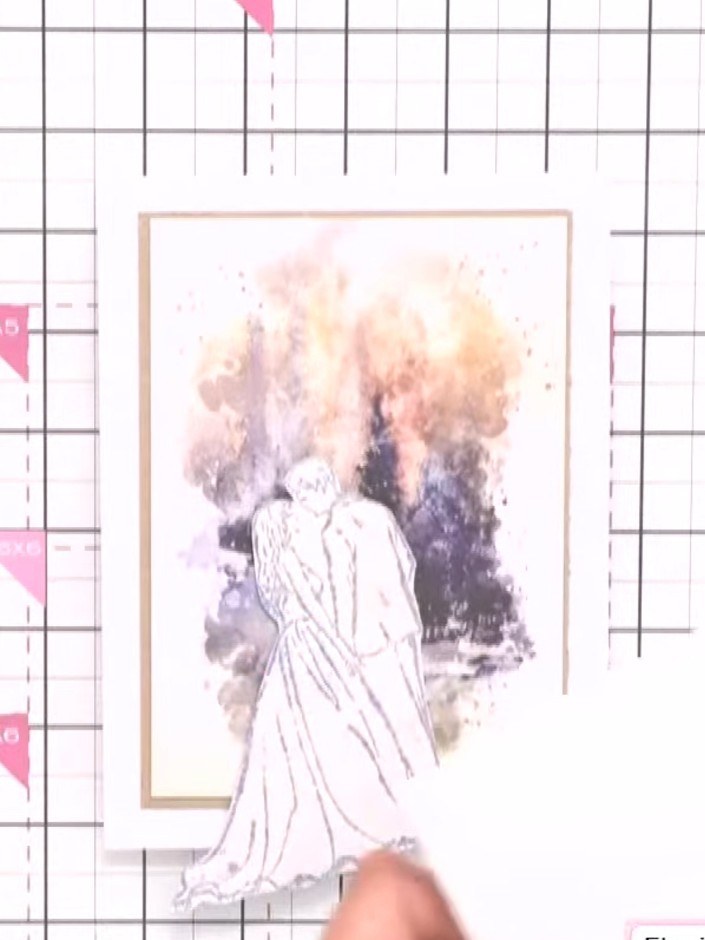
Position the embossed bride and groom silhouette in the centre of the painted watercolour mount. Adhere it in place using adhesive.
▶ watch this step (24:15)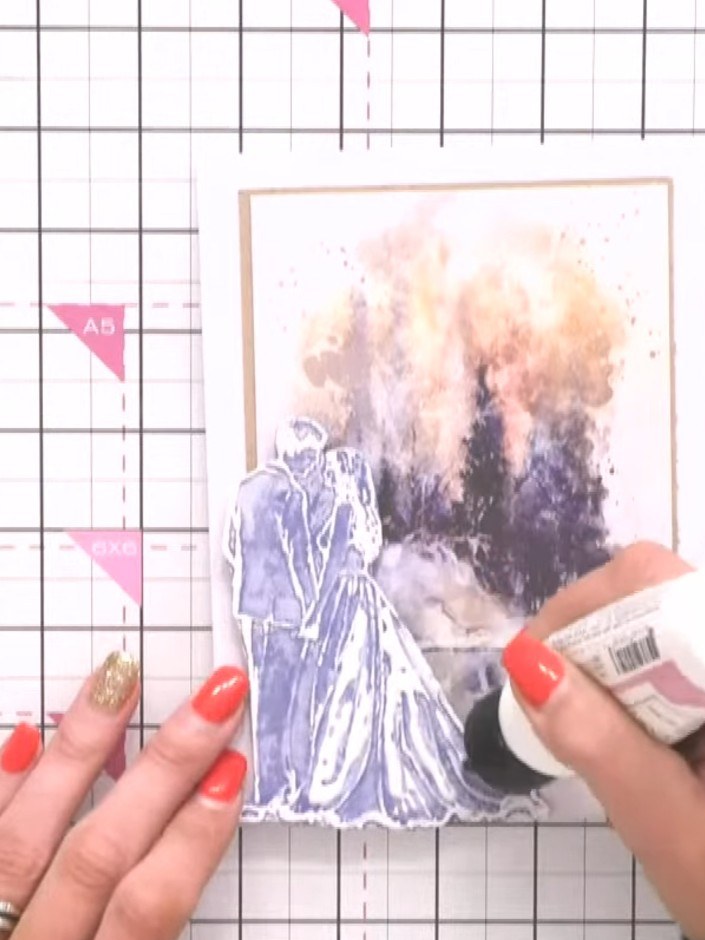
Apply a dries-clear glue to the bride's gown area on the stamped design. Use a glue pen or applicator to carefully cover the dress section where you want the glitter to adhere.
▶ watch this step (25:15)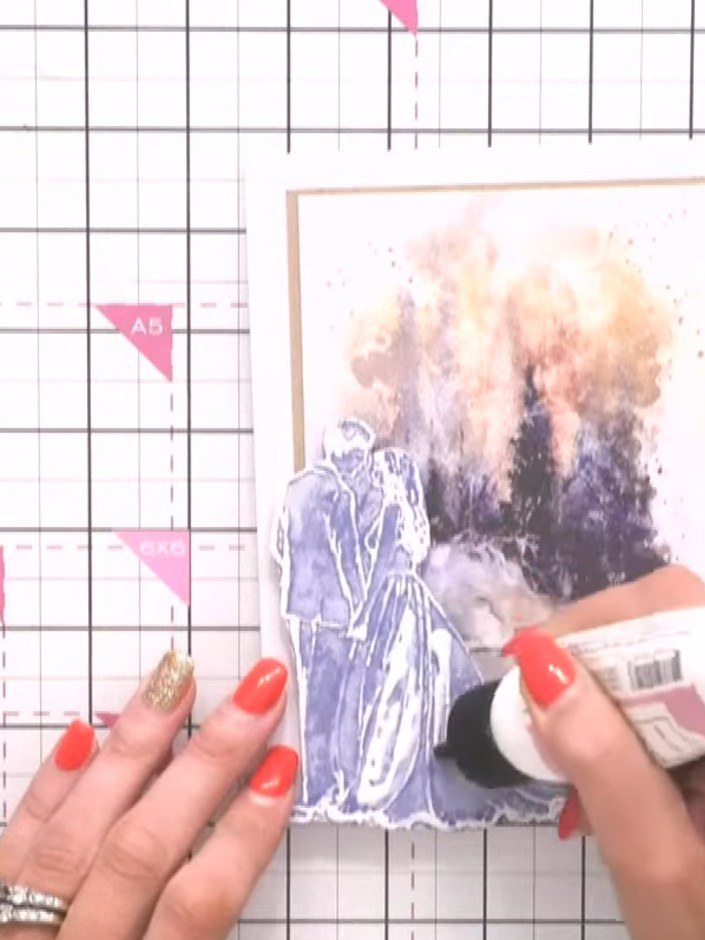
Sprinkle the Stamps By Me Colourless Glitter over the wet glue on the bride's gown. The glitter will adhere to the glued areas, creating a sparkling effect on the dress.
▶ watch this step (25:30)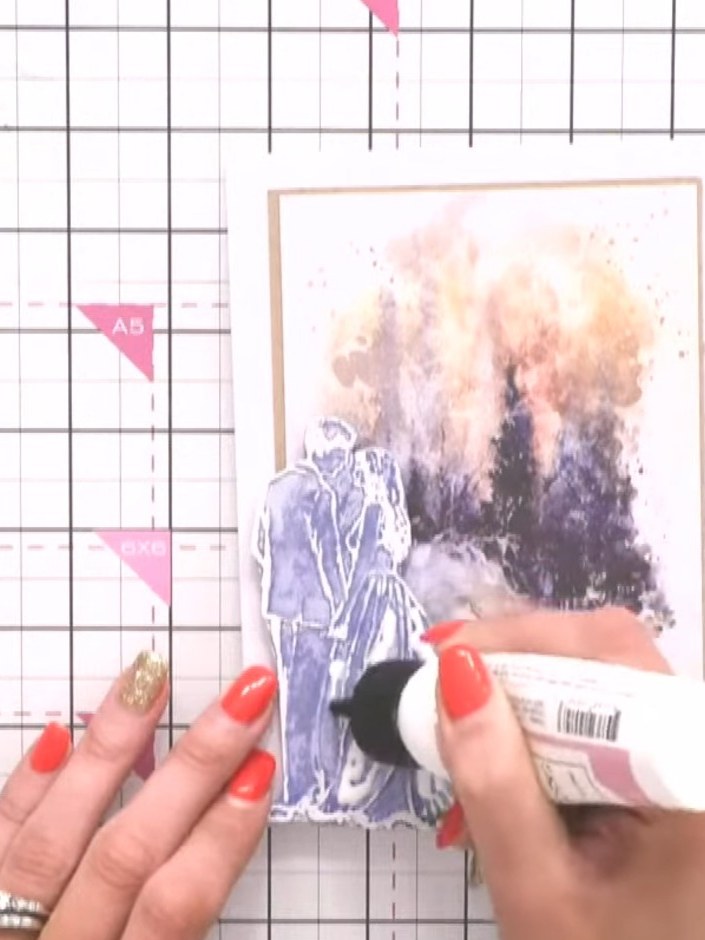
Set the card aside to allow the glue to dry completely. The glasslike finish underneath needs time to set properly before continuing with the project.
▶ watch this step (26:00)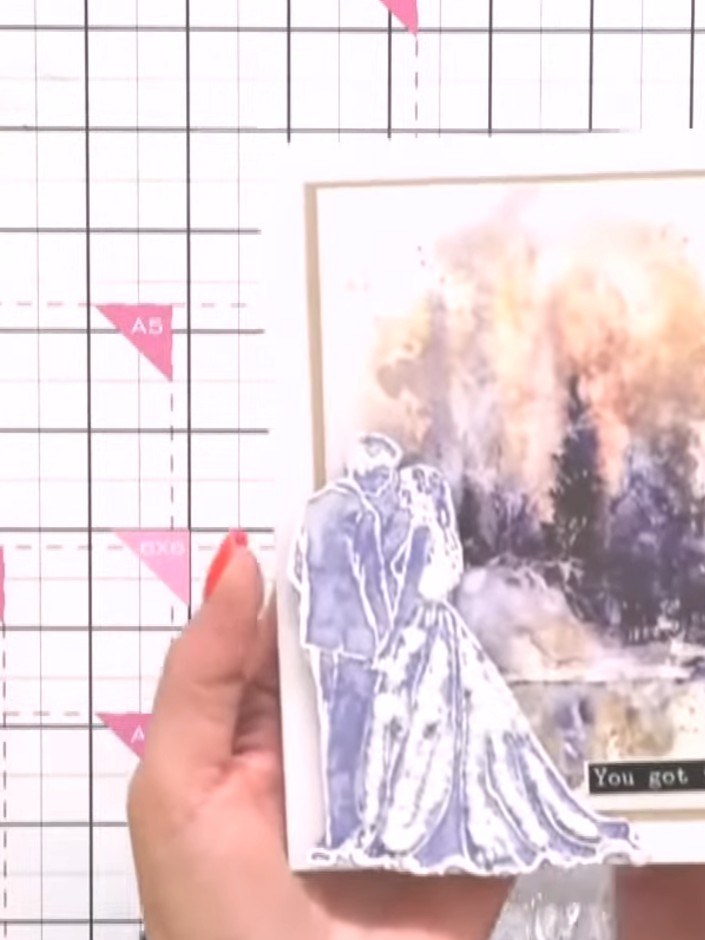
Allow the clear glitter to dry completely. Once dry, it will create a beautiful glass-like sparkle effect on the bride's gown, adding elegant dimension to your card.
▶ watch this step (26:30)Written up from the show itself. See every guide from our shows · free how-to guides · watch live on My Telly