Give your friends £10 off their first order!
Refer a FRIEND








Prices change straight away. Every language is our own translation, not Google.
A project from our live show HOBBYMAKER TV - Join Toni for her brand new launch - Broadcast 9th December 2025 · 09/12/2025 · watch it from 48:00
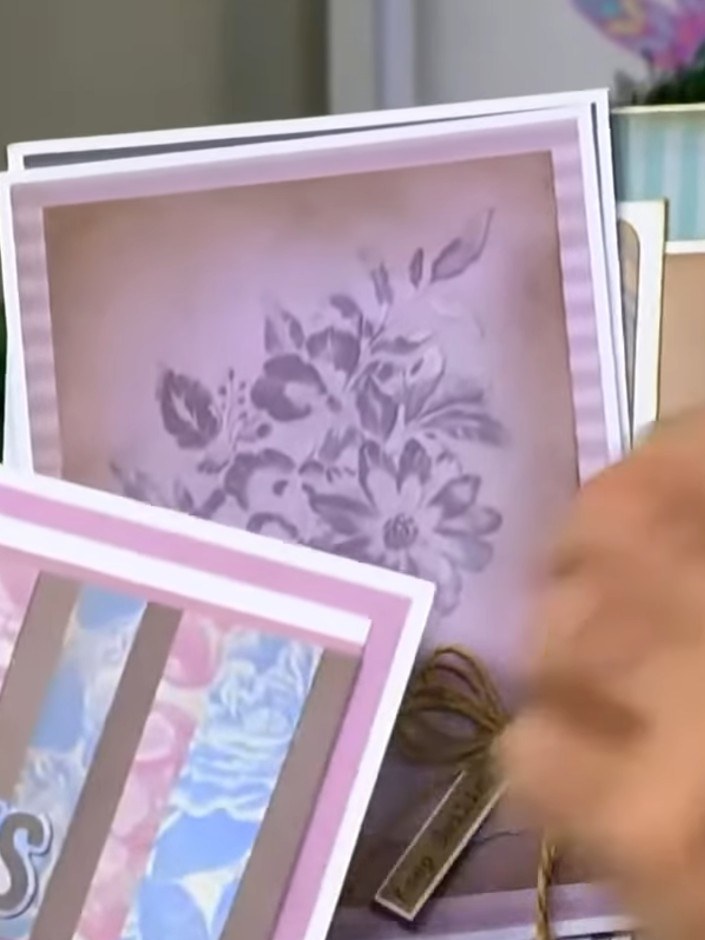
Create a coordinated set of shabby chic cards using three matching paper pads in complementary pink, blue and neutral tones. Layer the patterned papers together to create beautiful dimensional cards with embossed details and die-cut sentiments. This versatile technique works equally well for creating a mini album or a collection of greeting cards for any occasion.
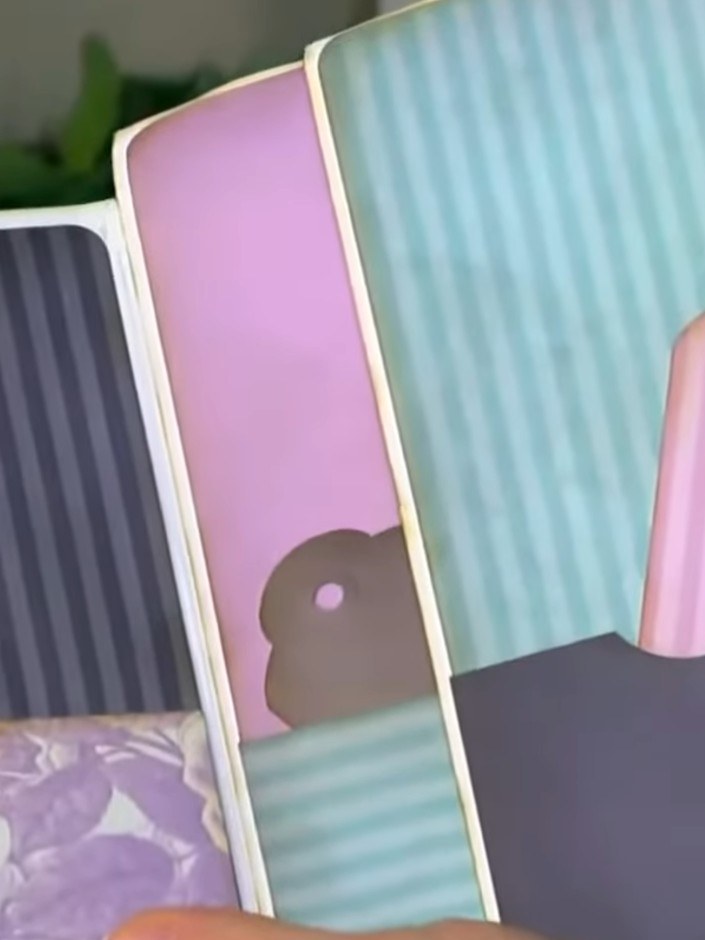
Select coordinating pages from the Shabby Chic paper pads, choosing designs that match in colour tone. The floral and striped patterns in pink, purple, and blue tones all work beautifully together.
▶ watch this step (48:15)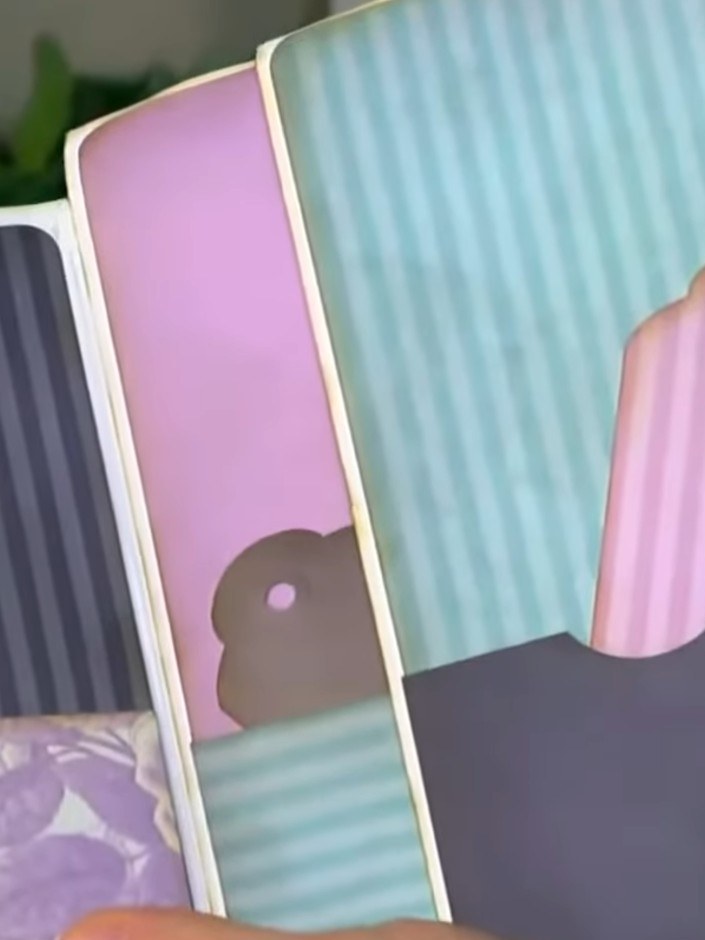
Layer the papers together, mixing the stripe, floral, and solid designs from the paper pad. Combine different patterns such as purple floral with stripes and coordinating solid colours to create a cohesive shabby chic look.
▶ watch this step (48:30)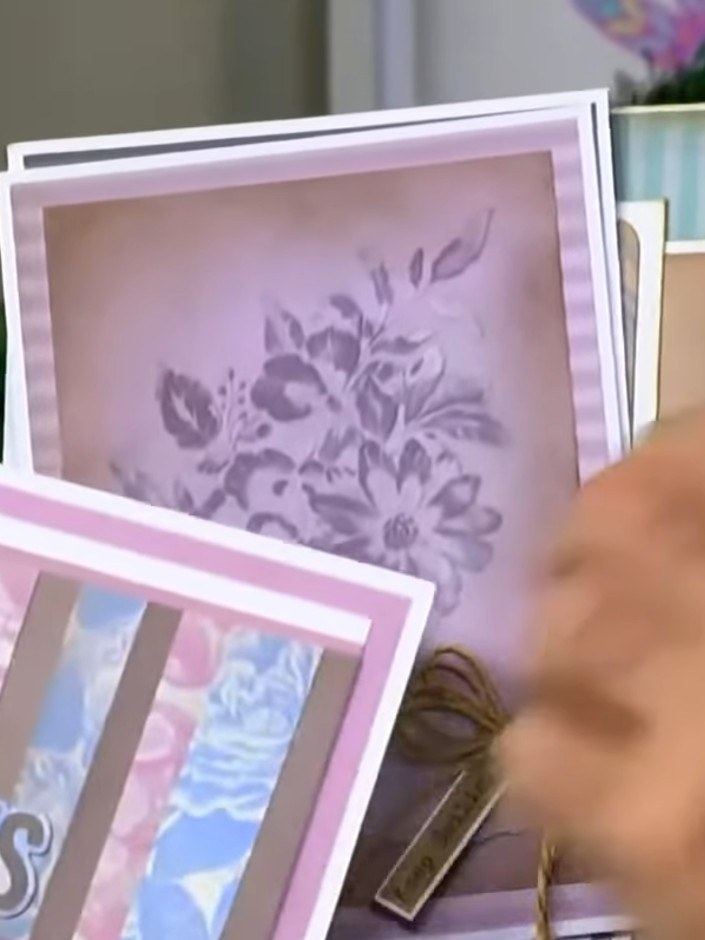
Optional: Run your layered papers through an embossing folder to add texture and dimension to your card designs.
▶ watch this step (48:45)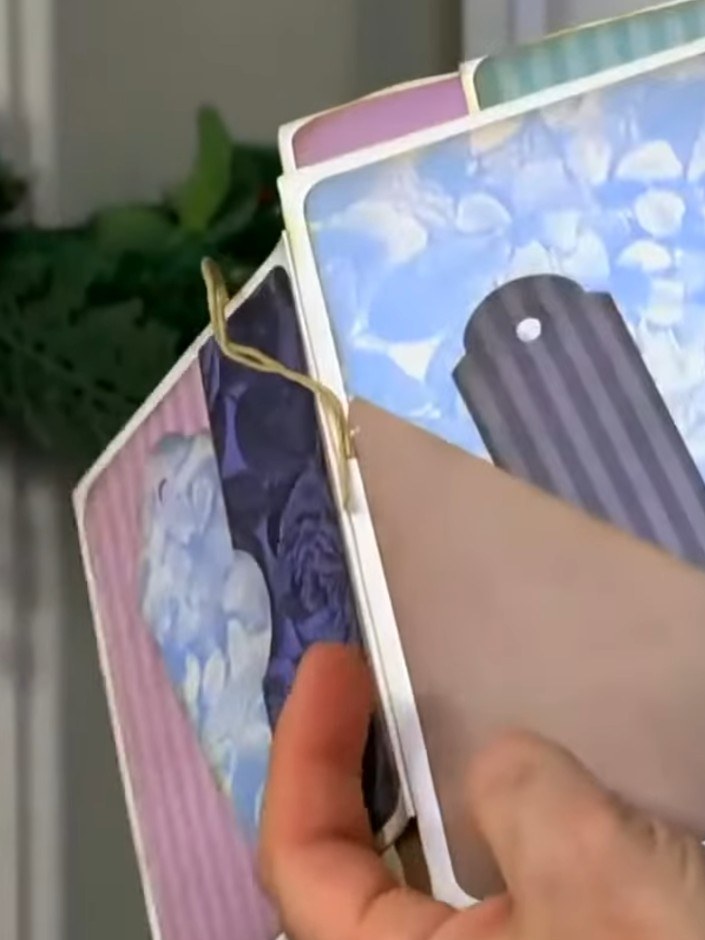
Lightly sand the embossed edges of the card pieces to reveal the white core of the card stock beneath the coloured surface. Glue the layered papers onto a card blank or album page. Position the marbled patterned strips with the 'THANKS' sentiment centrally on a pink card base. Layer additional coordinating papers behind to create depth.
▶ watch this step (49:00)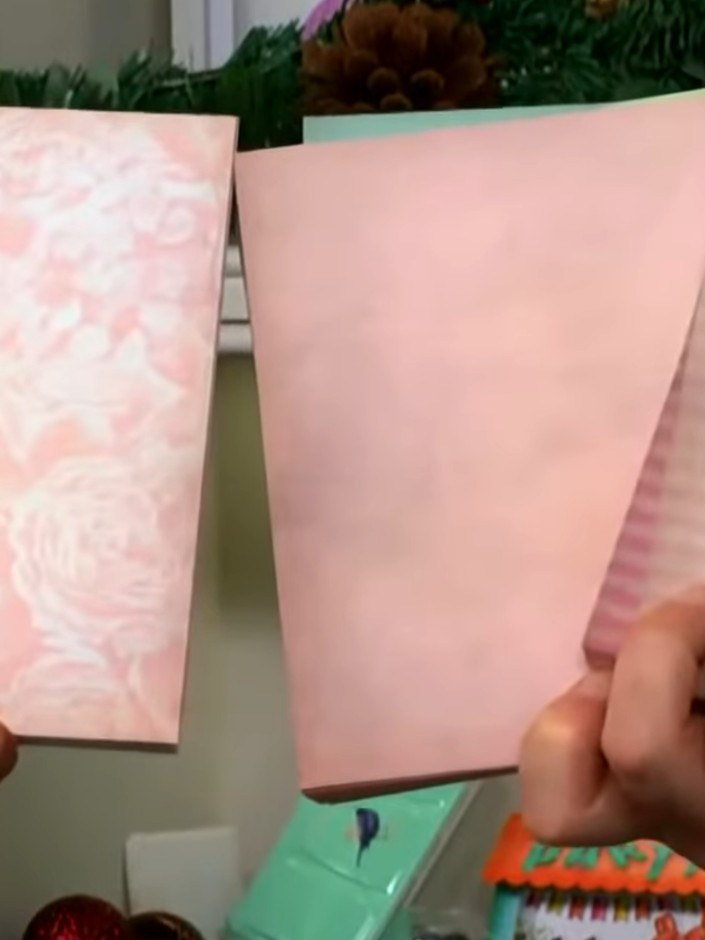
Use different papers from the Stamps By Me Vintage Stripes paper pad to create additional cards or album pages, maintaining the same shabby chic vintage aesthetic whilst varying the patterns and colours for a coordinated set.
▶ watch this step (49:30)Written up from the show itself. See every guide from our shows · free how-to guides · watch live on My Telly



