Give your friends £10 off their first order!
Refer a FRIEND








Prices change straight away. Every language is our own translation, not Google.
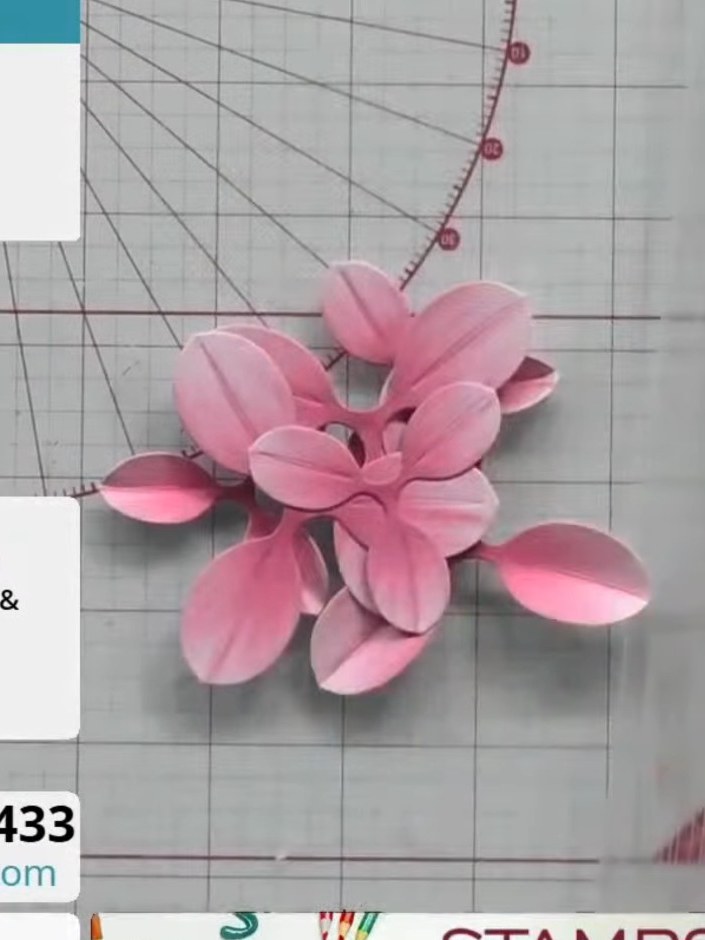
A project from our live show HOBBYMAKER TV - Join Toni for her brand new launch - Broadcast 9th December 2025 · 09/12/2025
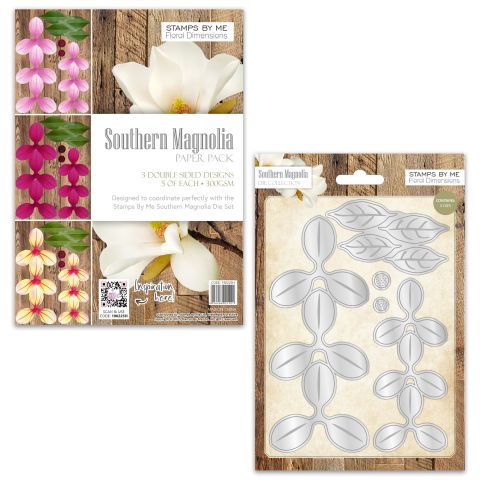
Create a stunning three-dimensional Southern Magnolia flower card using beautifully pre-shaded die-cut petals in soft pink tones. The petals feature embossed details that add realistic texture and depth to your floral arrangement. Layer the petals to build dimensional blooms that can be combined with coordinating leaves for an elegant, luxurious finish.
 1
Select a sheet from the pre-printed shaded flower card stock in your chosen colour from the Southern Magnolia pack.
 2
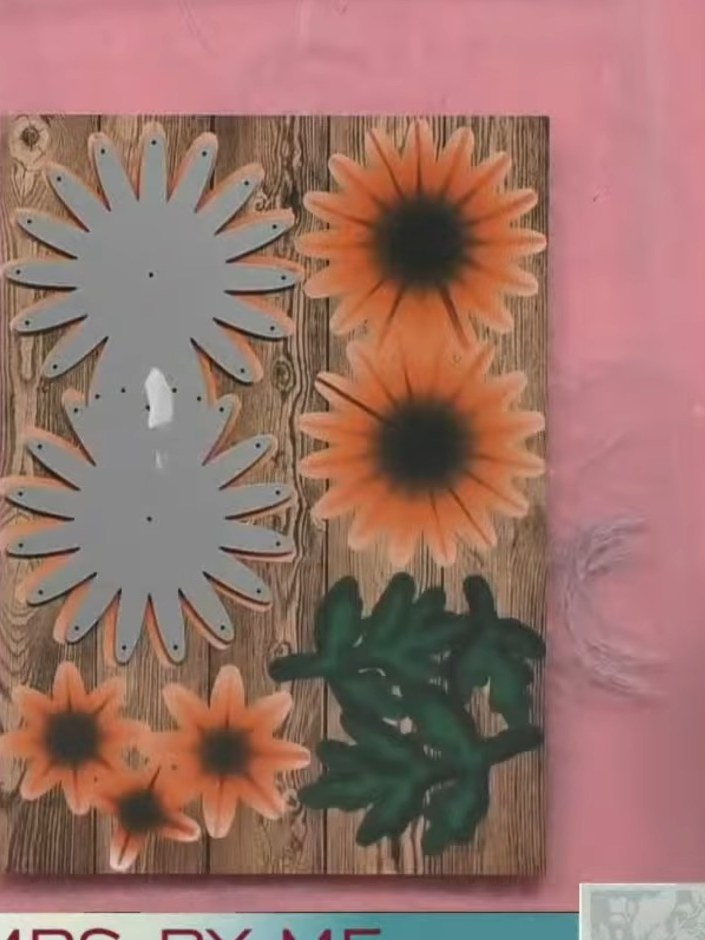
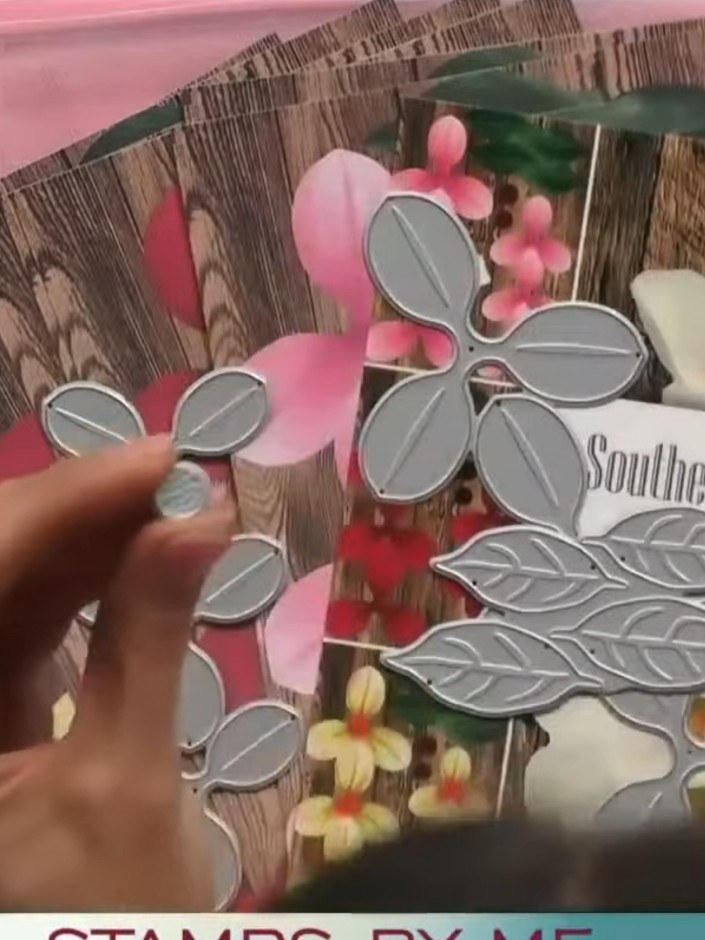
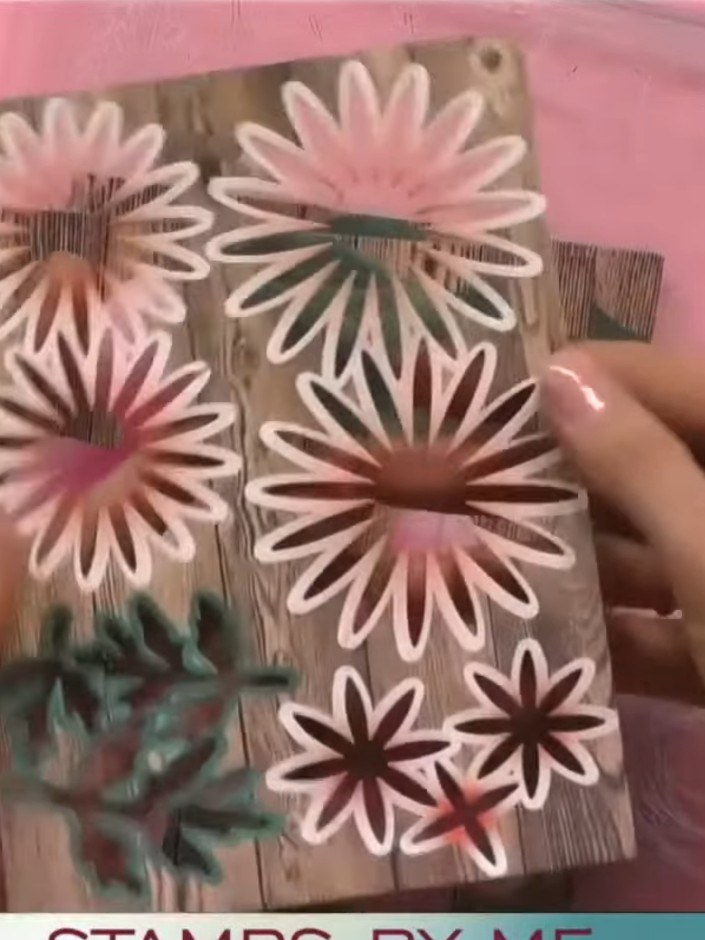
Position the die plate onto the card stock, aligning the three large connected petal pieces. Ensure the floral die cuts are properly placed on the wood grain patterned paper.
 3
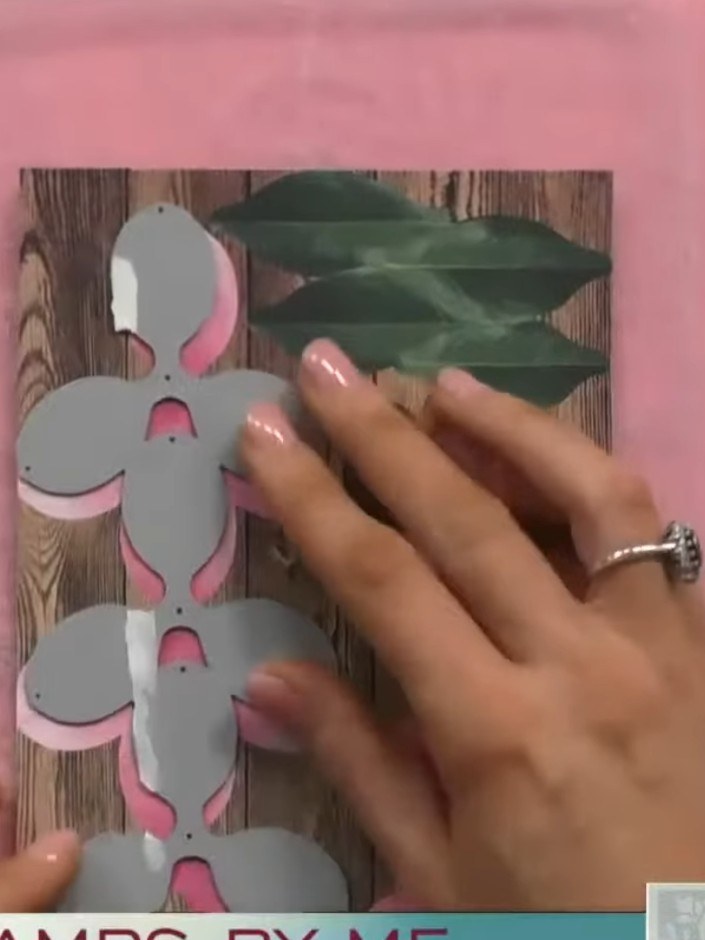
Place the die-cut flower pieces onto your card stock on the pink cutting mat. Run the die and card stock through your die-cutting machine to cut out the flower shapes.
 4
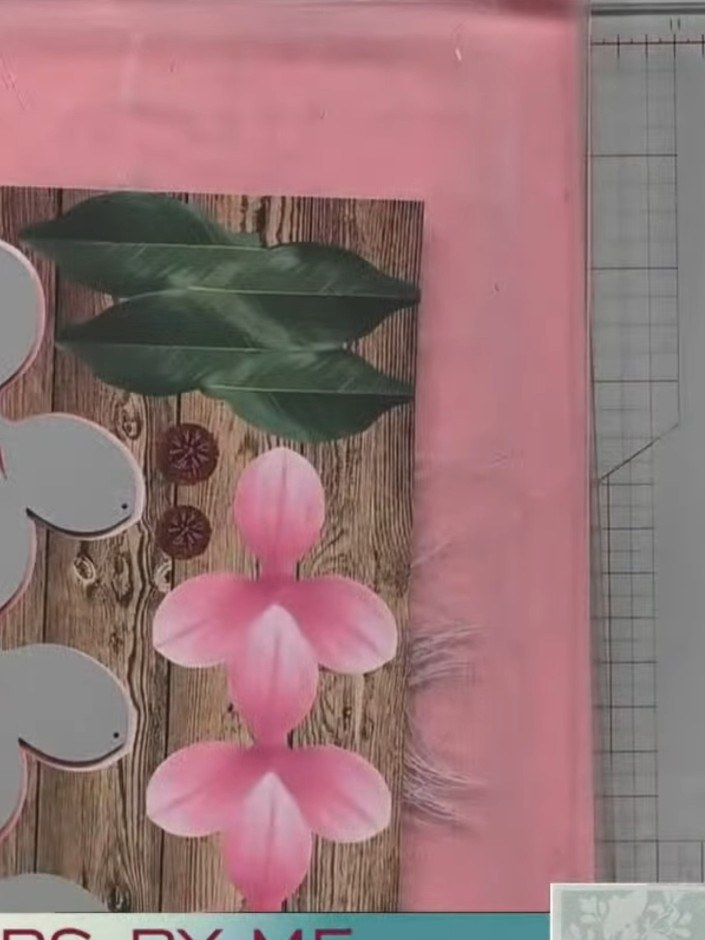
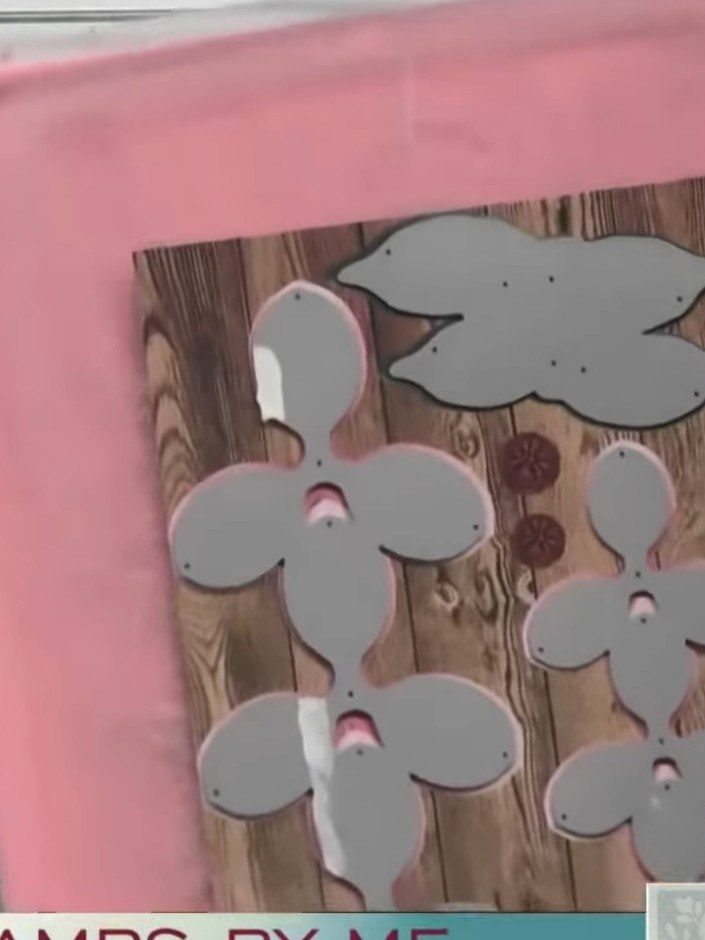
Pop out the three large petal pieces and the separate circle pieces from the die-cut sheet. These pieces are not connected to each other.
 5
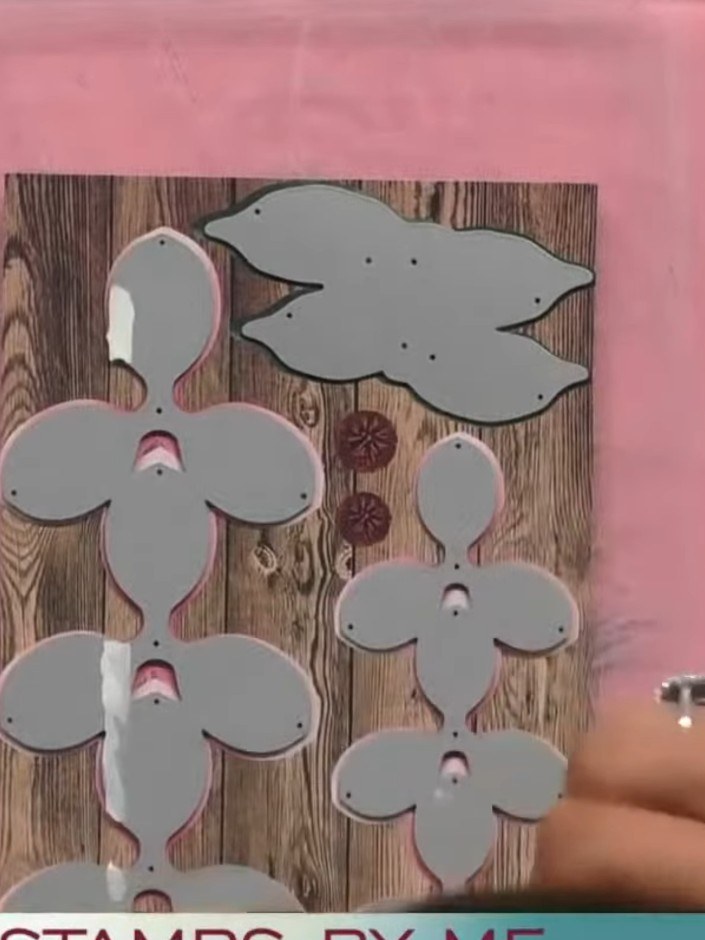
Pop out the leaf pieces from the die-cut sheet. The leaves feature embossed detail lines for added dimension.
 6
Layer the three grey die-cut petals together on the wood-effect background panel. You can choose to display either the light or dark shaded side of each petal facing upwards.
 7
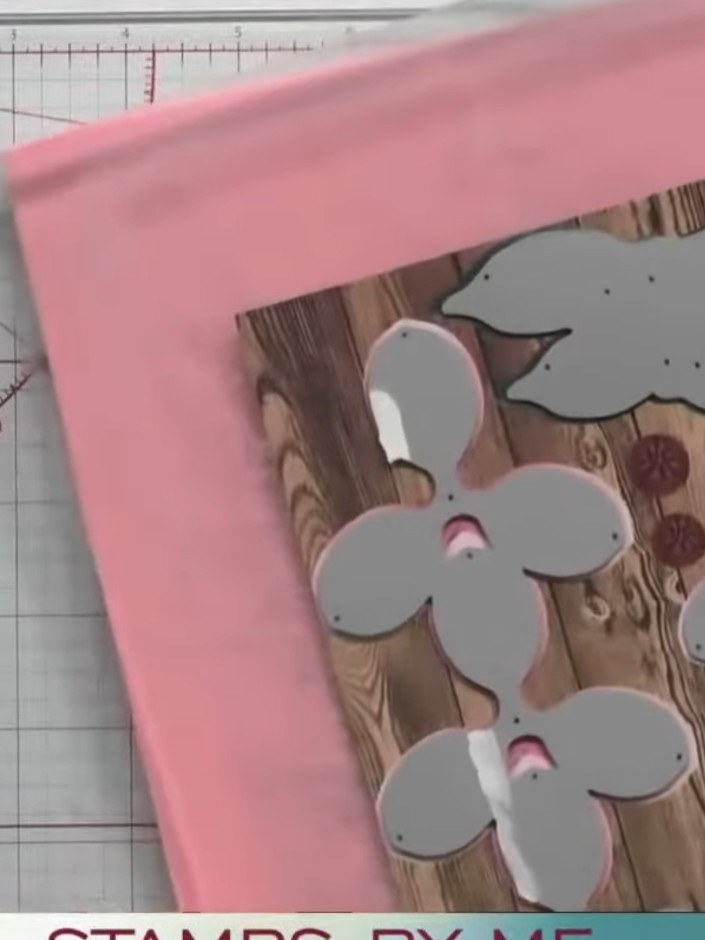
Glue the grey petals together using dry clear glue to build up the flower shape. Layer the petals on top of each other, offsetting them slightly to create dimension. Continue building up the magnolia flower with multiple layers.
 8
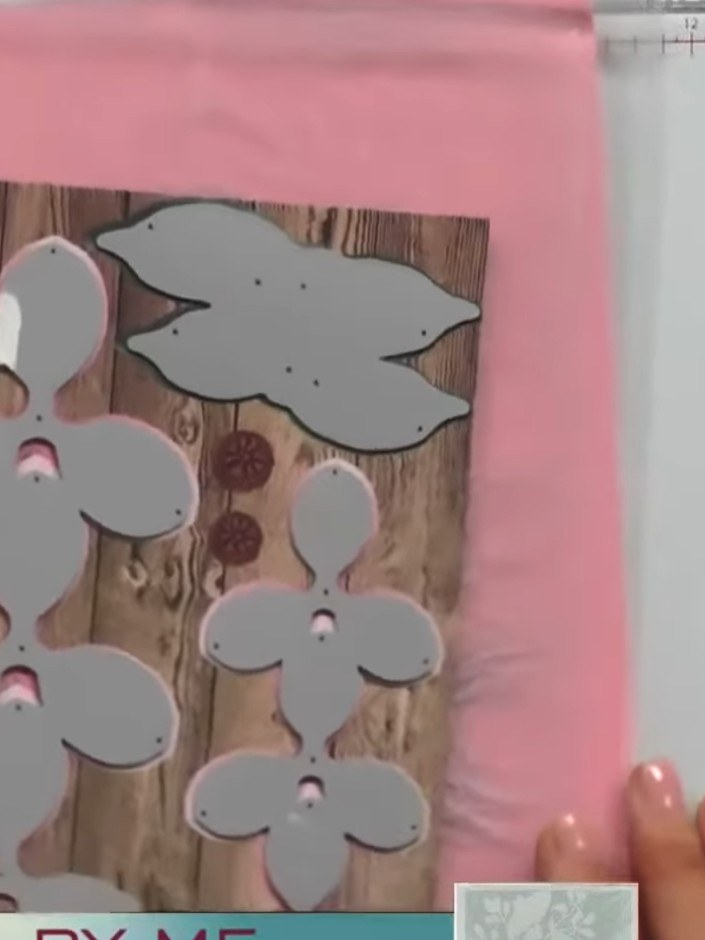
Add the small circle centre pieces to the grey flower shapes in a contrasting pink colour to create a plaque effect. Position them centrally on each flower.
 9
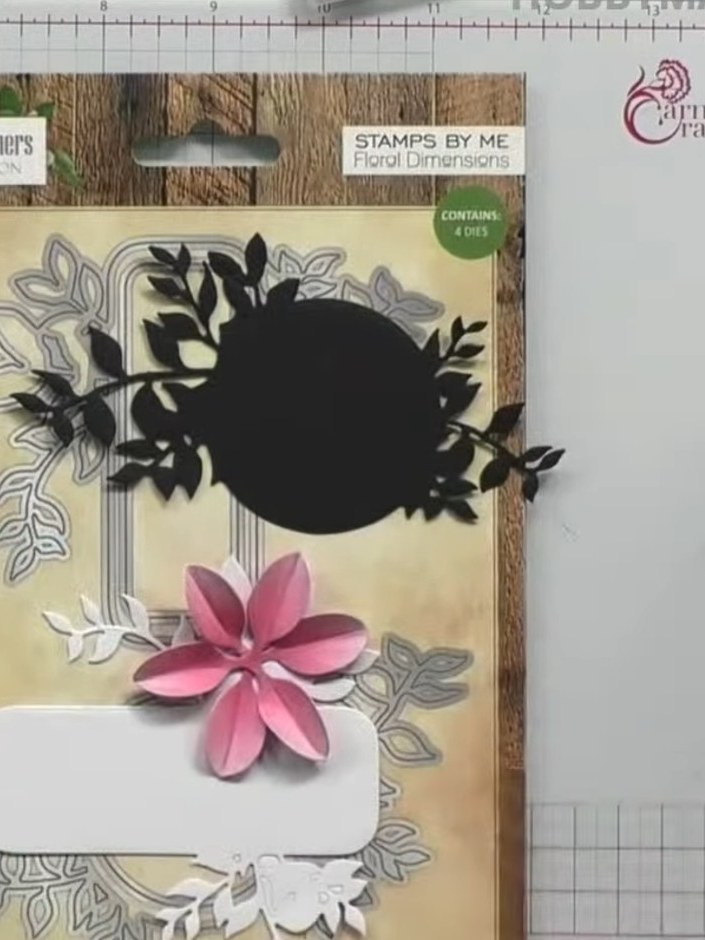
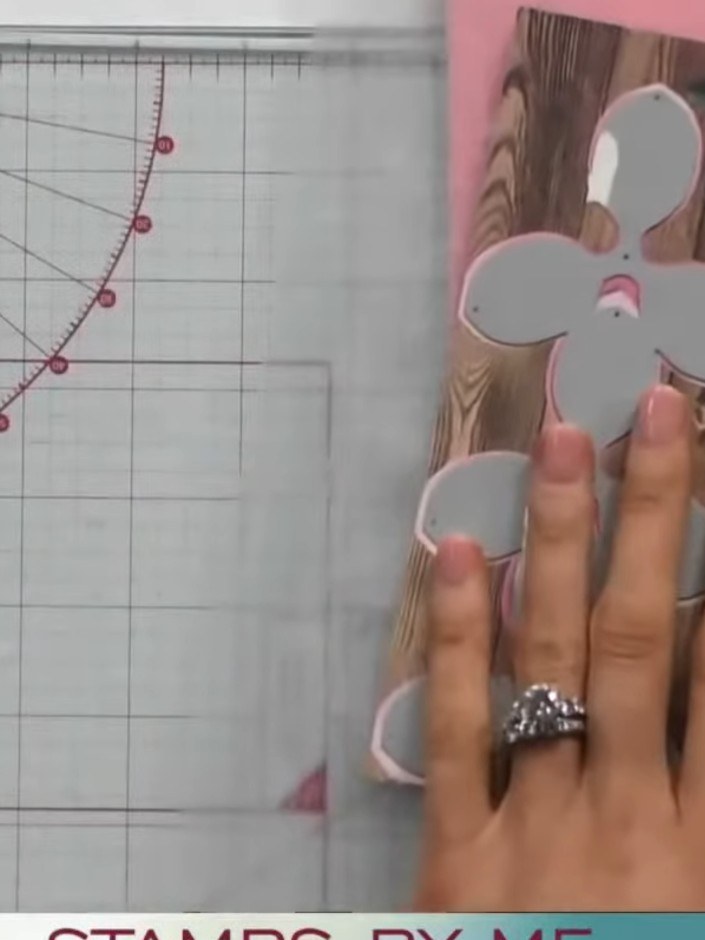
Arrange and glue the grey die-cut leaves around the flower on the woodgrain background. Use the embossed detail lines to score and fold the leaves for added dimension.
Share your make with the Stamps By Me community - and keep this guide for next time.
Written up from the show itself. See every guide from our shows · free how-to guides · watch live on My Telly · the previous layout