Give your friends £10 off their first order!
Refer a FRIEND








A project from our live show PRODUCT PREVIEW - HSN SHOW JAN 30TH - Join Toni for an early look at all the goodies coming to HSN this month - Broadcast 24TH JANUARY 2024 · 29/01/2024 · watch it from 34:00

Create a beautiful birthday wishes card featuring delicate pink tulips with a watercolour effect. Using the innovative two-part lamination stamp system, you'll layer solid colour stamps with outline stamps to achieve a professional, artistic finish. The design is mounted on a black frame against a soft pink background for an elegant presentation.

Select the solid portion of your Floral Magic lamination stamp and ink it up with your chosen ink colour using an ink pad or blending tool.
▶ watch this step (34:45)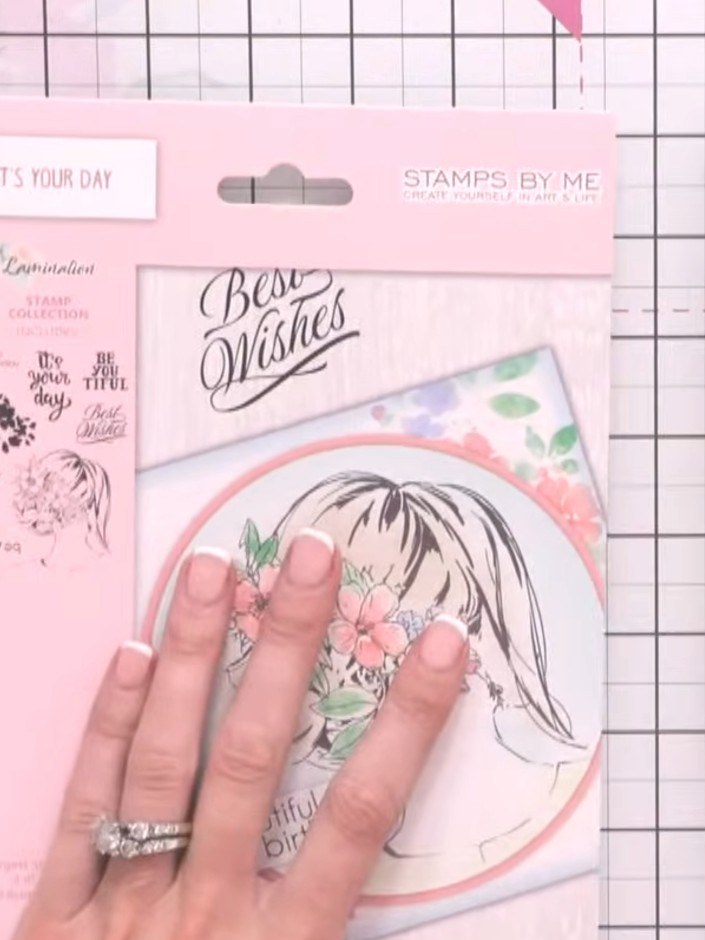
Stamp the solid floral image onto your card base using the stamp from the Floral Magic Lamination Collection. Position the image centrally on your card.
▶ watch this step (35:00)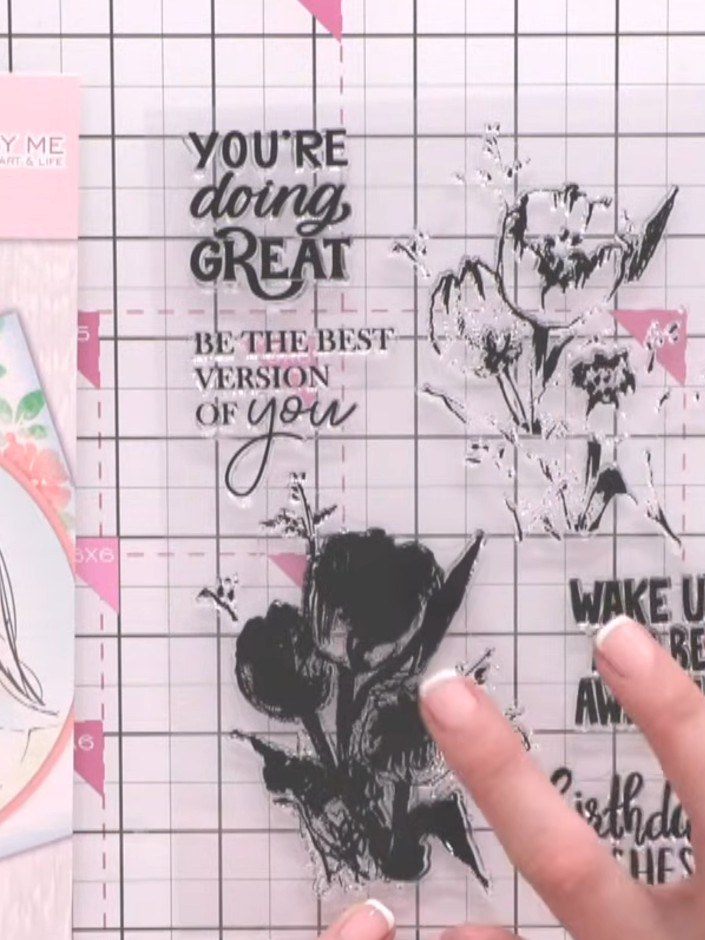
Spray the stamped floral image lightly with water to create a watercolour effect. Use a fine mist spray to dampen the stamped design evenly.
▶ watch this step (35:15)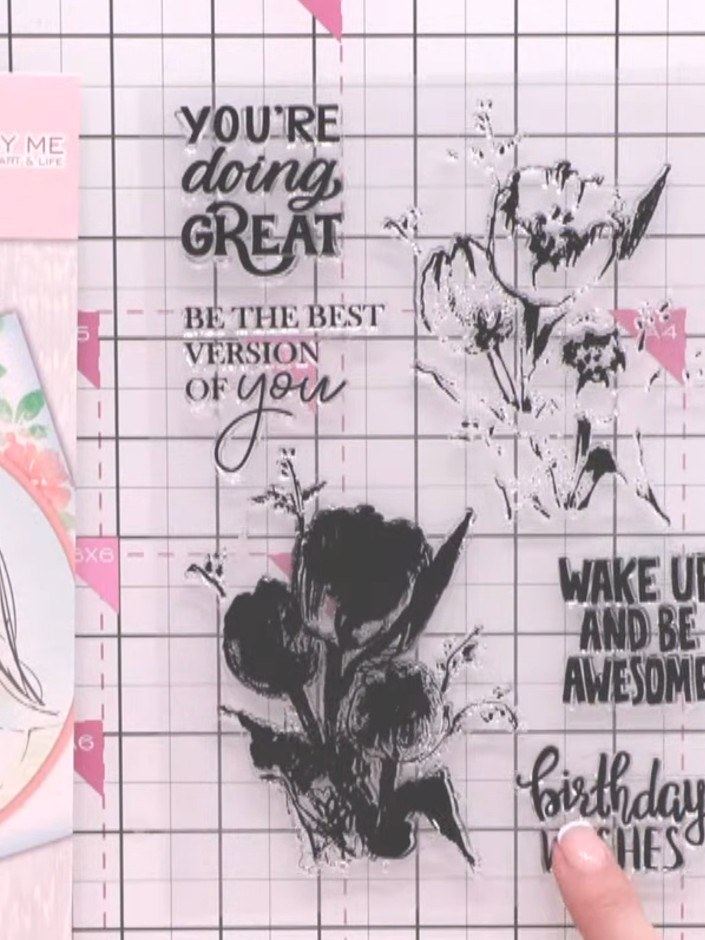
Spray the outline stamp with water and stamp it directly over the coloured solid stamp image, aligning it carefully to create a detailed floral design.
▶ watch this step (35:30)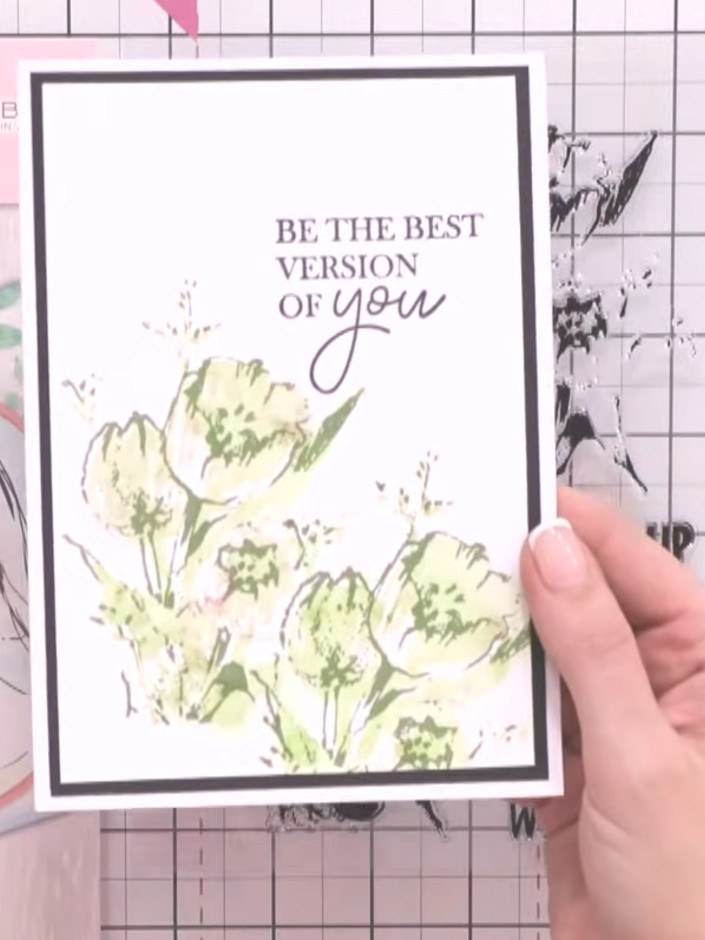
Allow the stamped and coloured floral image to dry completely before proceeding to the next step.
▶ watch this step (36:00)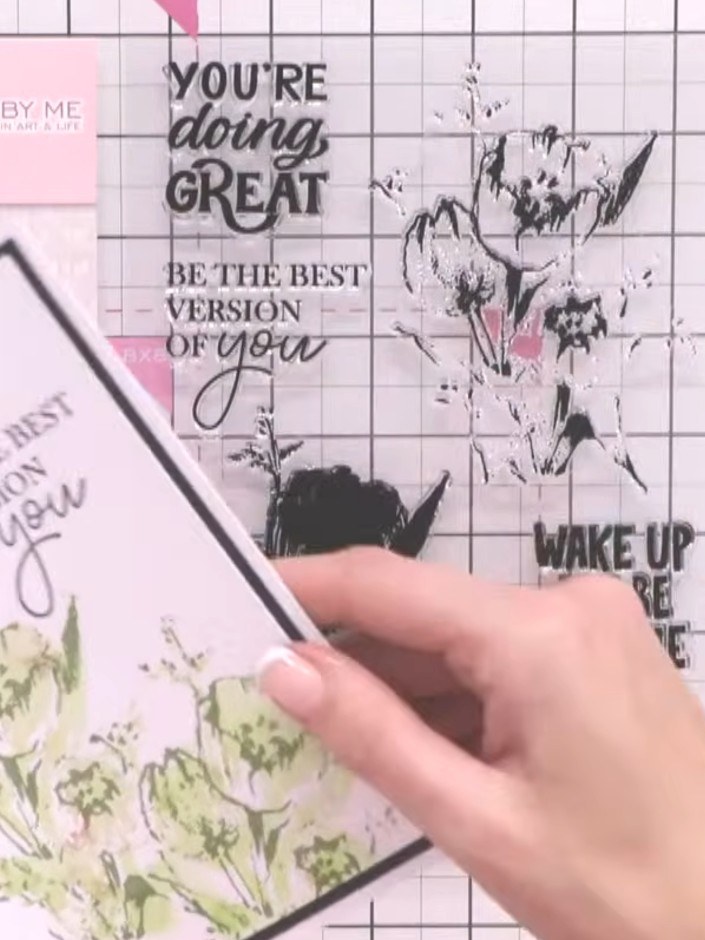
For a different look, use just the solid floral stamp on its own without the outline stamp. This creates a simpler, bolder effect as shown on the purple Birthday Wishes card.
▶ watch this step (36:15)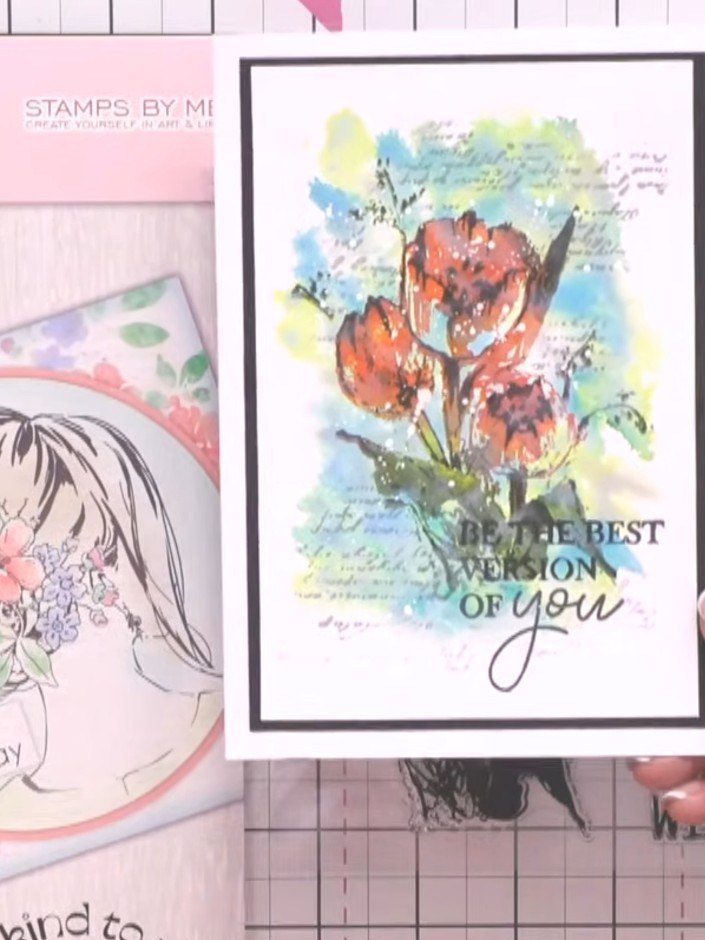
Select your chosen sentiment stamp from the coordinating stamp set and position it to one side of your card design.
▶ watch this step (36:45)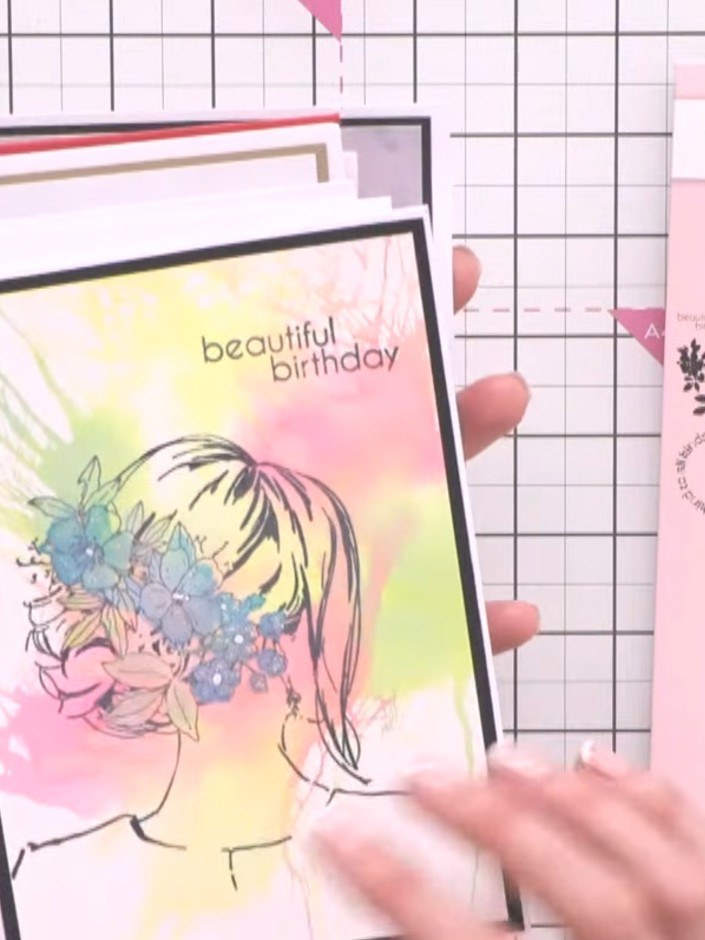
Mount your laminated topper onto a card base using foam pads or adhesive. Layer onto patterned paper or coloured card blanks in coordinating colours for a professional finish.
▶ watch this step (37:00)Written up from the show itself. See every guide from our shows · free how-to guides · watch live on My Telly
