Give your friends £10 off their first order!
Refer a FRIEND








A project from our live show PRODUCT PREVIEW - HSN SHOW JAN 30TH - Join Toni for an early look at all the goodies coming to HSN this month - Broadcast 24TH JANUARY 2024 · 29/01/2024 · watch it from 23:00
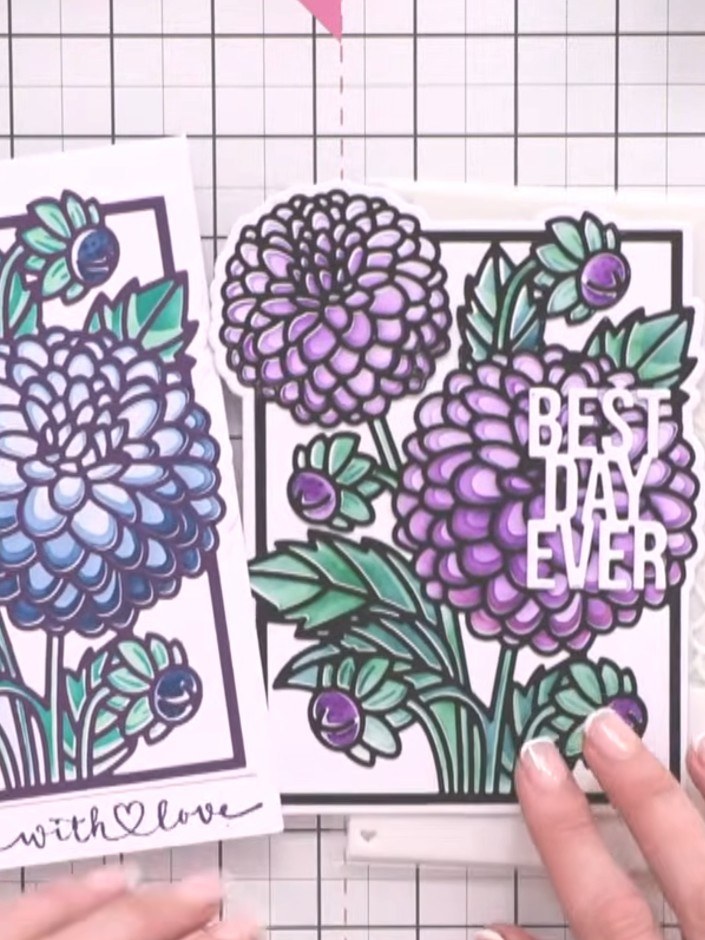
Create an elegant shaped floral card featuring beautiful blooms in pink and purple tones with green foliage. Using a five-layer stencil system, you'll build depth and dimension through careful layering, then use a coordinating die to cut the distinctive shaped card outline. This sophisticated design combines stencilling techniques with die-cutting to produce a stunning card perfect for any special occasion.
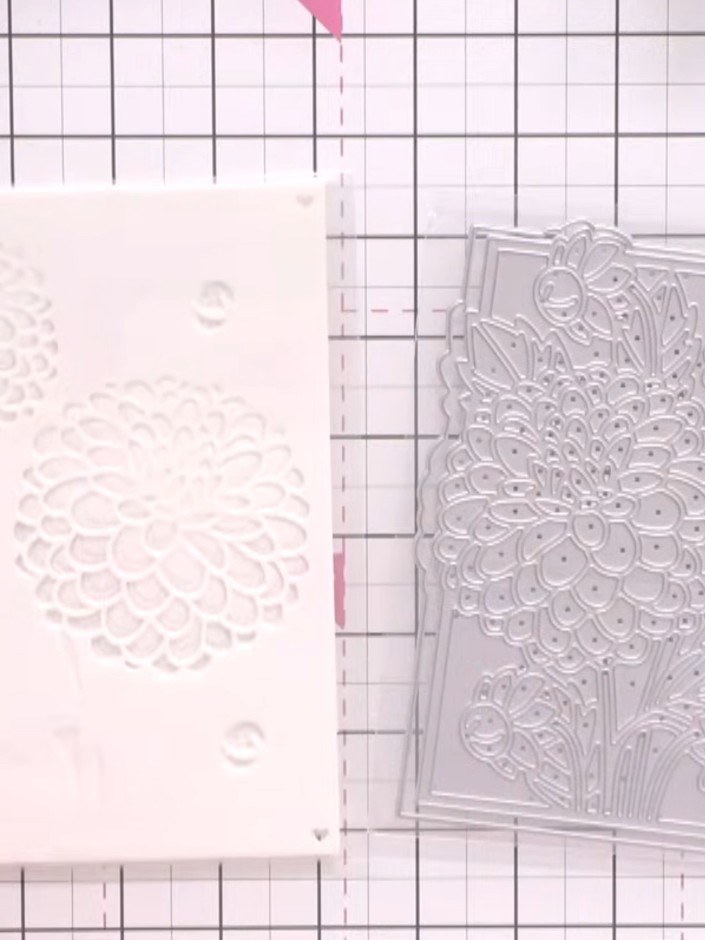
Lay out your five layering stencils in numerical order on your work surface. The stencils feature a floral design and should be arranged in sequence from 1 to 5.
▶ watch this step (23:45)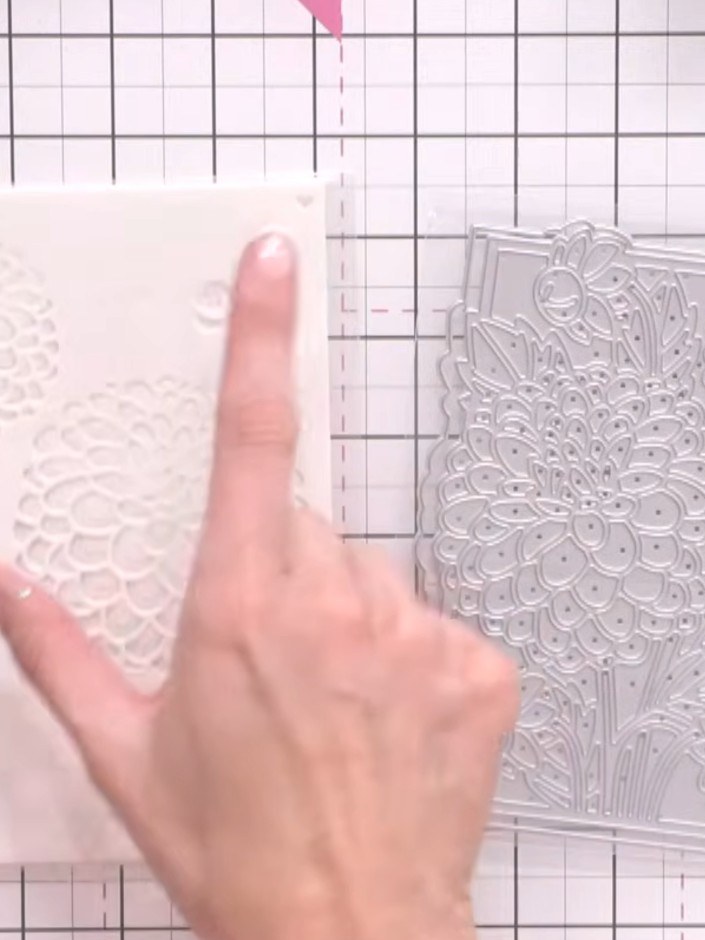
Select your chosen ink colour and apply it through the first layer of the stencil. Use the heart-shaped registration guides on the stencil to position it accurately on your card base.
▶ watch this step (24:00)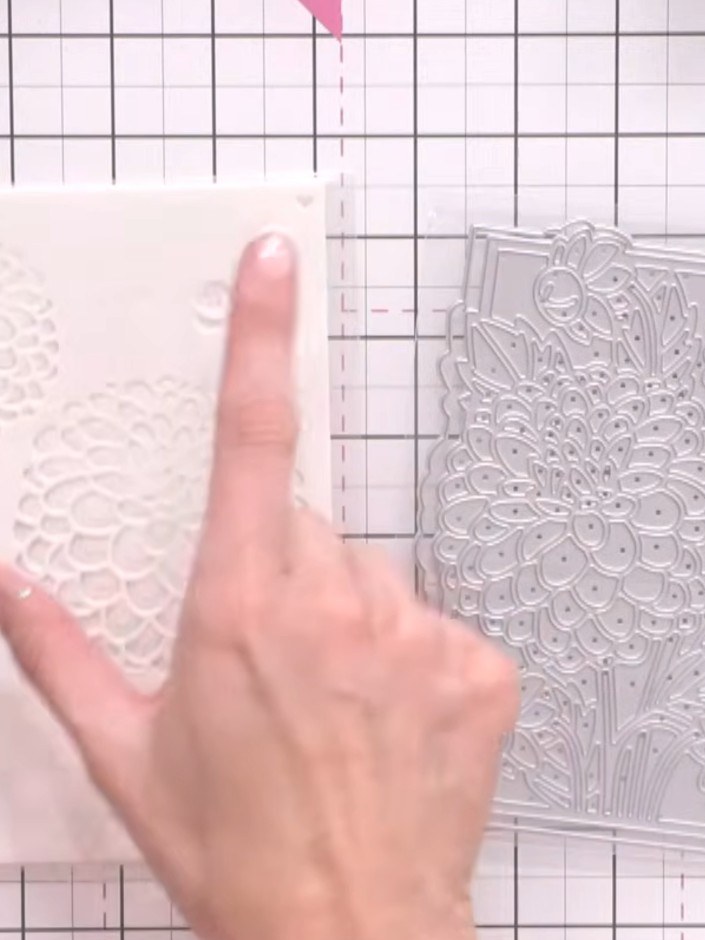
Continue building up the floral design by repeating the stenciling process with layers two, three, four, and five in sequence. Allow each layer to dry slightly before adding the next to prevent colours from bleeding together.
▶ watch this step (24:00)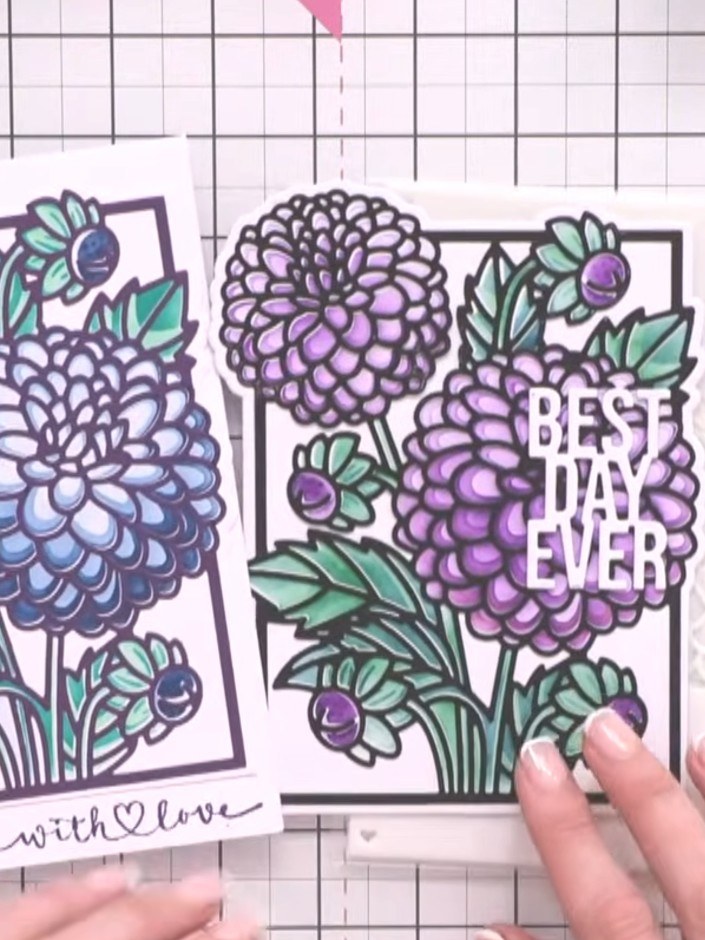
For a single-layer effect, use metallic inks on just one stencil layer for subtle detail. This creates a more understated look compared to the multi-layered approach.
▶ watch this step (24:15)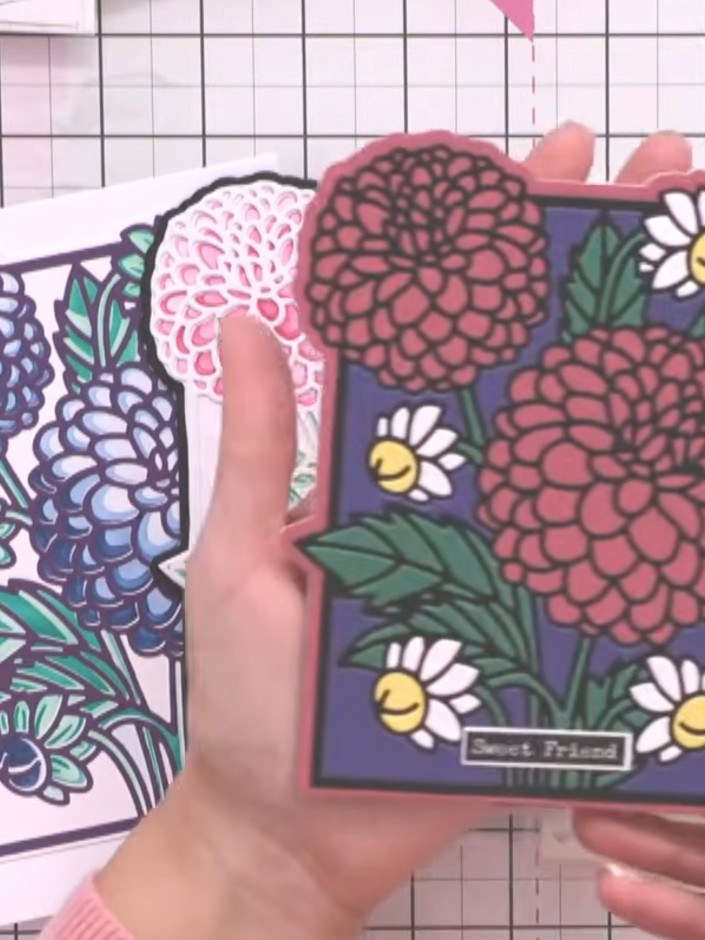
Use the coordinating die from the Perfect Bloom set to cut out the exterior decorative shape of your stencilled floral design.
▶ watch this step (25:00)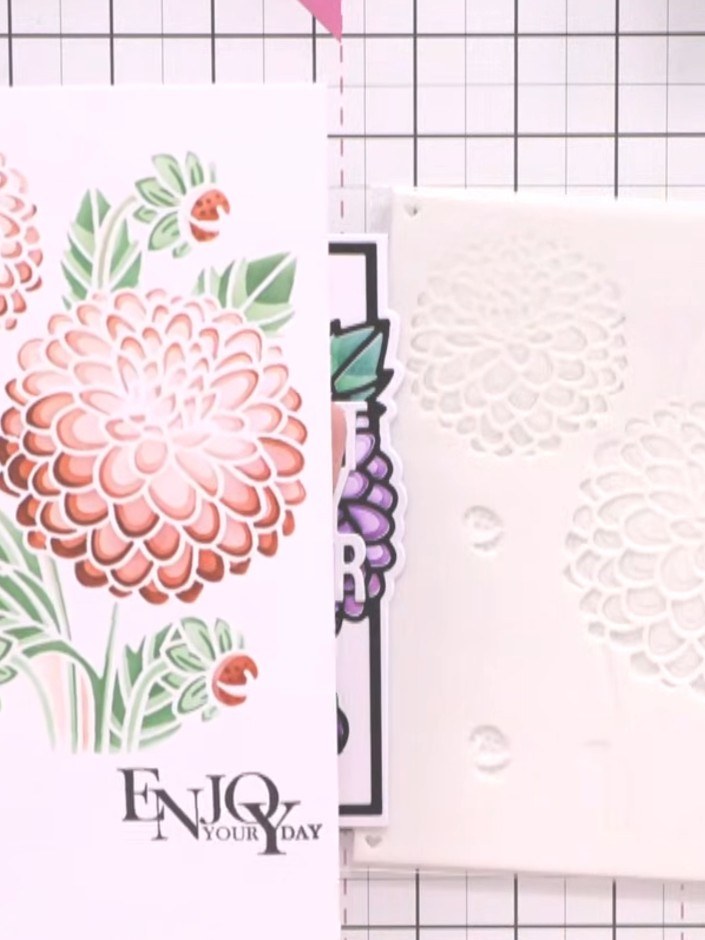
Turn the stencil upside down and position it at the top of your card. This creates a cascading design flowing downwards from the top edge.
▶ watch this step (25:30)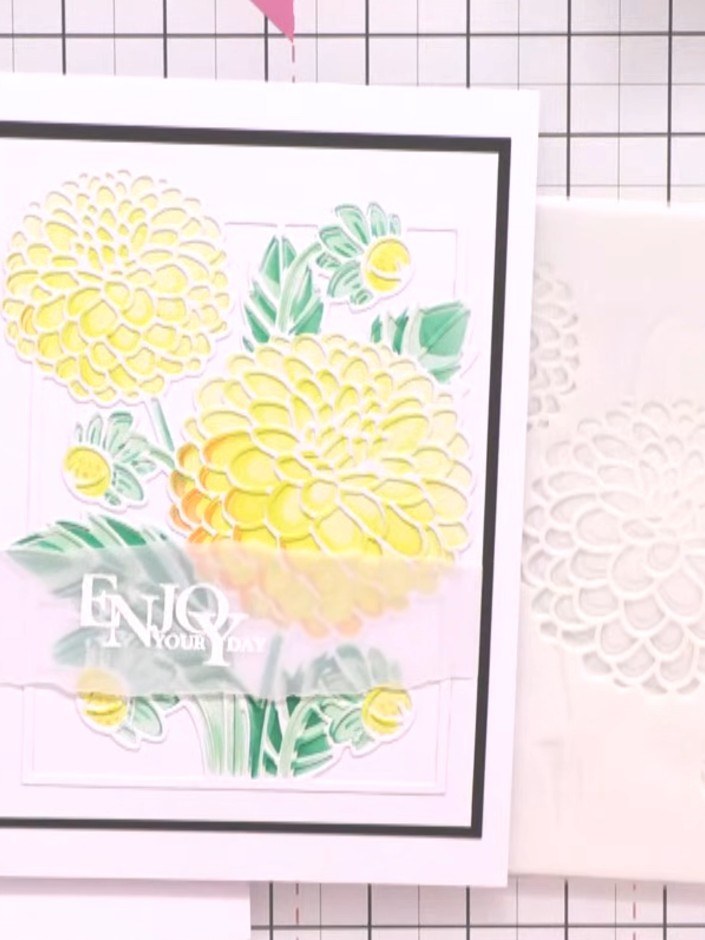
Mount your finished stencilled floral panel onto a white card base with a black border frame. Position the panel centrally to create a neat, professional finish.
▶ watch this step (26:00)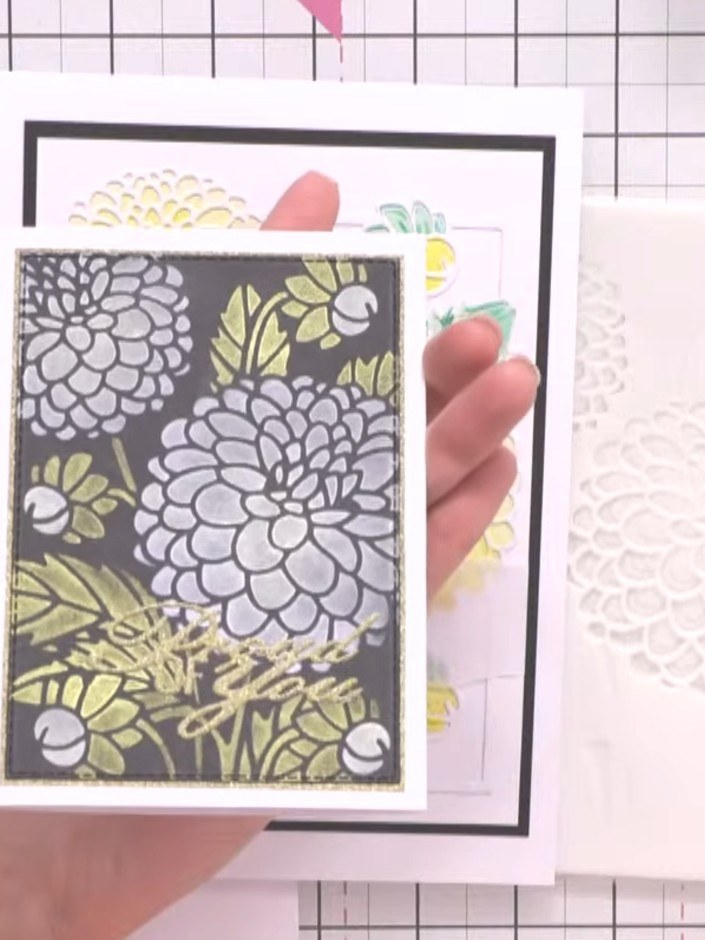
Add any additional embellishments such as sparkle or texture paste if desired to complete your card.
▶ watch this step (26:15)Written up from the show itself. See every guide from our shows · free how-to guides · watch live on My Telly
