Give your friends £10 off their first order!
Refer a FRIEND








Prices change straight away. Every language is our own translation, not Google.
A project from our live show HOBBYMAKER TV - Join us for the latest show - Broadcast 6 p.m. (UK) 18th September 2026 · 18/09/2026 · watch it from 34:45
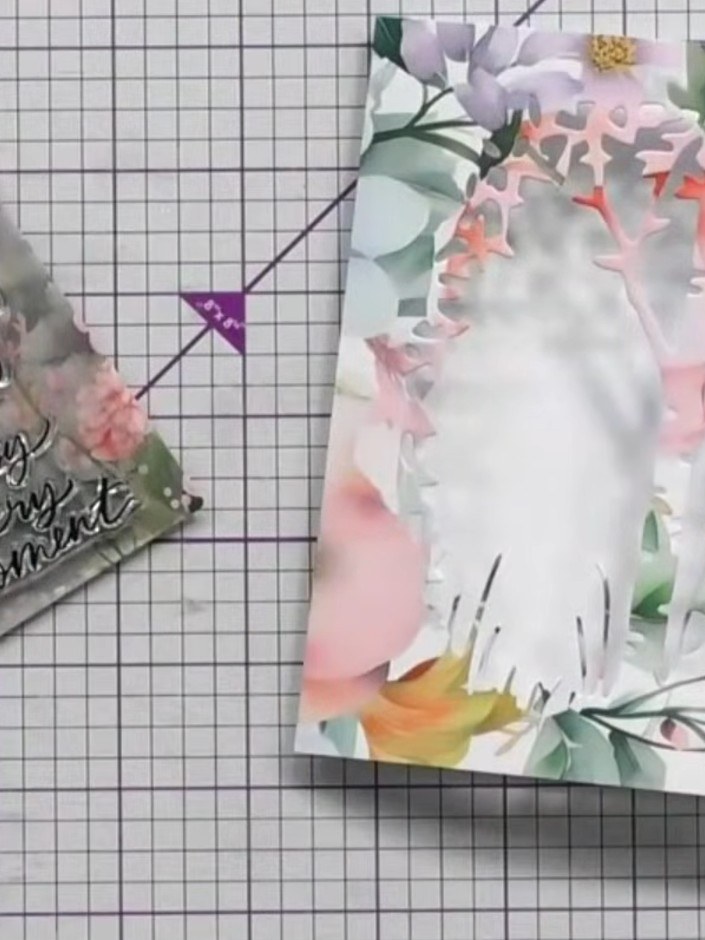
Create a stunning aperture card featuring a beautiful floral scene framed within a die-cut window. This elegant design uses soft pastel papers with delicate botanical imagery layered behind the aperture opening, creating wonderful depth and dimension. The finished card combines sentiment stamps from the 'You Are So Lovely' collection with scene-setting techniques for a sophisticated handmade greeting.
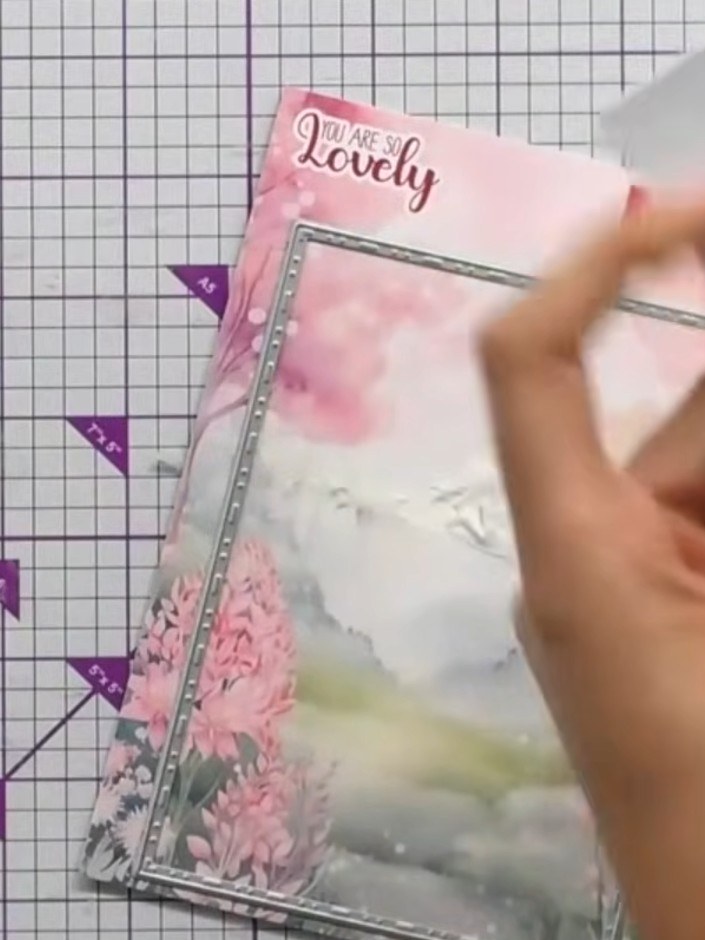
Take a card blank from your stash and position the You Are So Lovely aperture die in the centre of the card front. The die features a decorative rectangular frame with floral details.
▶ watch this step (34:45)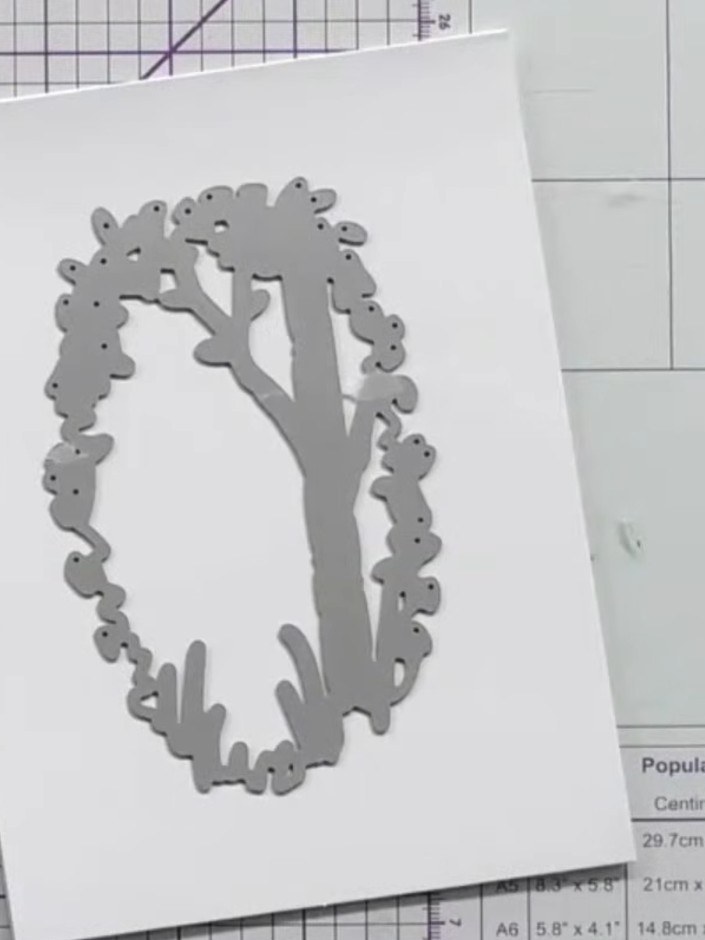
Run the white card blank through your die-cutting machine with the floral wreath die to create the aperture window in the card front.
▶ watch this step (35:00)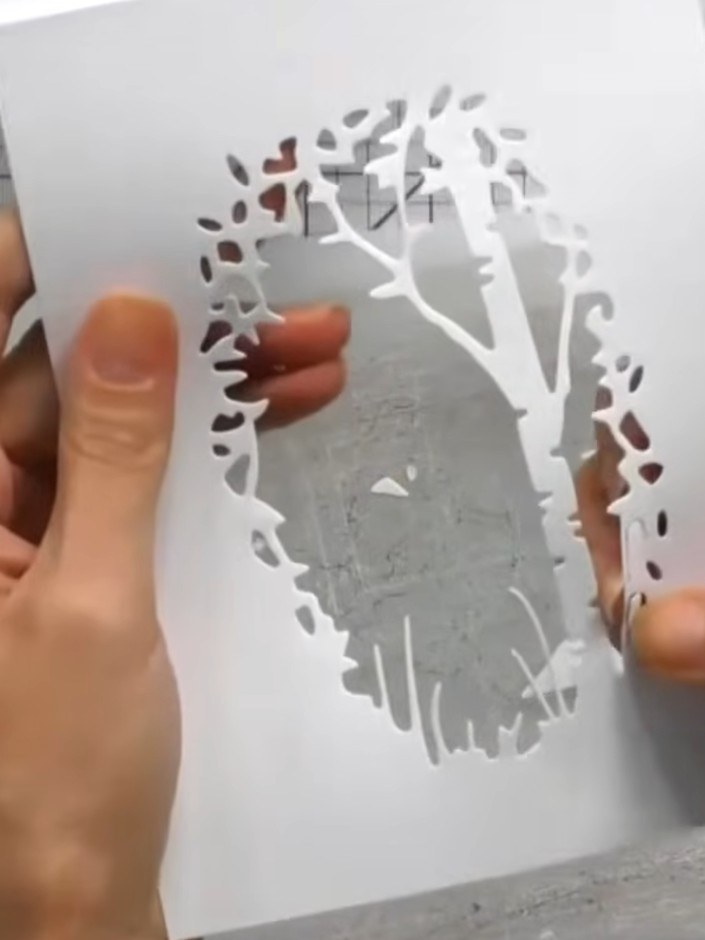
Select a piece of vellum or patterned paper from the You Are So Lovely collection. Place it behind the aperture of your card to create the background for your scene.
▶ watch this step (36:30)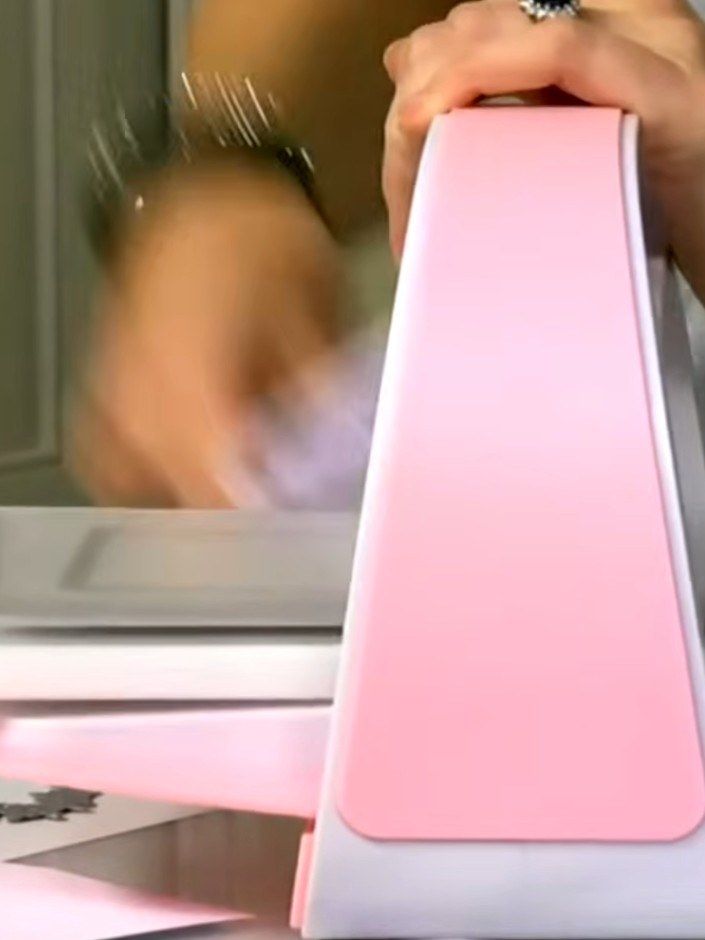
Secure the backing paper behind the aperture using foam pads or adhesive to create dimension. Position the pink backing paper so it shows through the aperture opening, ensuring it's centred and properly aligned.
▶ watch this step (37:00)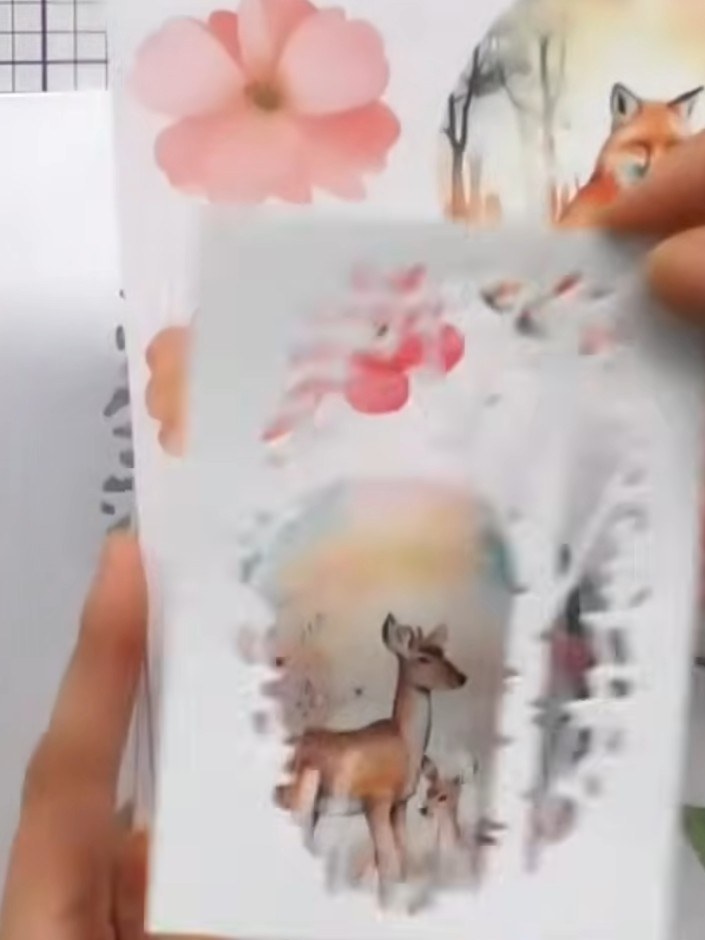
Fussy cut embellishments from the You Are So Lovely embellishment pack. Select animals such as the fox or deer, and foliage elements like flowers and leaves to add to your scene.
▶ watch this step (40:15)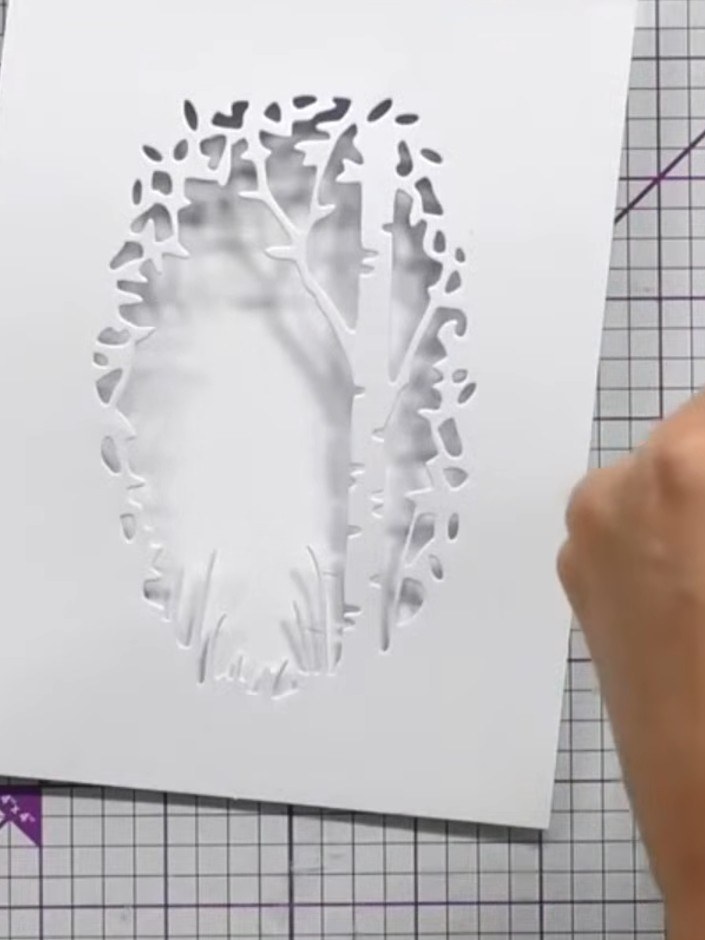
Attach the fussy-cut elements to the front of the card using foam pads to add height and create a layered scene. Build up the layers to create depth and dimension in your aperture.
▶ watch this step (40:30)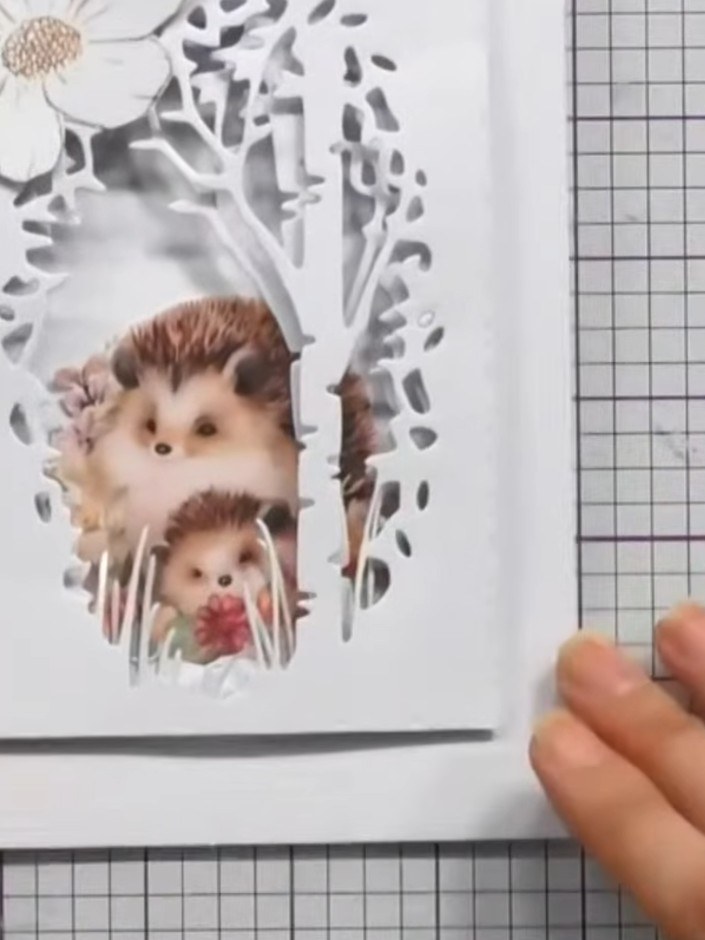
Position the hedgehog embellishments within the aperture frame to create a charming scene. Add a white flower to the top left corner and leaves to the bottom right to complete the design. Ensure all elements are securely adhered and arranged to your liking.
▶ watch this step (41:45)Written up from the show itself. See every guide from our shows · free how-to guides · watch live on My Telly


