Give your friends £10 off their first order!
Refer a FRIEND








A project from our live show HSN PRODUCT INSPIRATION - Join me for a fun filled show broadcast 13th October 2026 · 13/10/2026 · watch it from 24:30
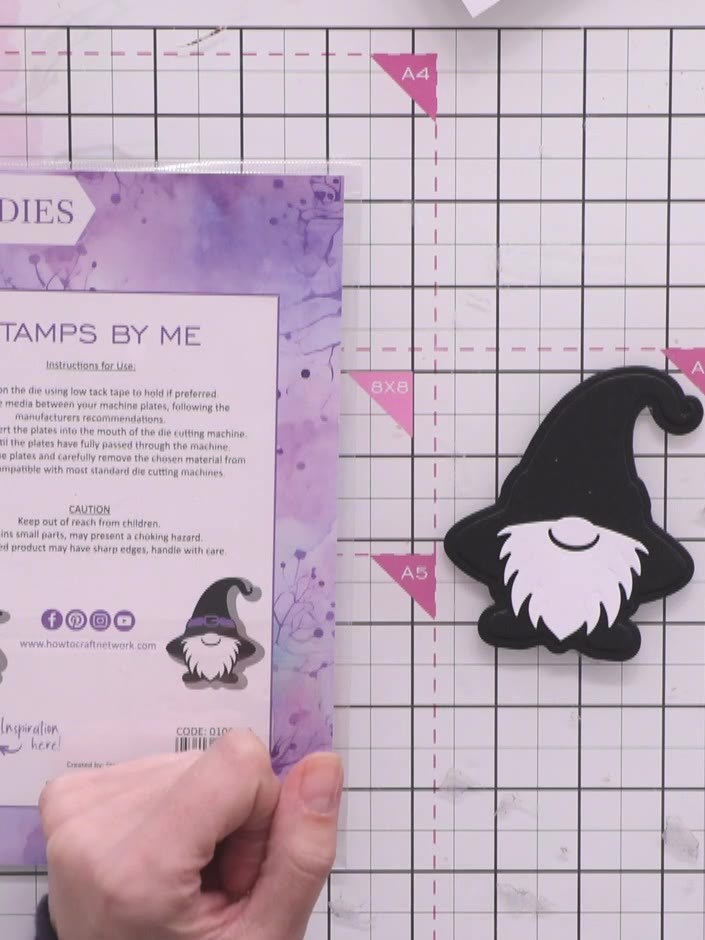
Create an adorable freestanding gnome character card featuring a charming design in black and white. This delightful dimensional piece showcases a gnome with a pointed hat and fluffy beard, perfect for displaying on a desk or shelf. The project uses layered die-cutting techniques to build up depth and character in this whimsical Halloween-themed decoration.
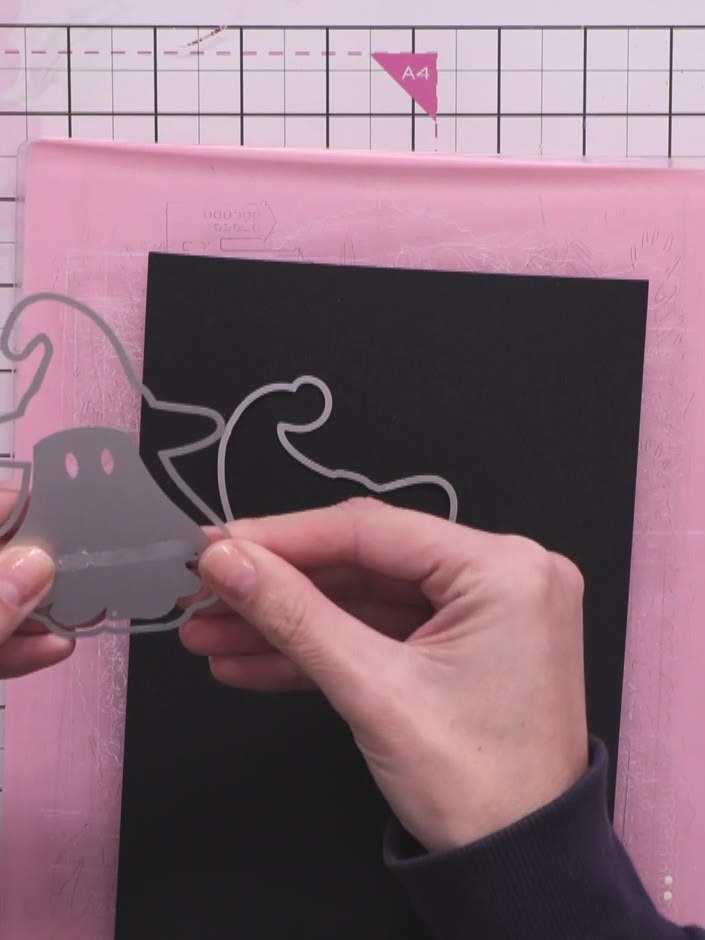
Cut two identical gnome exterior die cuts from black card stock using the gnome die. These will form the outer layers of your freestanding card.
▶ watch this step (25:15)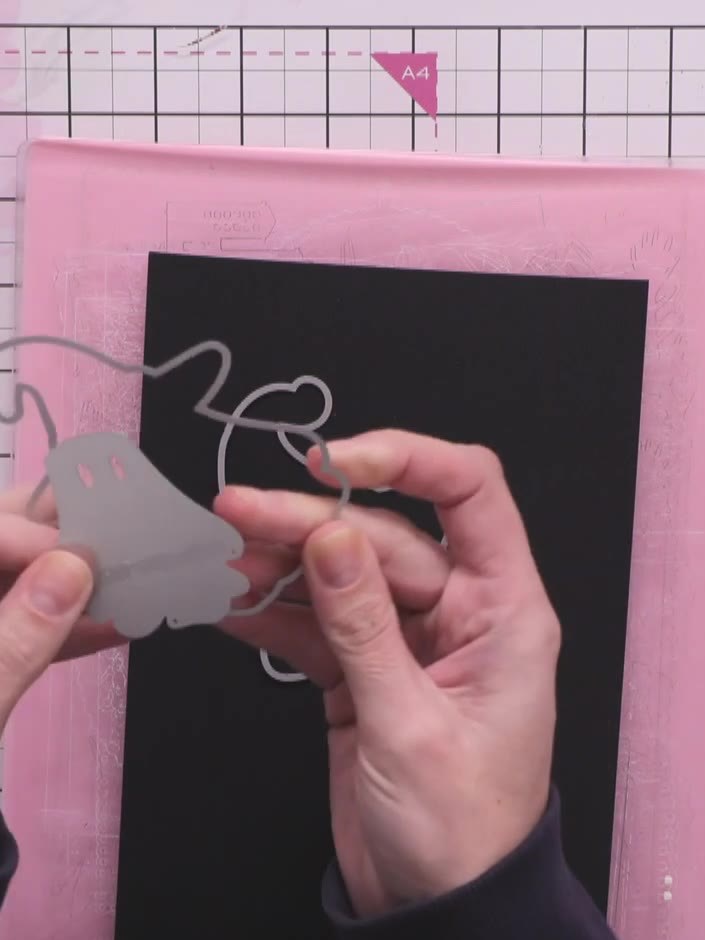
Score a line down the centre of one piece of black cardstock using a score tool or scoreboard.
▶ watch this step (26:45)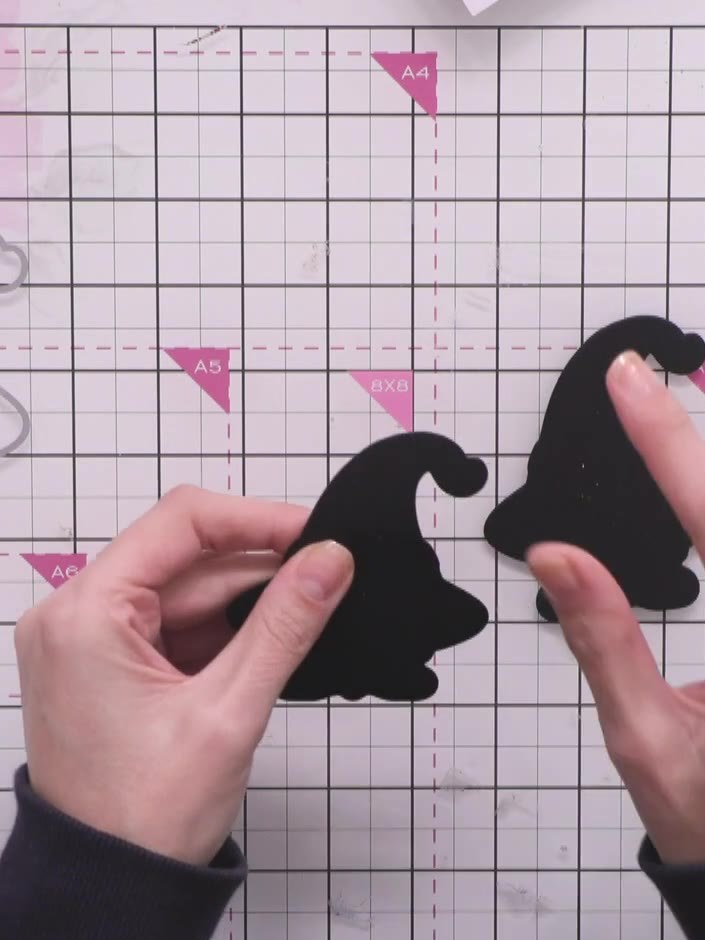
Fold the scored piece forward and back to create a hinge. This will allow the gnome shape to stand freely.
▶ watch this step (32:15)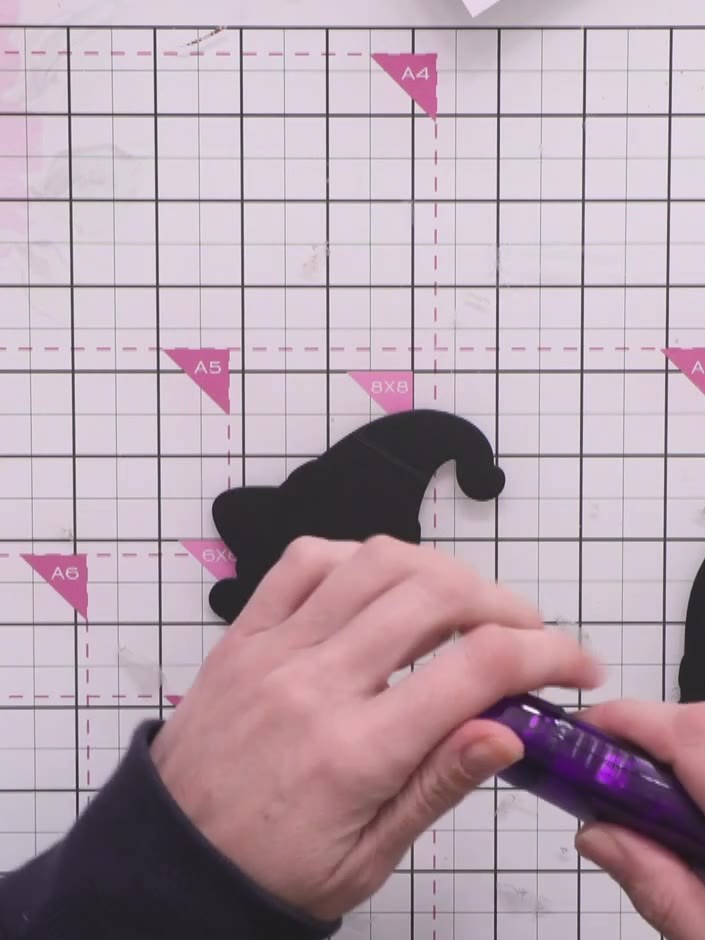
Apply glue or tape to the top section of the hinge area on your gnome card pieces.
▶ watch this step (32:45)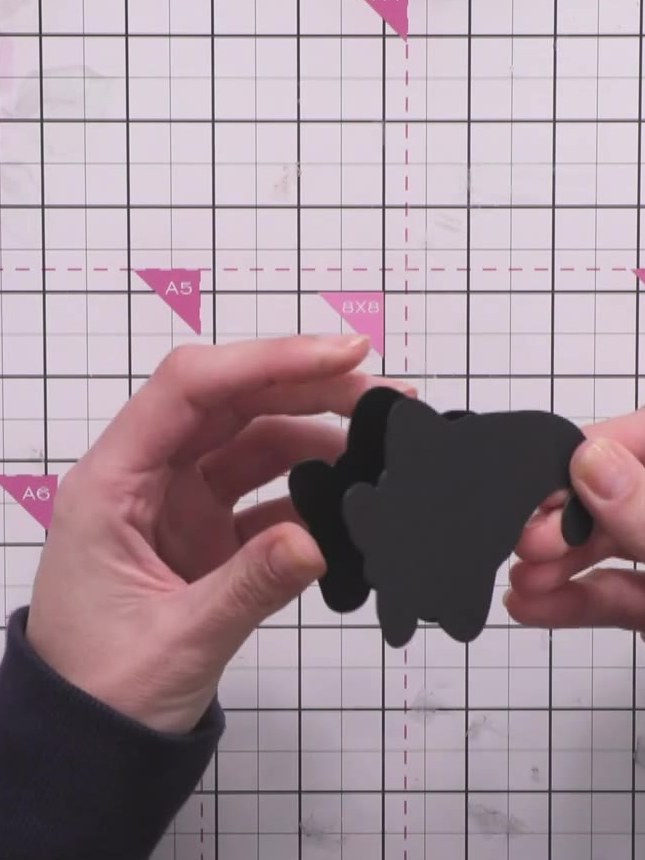
Take the second black gnome silhouette piece and attach it on top of the first piece to create the freestanding card structure.
▶ watch this step (33:00)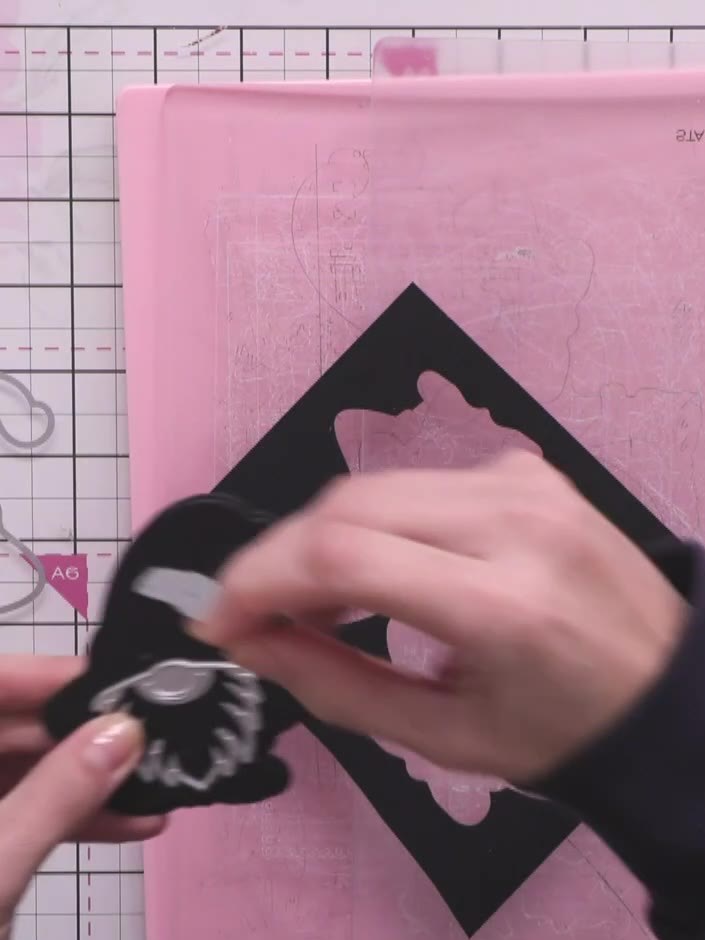
Cut the gnome's beard from white card stock using the beard die or template. Position the die on white card and run through your die-cutting machine to create the beard shape.
▶ watch this step (29:00)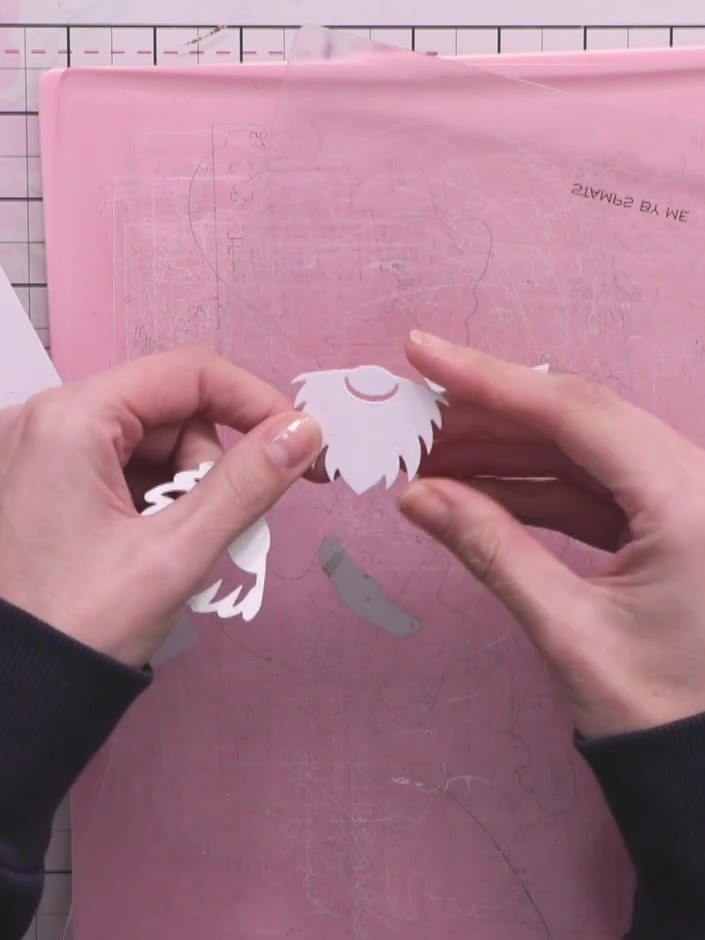
Cut a strip of patterned or solid paper to create the gnome's hat belt. Position it across the hat area of your gnome shape.
▶ watch this step (29:45)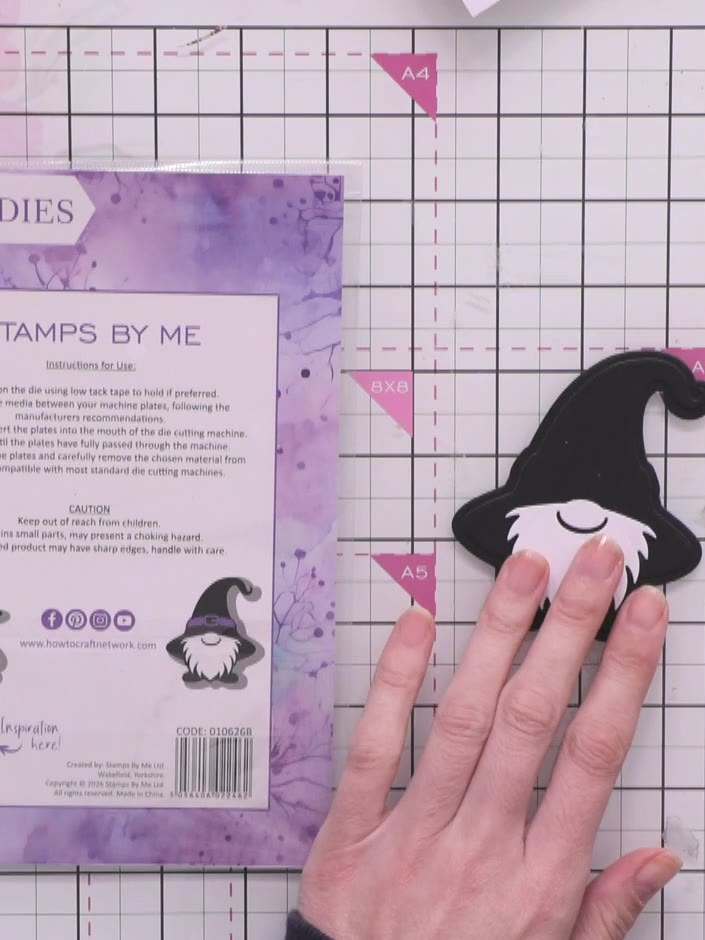
Glue the white beard piece onto the gnome body, aligning it with the design shown on the packaging. Position it centrally below where the face will be.
▶ watch this step (34:15)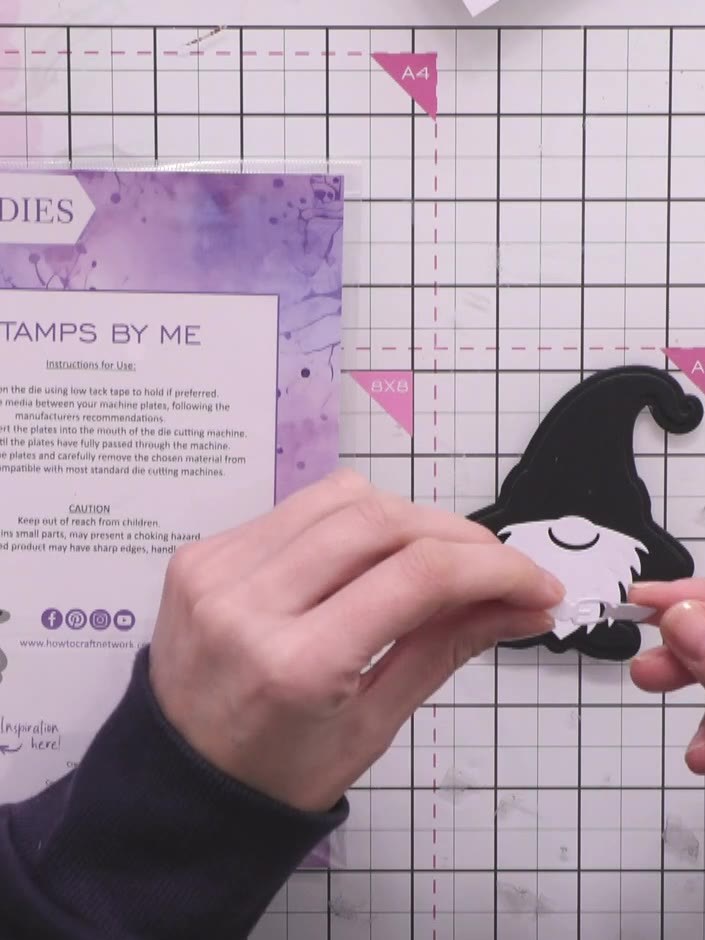
Attach the black hat belt piece to the top of the gnome's body, positioning it just above the beard where the hat will sit.
▶ watch this step (35:00)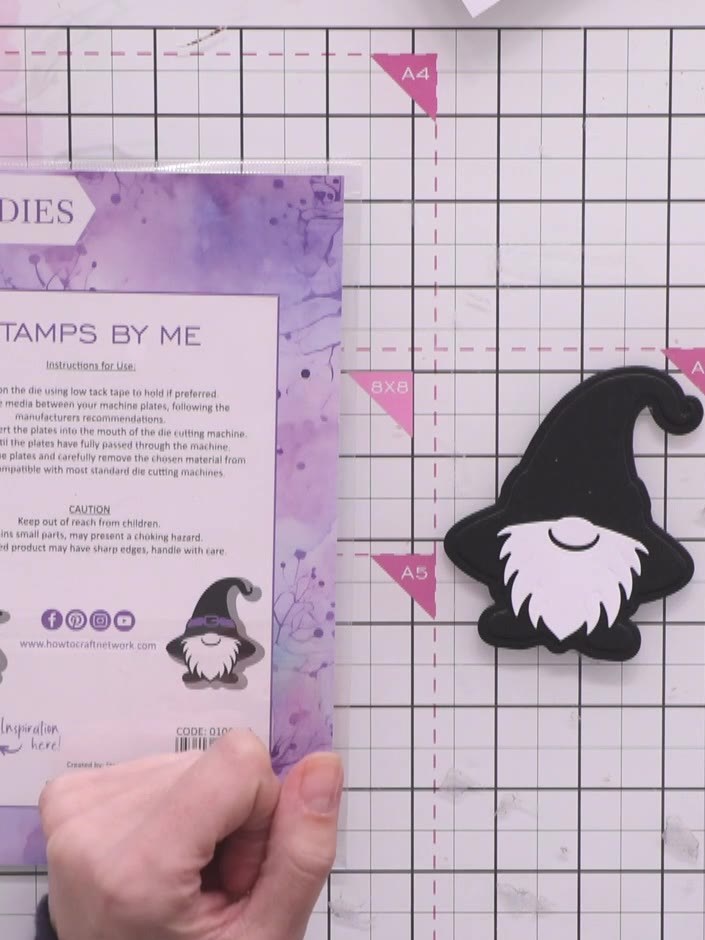
Position your completed freestanding gnome card upright on your desk or shelf to display. The card should stand independently with the gnome character facing forward.
▶ watch this step (35:30)Written up from the show itself. See every guide from our shows · free how-to guides · watch live on My Telly