Give your friends £10 off their first order!
Refer a FRIEND








A project from our live show HSN PRODUCT INSPIRATION - Join me for a fun filled show broadcast 13th October 2026 · 13/10/2026 · watch it from 36:00
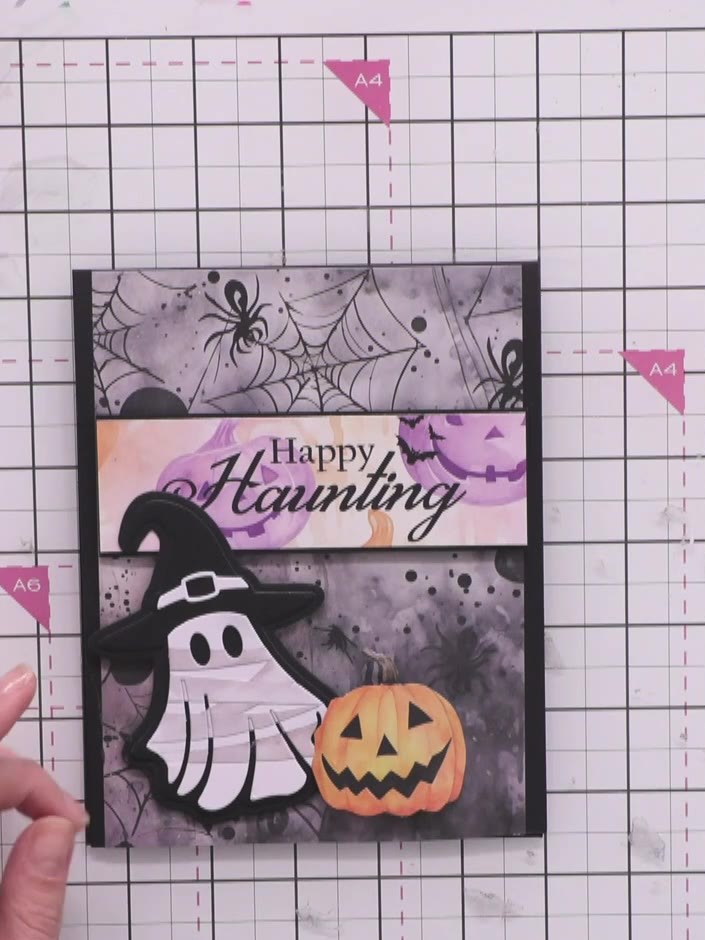
Create a spooky Halloween card featuring a charming wrapped mummy ghost. This project combines a white ghost die-cut wrapped with distressed paper strips, layered onto a black card base with decorative patterned panels and a purple 'Happy Haunting' sentiment banner. The grungy, textured wrapping technique gives your ghost character a unique handmade charm, perfect for Halloween greetings.
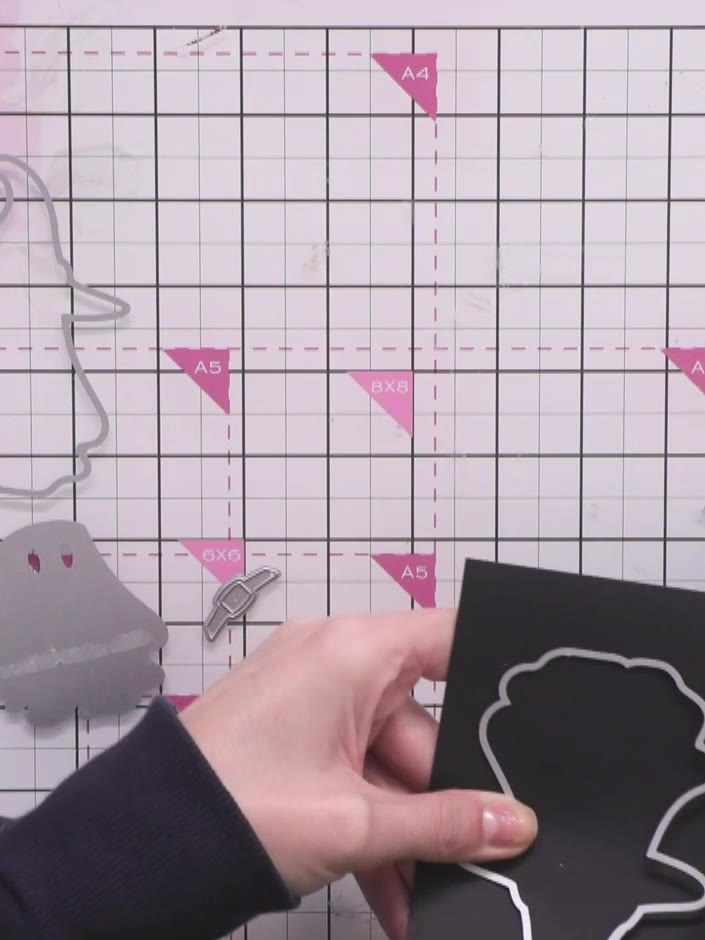
Cut the ghost exterior die from black card stock. Use the die cutting machine to cut out the ghost shape.
▶ watch this step (37:00)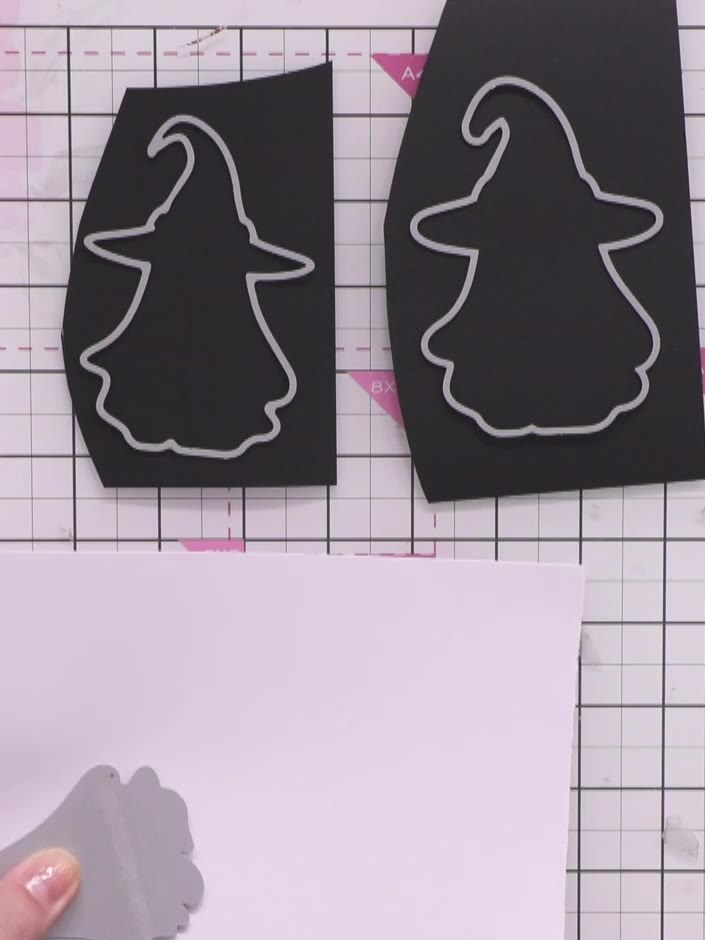
Cut out the ghost die-cut shapes from black card stock to create the matten layer for your ghost design.
▶ watch this step (37:30)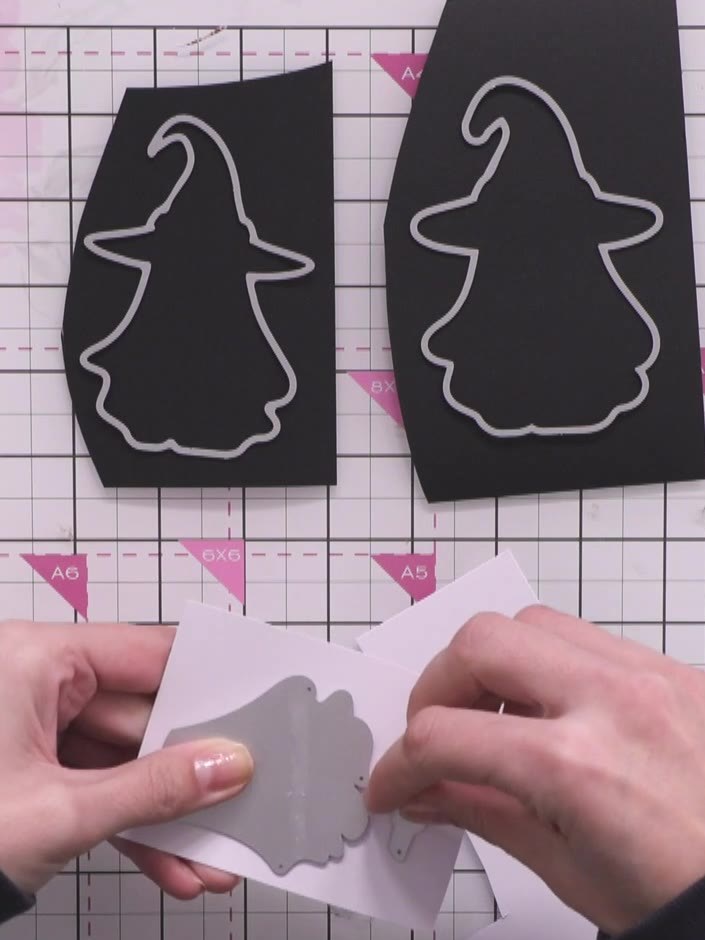
Using the witch die, cut the ghost's main body from white card stock. The die cuts out the witch shape which will form the body of your ghost character.
▶ watch this step (37:45)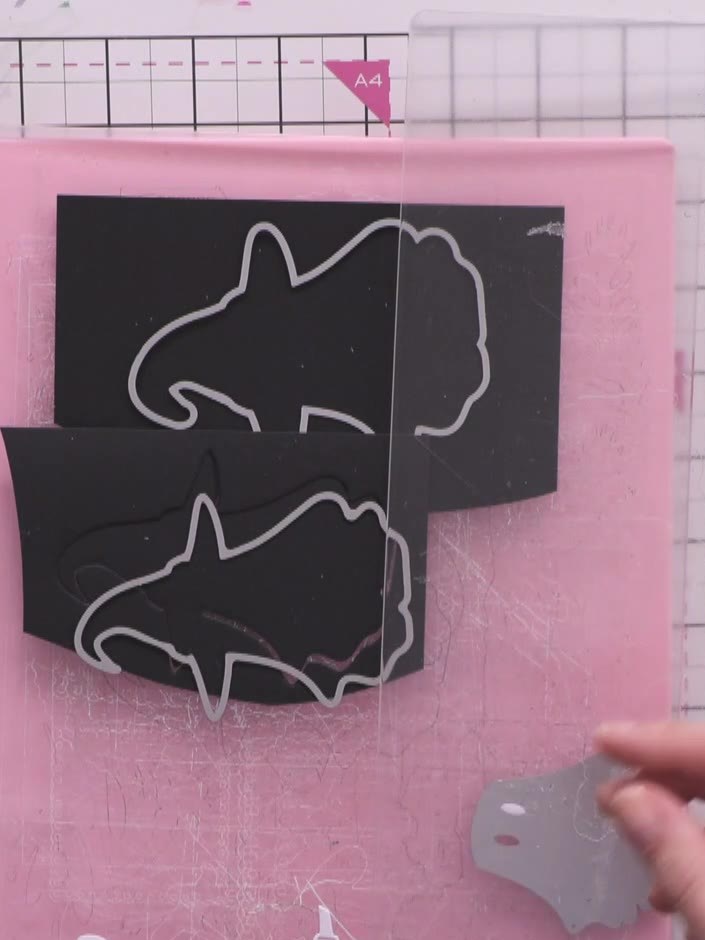
Cut out the ghost's belt piece from white card stock using the die-cut shape as a guide.
▶ watch this step (38:00)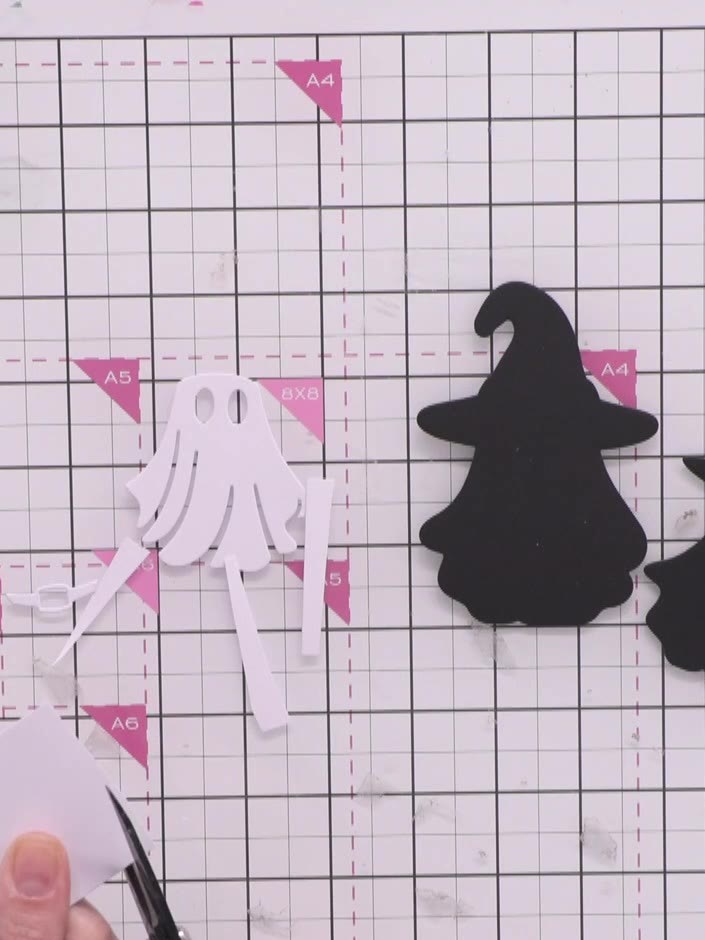
Tear or cut random strips from white scrap paper to create the mummy wraps. These strips will be used to wrap around the ghost shape.
▶ watch this step (40:30)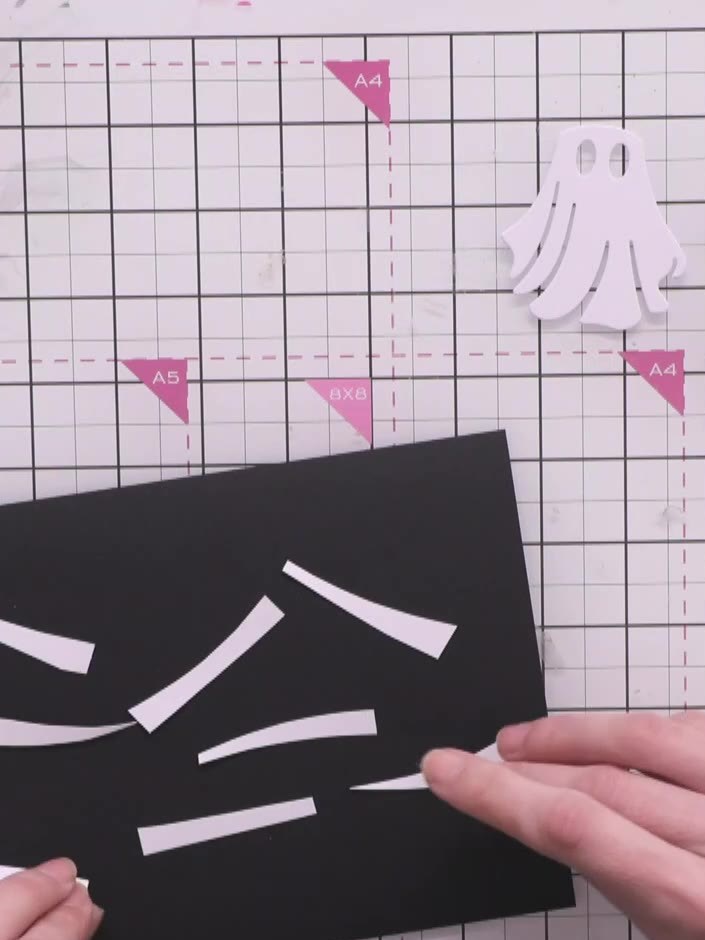
Apply distress ink in grey to the edges of the white paper strips using a blending tool. Work the ink along all edges of each strip to create a distressed, aged effect.
▶ watch this step (41:30)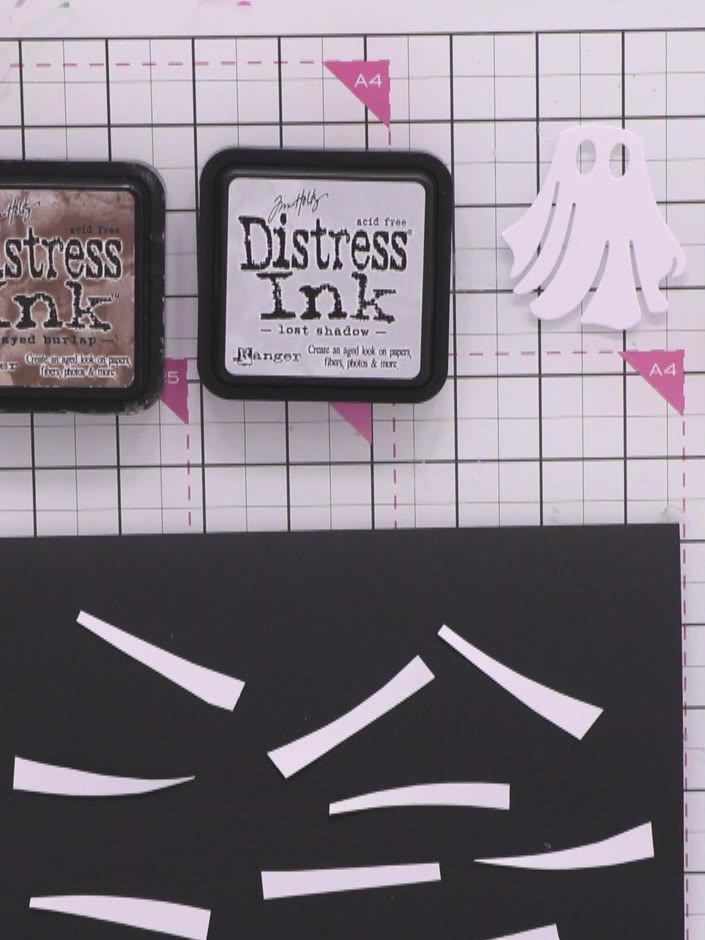
Layer the distressed white strips onto the black ghost body to create a wrapped mummy effect. Arrange the strips at various angles across the ghost shape, overlapping them to build up the bandaged appearance.
▶ watch this step (42:00)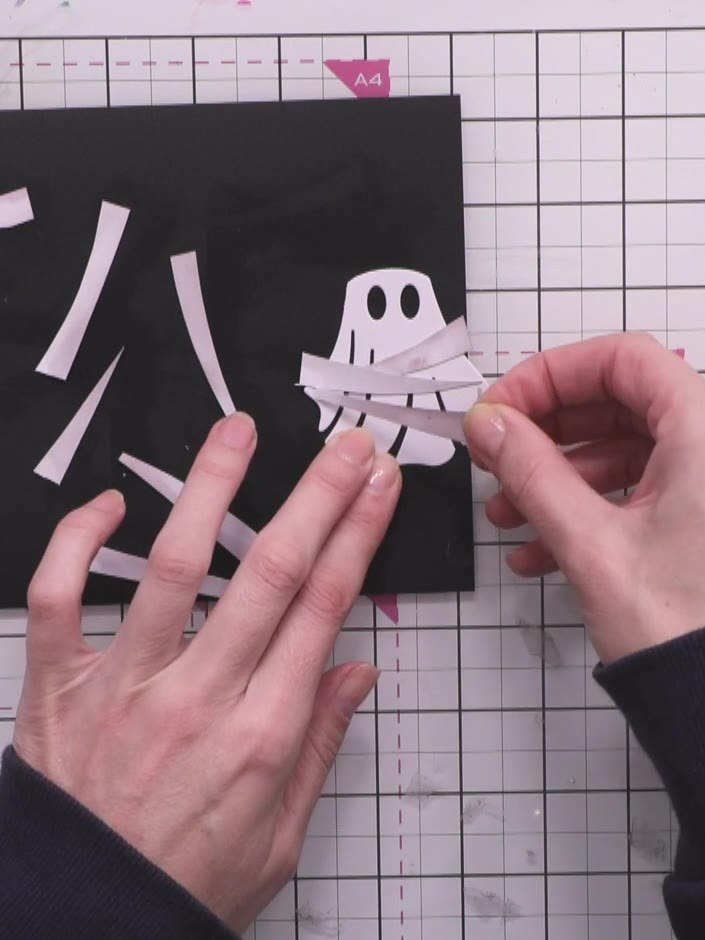
Trim away any excess paper strips extending beyond the edges of the ghost shape using scissors or a craft knife.
▶ watch this step (48:00)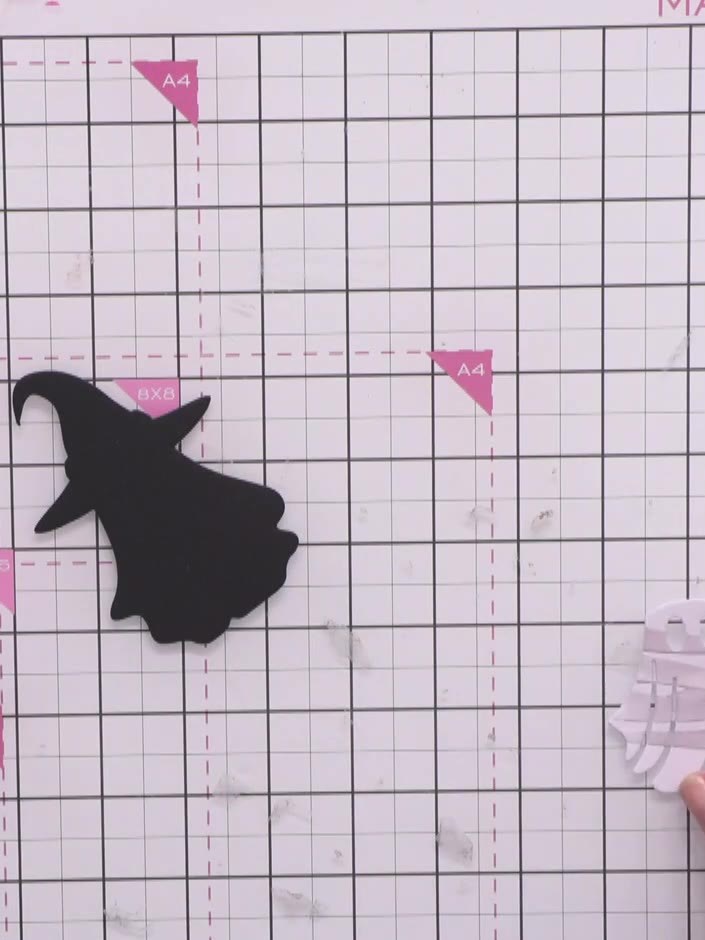
Cut a sentiment banner from the paper pack using the outline die. Run the die and paper through your die-cutting machine to create the banner shape.
▶ watch this step (52:30)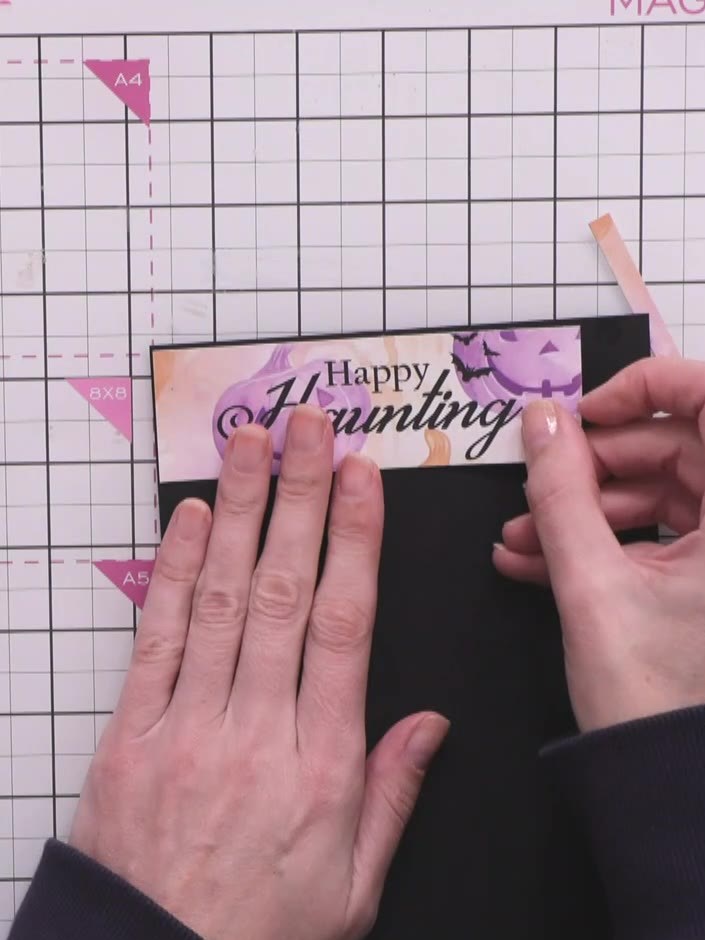
Cut thin black borders from black card stock. Attach one strip to the top of the card and one to the bottom, creating frames for the decorative panels.
▶ watch this step (57:00)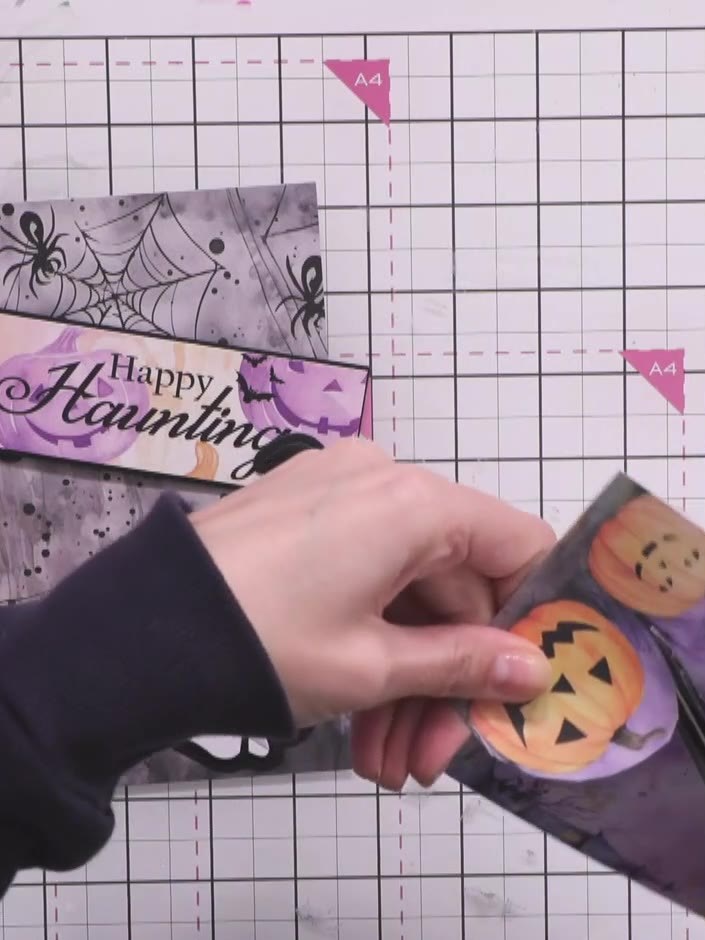
Fussy cut a small pumpkin from the decorative paper pack. This will add a pop of colour to your card.
▶ watch this step (59:45)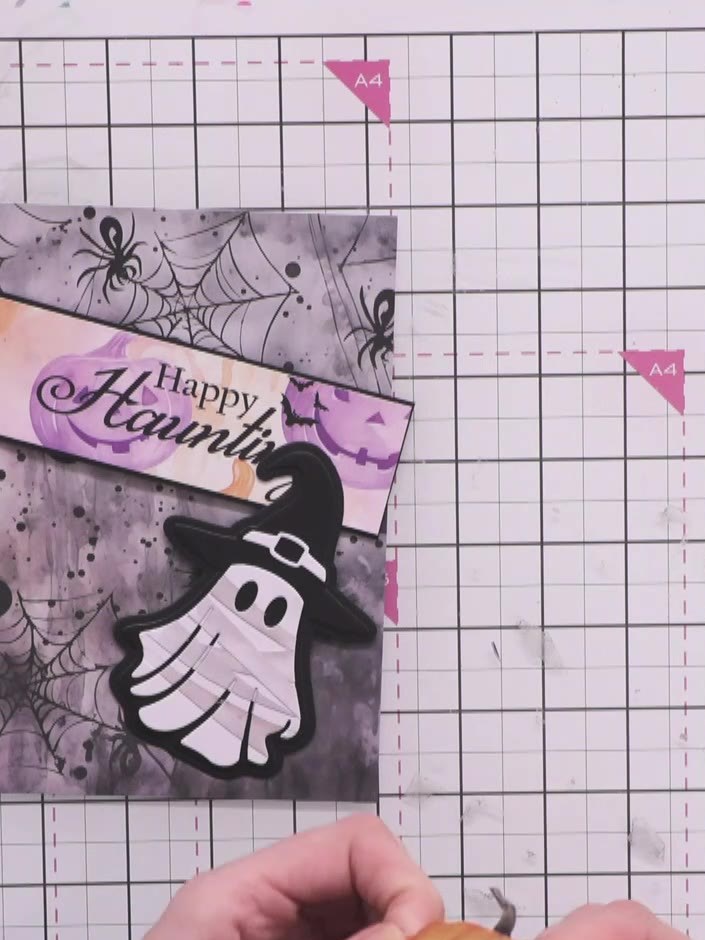
Mount the 'Happy Haunting' sentiment banner diagonally across the top of the decorated card front. Position the ghost character in the centre of the card below the banner.
▶ watch this step (1:01:30)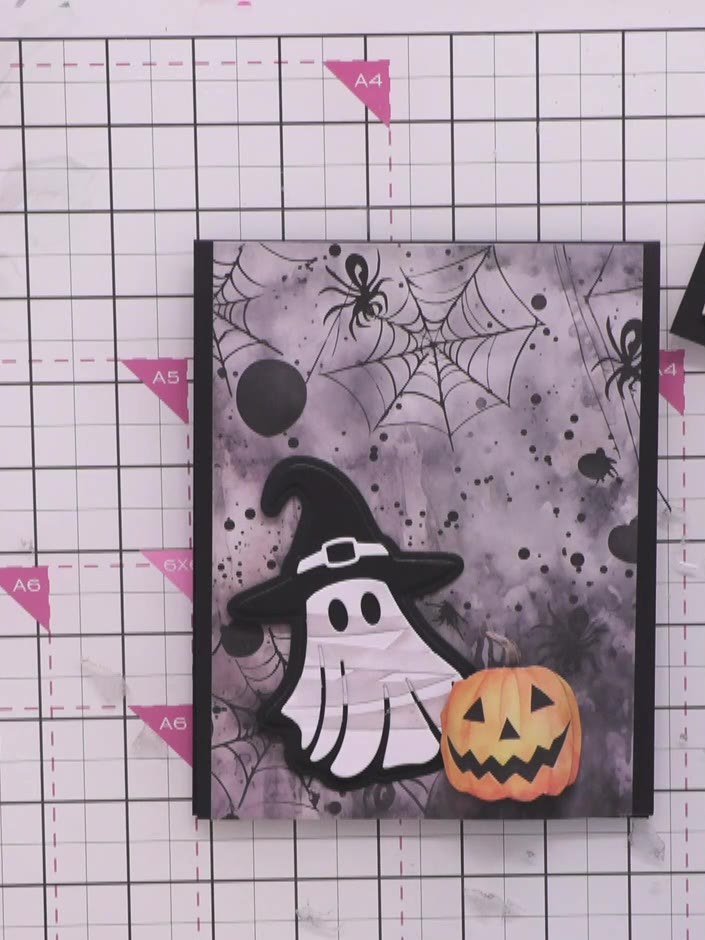
Attach foam pads to the back of the wrapped ghost. Position the ghost over the banner on the card front, ensuring it is centred and secure.
▶ watch this step (1:04:00)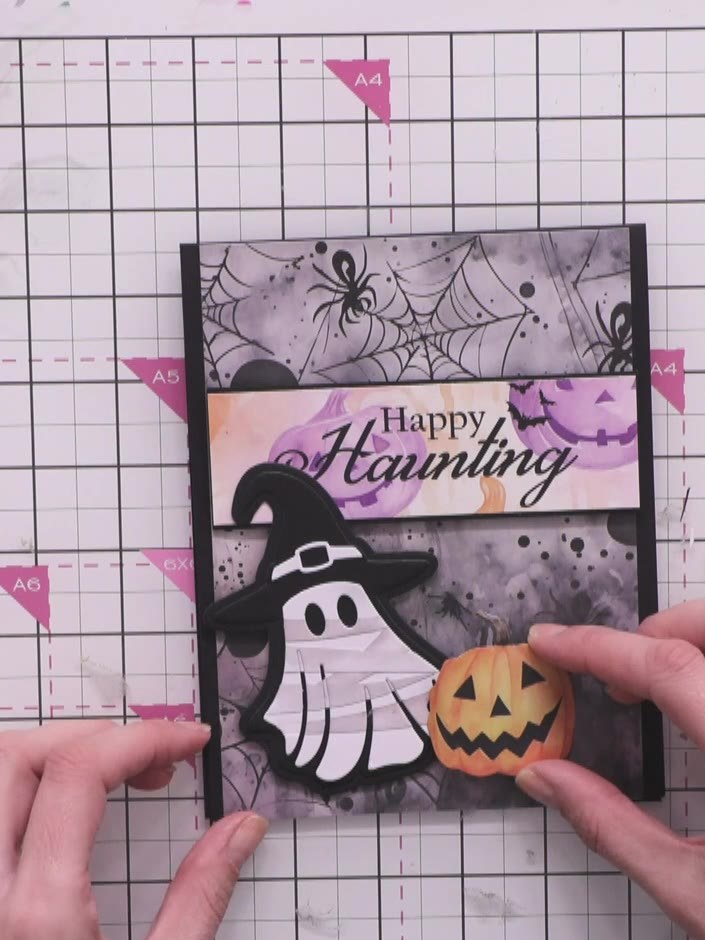
Attach the orange pumpkin embellishment to the lower right of the ghost using foam pads for dimension.
▶ watch this step (1:05:30)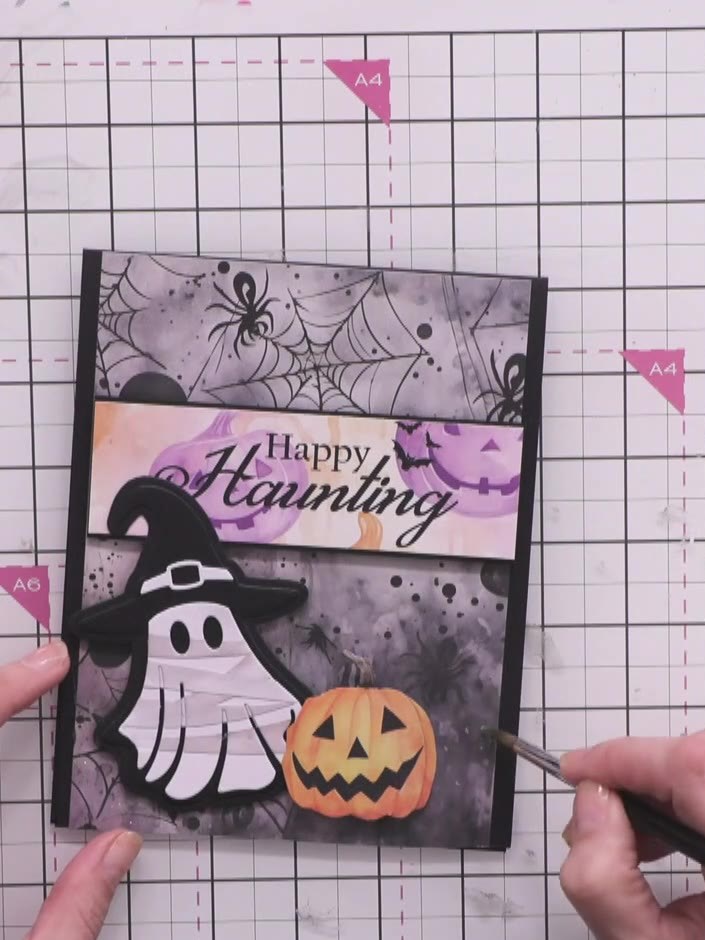
Apply clear sparkle or glitter to the spiderweb details on the background paper to add shimmer and dimension to the card.
▶ watch this step (1:06:30)Written up from the show itself. See every guide from our shows · free how-to guides · watch live on My Telly