Give your friends £10 off their first order!
Refer a FRIEND








Prices change straight away. Every language is our own translation, not Google.
A project from our live show THE BRAND NEW LAUNCH - Join Toni in her UK Studios - Broadcast 23rd July 2026 · 23/07/2026
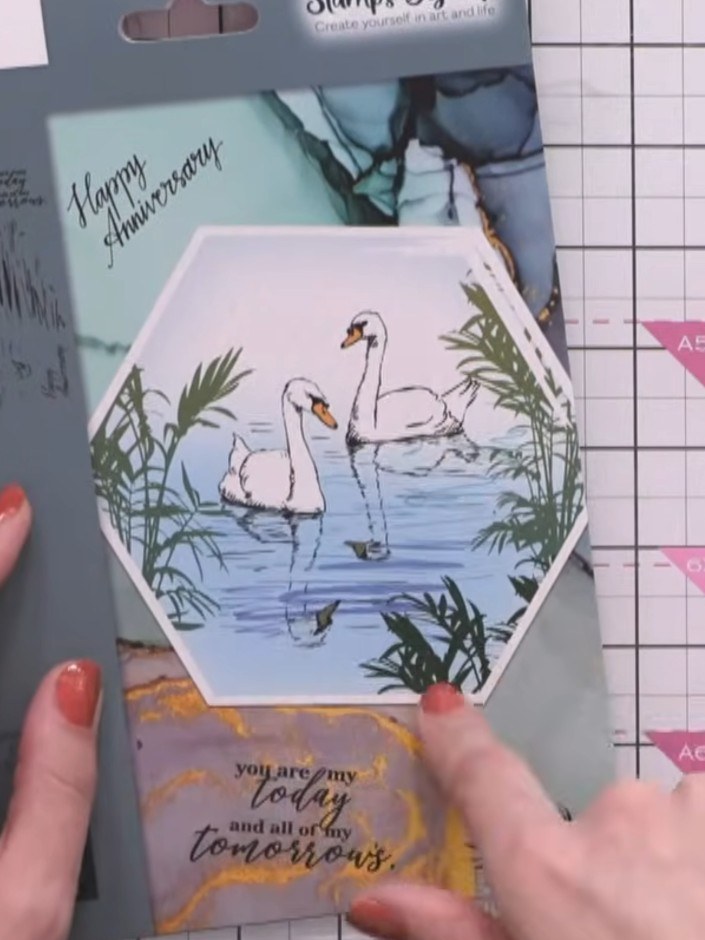
Create a romantic scene card featuring elegant swans on water with beautiful reflections and foliage. This project uses watercolour painting to create a soft blue background, then layers stamps from the Tomorrow reflection collection to build depth and atmosphere. The built-in reflection effect in the stamps creates a realistic water scene without extra work, framed with dark reeds and foliage for a striking finished piece.
 1
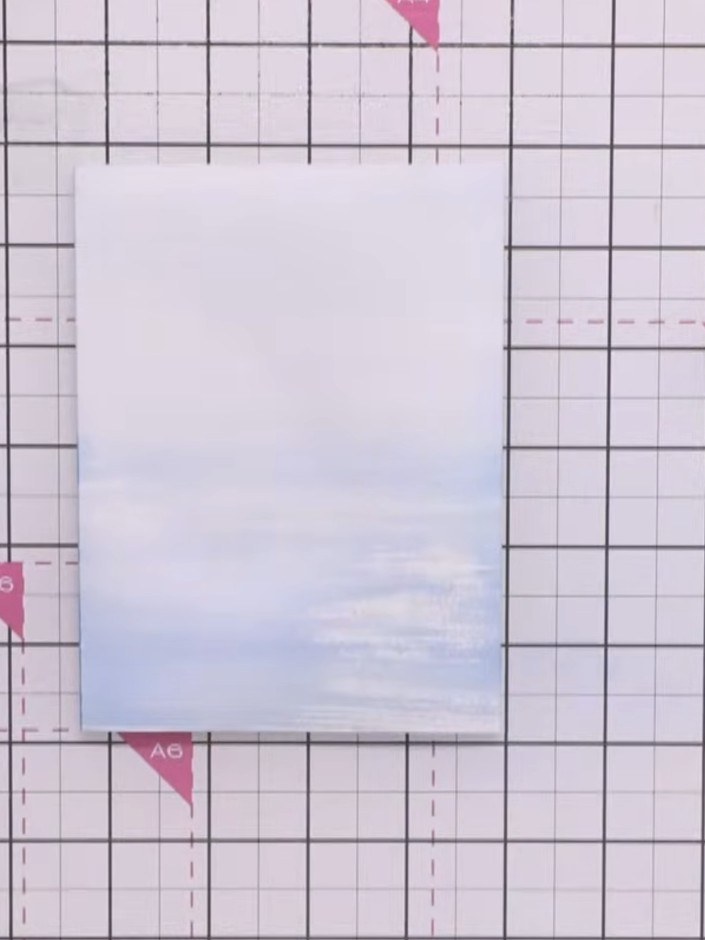
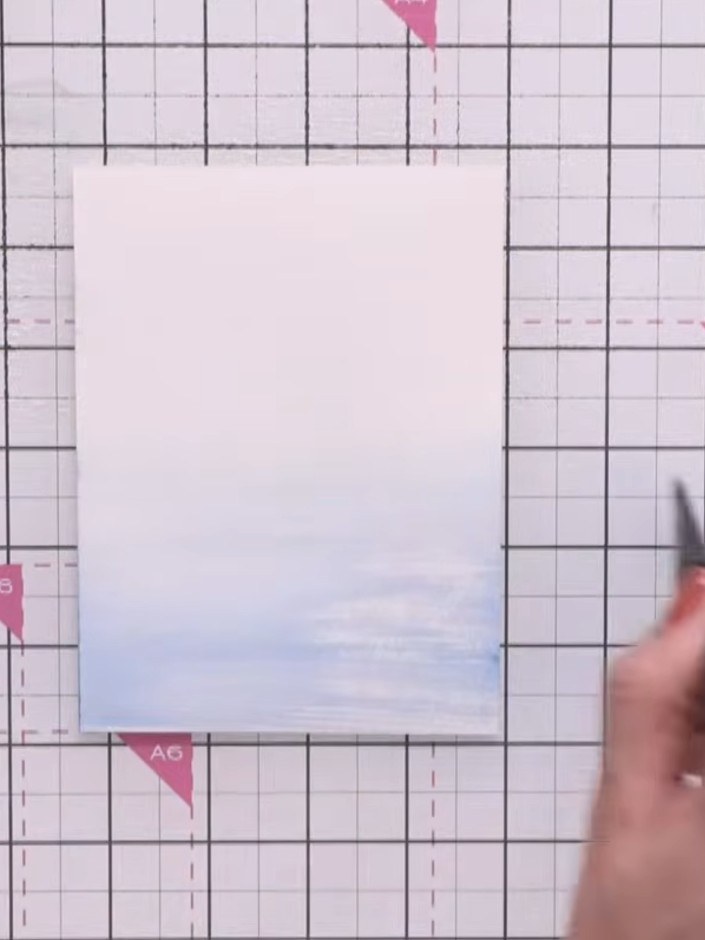
Place your A5 watercolour card stock on your craft mat. Using a flat brush, apply blue ink across the card to create the background for your scene.
 2
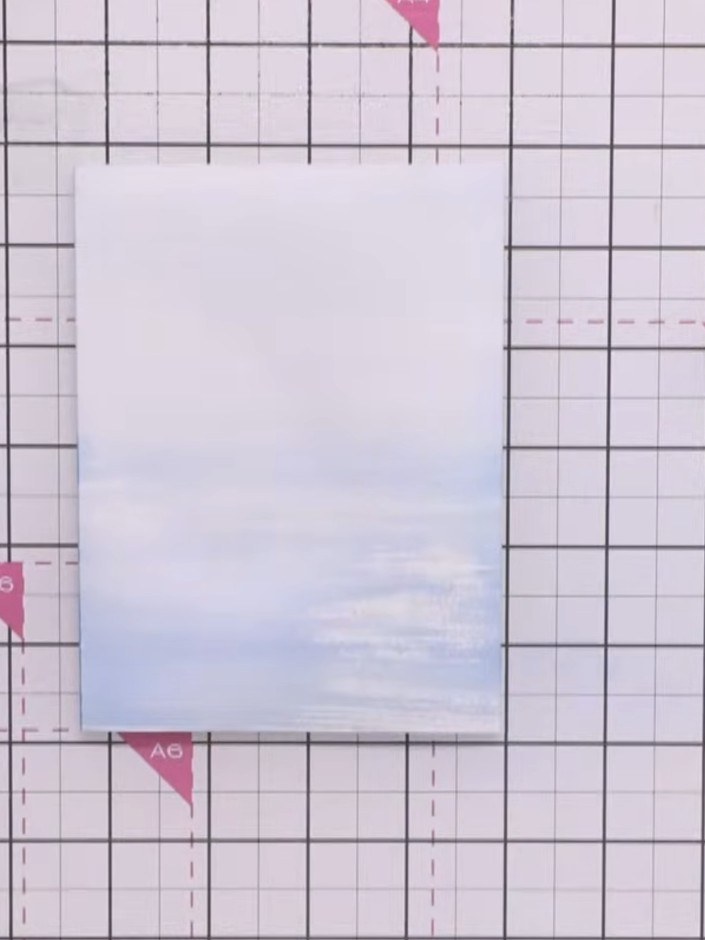
Spray the inked card with water and blend the blue ink using horizontal brush strokes, working from light at the top to darker at the bottom. If white spaces appear, leave them to add interest to the background.
 3
Use a heat tool to dry the painted background completely. Move the heat tool over the entire surface until the paint is fully dry.
 4
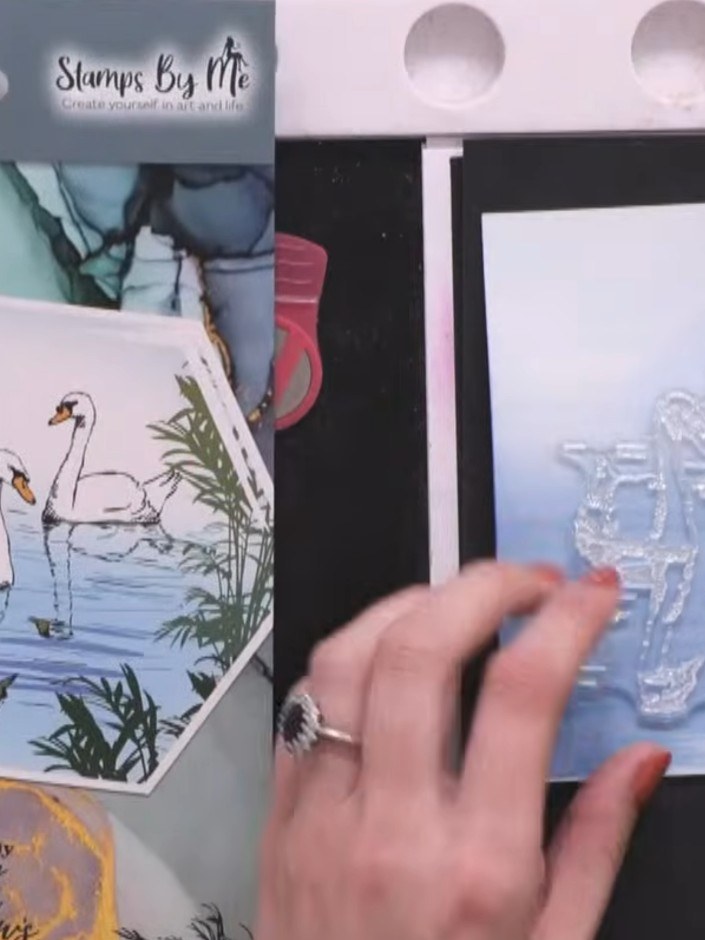
Position the swan stamp from the Tomorrow collection on the upper portion of your prepared background card. Stamp the image using black pigment ink, placing the swans where they will appear to be sitting in the water.
 5
Using black ink, stamp the water reflection lines below the swans to create the illusion of ripples and depth in the water.
 6
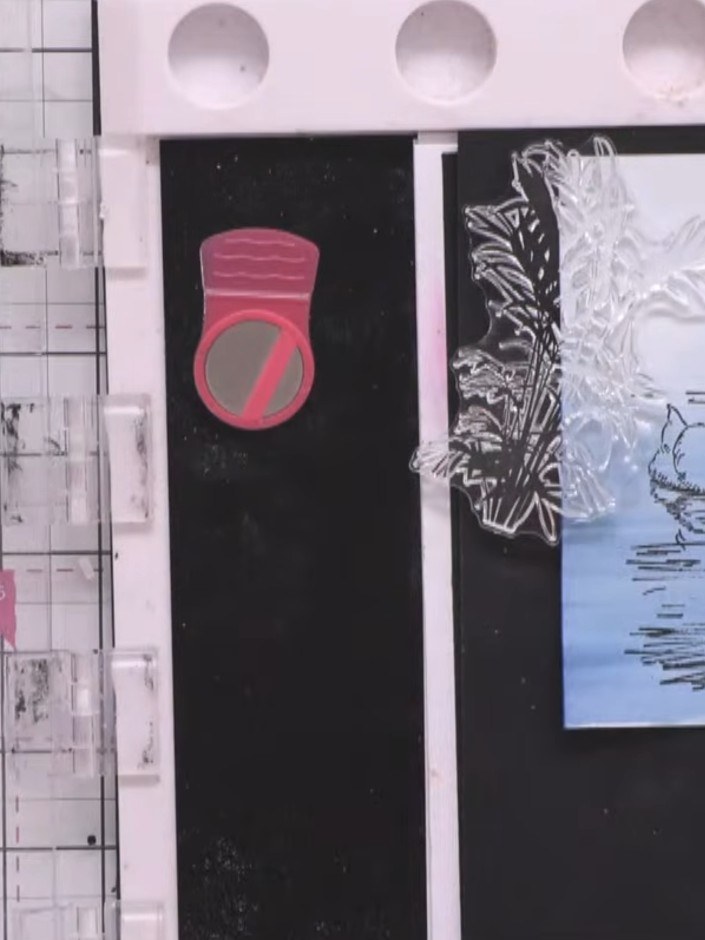
Stamp the foliage silhouette in black ink on the left side of the card to frame the swans. Position the stamp to create a natural border alongside the water scene.
 7
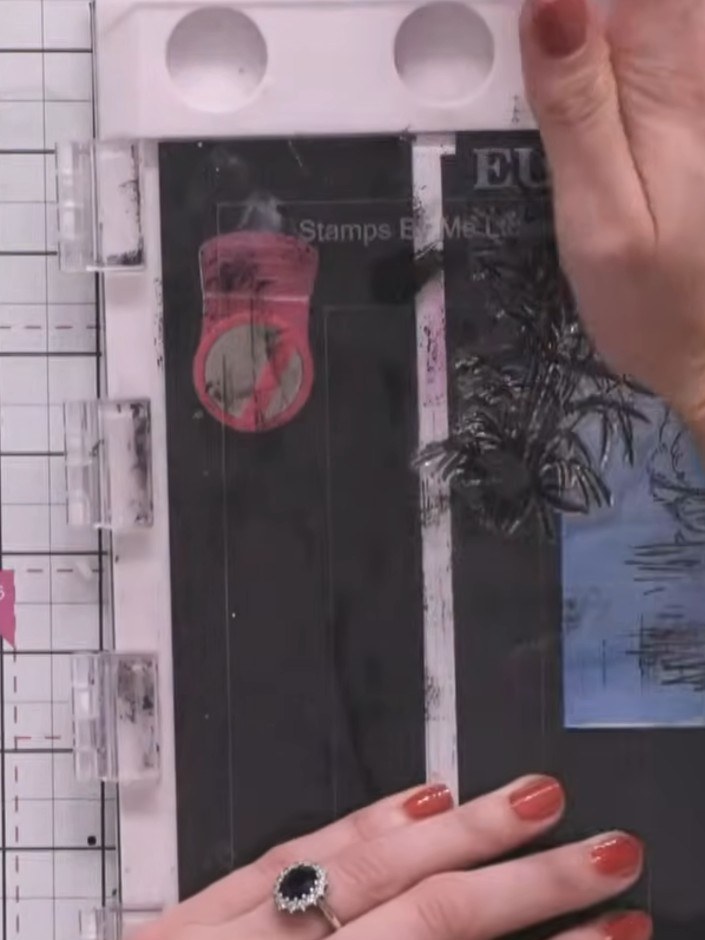
Stamp additional foliage in green ink on the right side of the water area, moving the stamp slightly between impressions to create texture and layering.
 8
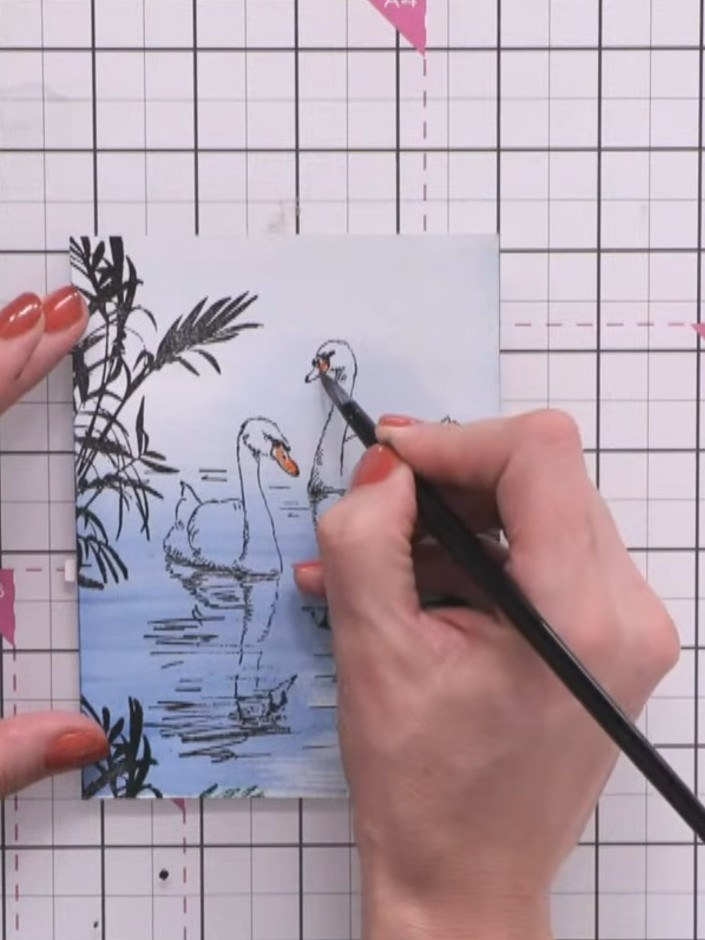
Use the orange ink pad to add colour to the swans' beaks. Add a hint of orange to the reflection below each beak.
 9
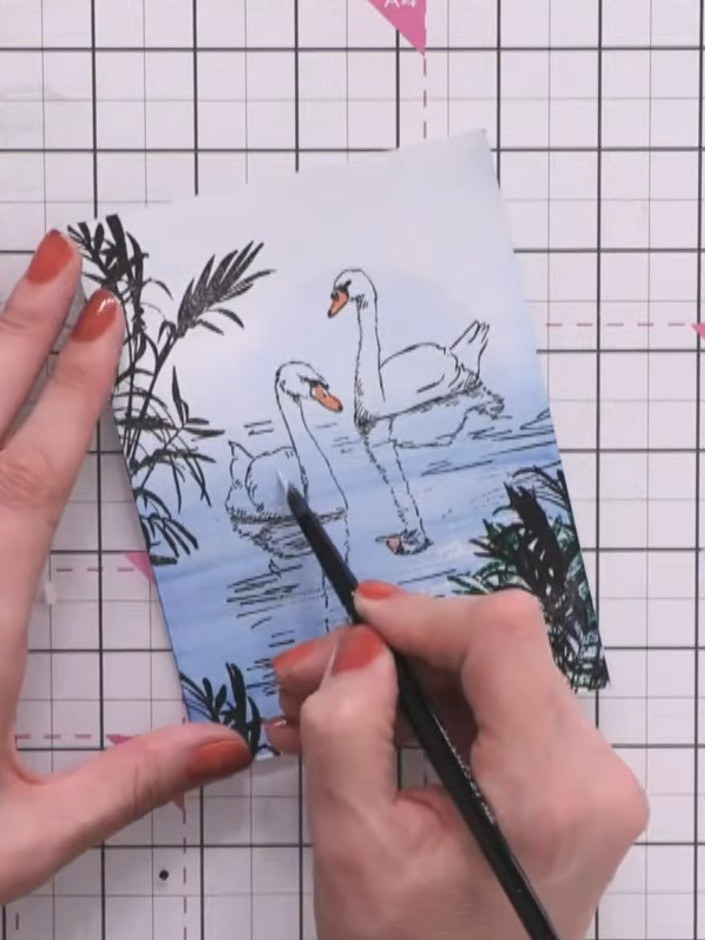
Using a white ink pad, layer white ink over the swans to bring them forward and create contrast against the blue background. This adds depth and makes the swans stand out.
 10
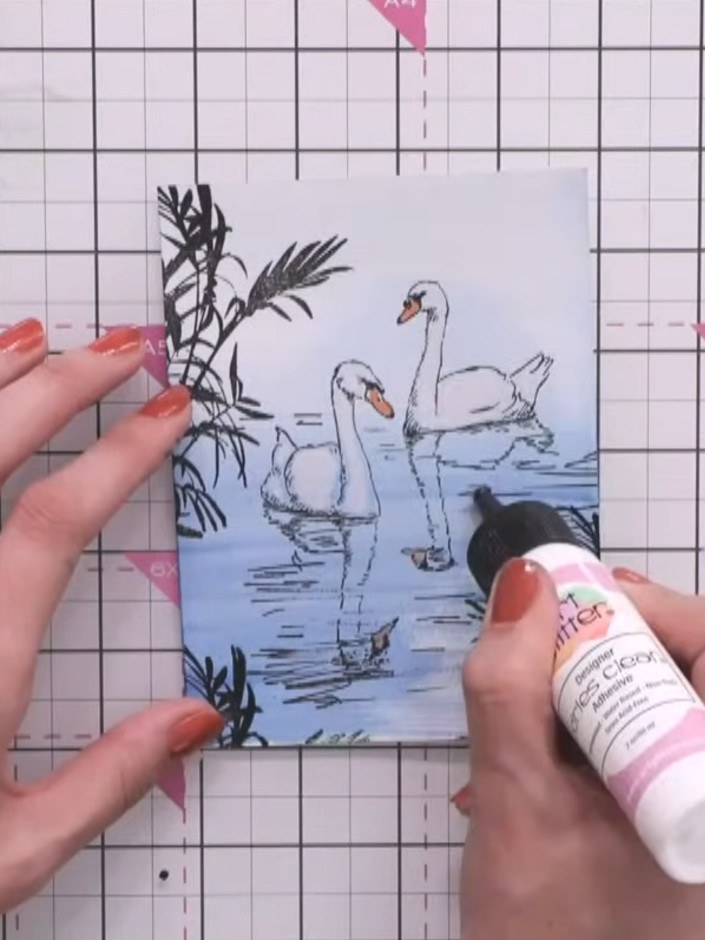
Apply clear glue in random lines across the water area of the card. Sprinkle clear sparkles over the glue to create shimmer when dry.
Share your make with the Stamps By Me community - and keep this guide for next time.
Written up from the show itself. See every guide from our shows · free how-to guides · watch live on My Telly · the previous layout