Give your friends £10 off their first order!
Refer a FRIEND








A project from our live show MY PODCAST - Catch my latest updates broadcast 6th May 2024 · 06/05/2024 · watch it from 39:30
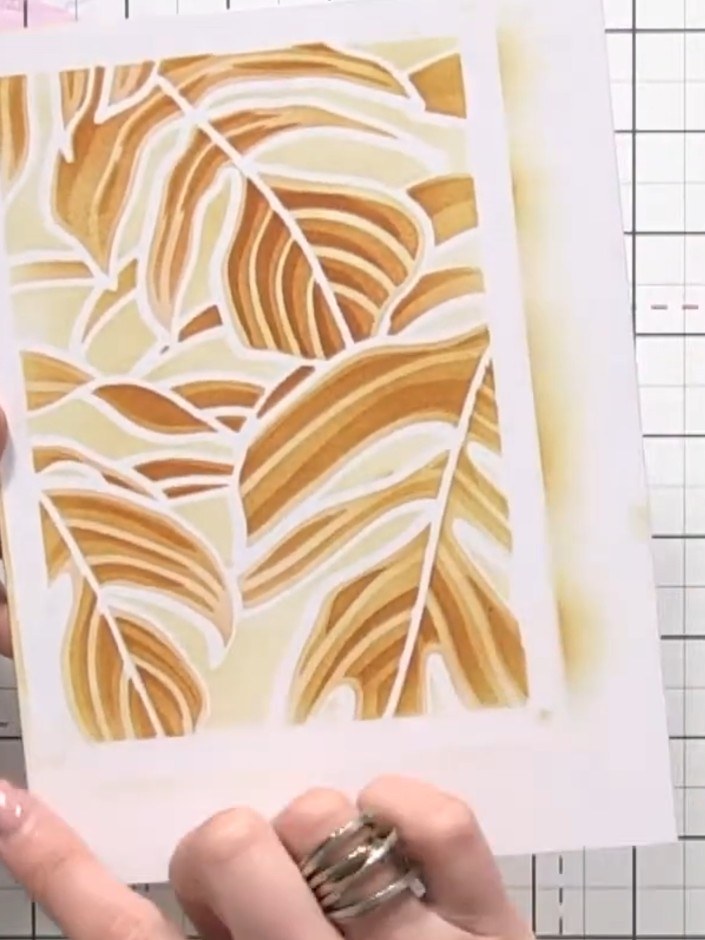
Create an elegant botanical card featuring layered monstera leaves in warm vintage gold tones. Using a four-layer stencil system, build up depth and dimension by gradually pressing harder with each layer, then add sparkle paste for subtle shimmer and texture. The result is a sophisticated background card with beautiful shadow effects and eye-catching embellishments.
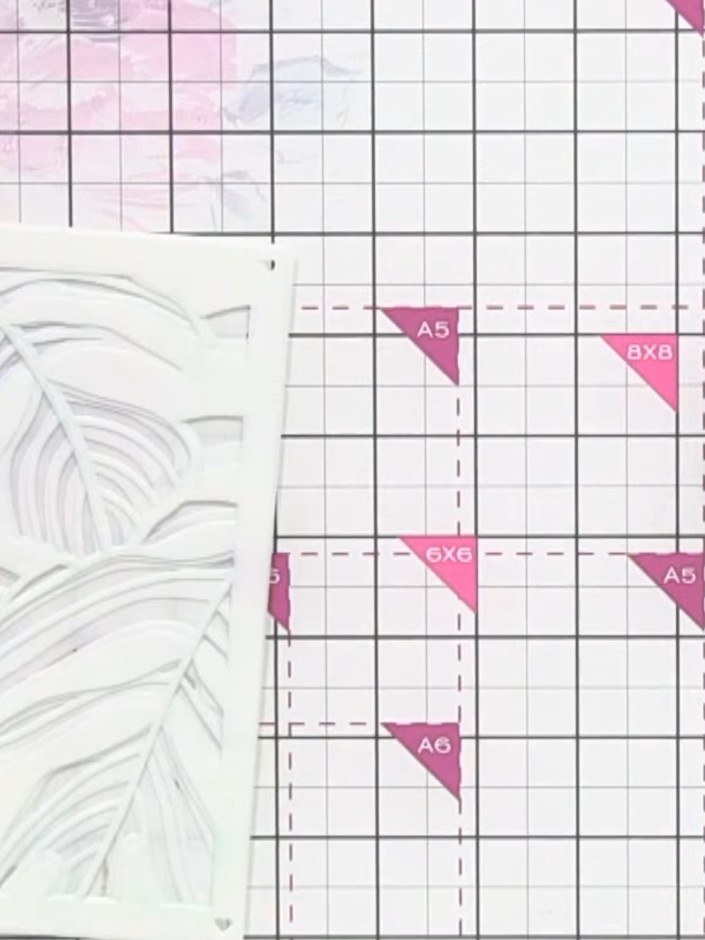
Gather your materials: white card, Distress Ink in Vintage Photo or Wild Honey, blending brushes, and the numbered leaf stencil set (stencils 1-4). Arrange the stencils in numerical order ready for use.
▶ watch this step (40:15)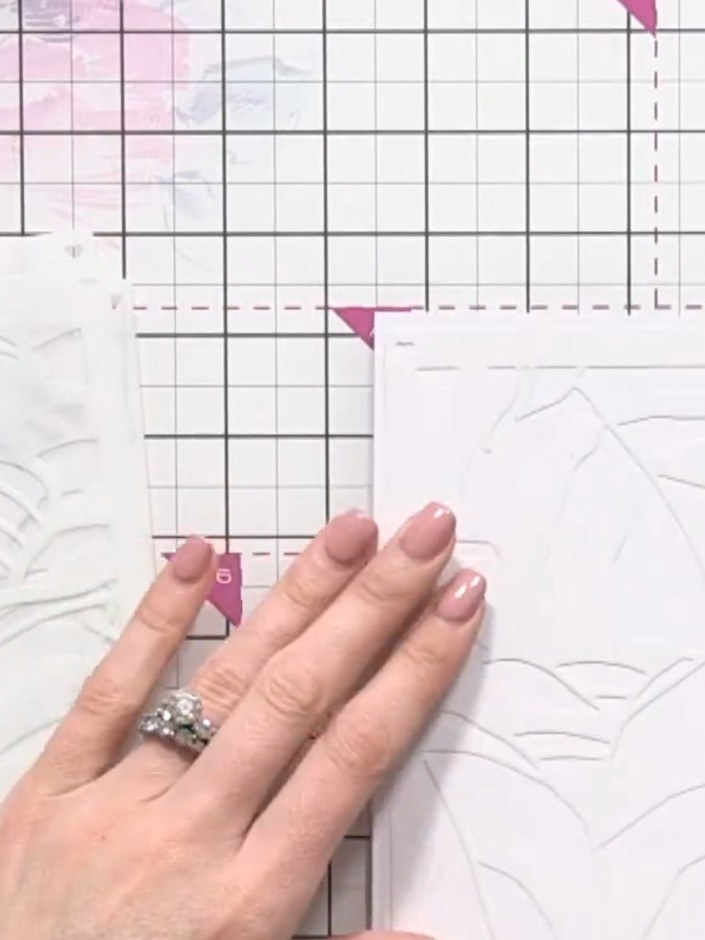
Place stencil number one on your card. Apply the ink pad very lightly using minimal pressure to create a soft, generational base layer.
▶ watch this step (42:00)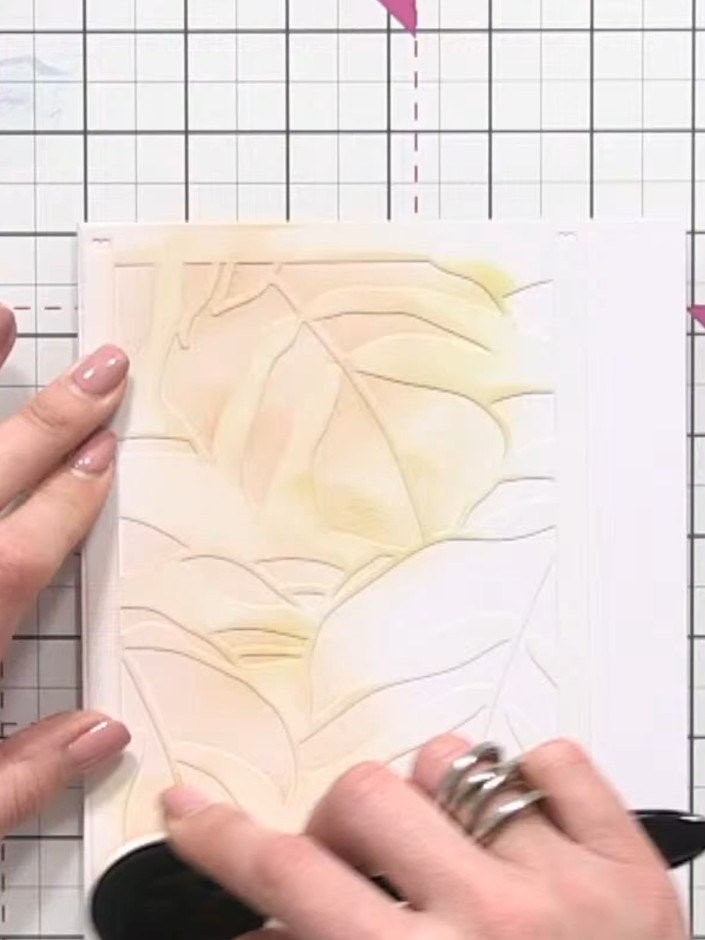
Position the second stencil over your card and apply the same yellow ink with the blending sponge, pressing slightly harder than the first layer to build up colour gradually across the leaves.
▶ watch this step (43:00)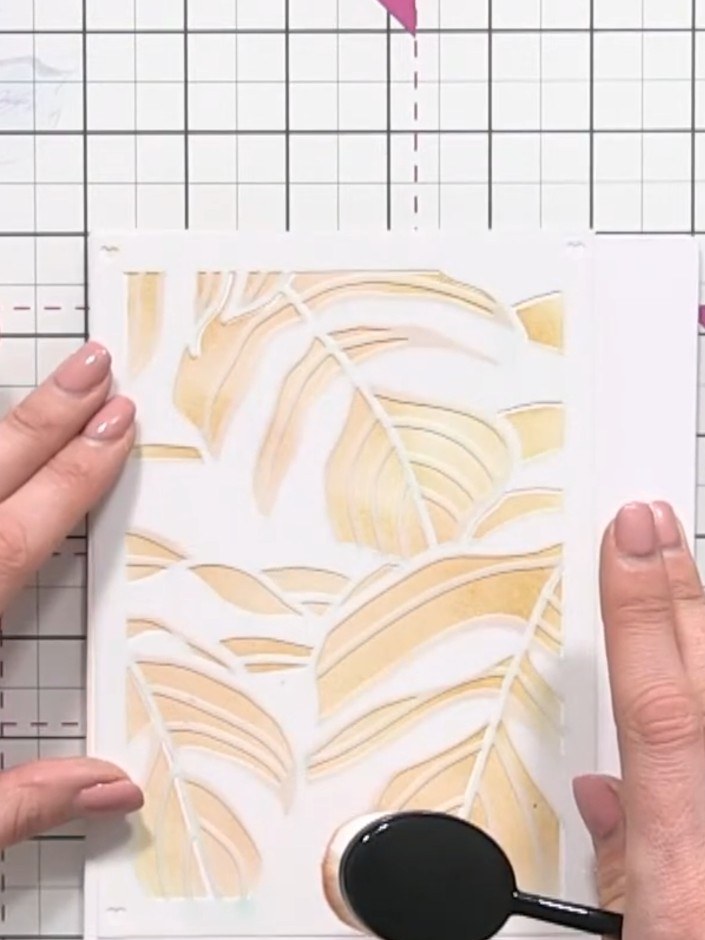
Position stencil number three over your card and apply ink using the blending tool with increased pressure. This will deepen the colour and add more definition to the leaf shapes.
▶ watch this step (44:00)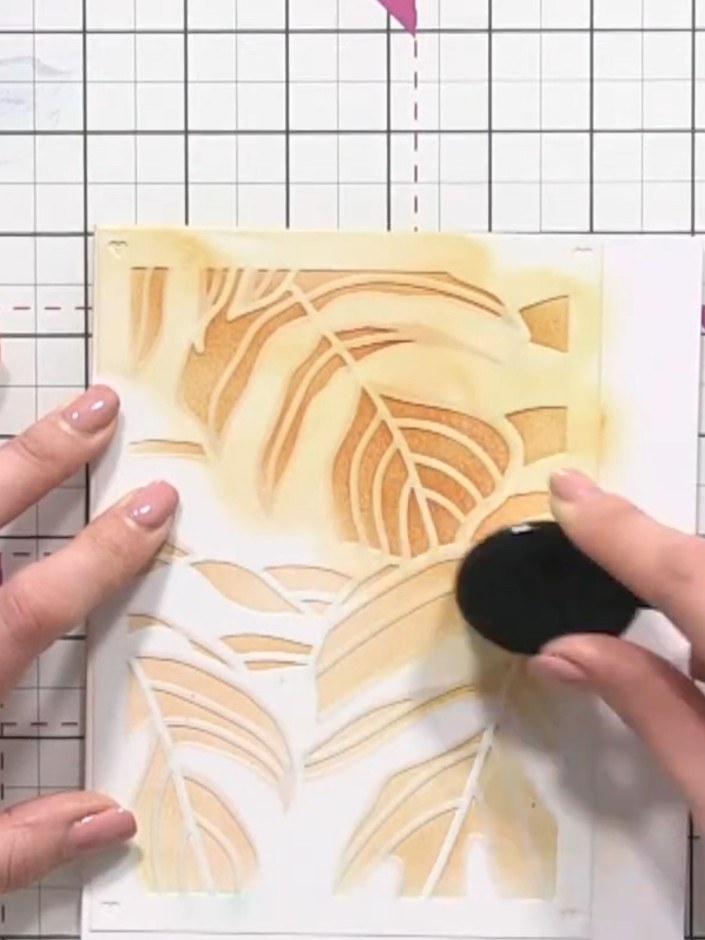
Place stencil number four over your card and hold it firmly in position with one hand. Using the blending brush, apply ink through the stencil to add the recessed background area and complete the layered leaf effect.
▶ watch this step (45:00)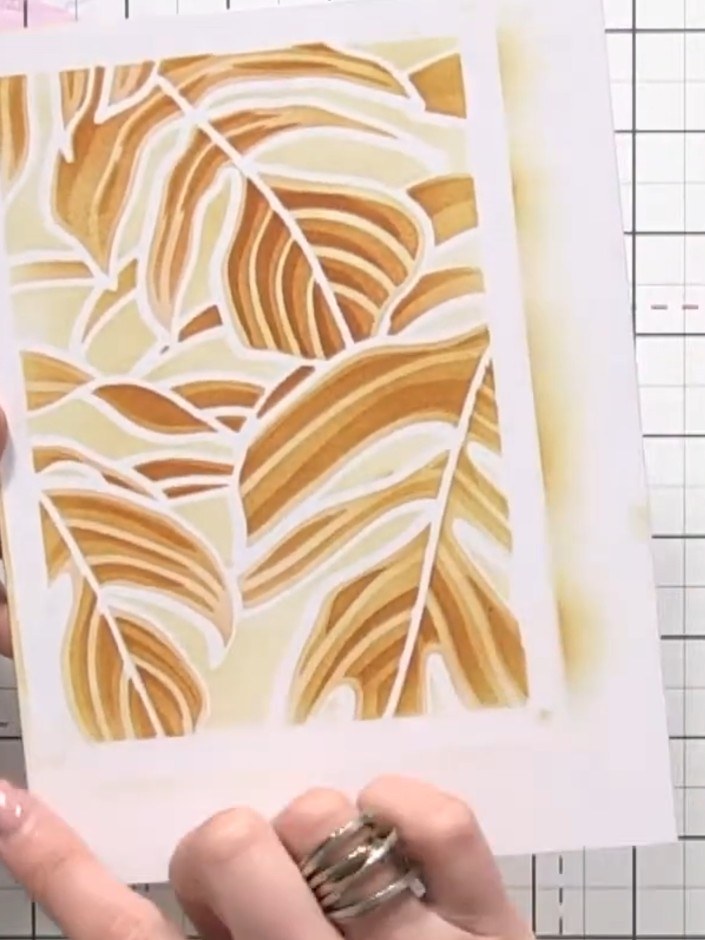
If desired, return to stencil number three and apply a coordinating texture paste through it to add subtle sparkle and dimension to selected areas of the leaf design.
▶ watch this step (49:00)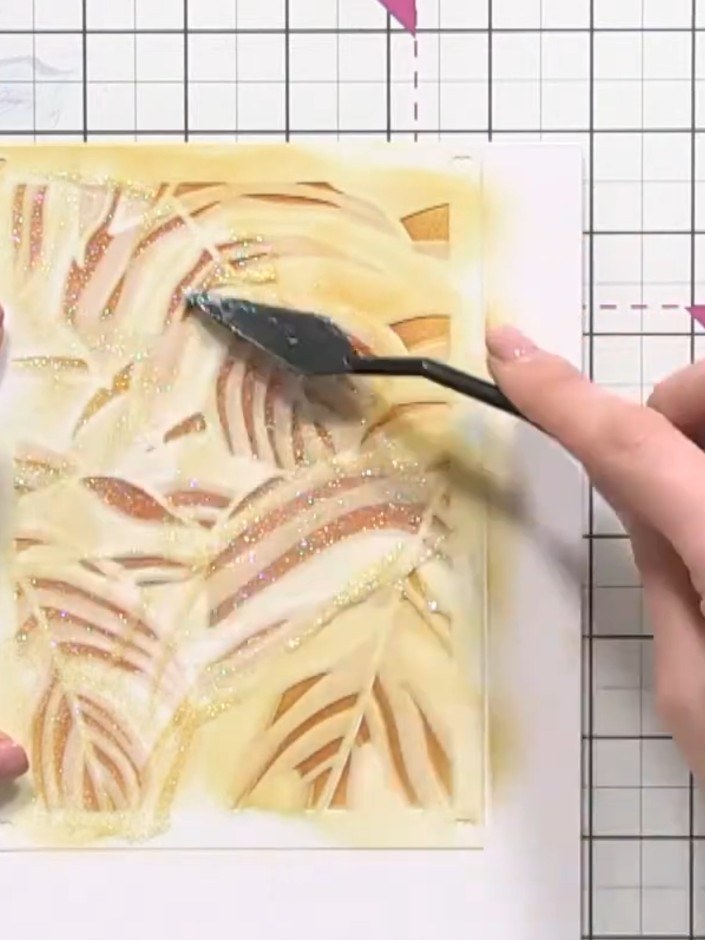
Allow the card to dry completely. You can speed up the drying process with a heat tool if needed, but avoid leaving the card to sit wet overnight. Once dry, trim the panel and mount it onto a card blank, adding a sentiment or embellishment as desired.
▶ watch this step (50:00)Written up from the show itself. See every guide from our shows · free how-to guides · watch live on My Telly
