Give your friends £10 off their first order!
Refer a FRIEND








A project from our live show MY PODCAST - Catch my latest updates broadcast 6th May 2024 · 06/05/2024 · watch it from 19:00
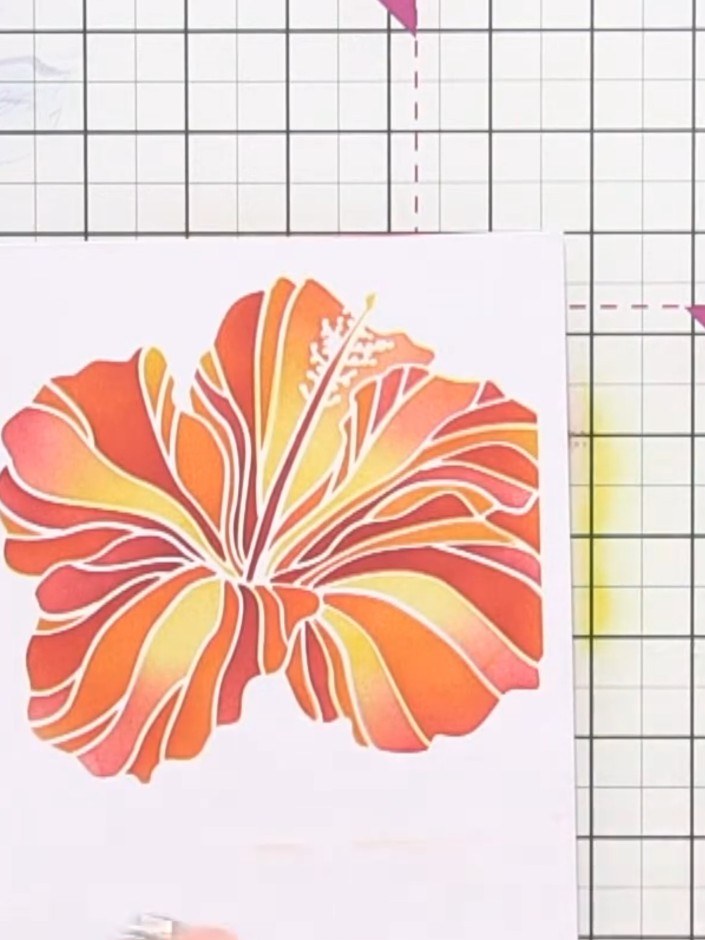
Create a stunning tropical flower card featuring a vibrant hibiscus bloom in warm sunset tones. Using a five-layer stencil system, you'll build up rich orange, yellow and pink inks to achieve a beautiful ombre effect with dimensional depth. The numbered stencil guides make it easy to layer each colour precisely, resulting in a bold, eye-catching design perfect for special occasions.
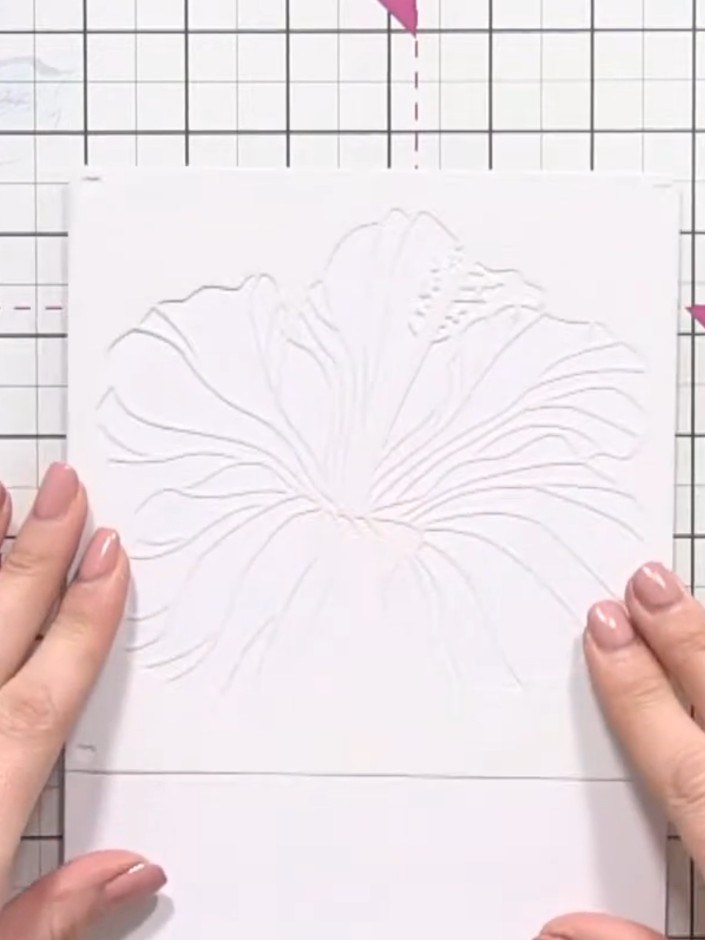
Place your white card on the craft mat with the numbered layering stencil set nearby. Ensure you have stencils numbered 1 to 5 arranged in order, along with yellow, orange and pink ink pads and blending brushes ready for use.
▶ watch this step (19:15)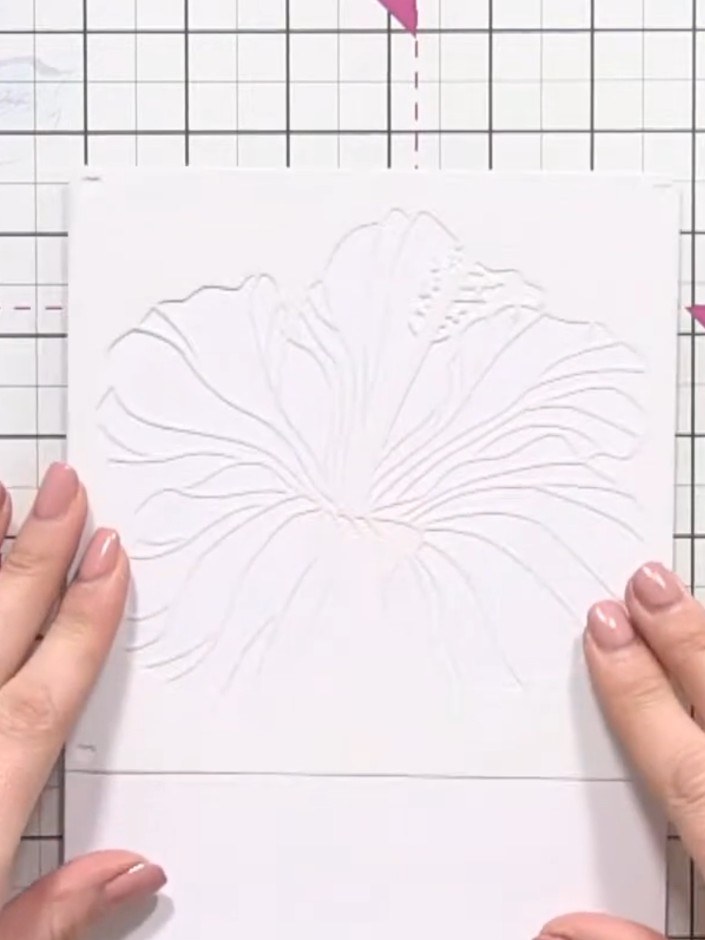
Position stencil number one on your card. Tap off excess yellow ink from your brush, then apply it through the stencil using light pressure.
▶ watch this step (20:30)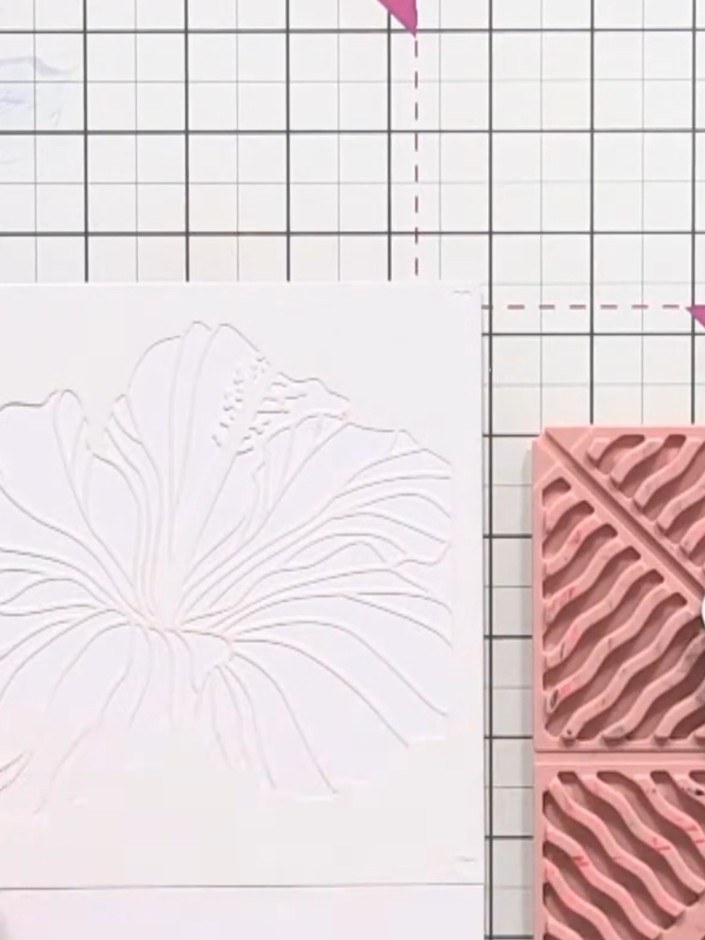
Position stencil number two on top, aligning it with the previous layer. Apply yellow ink, pressing slightly harder than before to build up the colour.
▶ watch this step (21:00)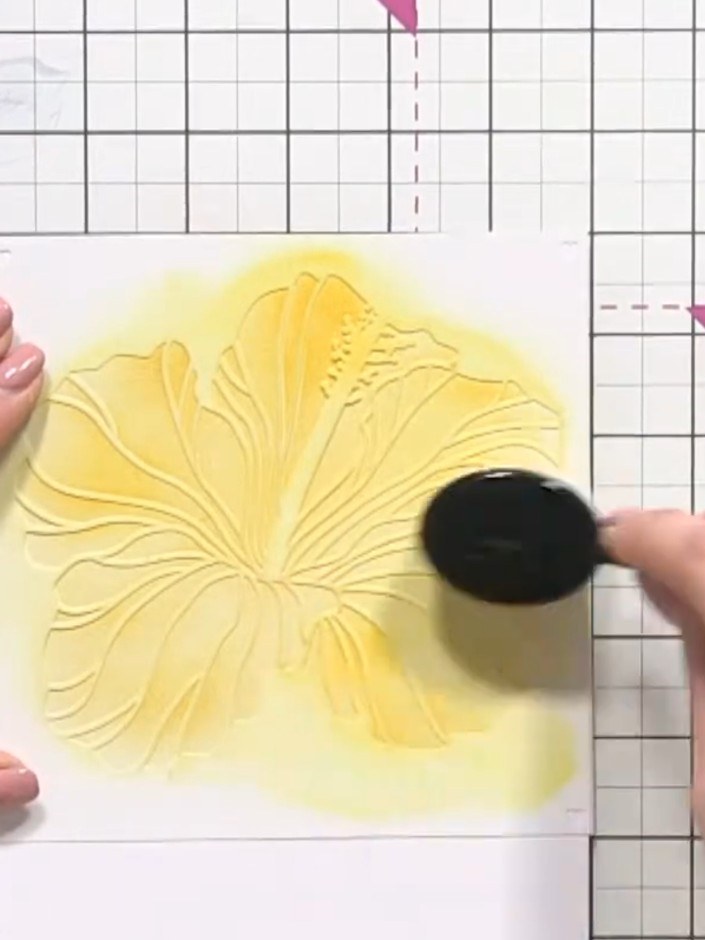
Apply orange ink to stencil number two using a blending brush. Start from the centre of the flower and work outward in a sunburst motion to create an ombre effect that blends with the yellow.
▶ watch this step (21:45)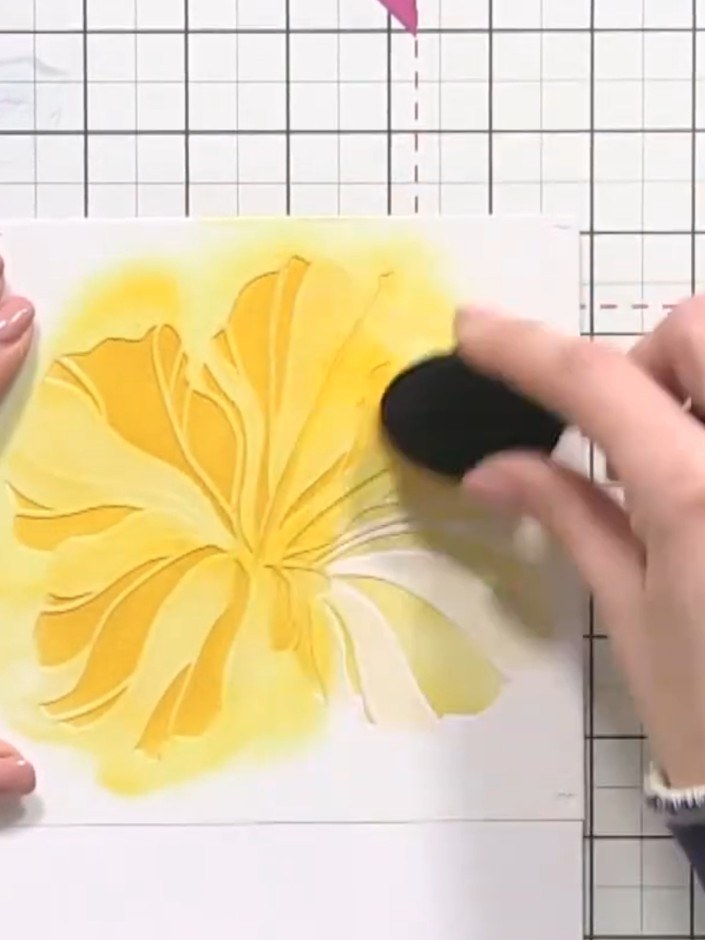
Place stencil number three over the flower and apply yellow ink using a blending brush. Press firmly to build colour intensity, working the ink into the centre of the flower to create depth.
▶ watch this step (22:30)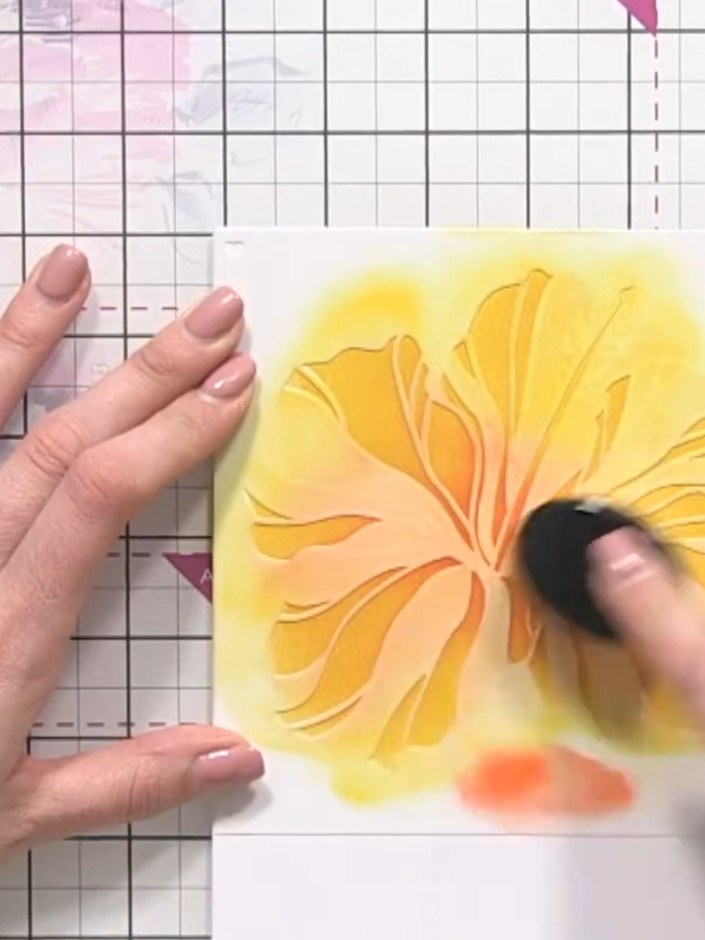
Using stencil number one again, apply pink ink to the tips of the yellow petals with a blending sponge. This adds dimension and depth to the flower design.
▶ watch this step (23:15)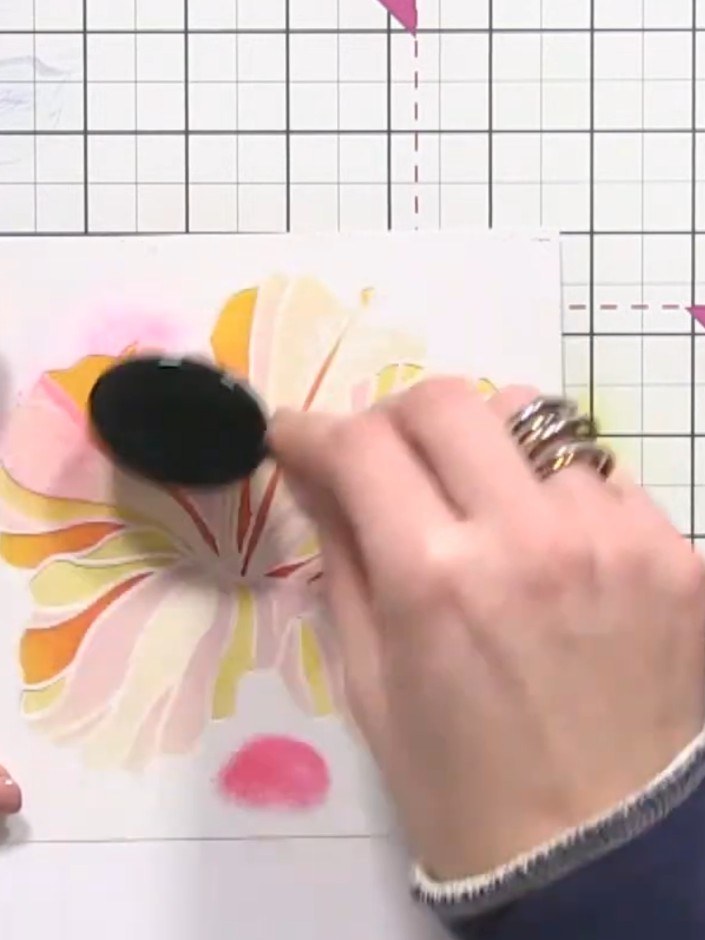
Position stencil number five over the design and apply a darker green ink using a blending tool to add definition and shadow to the leaf layer.
▶ watch this step (24:45)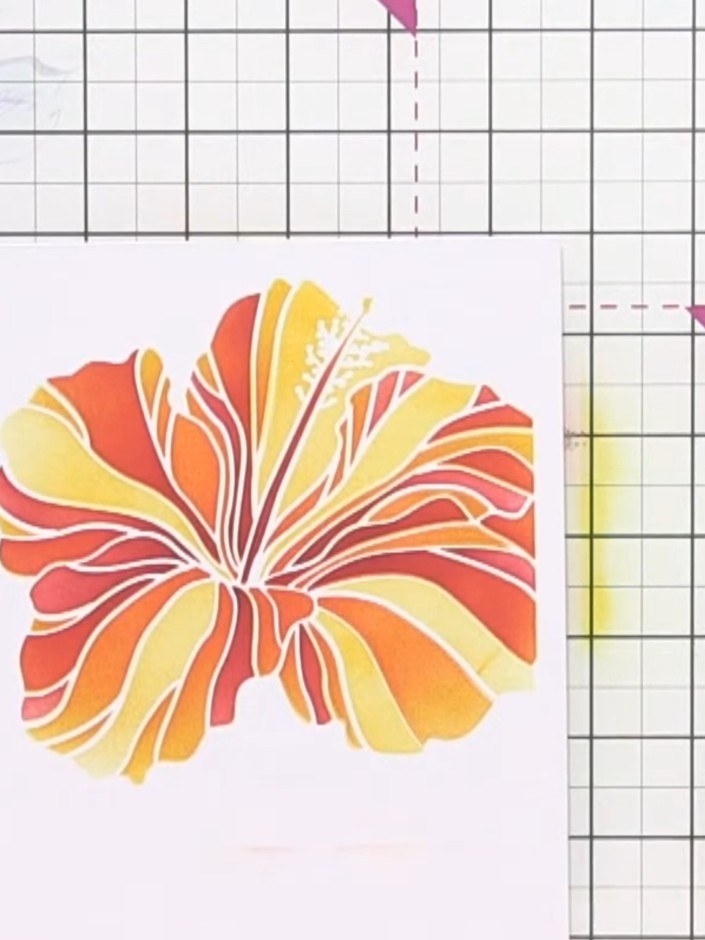
Allow the stamped design to dry completely. Once dry, trim the panel to your desired size and mount onto a card blank to finish your tropical flower card.
▶ watch this step (25:30)Written up from the show itself. See every guide from our shows · free how-to guides · watch live on My Telly
