QUICK LINKS

info@howtocraftnetwork.com
We just got smarter - shop and watch with the SBM appGET THE APPWatch us live on your smart TVSEE HOWDiscover our dedicated IPTV channel - go to my-telly.comWATCHCollect loyalty points on every orderFIND OUT MORE
Welcome to the How to Craft Network
 
SBM SHOP
FOLLOW US
GIVE YOUR FRIENDS £10 OFF REFER A FRIEND › DISCOVER MY-TELLY.COM › WE JUST GOT SMARTER GET THE APP › AWARD WINNING CHANNEL ON YOUR TV › JOIN THE CLUB FOR SAVINGS ›
 

Patterned Paper Feature Card

A project from our live show CRAFT BATTLE USING THE BOOKAZINE - Join the fun, chaos and intense creativity as Toni and Sarah go HEAD-TO-HEAD - broadcast 30th May 24 · 30/05/2024 · watch it from 51:30
Patterned Paper Feature Card - the finished project
The finished project

Create a stunning feature card that showcases beautiful patterned paper as the main focal point. This elegant design uses floral papers in soft pinks and blacks with a motivational sentiment, demonstrating how to let gorgeous papers shine without over-embellishing. The technique focuses on simple layering and careful paper placement to create maximum impact.

You will need

867853 - HSN - Inspirational Magazine Kit867853 - HSN - Inspirational Magazine KitSEE IT Inspirational Bookazine Kit - Magazine - 110324AInspirational Bookazine Kit - Magazine - 110324ASEE IT
DOWNLOAD THIS GUIDE (PDF)

Step by step

  1. Step 1: Select a patterned paper from the Inspirational Bookazine that appeals to you. The paper shown features pink a

    Select a patterned paper from the Inspirational Bookazine that appeals to you. The paper shown features pink and coral tones.

    ▶ watch this step (51:45)
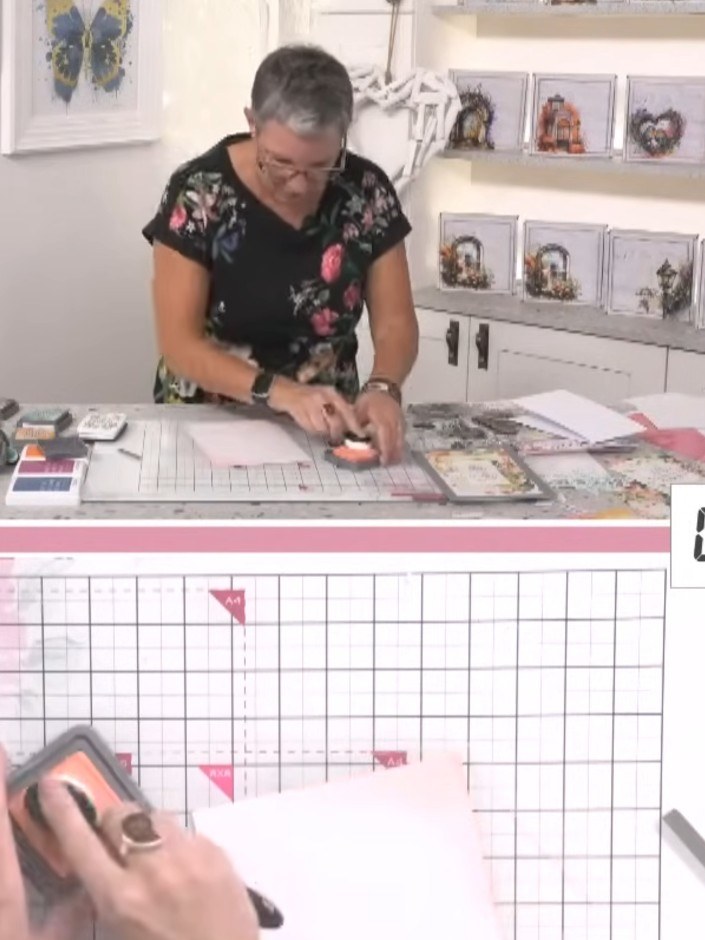
  2. Cut or tear your chosen patterned paper to an appropriate size for your card base. The paper should be slightly smaller than your card front to allow for a border. ▶ watch 52:15
  3. Mount the patterned paper panel onto your card base using adhesive. Position it centrally on the card front and press down firmly to secure. ▶ watch 53:00
  4. Step 4: Cut a complementary solid-coloured panel slightly larger than your patterned paper piece. This will create a f

    Cut a complementary solid-coloured panel slightly larger than your patterned paper piece. This will create a frame around the patterned paper when layered.

    ▶ watch this step (54:00)
  5. Add a sentiment to your card that coordinates with the floral paper pattern. You can use a stamp or a pre-printed sentiment from the kit. ▶ watch 55:30
  6. Add minimal embellishments to your card to allow the beautiful patterned paper to remain the focal point. Consider adding small die-cut flowers or decorative elements that complement rather than overwhelm the design. ▶ watch 56:45
  7. Review your completed card to ensure the design is balanced and the patterned paper is the focal point. Check that all elements are securely adhered and the sentiment is clearly visible. ▶ watch 57:30

Tips from the show

More from this show

Written up from the show itself. See every guide from our shows · free how-to guides · watch live on My Telly







