Give your friends £10 off their first order!
Refer a FRIEND








A project from our live show MY PODCAST - Catch my latest updates broadcast 29th July 2024 · 29/07/2024 · watch it from 37:30
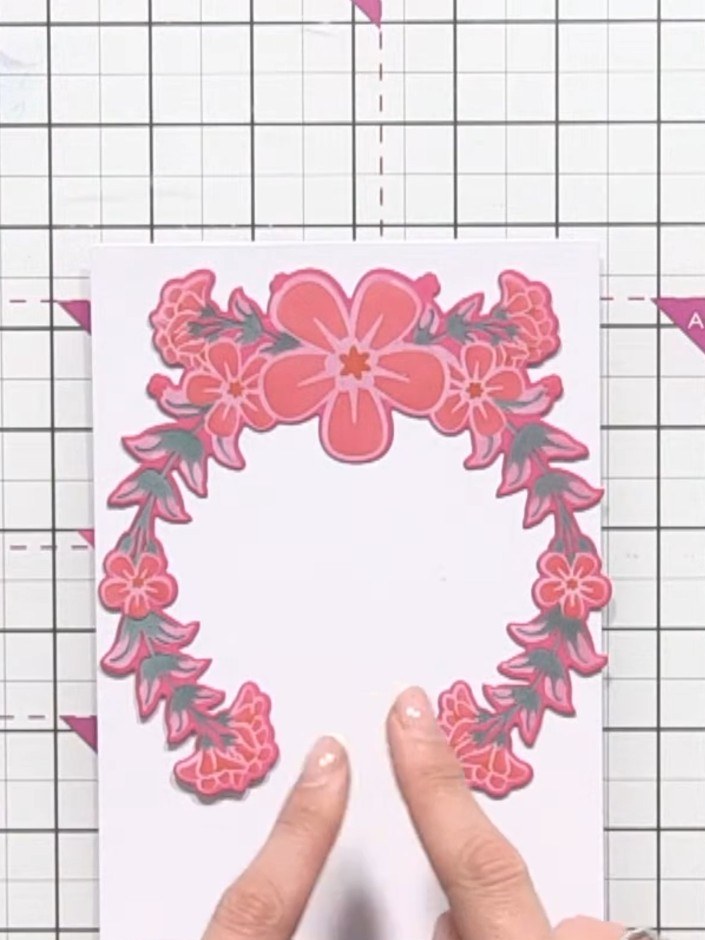
Create a sophisticated card using layering stencils on coloured card stock with a white ink underlay technique. The creeping blossom design features a pink floral wreath that appears to have a ghost-like, embossed effect. Vibrant pink and coral colours are layered on top of the white base for a dimensional, elegant finish perfect for special occasions.
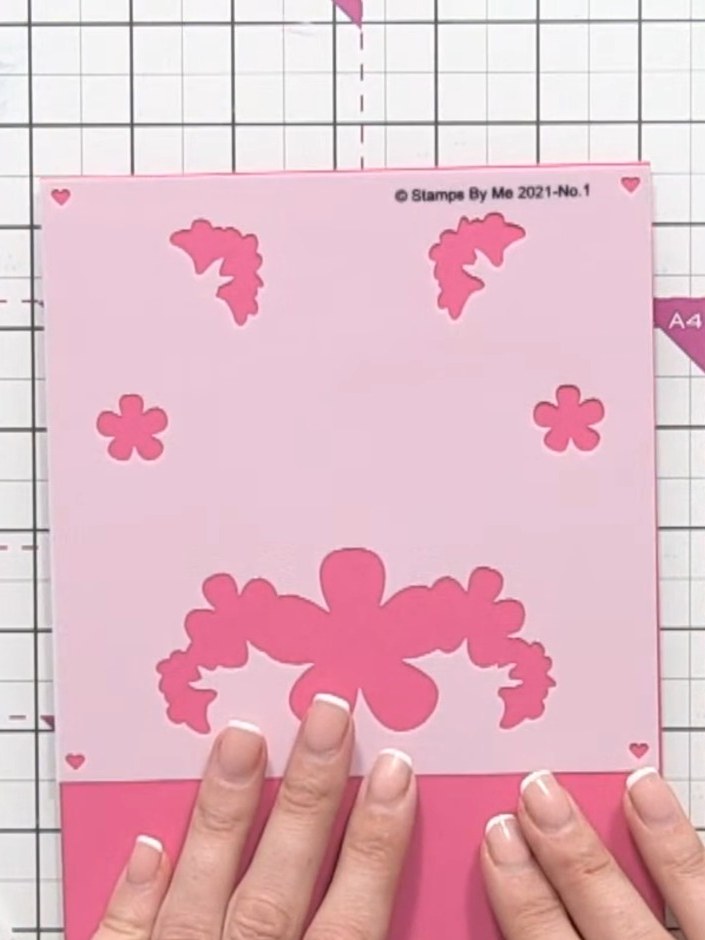
Start with a pink card blank as your base. Position the layering stencil on top to plan your design.
▶ watch this step (37:30)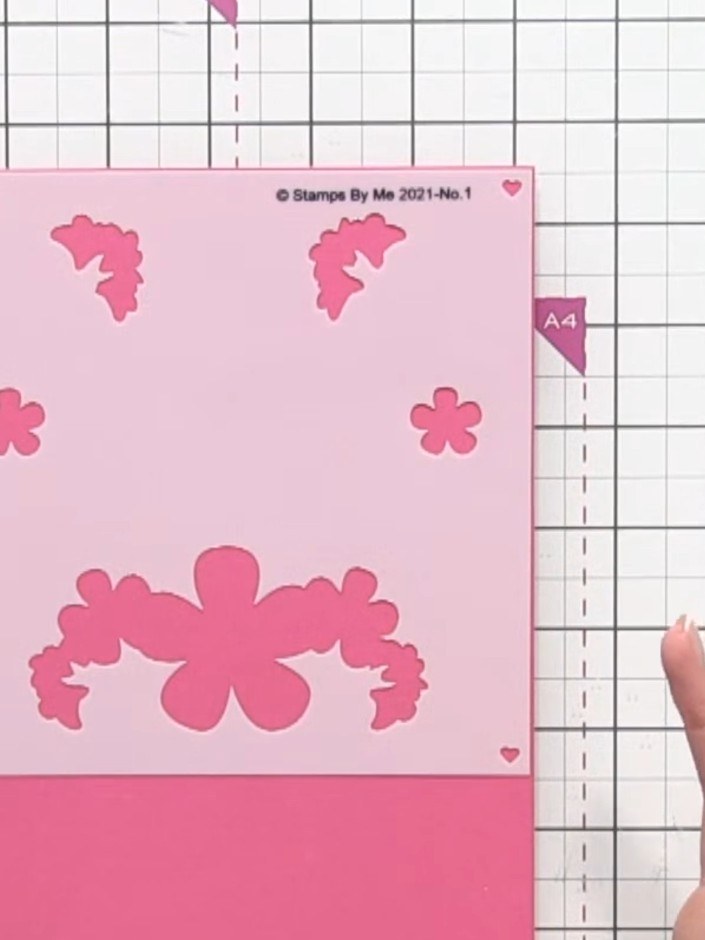
Position the first layering stencil (marked number 1) onto your pink card base, aligning it carefully using the heart registration marks in the corners.
▶ watch this step (38:00)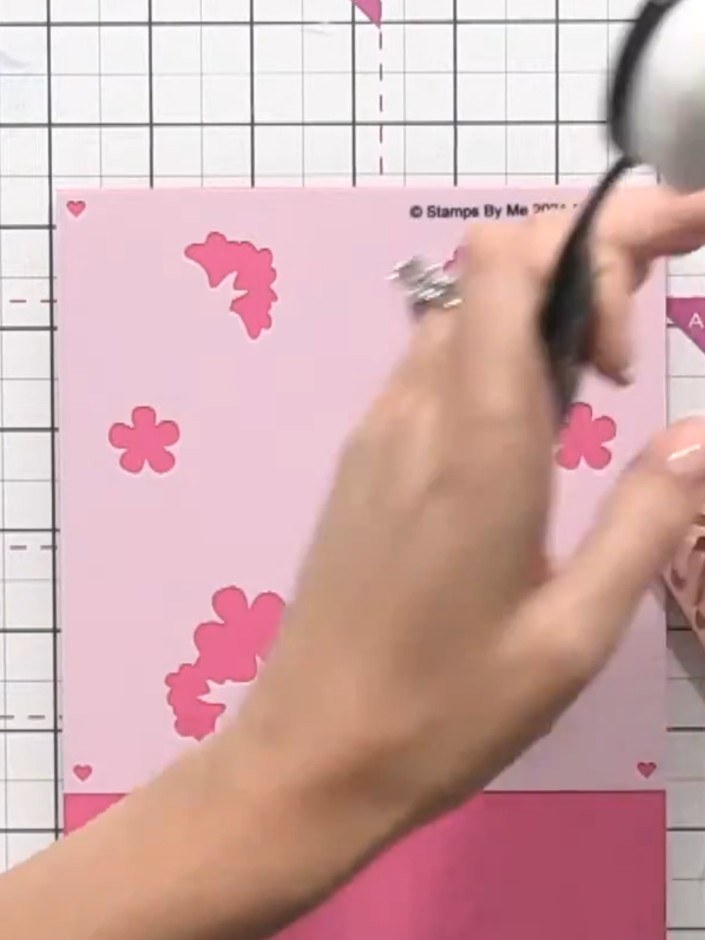
Apply white ink through the first layer of the stencil using a pouncing motion with your blending brush. Work the ink evenly over the flower shapes on the pink cardstock.
▶ watch this step (39:00)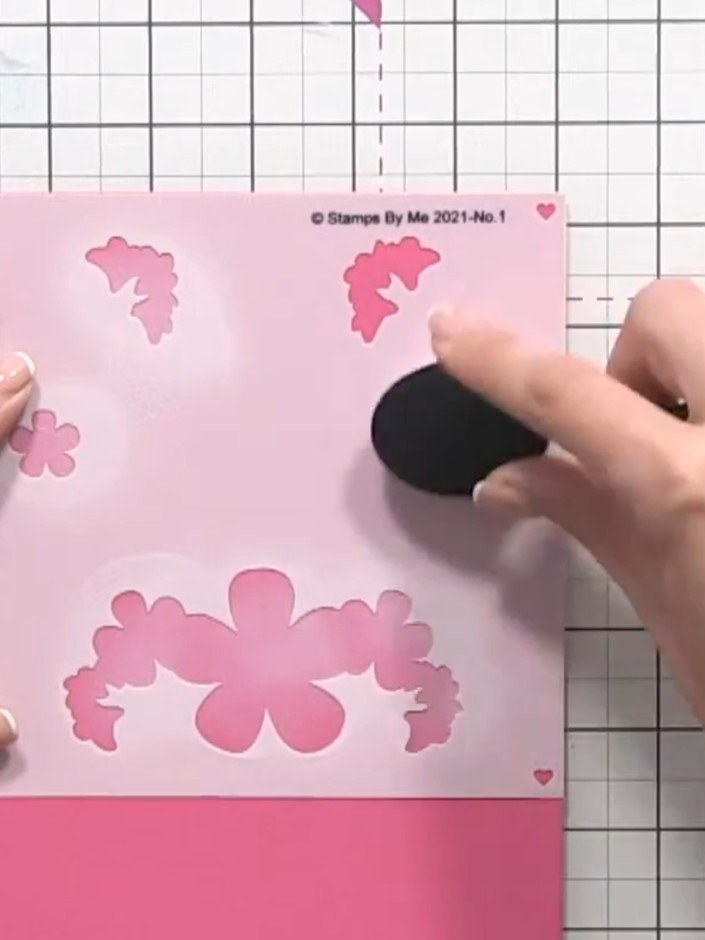
Position the second stencil (number two) on your card, aligning it with the edge. Apply white ink through the stencil using a blending tool in a circular motion.
▶ watch this step (39:30)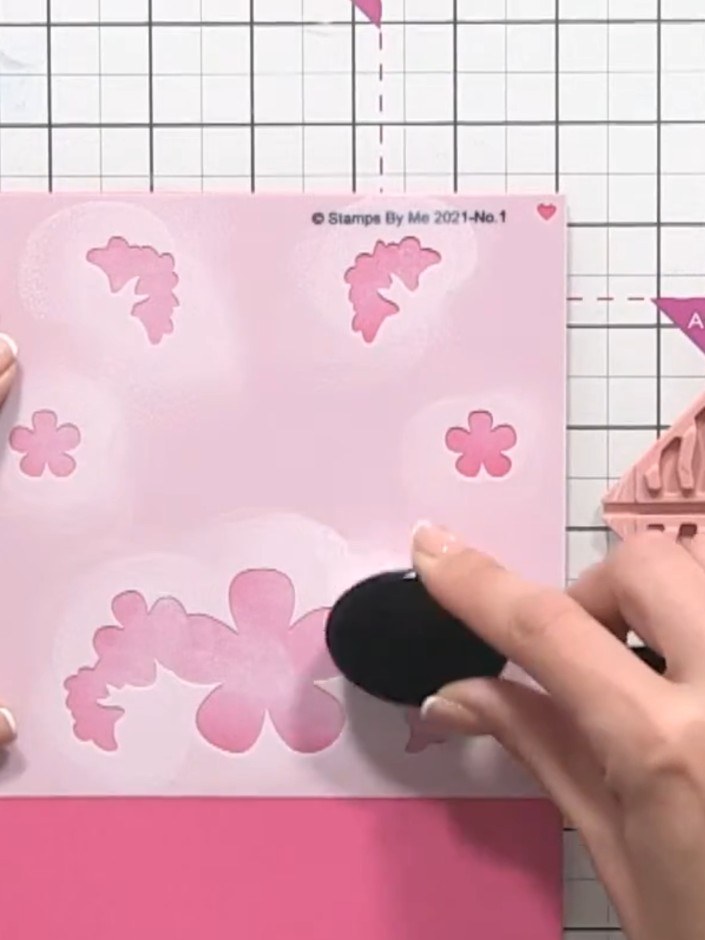
Place the third stencil over your card and apply pink ink through it using a blending tool to add colour to the flower petals.
▶ watch this step (40:00)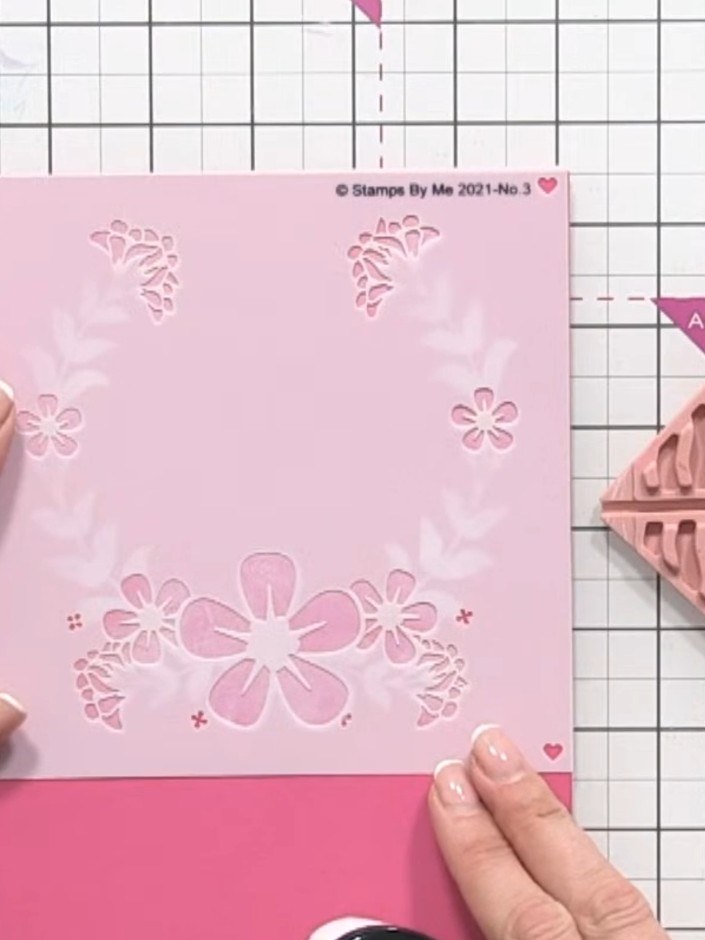
Position the fourth stencil over your card and apply green ink through it to create the foliage elements of the floral wreath design.
▶ watch this step (43:00)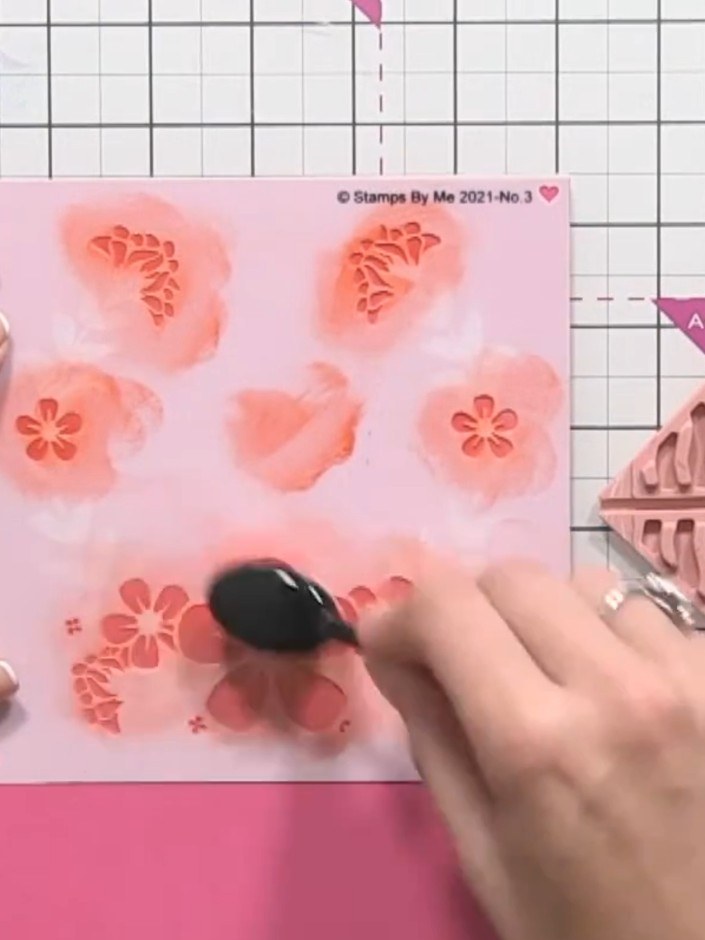
If the green appears too dark, clean the stencil and place it back on the card. Apply white ink over the green using a blending tool to push the colour back and lighten it.
▶ watch this step (44:30)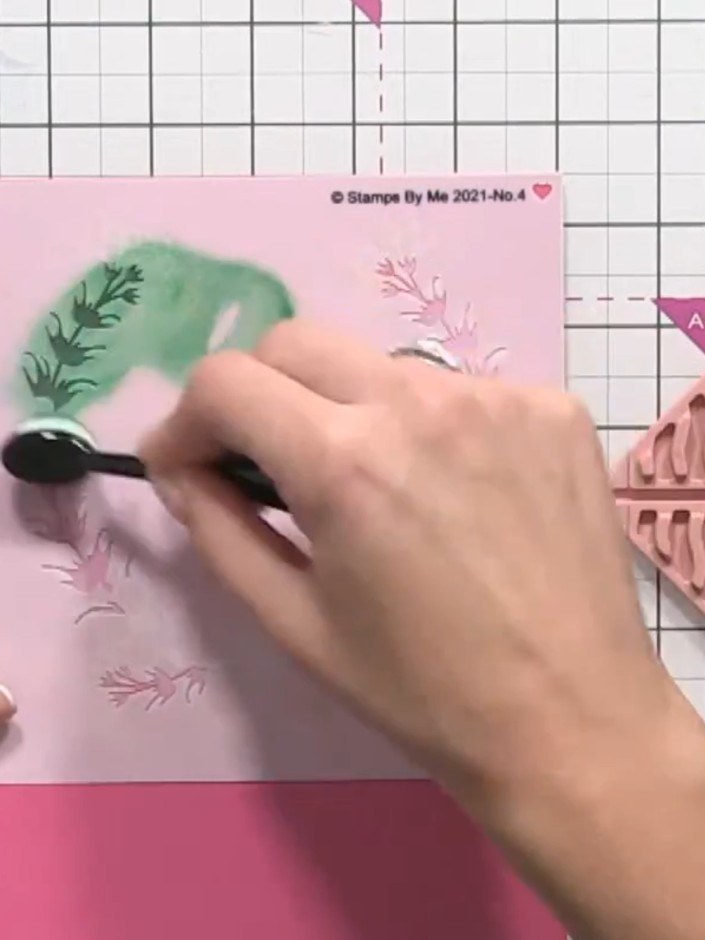
Position the fifth stencil over the card and apply green ink through it using a blending tool to add foliage details to the design.
▶ watch this step (45:00)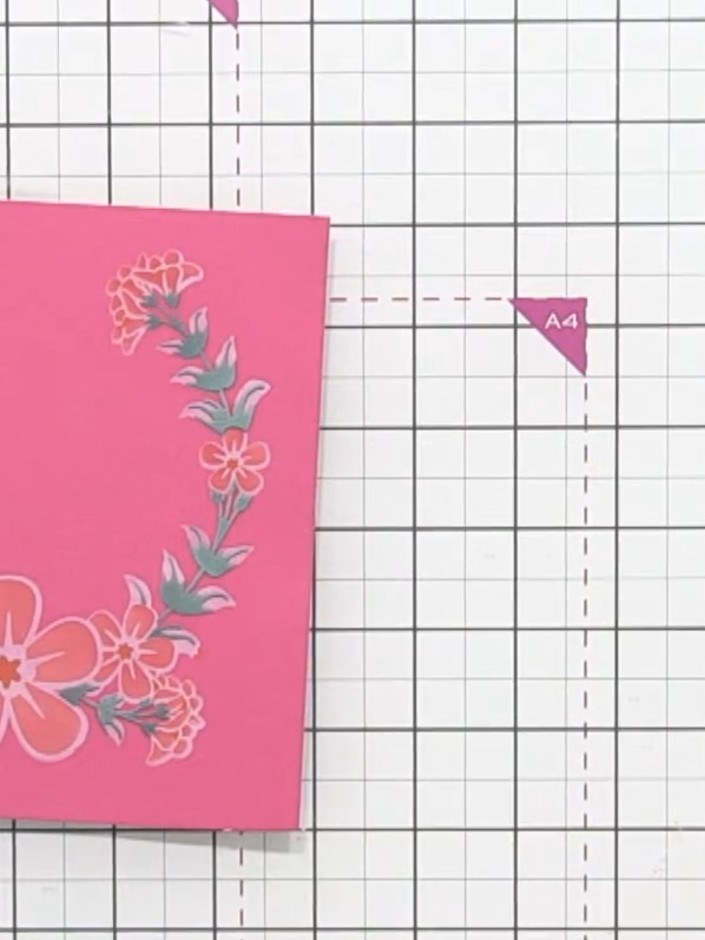
Die-cut the completed stencilled floral design using the coordinating die from the set. Position the die over the pink card panel with the stencilled design and run through your die-cutting machine.
▶ watch this step (50:00)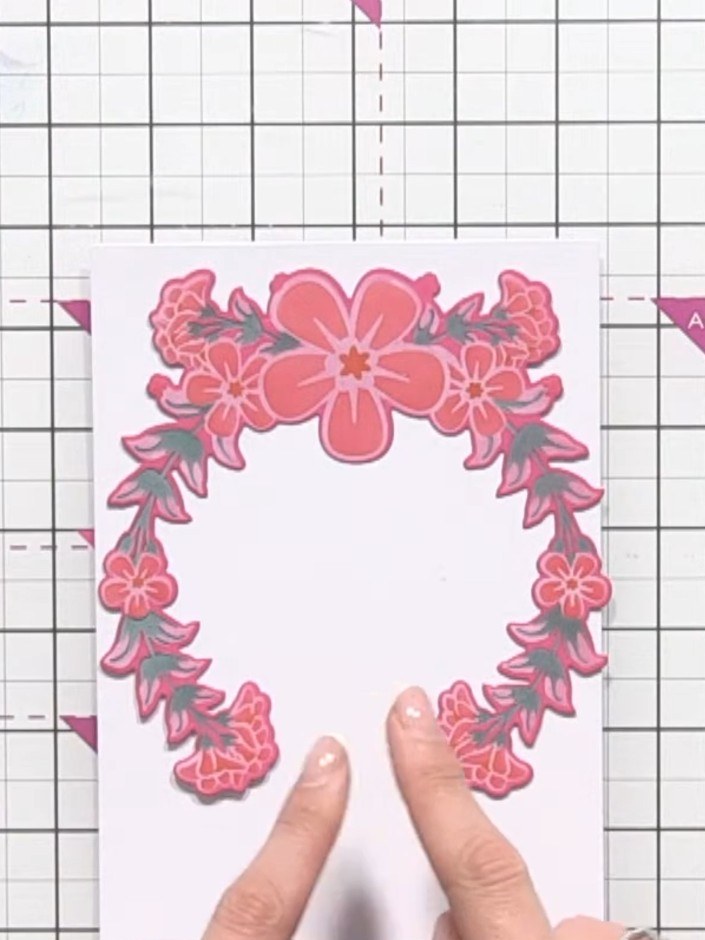
Mount the pink floral wreath die-cut onto a white card base, positioning it centrally to create your finished card.
▶ watch this step (53:00)Written up from the show itself. See every guide from our shows · free how-to guides · watch live on My Telly