Give your friends £10 off their first order!
Refer a FRIEND








A project from our live show MY PODCAST - Catch my latest updates broadcast 29th July 2024 · 29/07/2024 · watch it from 22:00
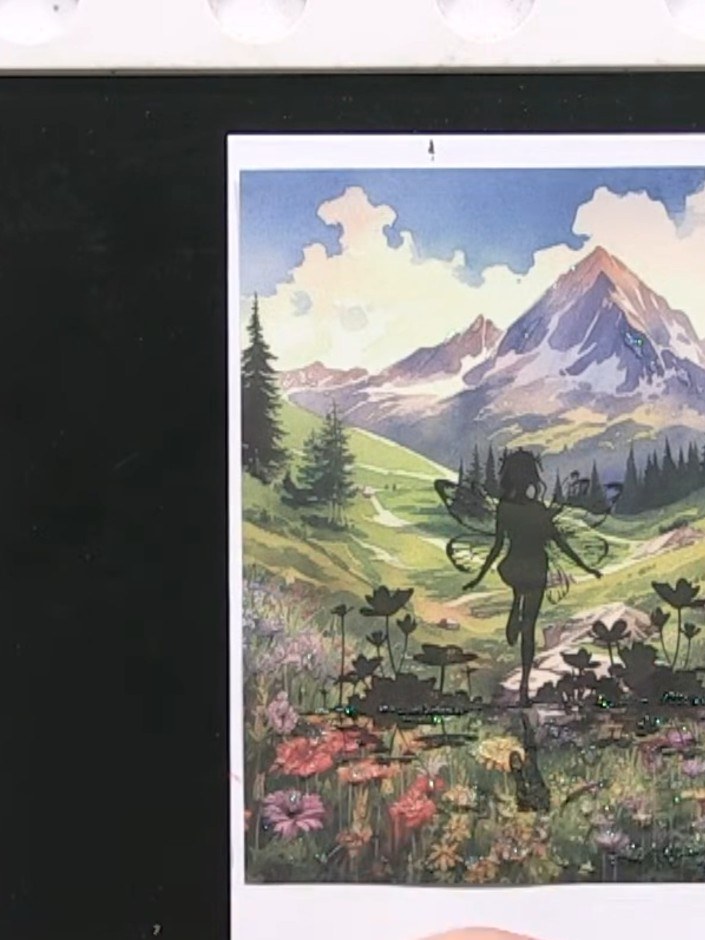
Create a magical wildflower sunset card featuring a fairy silhouette stamped in black ink against a scenic mountain landscape. The design showcases a beautiful paint-by-numbers style background with rolling green meadows, purple mountains, and fluffy clouds, with the fairy figure standing amongst wildflowers in the foreground. Use layering techniques and white gel pen highlights to add dimension and sparkle to this enchanting handmade card.
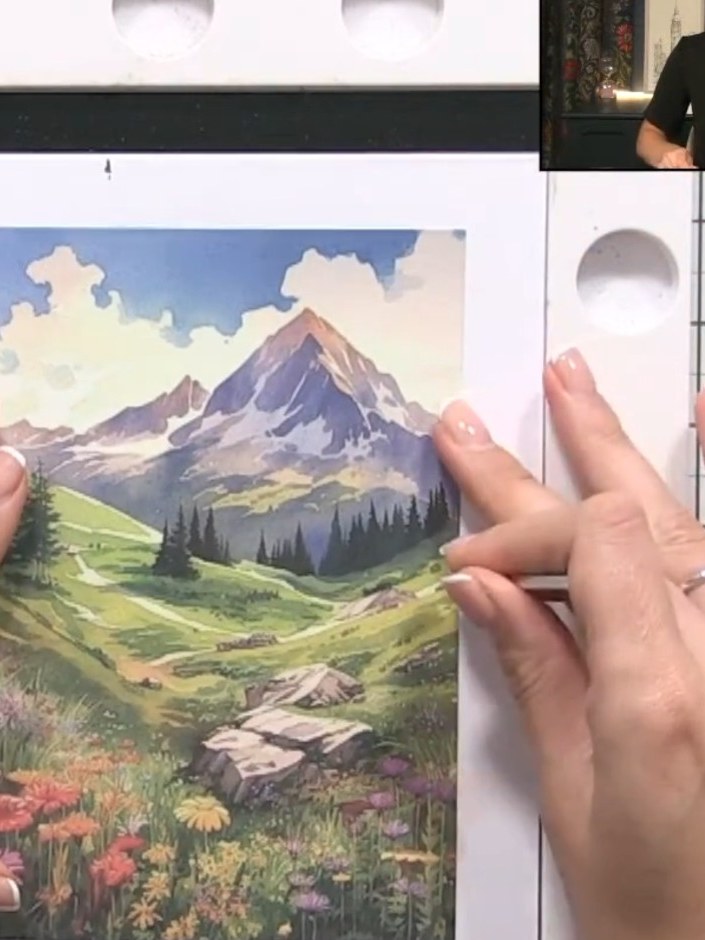
Select a piece of patterned paper from the Wildflower Sunset collection to use as your card base. The paper should feature the mountain landscape design.
▶ watch this step (22:00)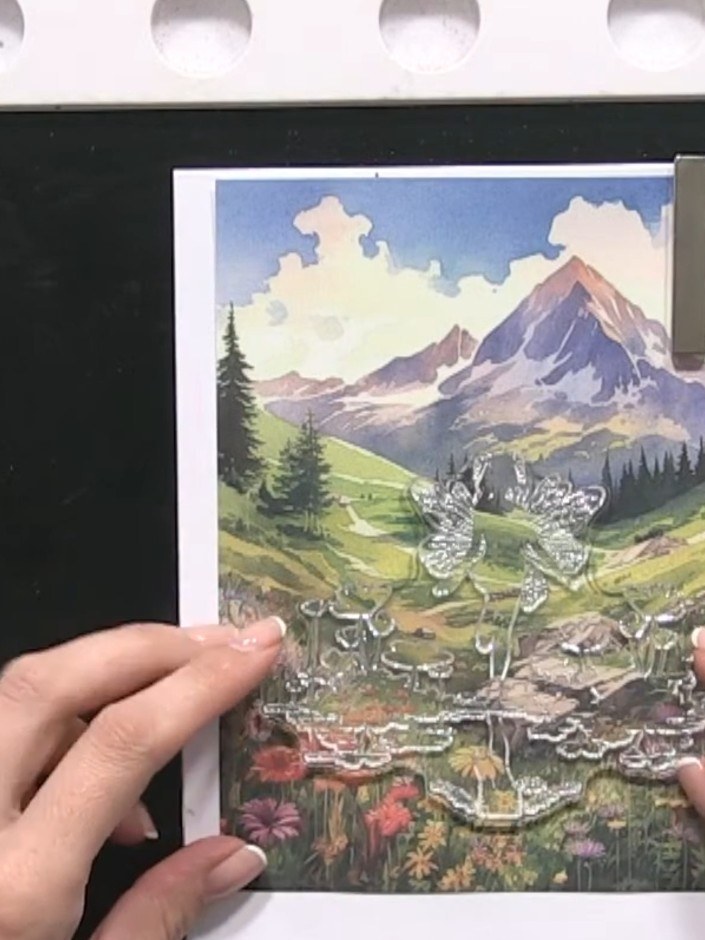
Ink up the fairy reflection stamp with black ink. Condition the stamp first by making several practice stamps on scrap paper before stamping onto your card.
▶ watch this step (23:00)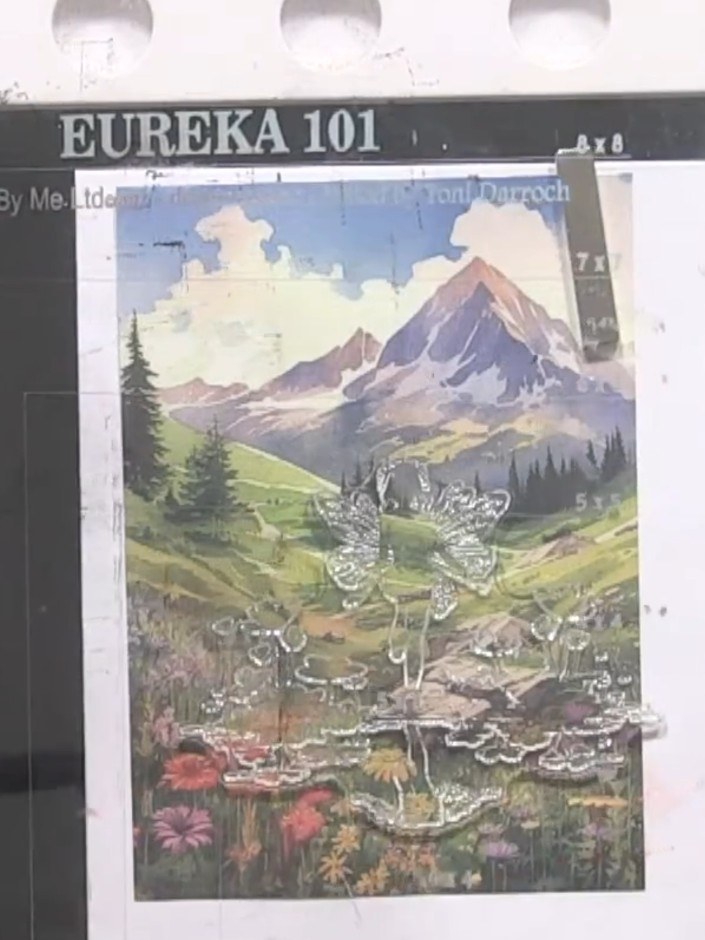
Stamp the fairy silhouette in black ink onto the lower portion of your mountain landscape card, positioning it so it appears to sit amongst the wildflowers in the foreground.
▶ watch this step (23:30)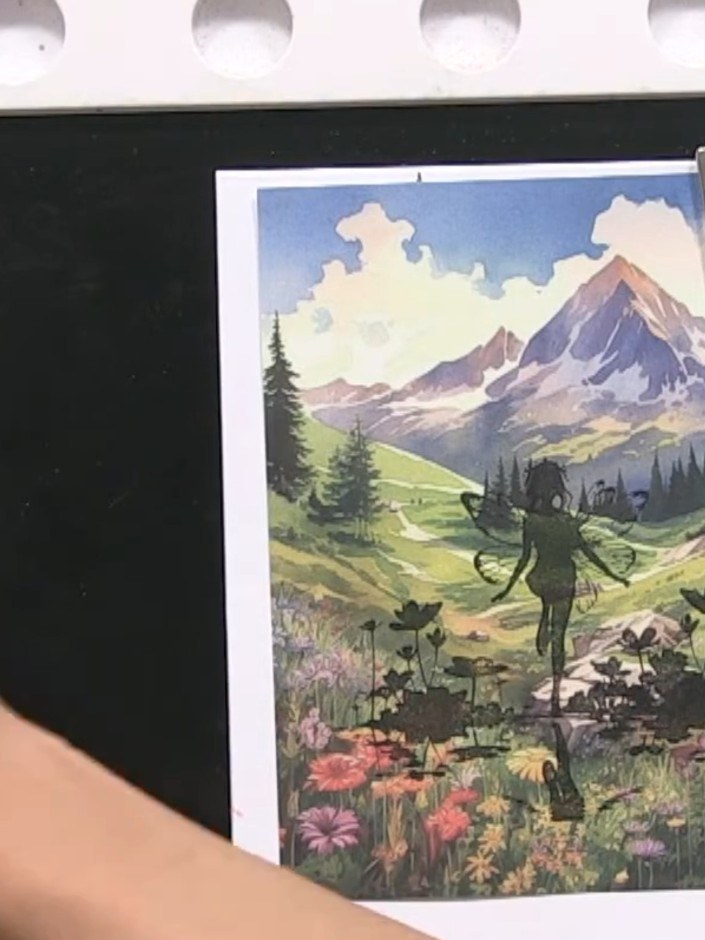
Stamp the image again over the previous stamped impression on the top half of the artwork to deepen and darken the colour, creating dimension and depth in the sky and mountain area.
▶ watch this step (24:30)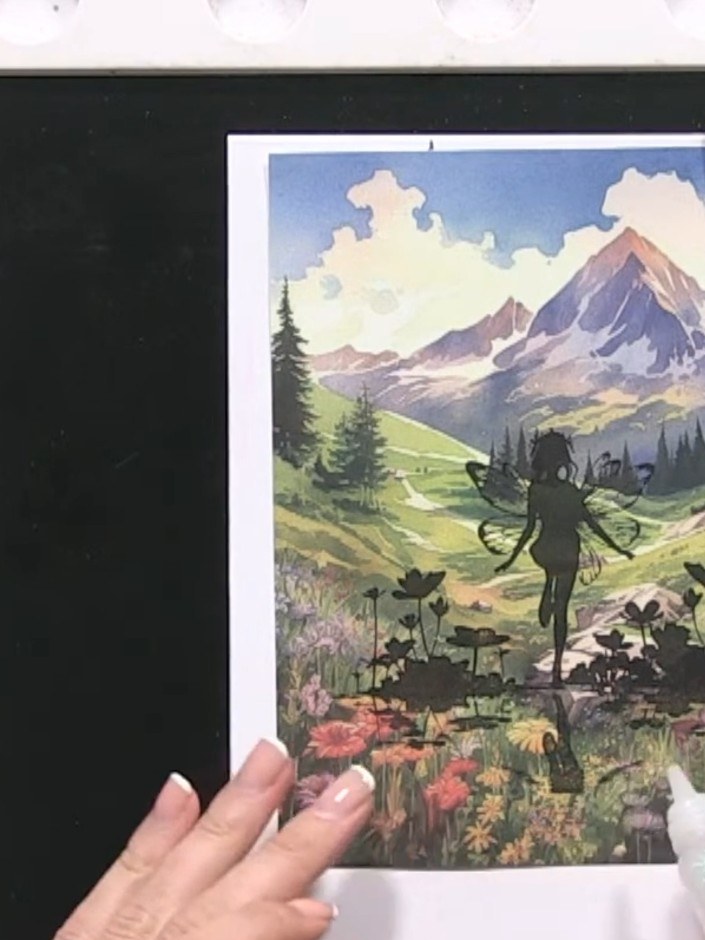
Apply glitter glue over the flower heads in the foreground surrounding the fairy silhouette to add sparkle and dimension to the wildflower meadow scene.
▶ watch this step (26:00)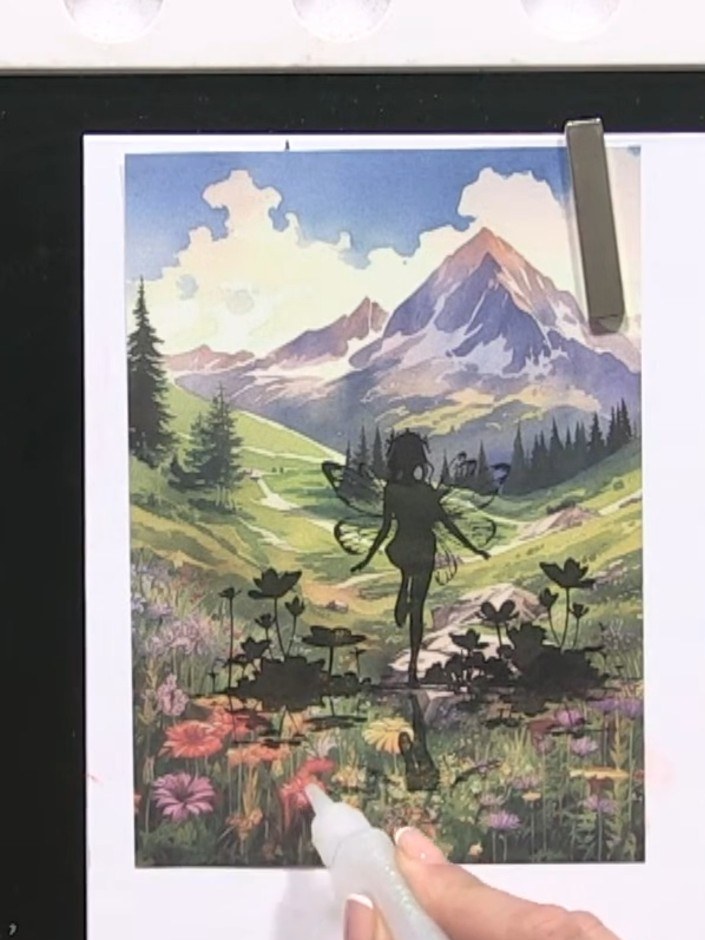
Apply a line of glitter glue down the centre of the reflection panel to create a water reflection effect. Work from top to bottom in a straight vertical line.
▶ watch this step (26:30)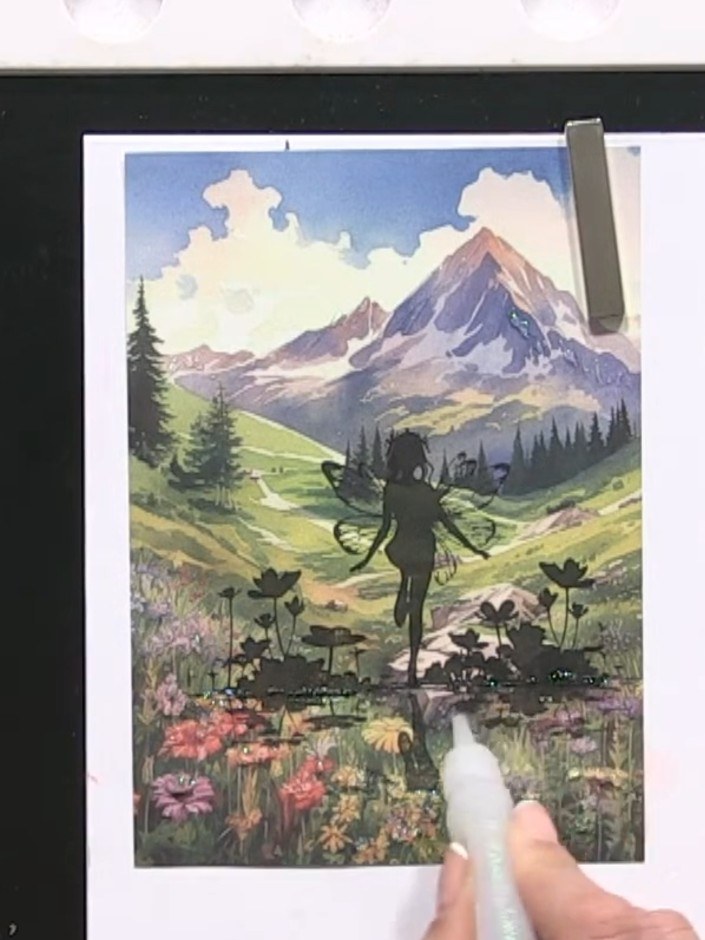
Use a white gel pen to add fine lines to the fairy's wings, enhancing the wing details. Add a line down the centre of each wing section for definition.
▶ watch this step (27:00)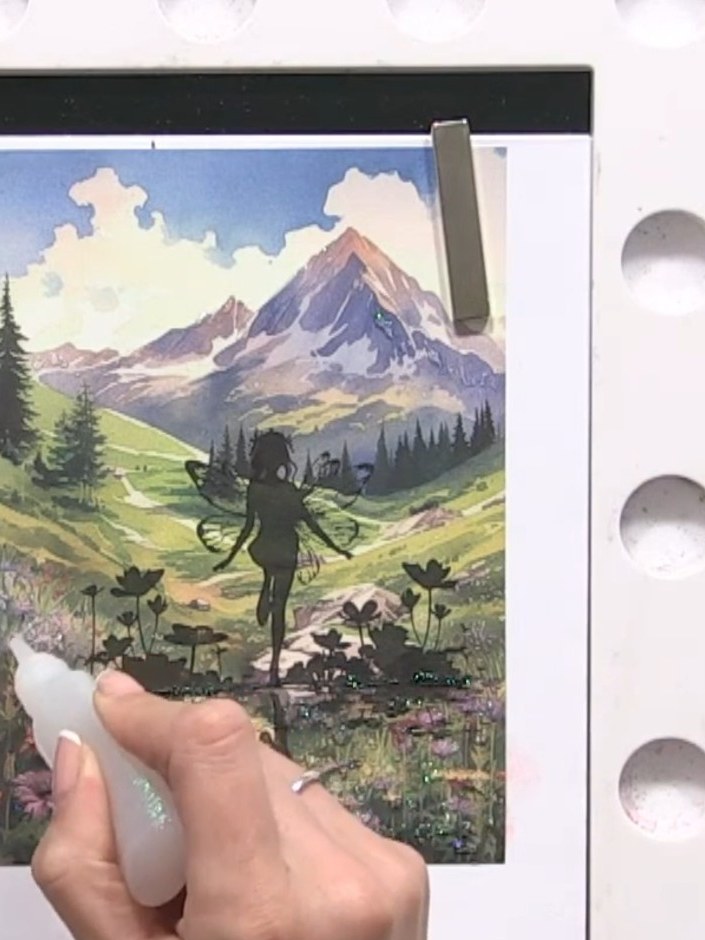
Position the masking stencil around the fairy's head. Apply white ink around the stencil to create a halo effect.
▶ watch this step (27:30)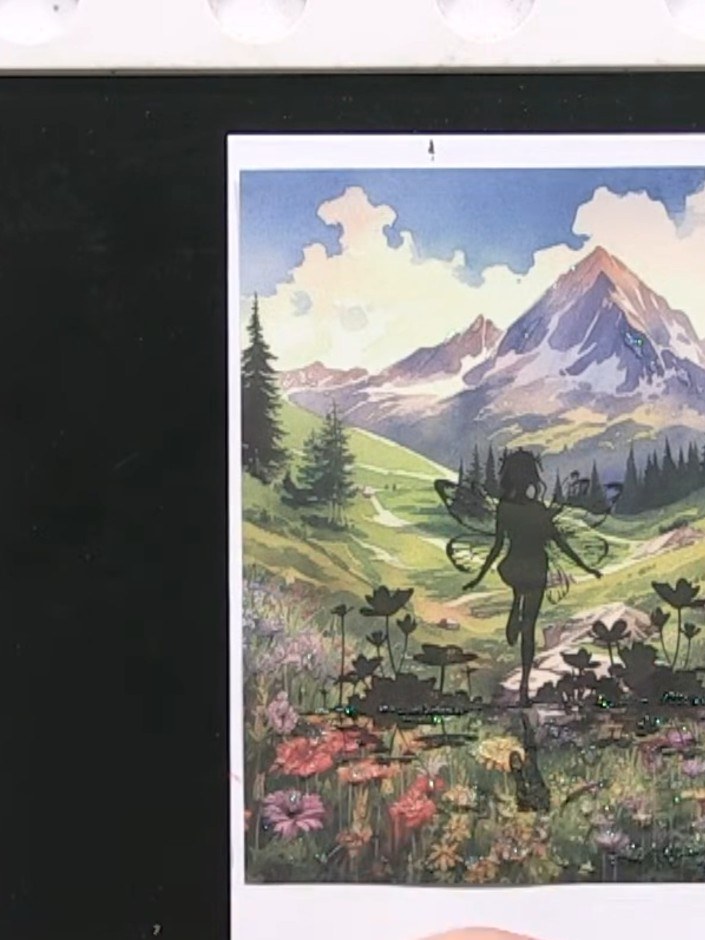
Carefully peel away the fairy mask from the card to reveal the white halo effect around the fairy silhouette. This creates depth and brings the fairy forward from the mountain and wildflower background.
▶ watch this step (28:00)Written up from the show itself. See every guide from our shows · free how-to guides · watch live on My Telly