Give your friends £10 off their first order!
Refer a FRIEND








A project from our live show QVC.DE Produktvorschau – Ausstrahlung am 24. August · 24/08/2024 · watch it from 50:00
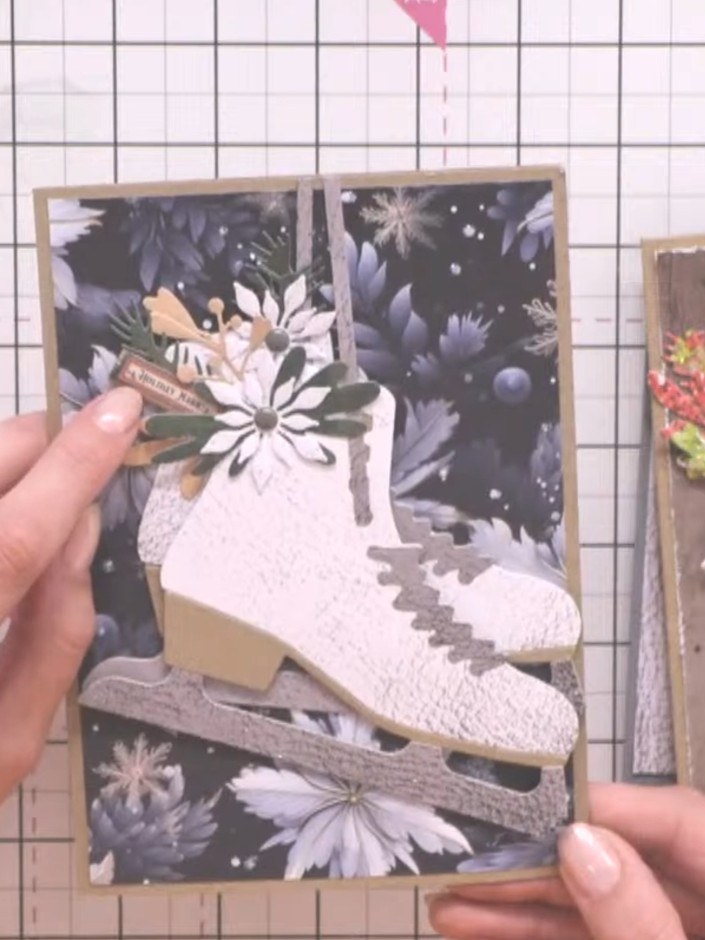
Create a stunning 3D skating boot card featuring a dimensional ice skate in elegant grey and white tones, adorned with delicate floral embellishments and festive foliage. This charming design uses leather-effect paper to craft a realistic boot shape, enhanced with decorative flowers, berries and a personalised name tab. The finished piece works beautifully as both a standing table decoration and a special greeting card for the festive season.
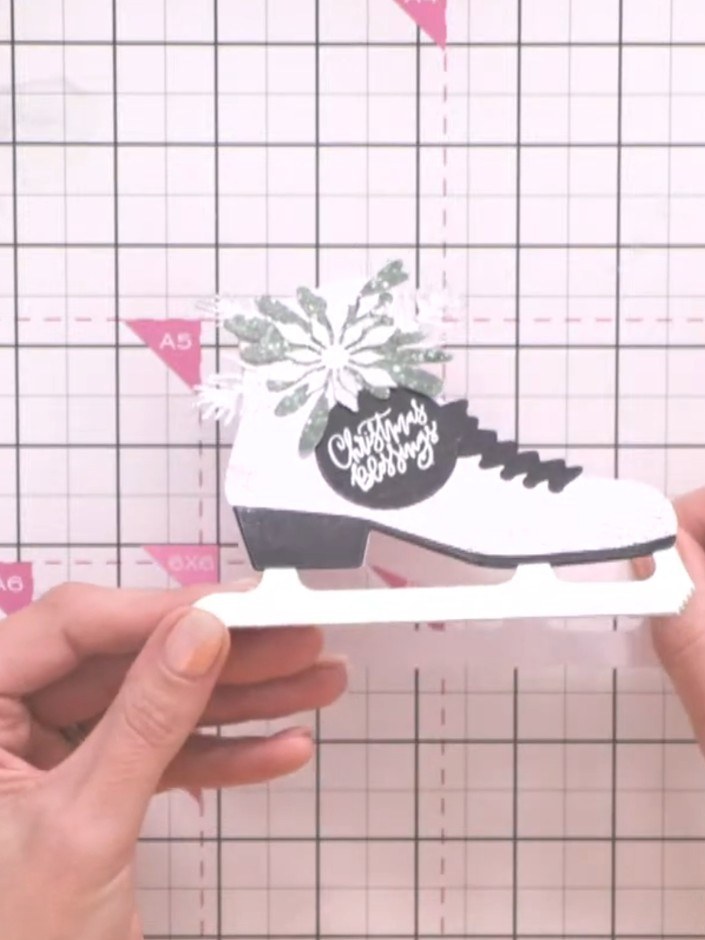
Die-cut the boot silhouette from leather-effect paper in your chosen colour (brown, grey, black or white). The die-cut boot will have decorative details including laces and a snowflake design.
▶ watch this step (50:15)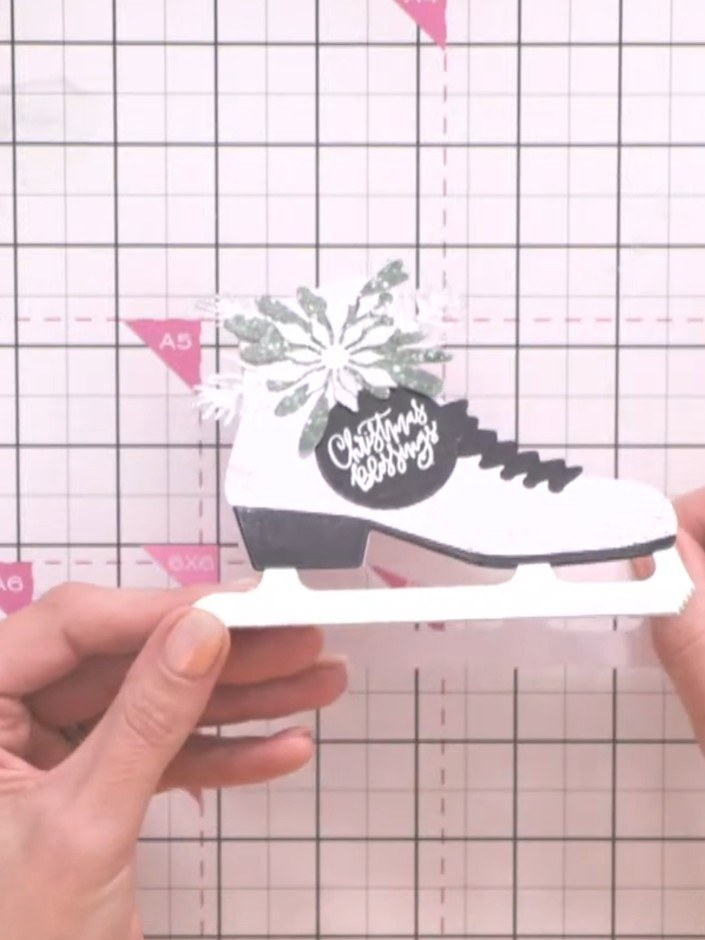
Die-cut the layering boot panels from coordinating metallic or coloured card stock. Use the boot die to cut panels from white, black, and silver metallic card.
▶ watch this step (50:30)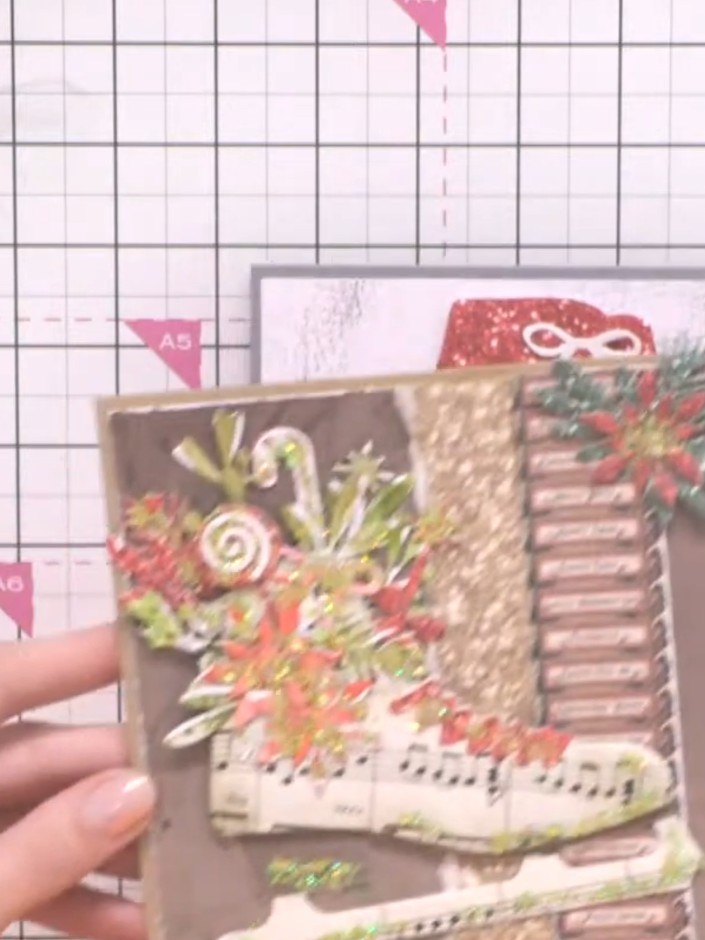
Layer the boot panels together, starting with the main boot shape as your base. Build up the decorative elements including the floral arrangement, the textured panels, and the boot details. Position the 'Winter Wishes' sentiment card at the top right of your composition.
▶ watch this step (50:45)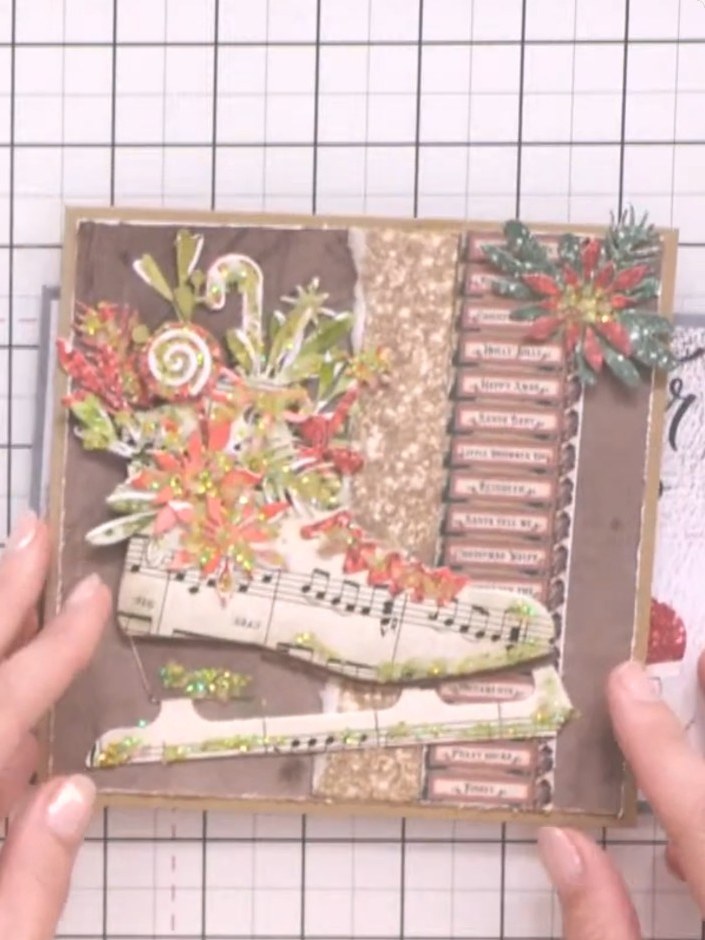
Attach the brown heel panel to the middle layer of the boot card to add dimension. Position it centrally on the boot structure.
▶ watch this step (51:00)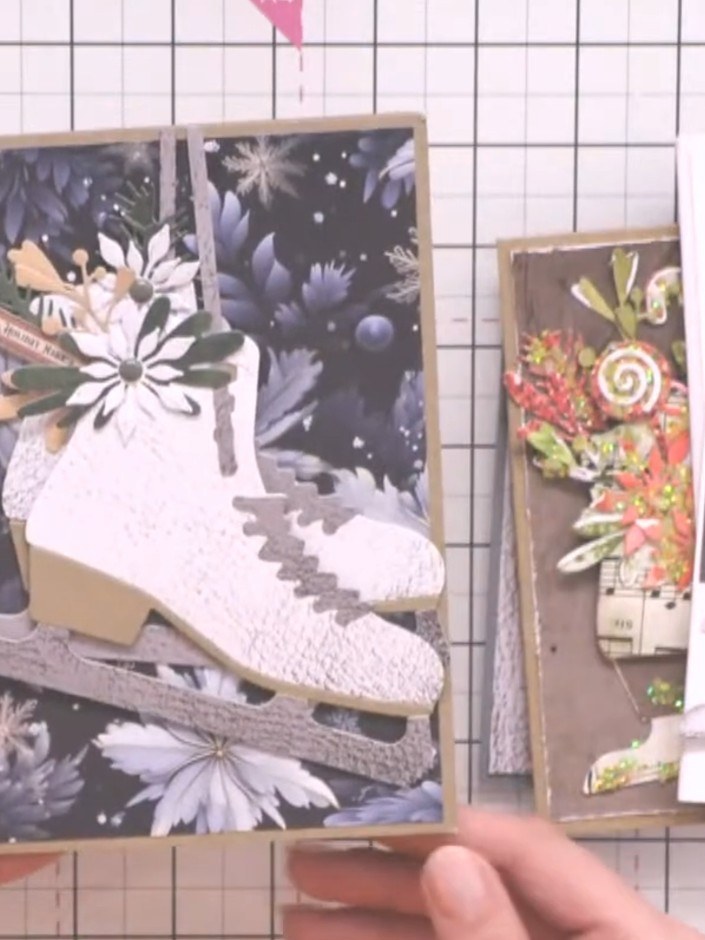
Die-cut the foliage elements including ferns, berries, buds and snowflakes from the coordinating coloured papers. Use the dies from the set to cut these decorative pieces that will embellish the ice skate.
▶ watch this step (51:15)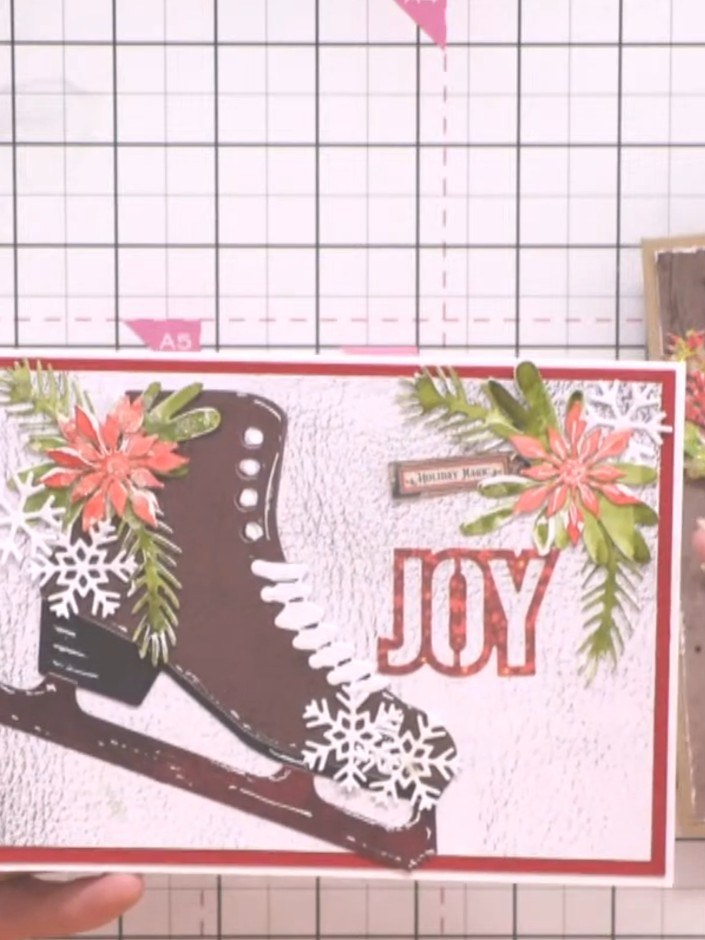
Tuck the foliage elements into the top of the boot to create a full, festive arrangement. Position the greenery and flowers so they appear to be spilling out from the boot opening.
▶ watch this step (51:30)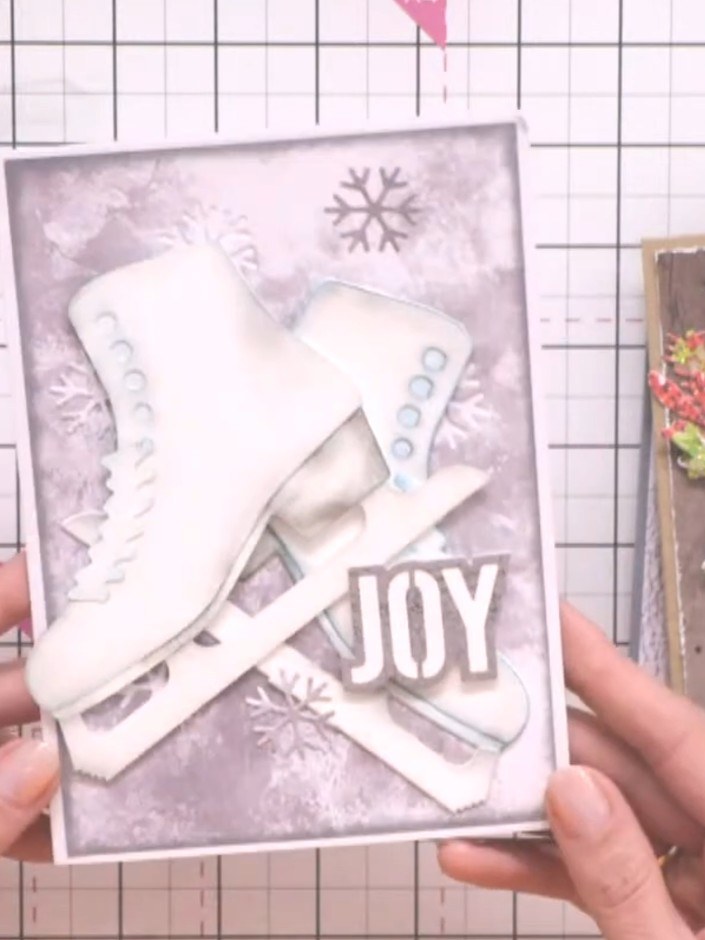
Add the laces die-cut to the front of the boot for detail. Position the decorative lace element across the boot to complete the dimensional look.
▶ watch this step (51:45)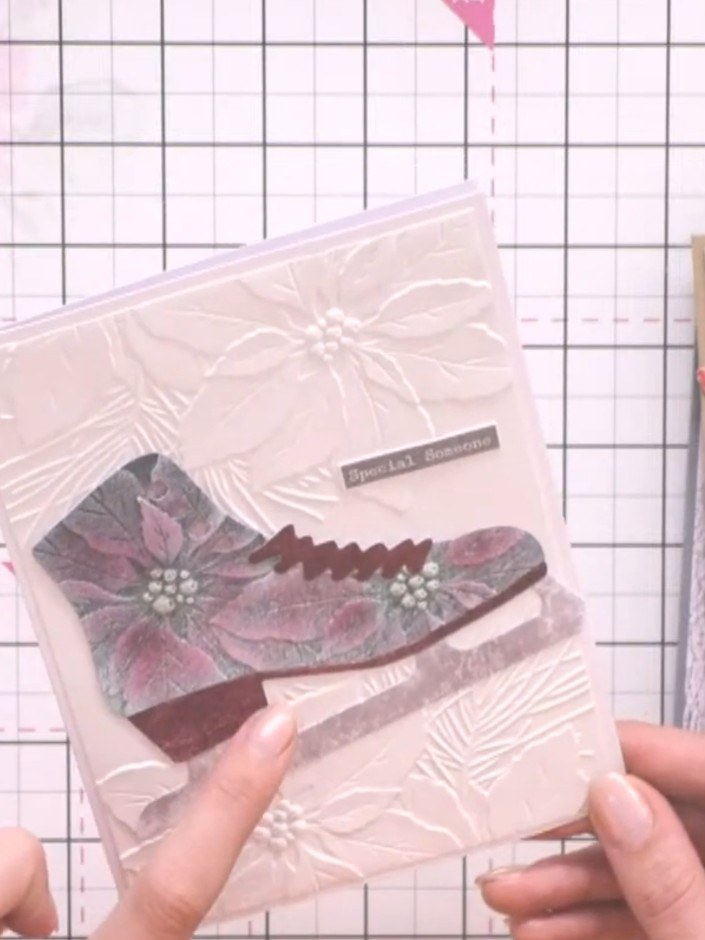
Insert a personalised name tab into the top of the boot to create a place card. Slide the tab between the layers of the boot opening so it sits securely in place.
▶ watch this step (52:00)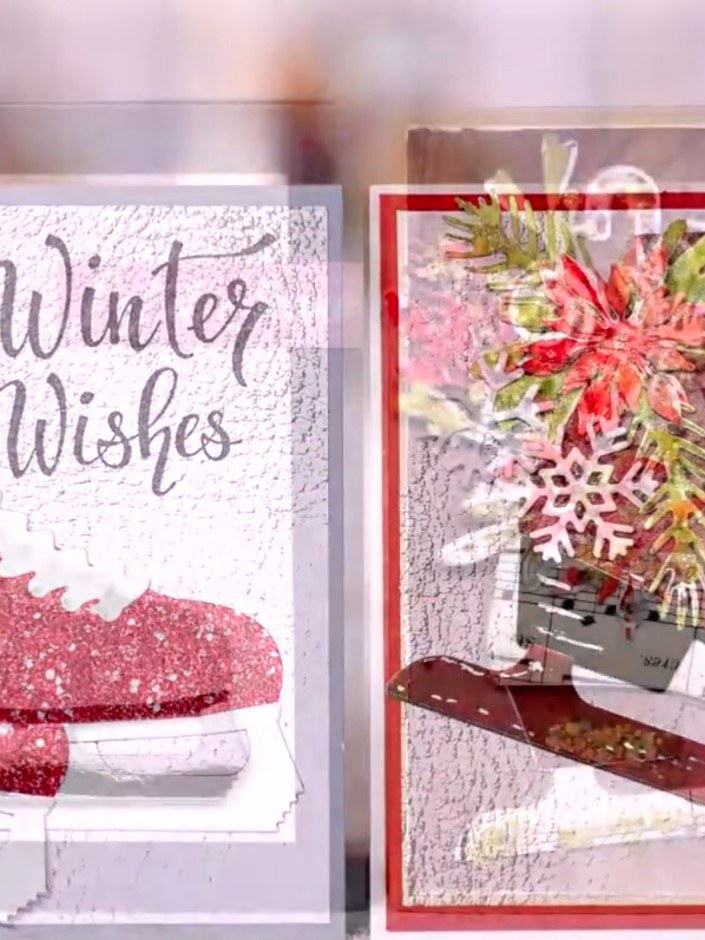
Mount the completed glittery boot onto a white card base for a simple 'Winter Wishes' card, or attach it to a decorated card front with festive embellishments, snowflakes and sentiment for a more elaborate design. The boot can also be displayed as a freestanding 3D table decoration.
▶ watch this step (52:15)Written up from the show itself. See every guide from our shows · free how-to guides · watch live on My Telly