Give your friends £10 off their first order!
Refer a FRIEND








A project from our live show QVC.DE Produktvorschau – Ausstrahlung am 24. August · 24/08/2024 · watch it from 44:30
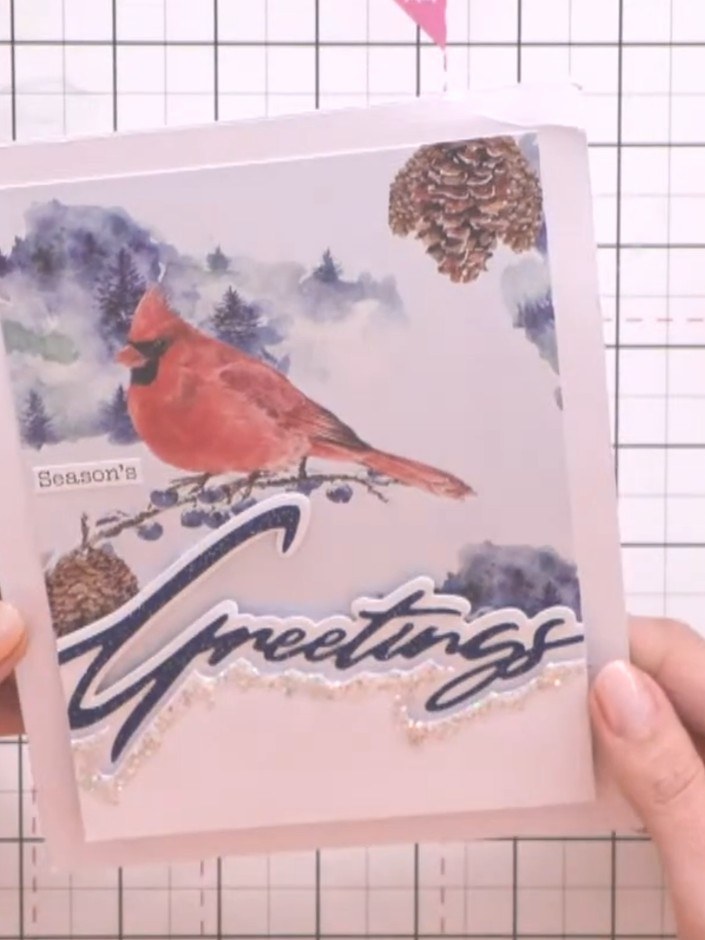
Create a charming winter card featuring a delicate window frame with a snowy scene visible through the panes. This elegant design uses soft pink and cream tones with embossed details, combining die-cut window elements with layered winter imagery and a scripted 'Joy' sentiment. The finished card captures the peaceful beauty of a snow-covered landscape viewed through a frosted window.
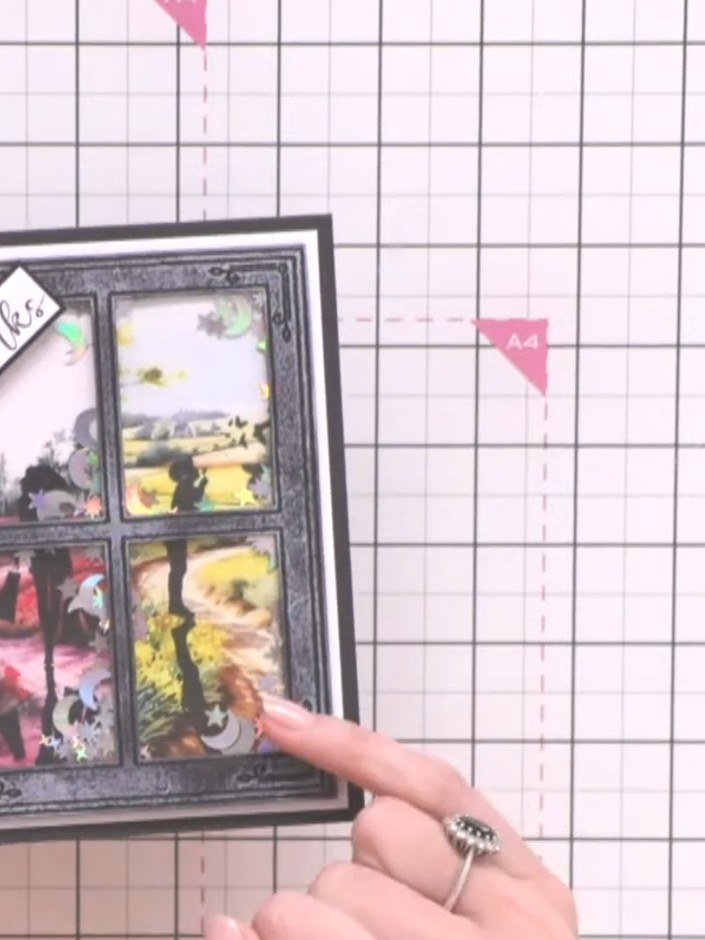
Select a black card blank in your chosen size (A2 or Slimline, depending on which window die you'll be using). The card shown is black with an embossed window frame design featuring four panes.
▶ watch this step (44:45)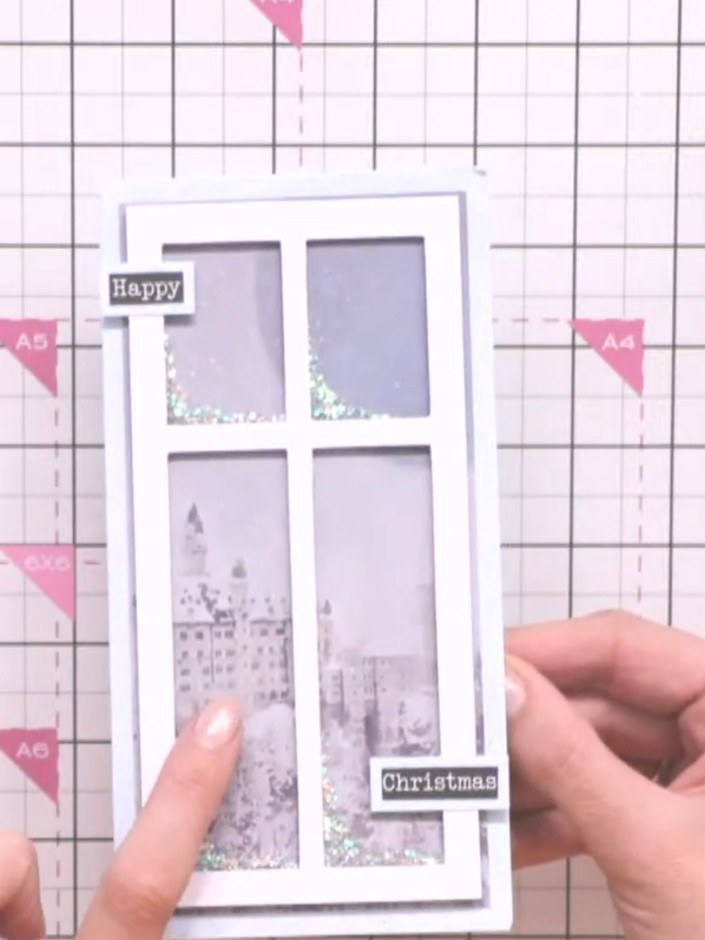
Die-cut the window design from white card stock to create your frosted window pane effect. The die creates a four-pane window frame that will form the focal point of your card.
▶ watch this step (45:00)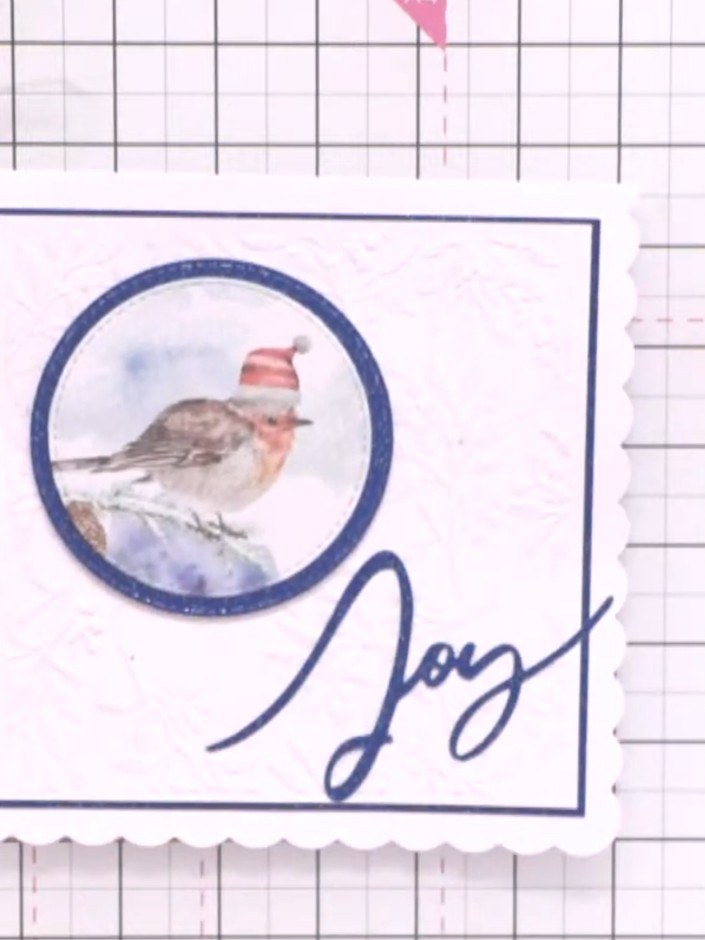
Rub white ink over the embossed window details to enhance the frosted appearance and create a snowy effect.
▶ watch this step (45:15)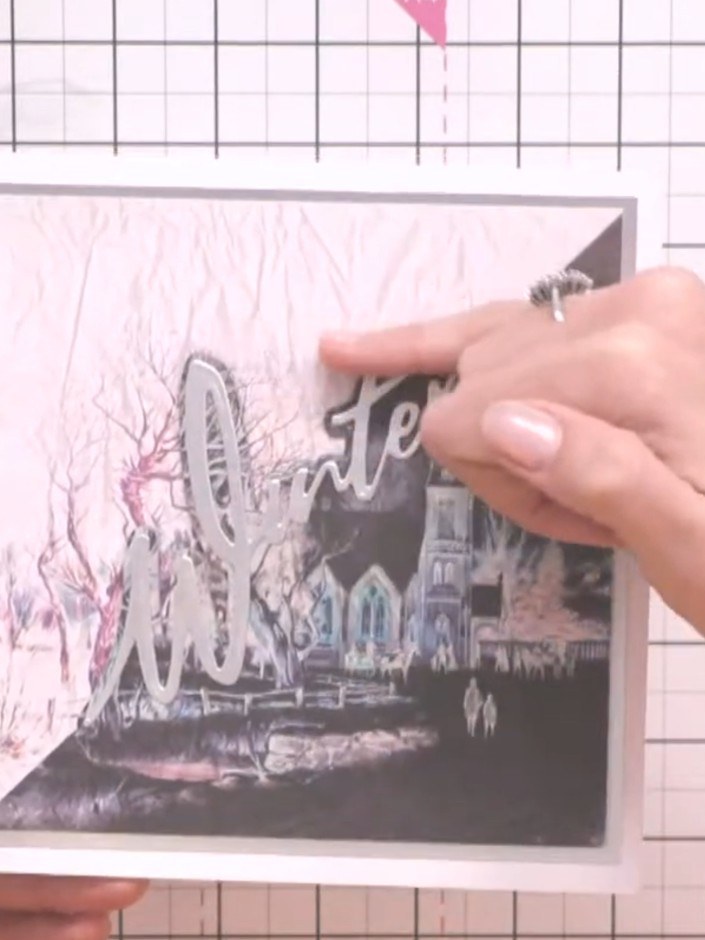
Die-cut the 'Joy' sentiment word from your card stock. Position the word die on the card front and run through your die-cutting machine.
▶ watch this step (45:30)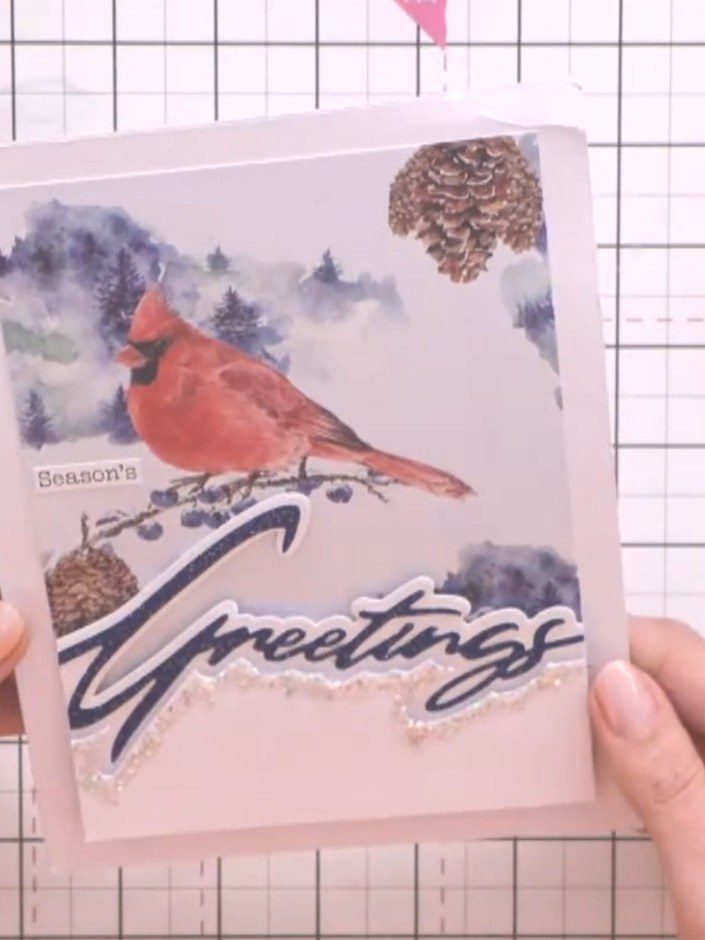
Die-cut the top snow drift edge design from white cardstock. Position this die-cut piece above the 'Greetings' sentiment word on your card front.
▶ watch this step (45:45)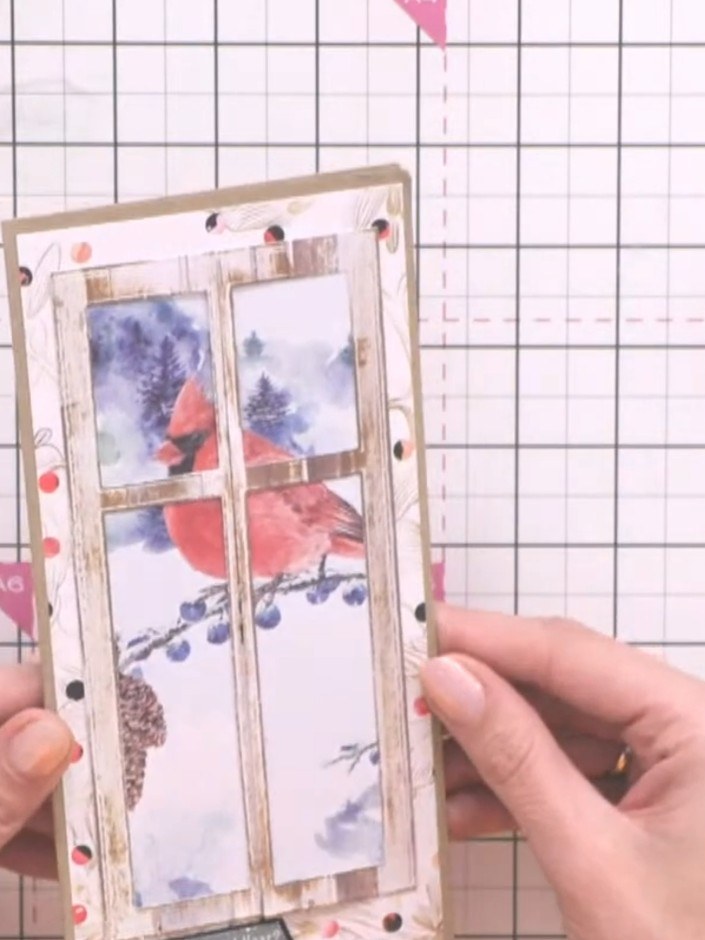
Adhere the window design onto your card base using adhesive. Position it centrally on the front of the card and press down firmly to secure.
▶ watch this step (46:00)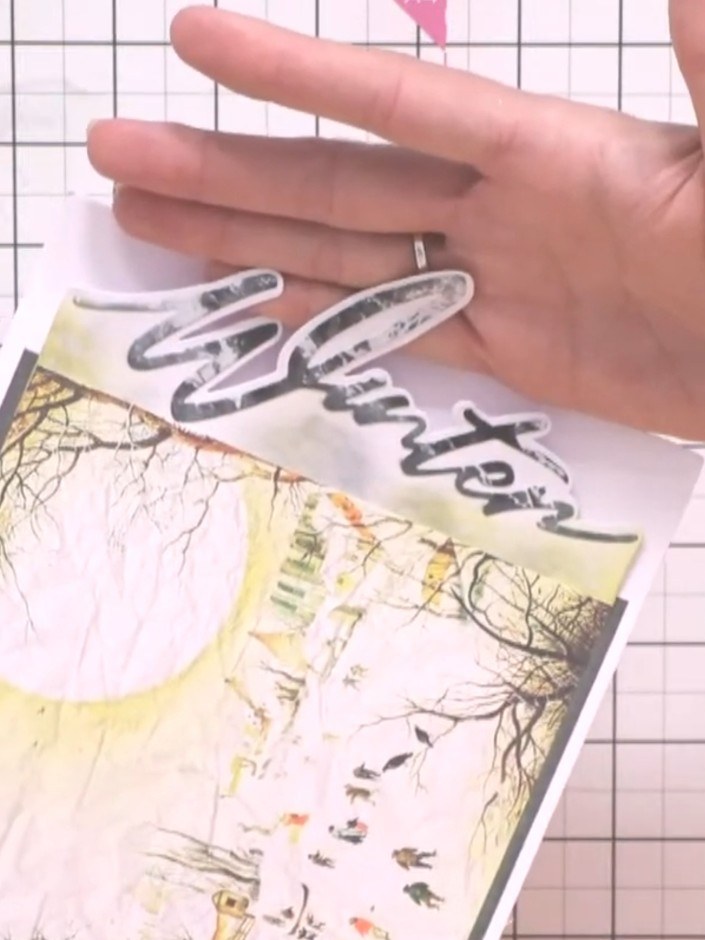
Layer the 'Winter' word die-cut over the snow drift edge design to create the snow drift effect across the sentiment.
▶ watch this step (46:15)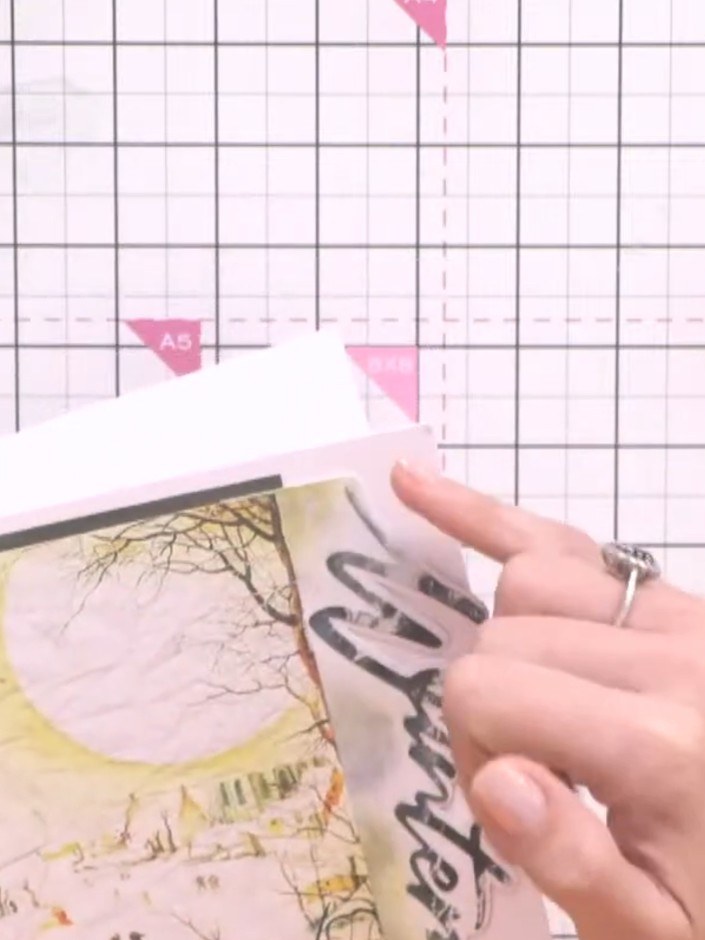
Position the completed sentiment panel with the 'Winter Greetings' die-cut on top of your card base. Mount it in place, ensuring it sits as a side panel on the card.
▶ watch this step (46:30)Written up from the show itself. See every guide from our shows · free how-to guides · watch live on My Telly