Give your friends £10 off their first order!
Refer a FRIEND








A project from our live show CREATE AND CRAFT TV - New and Exclusive - Broadcast 27th August 24 · 27/08/2024 · watch it from 20:30
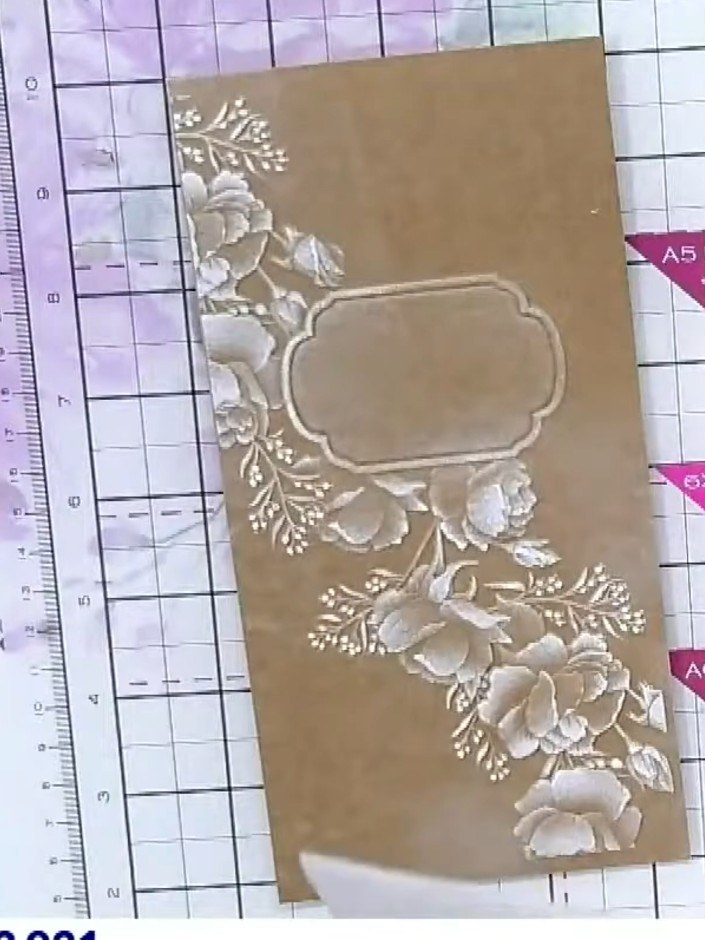
Create an elegant slimline card featuring beautiful embossed flowers on gold mirror board with a delicate white ink halo effect. The raised 3D embossing creates stunning dimension with floral motifs and a decorative frame, perfect for Christmas cards or any special occasion. This sophisticated design combines mirror cardstock with white ink accents to achieve a luxurious, eye-catching finish.
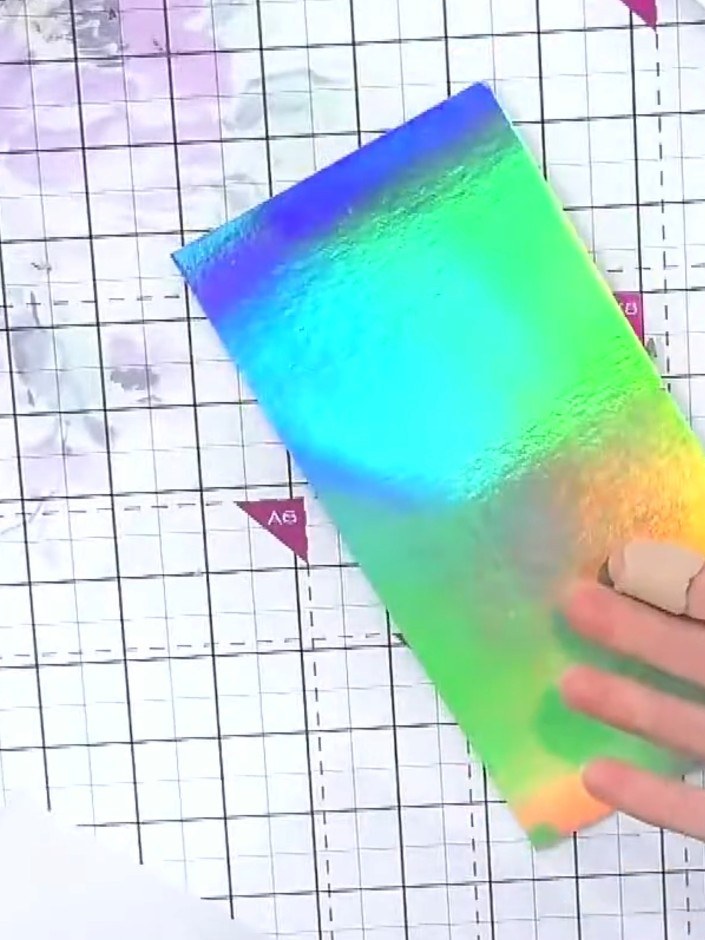
Place your slimline embossing folder into your A5 die-cutting machine, positioning it halfway through the folder so it can be used in either orientation.
▶ watch this step (20:30)
Run the mirror board through the embossing machine to emboss the design halfway. Rotate the board and run it through again to emboss the other half, ensuring the entire design is debossed.
▶ watch this step (20:45)
Open the embossing folder to reveal the embossed design on both sides of your white card.
▶ watch this step (21:00)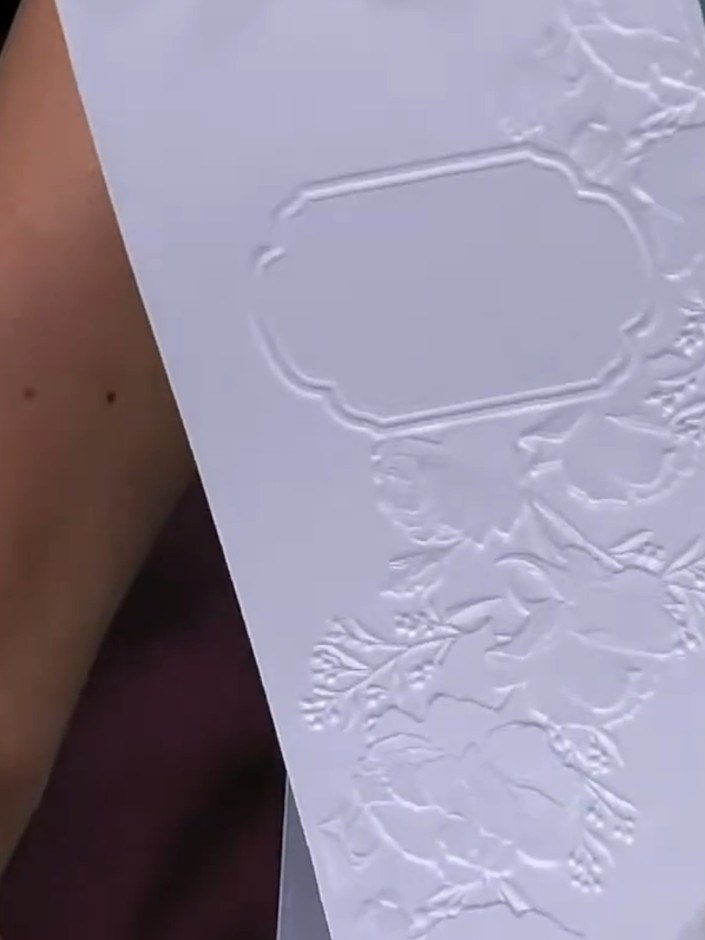
Apply white ink pad lightly across the embossed frame and flower areas using a tapping motion. Work gently to highlight the raised design without over-inking.
▶ watch this step (22:15)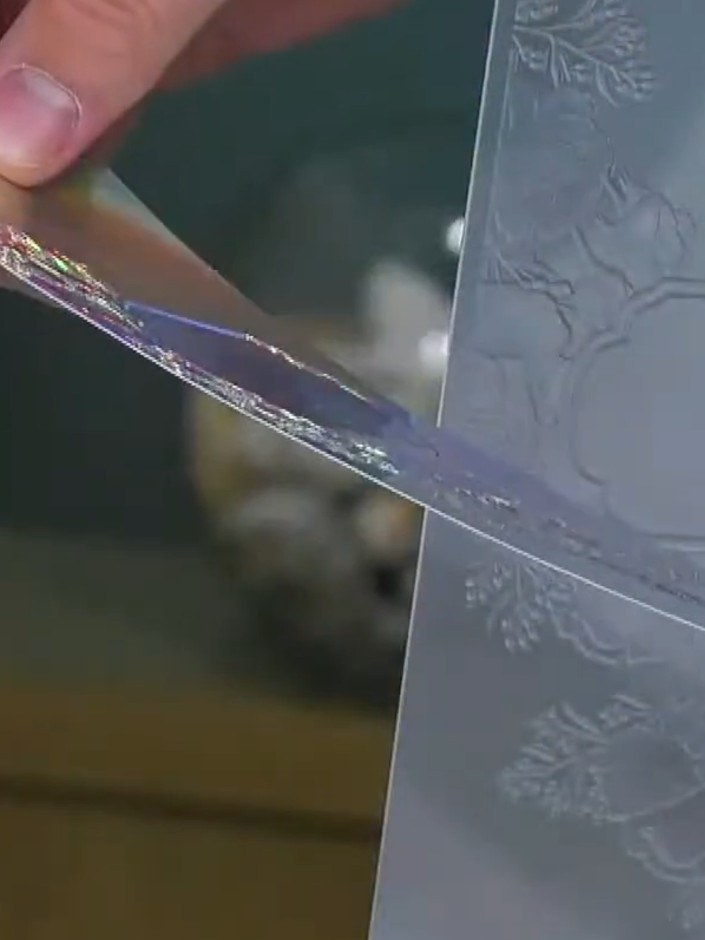
Use a damp brush to add water to the white ink, creating additional texture and softening the ink effect on your embossed design.
▶ watch this step (23:00)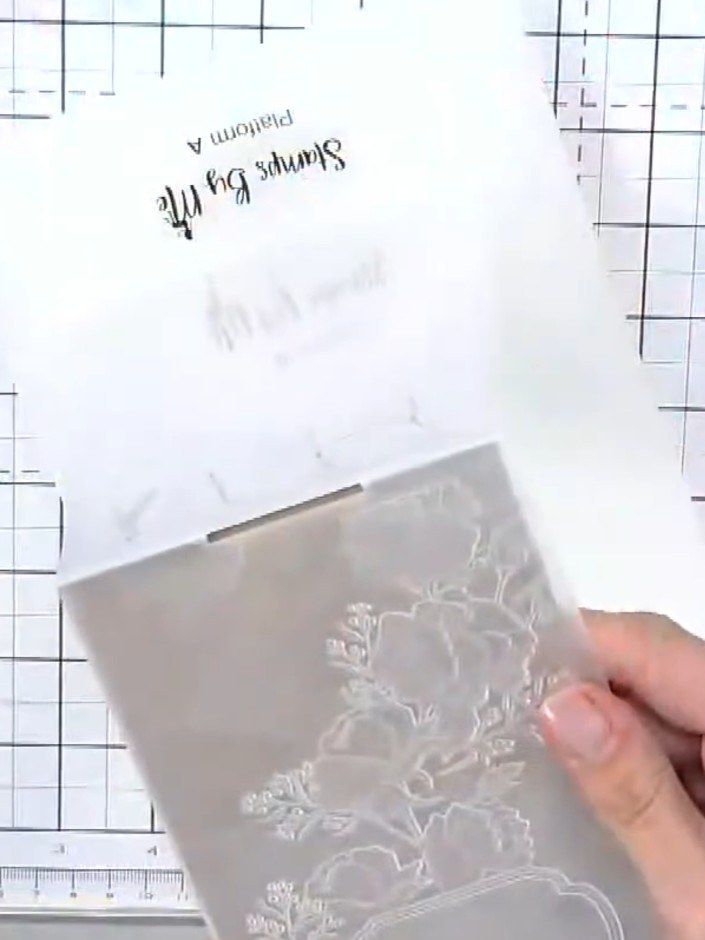
Allow the embossed card to dry completely. The white ink will create a soft halo effect around the embossed design, highlighting the raised details on the mirror board.
▶ watch this step (23:30)Written up from the show itself. See every guide from our shows · free how-to guides · watch live on My Telly