Give your friends £10 off their first order!
Refer a FRIEND








A project from our live show CREATE AND CRAFT TV - New and Exclusive - Broadcast 12th September 24 · 12/09/2024 · watch it from 51:00
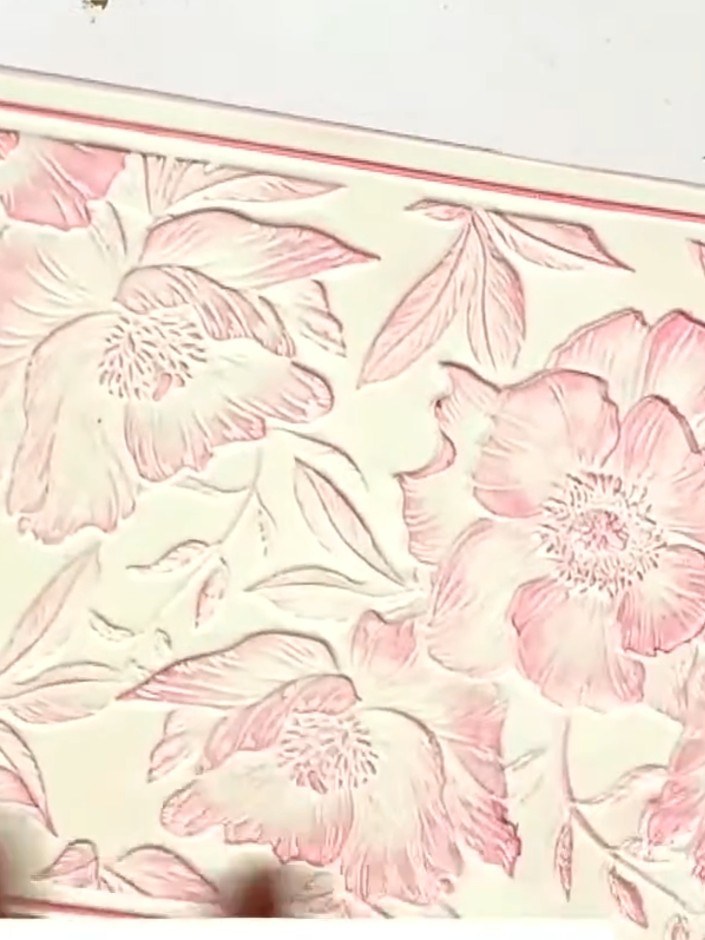
Create an elegant floral card using an embossing folder to add beautiful texture and dimension to your card stock. Enhance the raised peony design with soft pink inks and add a touch of shimmer with interference wax for a sophisticated, multi-layered finish. This technique combines traditional embossing with modern colouring methods to produce a stunning handmade card perfect for any occasion.
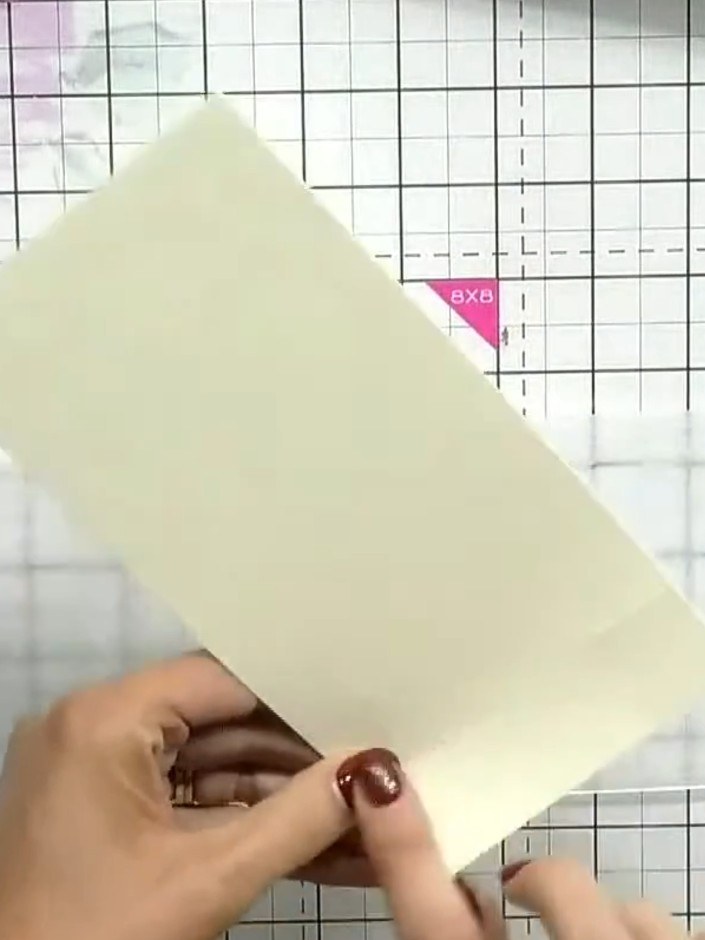
Select a cream or white card stock and place it on your craft mat. Choose an embossing folder with a floral or detailed pattern, such as peonies.
▶ watch this step (51:00)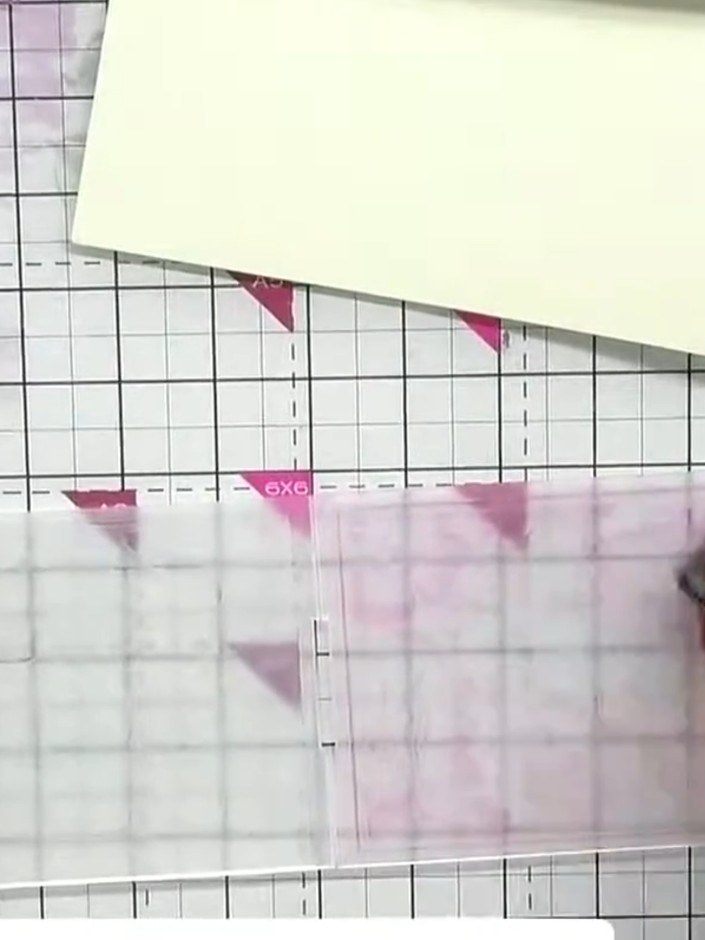
Ink both sides of the embossing folder with a pink or coral ink pad, pressing the pad into all the crevices to ensure complete coverage.
▶ watch this step (51:15)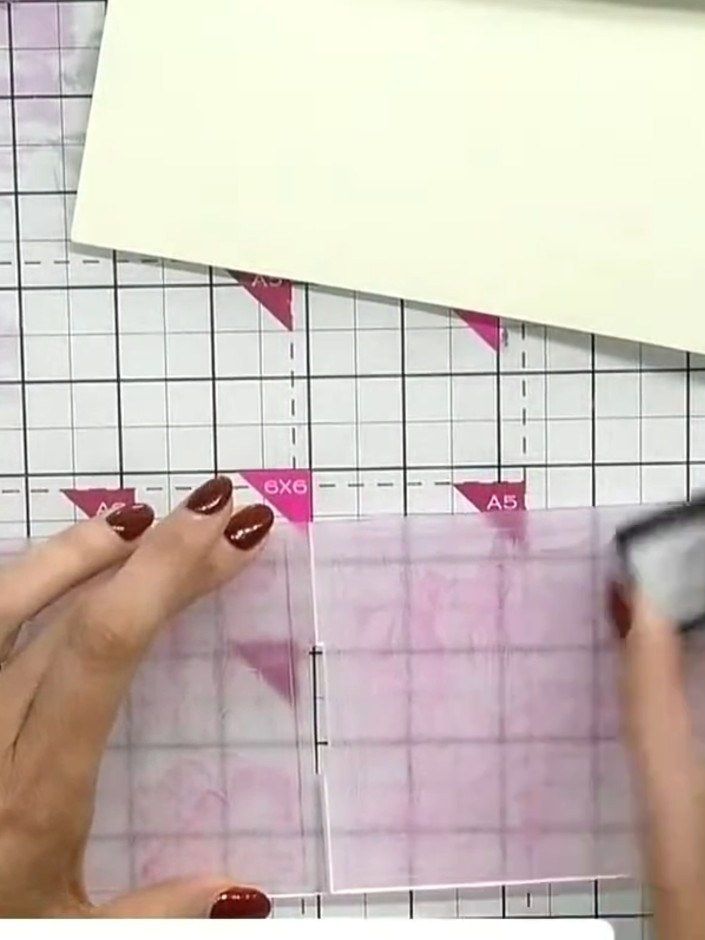
Place the inked card stock into the embossing folder, positioning it carefully between the two sides of the folder.
▶ watch this step (51:30)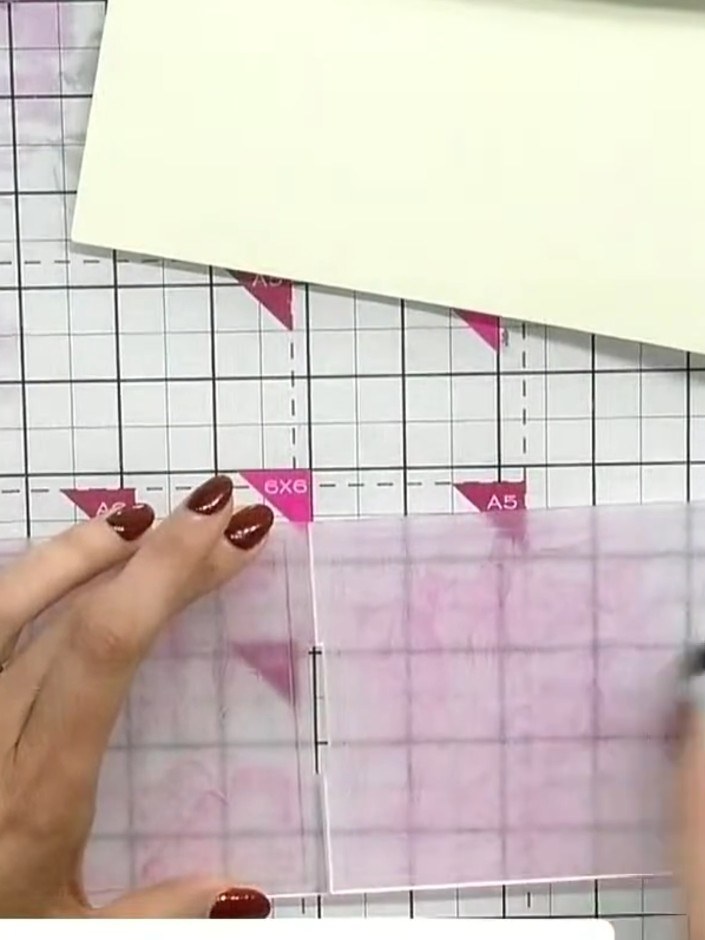
Run the embossing folder with your inked card through your die-cutting machine. This will emboss the design and transfer the ink simultaneously onto your card.
▶ watch this step (51:45)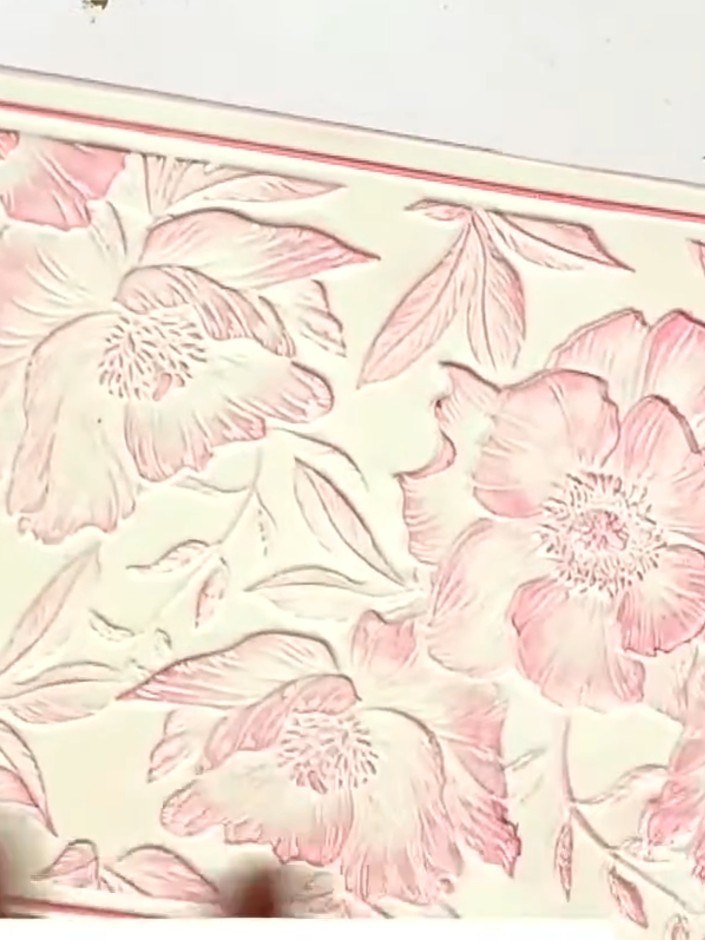
Remove the card from the embossing folder and examine the embossed peony design. The pink ink should highlight the raised areas of the floral pattern.
▶ watch this step (52:00)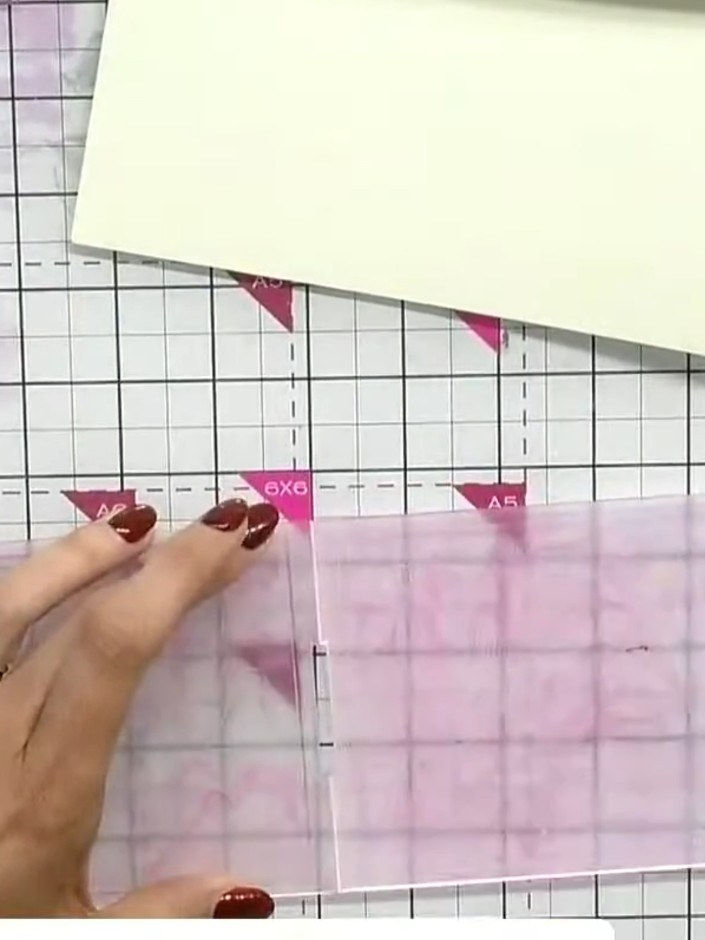
If the embossed colour is not dark enough, reposition the card in the embossing folder and run it through the die-cutting machine again to deepen the impression.
▶ watch this step (52:15)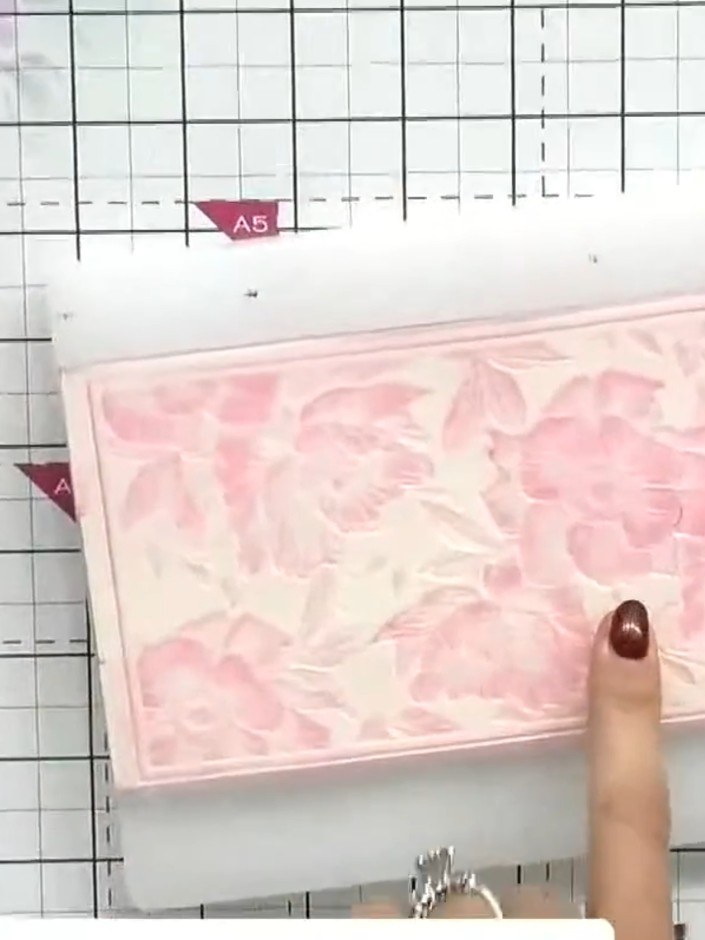
Apply a darker pink ink to the embossing folder. Run the card through the die-cutting machine again in the same position to add depth to the embossed design.
▶ watch this step (52:30)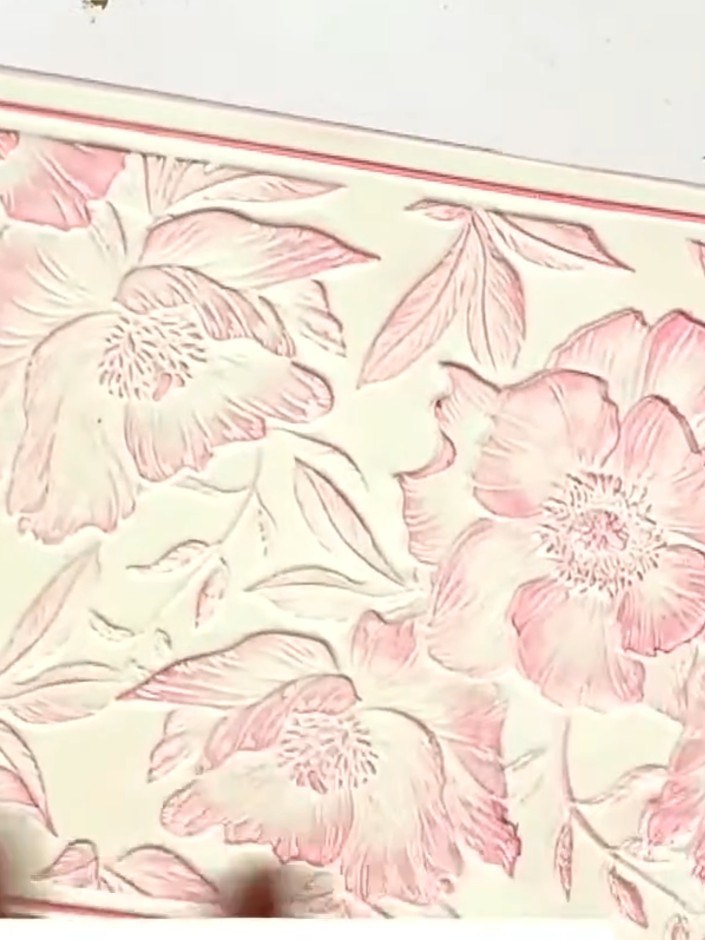
Turn the card over to reveal the debossed (recessed) side of the embossed design. If desired, apply ink to this reverse side using the same technique, working the pink ink over the cream cardstock to highlight the debossed floral pattern.
▶ watch this step (53:00)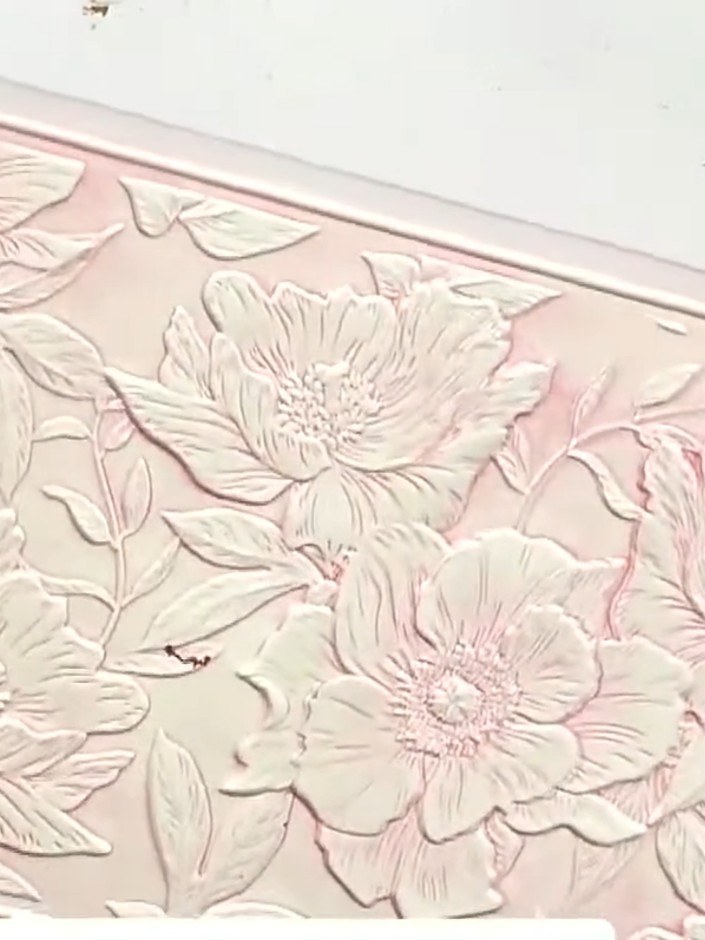
Once the embossed panel is dry, apply interference wax to the raised areas by gently rubbing it onto the embossed peony design. Work the wax into the raised details to create a subtle shimmer effect.
▶ watch this step (53:15)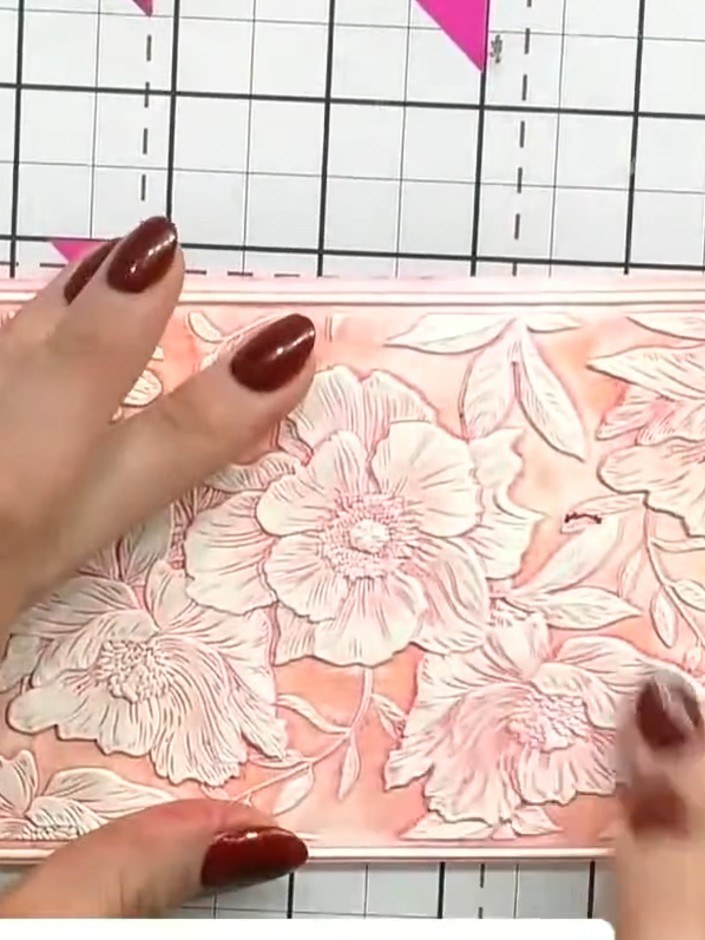
Hold the finished card up to the light to see the pearlescent interference wax shimmer and create a beautiful iridescent effect on the embossed floral design.
▶ watch this step (57:00)Written up from the show itself. See every guide from our shows · free how-to guides · watch live on My Telly