Give your friends £10 off their first order!
Refer a FRIEND








A project from our live show MY PODCAST - Catch my latest updates broadcast October 28th October 2024 · 28/10/2024 · watch it from 45:00
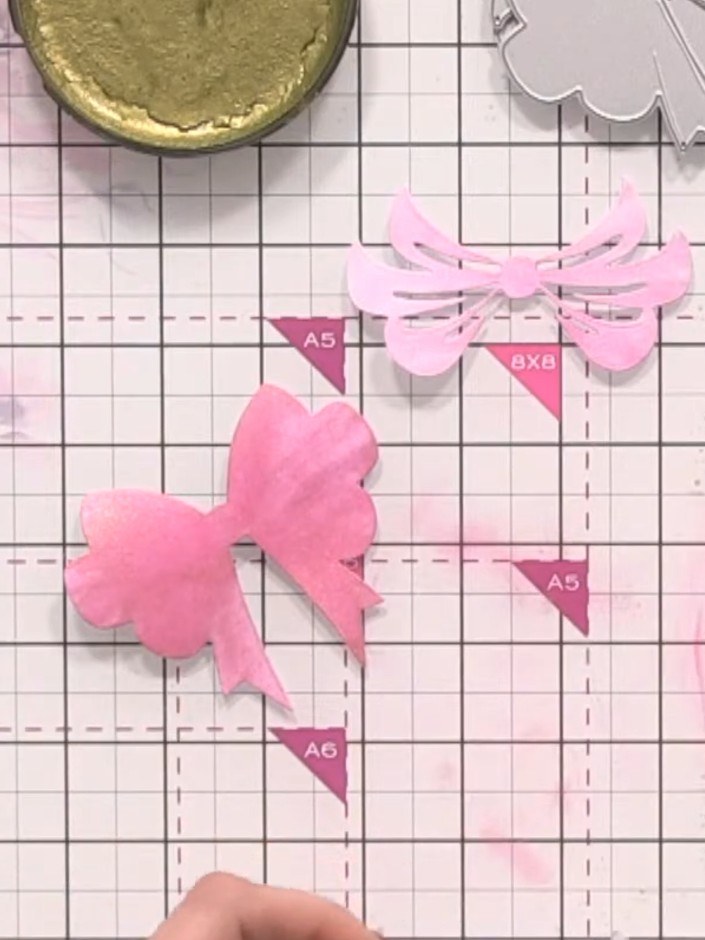
Create an elegant three-dimensional bow embellishment using layered white card stock enhanced with shimmering metallic watercolours and gold confetti ink. This technique demonstrates how to add realistic depth and dimension using pencil shading to create shadow effects, eliminating the need for foam pads whilst maintaining a low profile perfect for posting. The finished bow features beautiful pink tones with a polka dot pattern and hand-drawn shadows that bring the design to life.
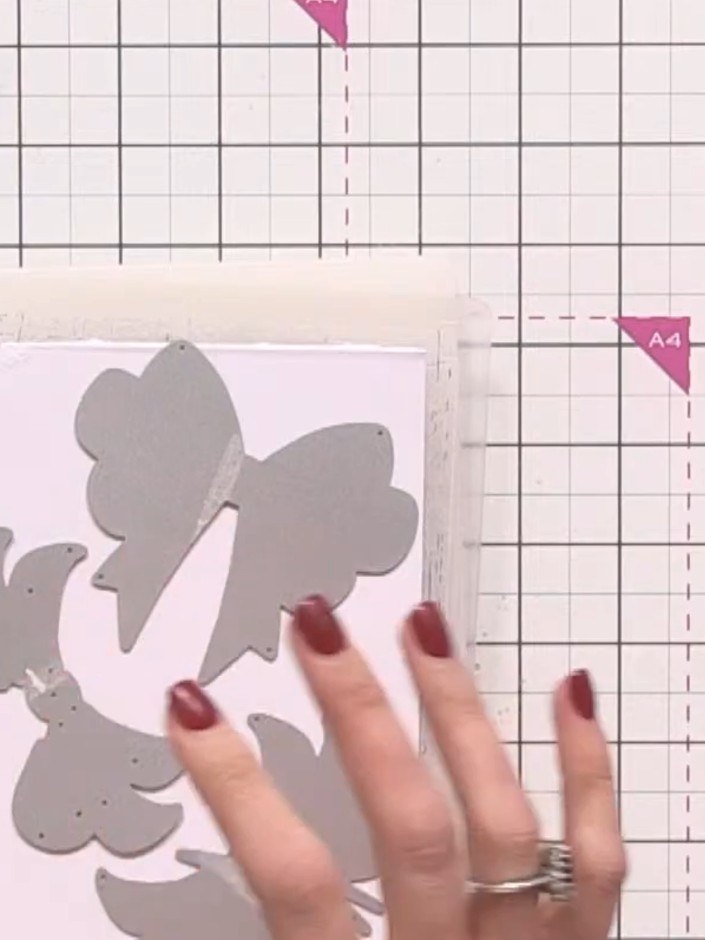
Cut out the small centre piece from the die-cut bow shape. This creates the shadow detail that will add dimension to your finished bow.
▶ watch this step (47:30)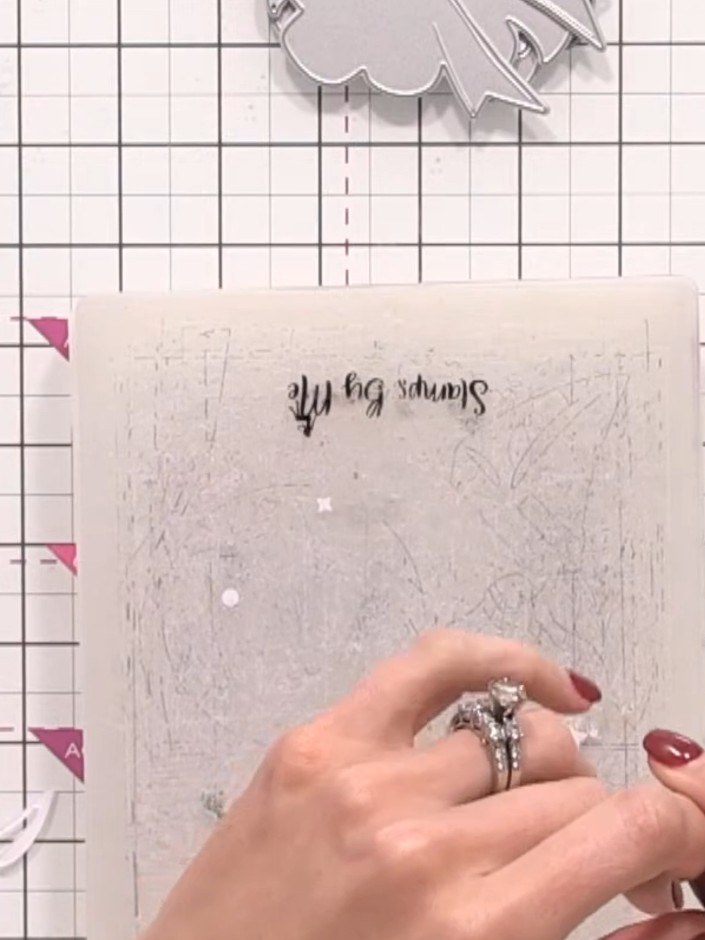
Mix gold confetti ink with metallic watercolours and water to create a shimmery base colour. Apply the mixture to the card panel to create a textured, shimmery background.
▶ watch this step (52:00)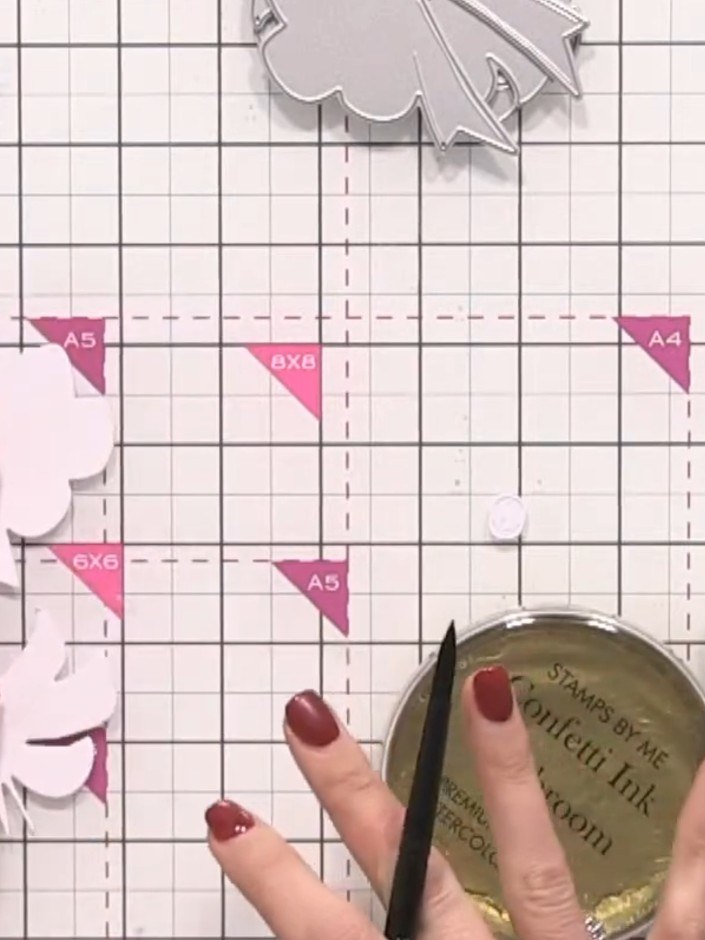
Using a paintbrush, apply the darkest colour mixture (the iridescent pink ink) to the largest bow piece. Paint evenly across the entire surface of the bow.
▶ watch this step (54:00)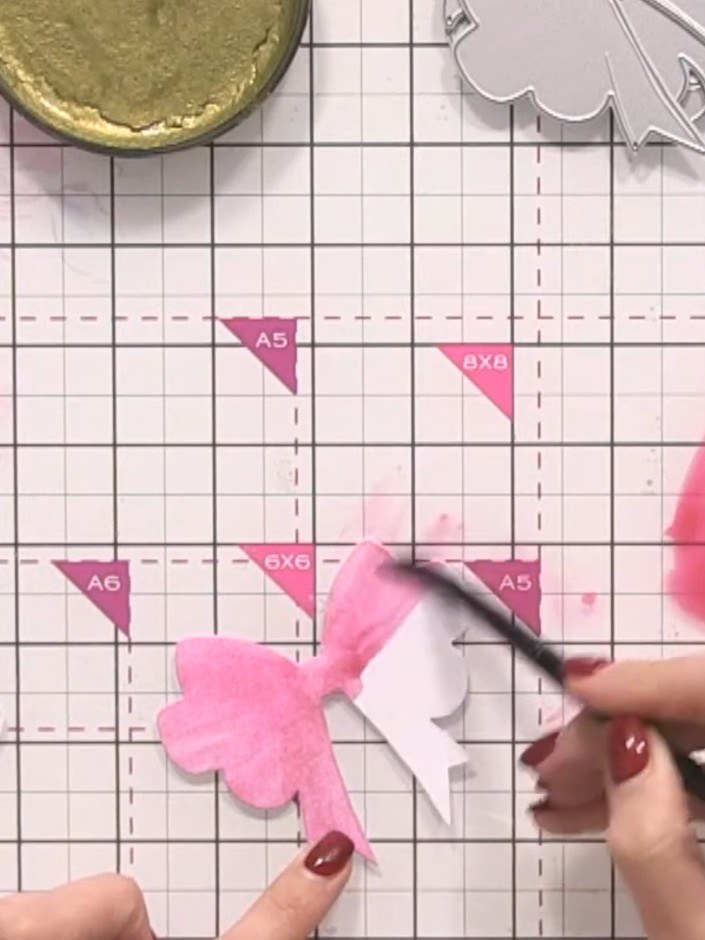
Paint the middle bow piece with a lighter version of the pink by adding more water to dilute the colour. Apply the diluted watercolour to create a softer tone on this section.
▶ watch this step (57:15)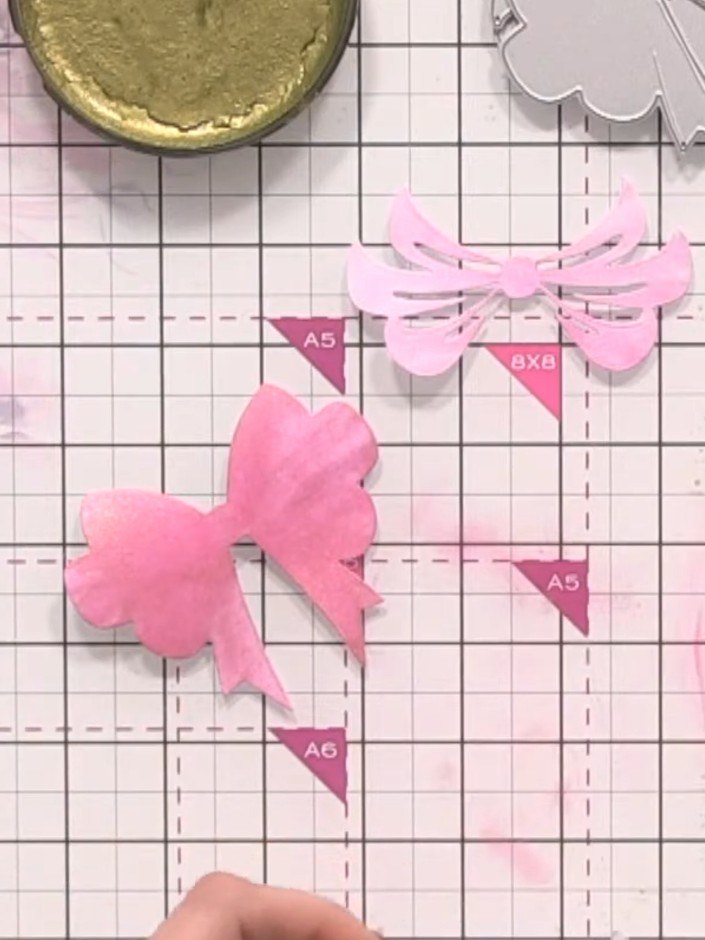
Using the lightest pink watercolour, paint the top bow piece. Create a gradient effect by applying more colour at one end and blending it out to lighter at the other end.
▶ watch this step (59:00)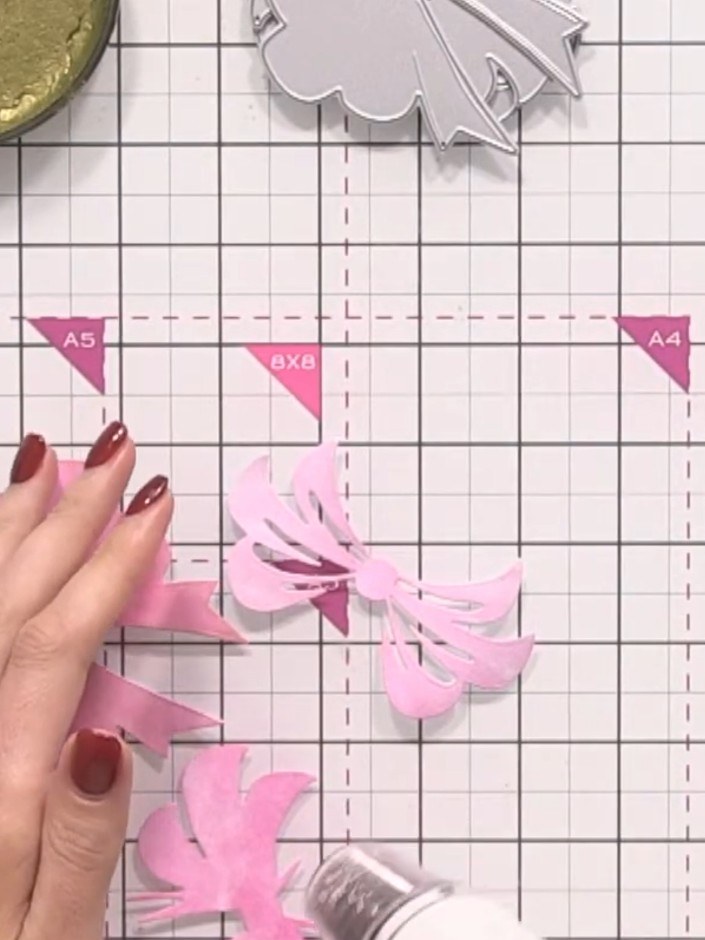
Allow all the pink butterfly and bow pieces to dry completely before proceeding to the next step.
▶ watch this step (1:00:15)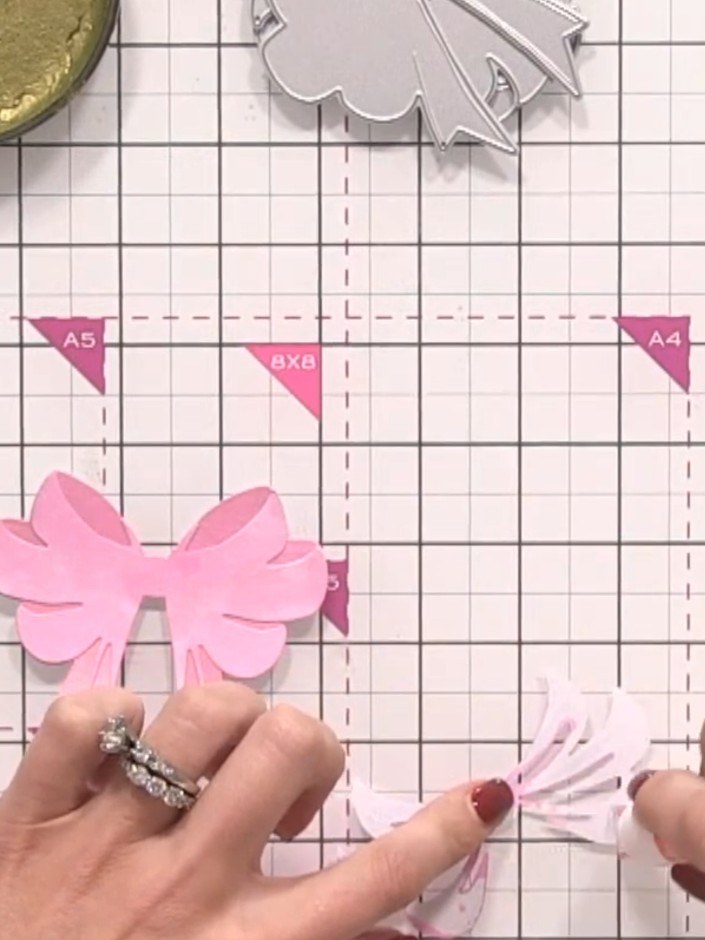
Layer the three pink bow pieces together with the largest piece at the bottom and the smallest piece on top. Align them centrally to create a dimensional bow effect.
▶ watch this step (1:02:15)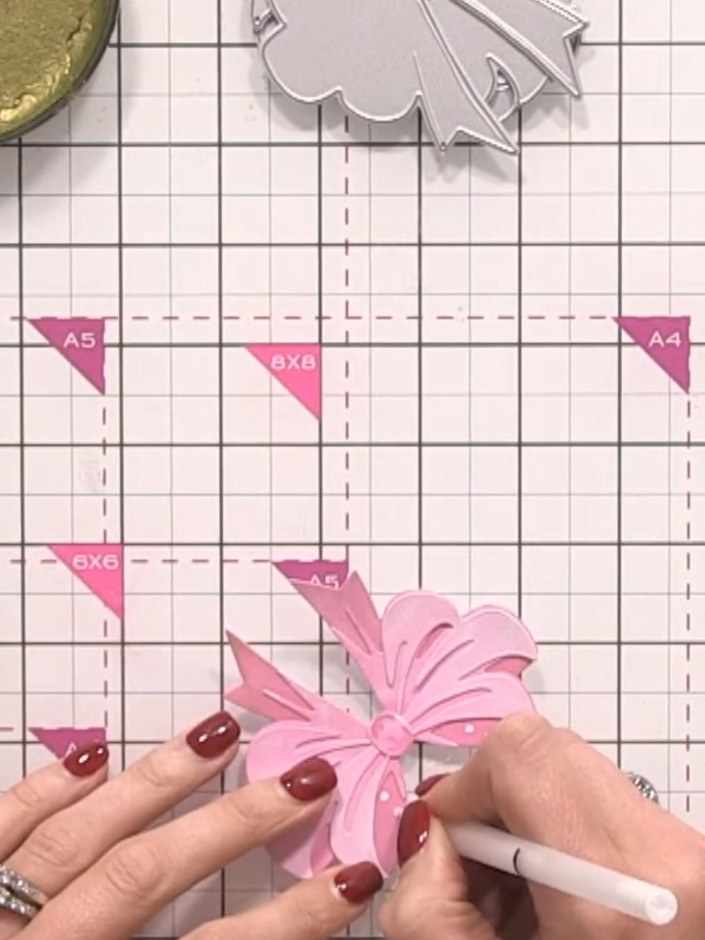
Use a fine-tipped white gel pen to add decorative spots across the pink bow. Include half-spots along the edges for added realism and dimension.
▶ watch this step (1:04:00)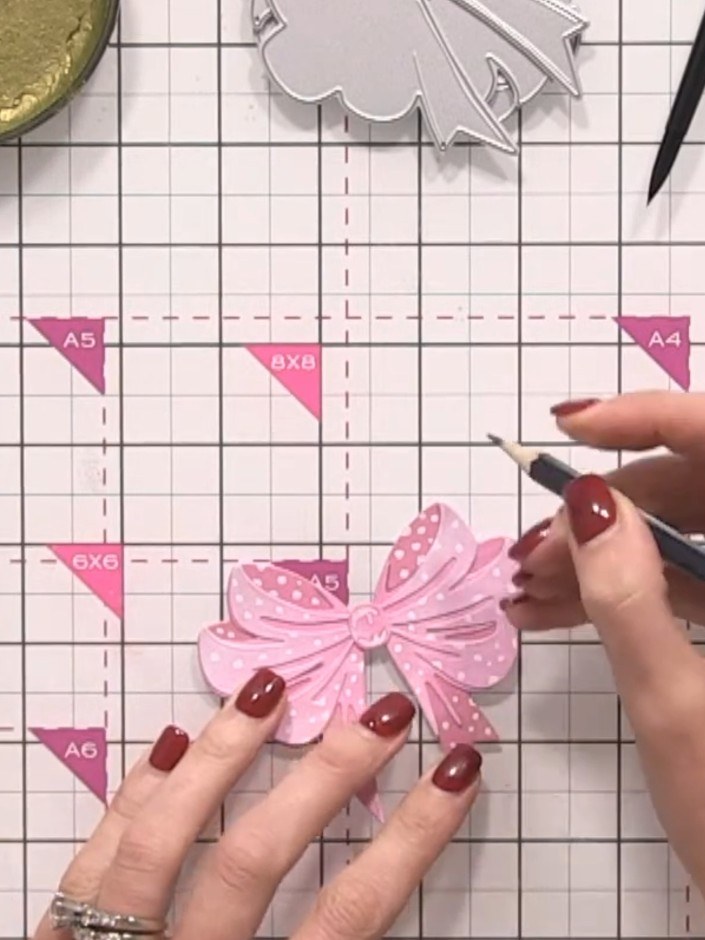
Using a grey pencil, very lightly outline the edges of the pink bow to create a subtle shadow effect. Work around the bow's contours, not filling in all areas completely, to give the impression of dimension.
▶ watch this step (1:08:30)Written up from the show itself. See every guide from our shows · free how-to guides · watch live on My Telly