Give your friends £10 off their first order!
Refer a FRIEND








A project from our live show MIGHTY MONDAY - Join Toni for her detailed papercrafting sessions - Broadcast 25th November 24 · 25/11/2024 · watch it from 13:30
Create a charming 6x6 album page featuring a single fold-up pocket with a decorative tab closure. This project uses pink striped patterned paper and a marbled accent piece to create a practical storage solution for photos or memorabilia. The main techniques include scoring, folding, and using a decorative punch to create the tab closure.
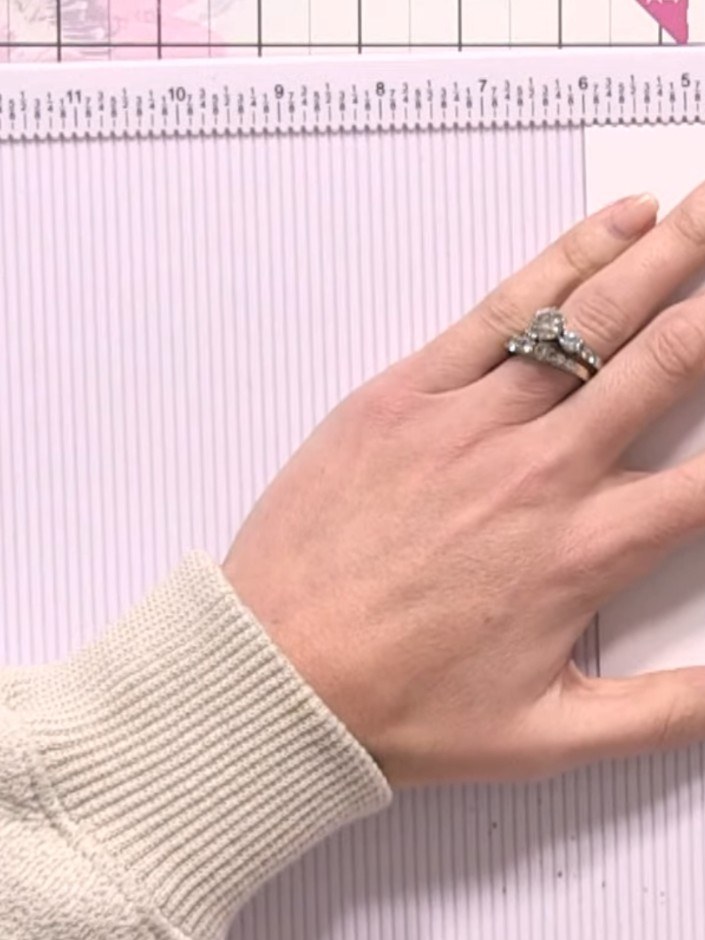
Score a half-inch hinge along one edge of your 6x6 paper using your scoring board.
▶ watch this step (13:30)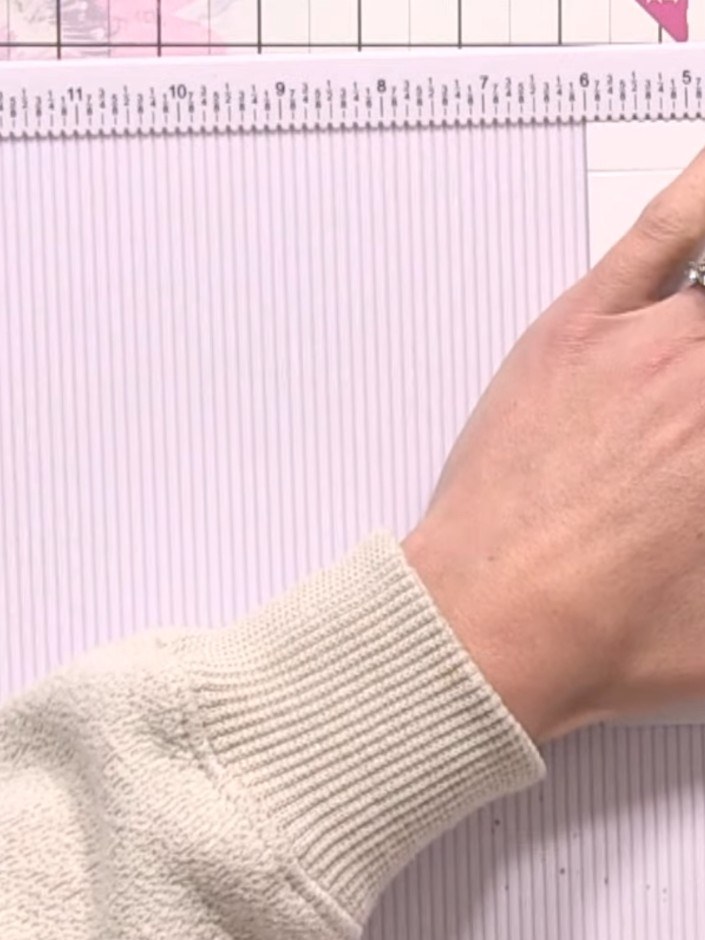
Turn the paper 90 degrees. Score another half-inch line along the adjacent edge, maintaining the same distance from the edge.
▶ watch this step (13:45)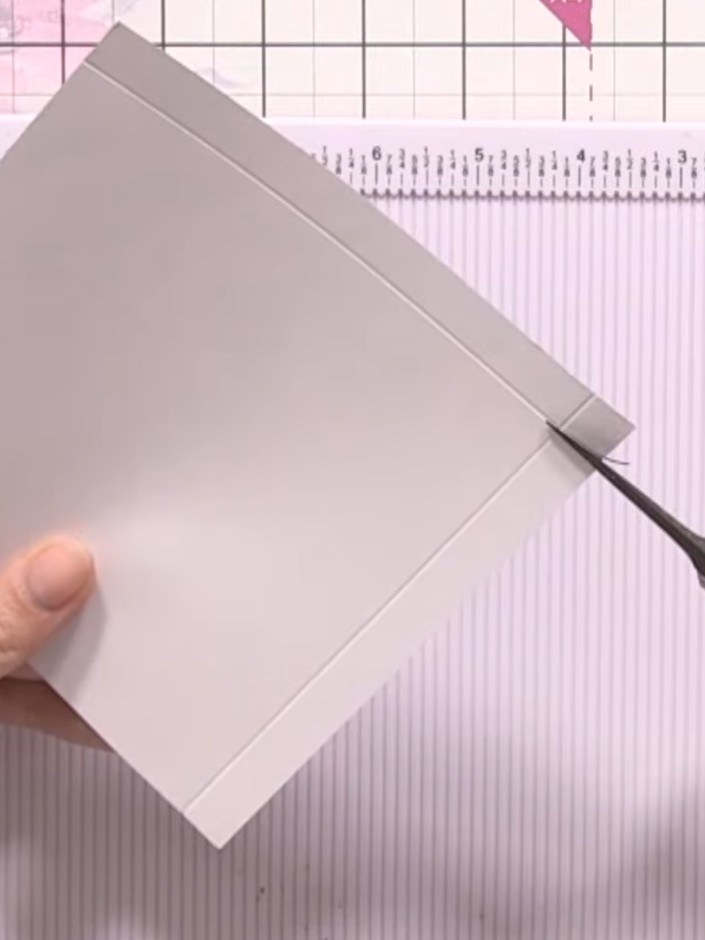
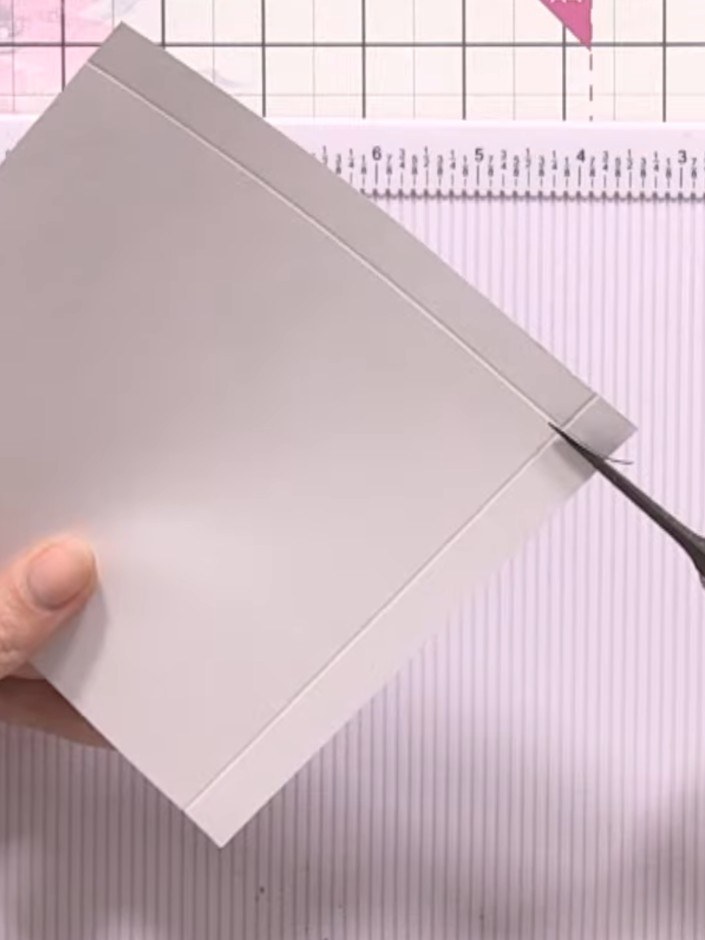
Cut away the small square where the two score lines meet to remove bulk from the card.
▶ watch this step (14:00)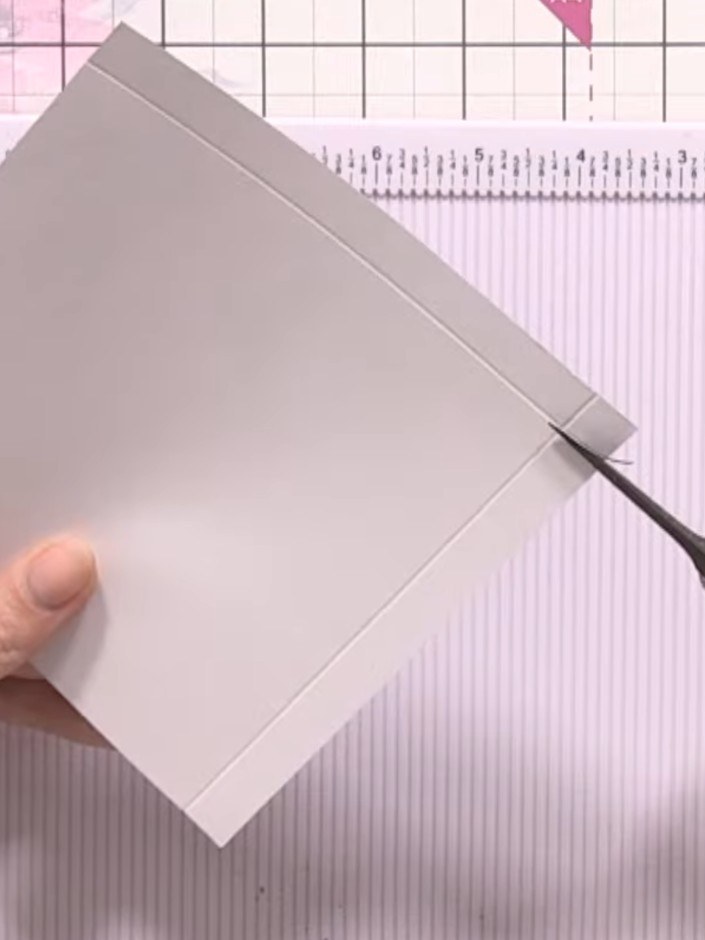
Fold the bottom edge of the card up to meet the top edge, creating a pocket shape. Hold the card in place and ensure the edges align neatly.
▶ watch this step (14:15)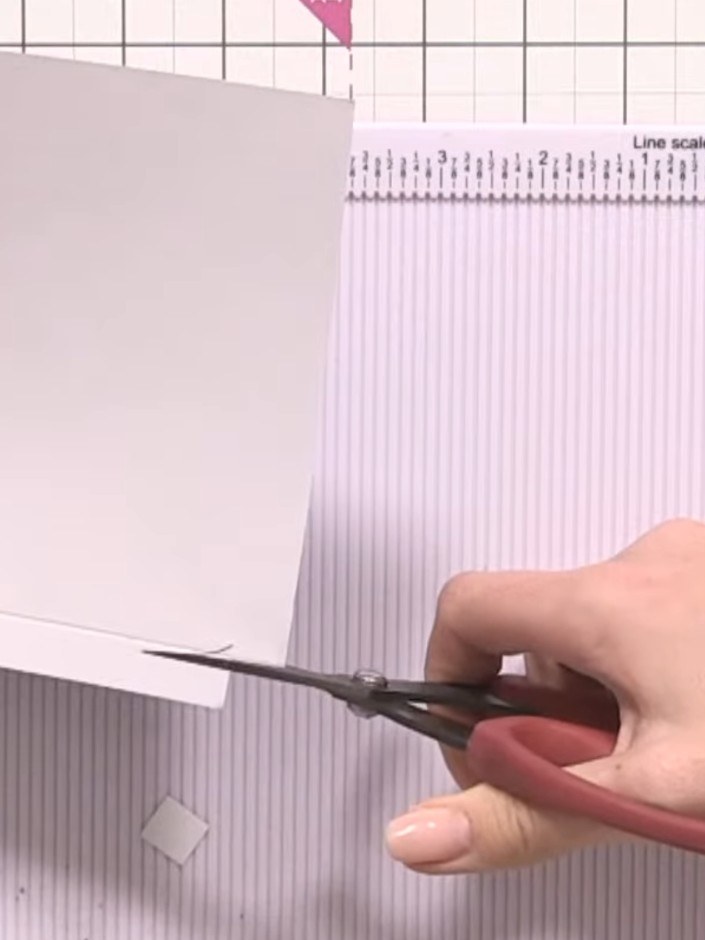
Score along the fold line firmly using a scoring tool to create a crisp, clean edge for your fold-out page.
▶ watch this step (14:30)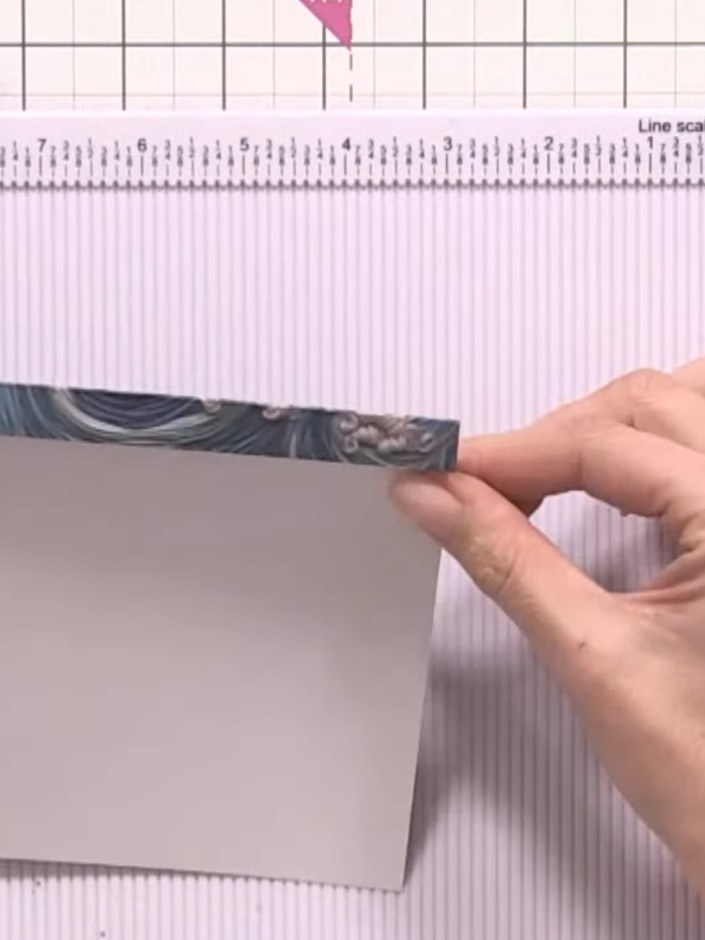
Apply adhesive tape or glue along the side edges of the pocket to seal them closed, keeping the top edge open.
▶ watch this step (14:45)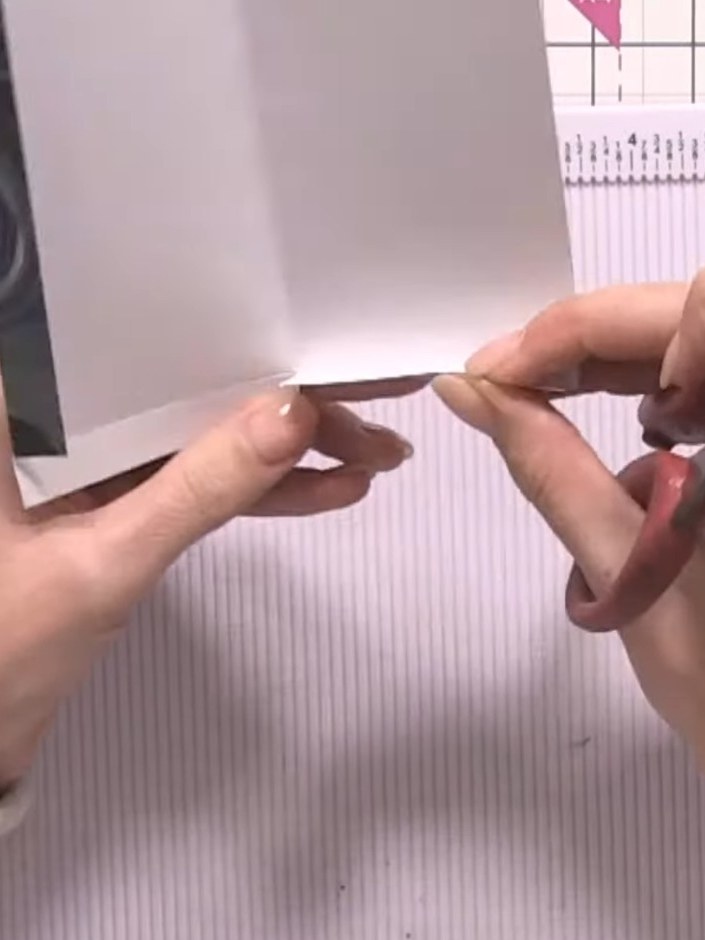
Punch two tab shapes from contrasting paper scraps using your tab punch.
▶ watch this step (15:00)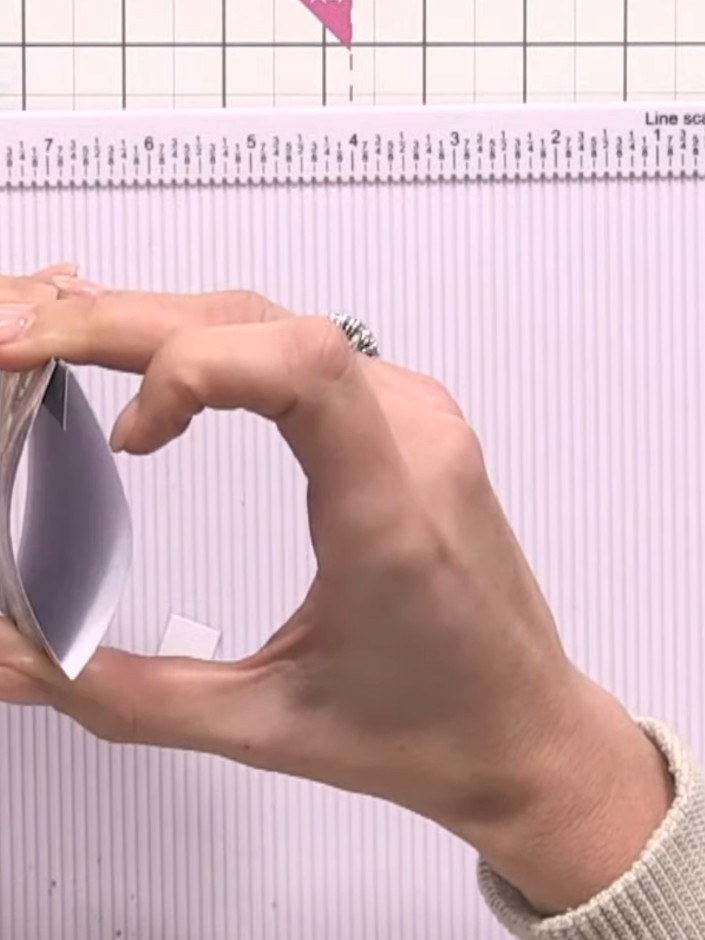
Attach one tab punch to the front of the pocket and one to the back to create a pull-out closure. The tabs will form a hinge mechanism for opening and closing the pocket.
▶ watch this step (15:15)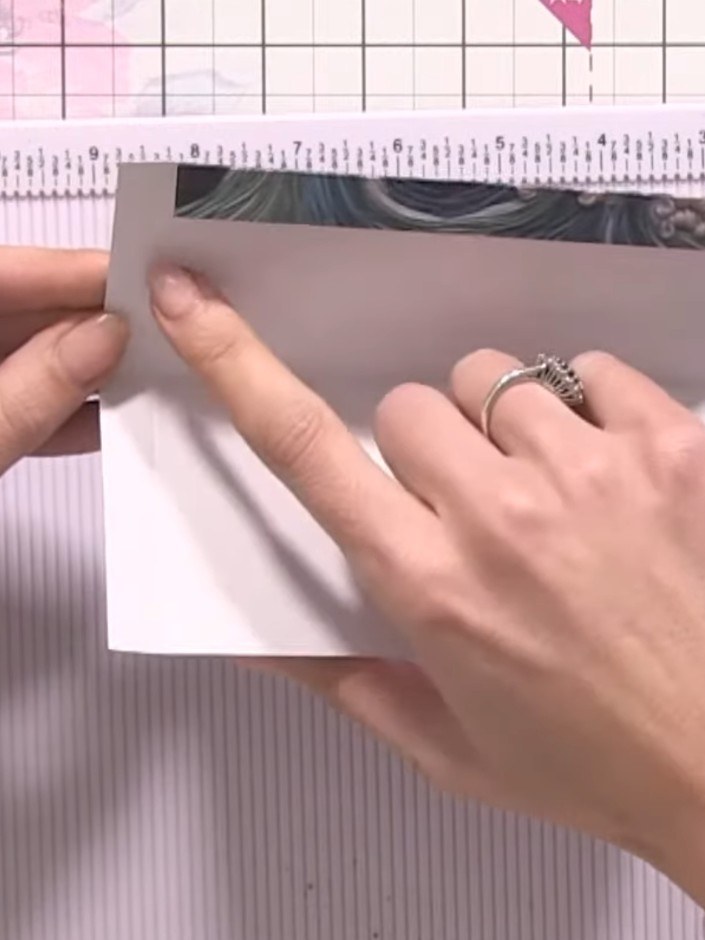
Trim away any excess hinge material from the edges of your fold-out page to reduce bulk before adding it to your album.
▶ watch this step (15:30)Written up from the show itself. See every guide from our shows · free how-to guides · watch live on My Telly

